

This gelatin-set cocoa frosting uses cocoa, grass-fed gelatin, coconut oil, raw honey, homemade vanilla, and mineral salt without adding water or milk. It goes onto a chilled Full GAPS dessert while still spreadable, then firms during a brief refrigerator rest.
Choose this formula when you need a topping that sets more decisively than an oil-only frosting. Gelatin is the distinguishing ingredient, so its dry powder must disappear completely into the cocoa mixture before the frosting is spread or chilled.
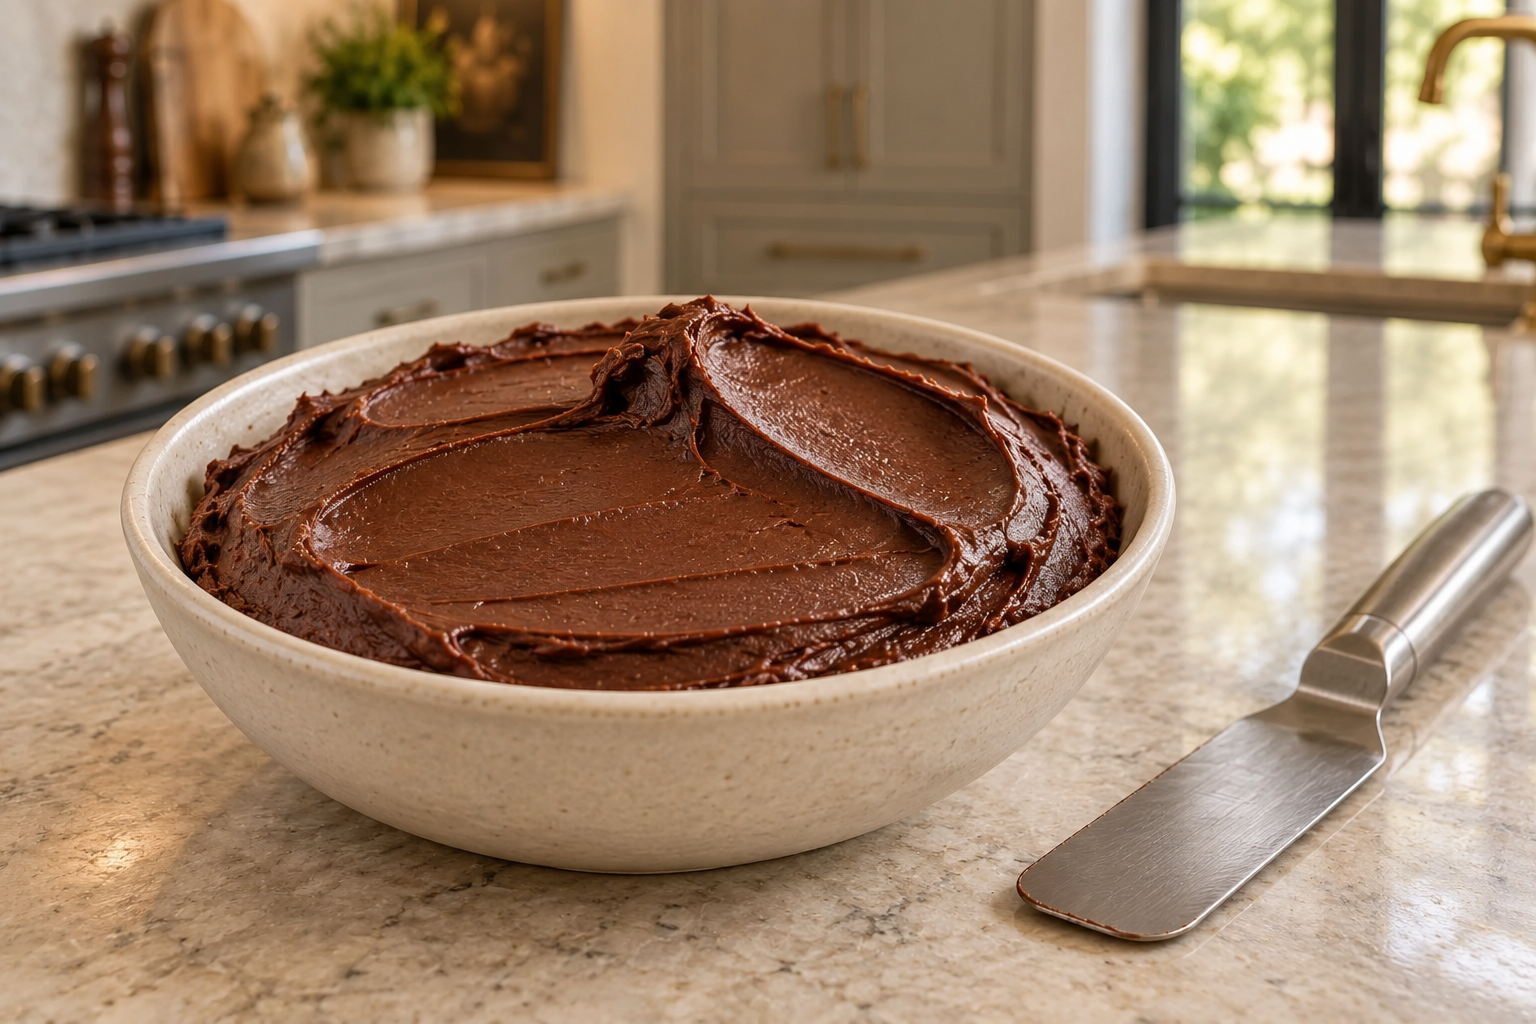
Why Gelatin Changes the Frosting
The formula combines one-half cup pure organic cocoa with one teaspoon grass-fed gelatin powder, one-quarter cup melted coconut oil, and two tablespoons raw honey. A dash each of mineral salt and homemade vanilla completes the mixture.
Coconut oil already firms as it cools. Gelatin gives the frosting another kind of set, helping a spread or drizzle stay in place after refrigeration. The result is dense and smooth, with a firm trail that remains visible instead of relaxing like sauce.
In our family, the clearest recipes are the ones that explain what changes in the bowl. Here the useful sequence is dry cocoa and gelatin becoming completely uniform, the warm mixture spreading over something already chilled, and the surface becoming firm after a brief refrigerator rest.
This is one frosting component, not a nested brownie recipe. Use it on a chilled Full GAPS dessert whose own ingredients and method are already appropriate. Keep the frosting formula intact rather than borrowing ingredients from a parent dessert.
Measure the Six Ingredients Exactly
Measure one-half cup pure organic cocoa powder, one teaspoon grass-fed gelatin powder, one dash mineral salt, one dash homemade vanilla extract, one-quarter cup melted coconut oil, and two tablespoons raw honey.
Level the cocoa and gelatin. A rounded teaspoon of gelatin is not the same as the source measure and can make the chilled frosting unnecessarily firm. Keep the salt and vanilla at a dash rather than turning either into an unmeasured pour.
The source provides no portion yield or timing. The WPRM card uses one batch only as a truthful scaling base. At 2x, the cocoa becomes one cup, gelatin two teaspoons, coconut oil one-half cup, and honey four tablespoons while both dashes double together.
Do not add water to bloom the gelatin. This source formula measures no water. Do not add coconut milk, cream, commercial chocolate, or extra honey to make mixing easier.
Melt and Cool the Coconut Oil
Melt the coconut oil gently only until liquid. It should not smoke, bubble, brown, or heat the mixing bowl. Let it cool until it remains liquid without feeling hot.
Hot oil can make the frosting look thinner than it will be after chilling. It can also hide incomplete mixing because cocoa and gelatin may suspend in a very loose liquid before settling unevenly.
Use dry equipment. Water on a bowl or whisk changes a formula that is designed to mix without an added liquid phase.
Mix Until No Dry Cocoa or Gelatin Remains
Place all six ingredients in a small dry glass or ceramic bowl. Begin whisking slowly so the cocoa and gelatin stay in the bowl.
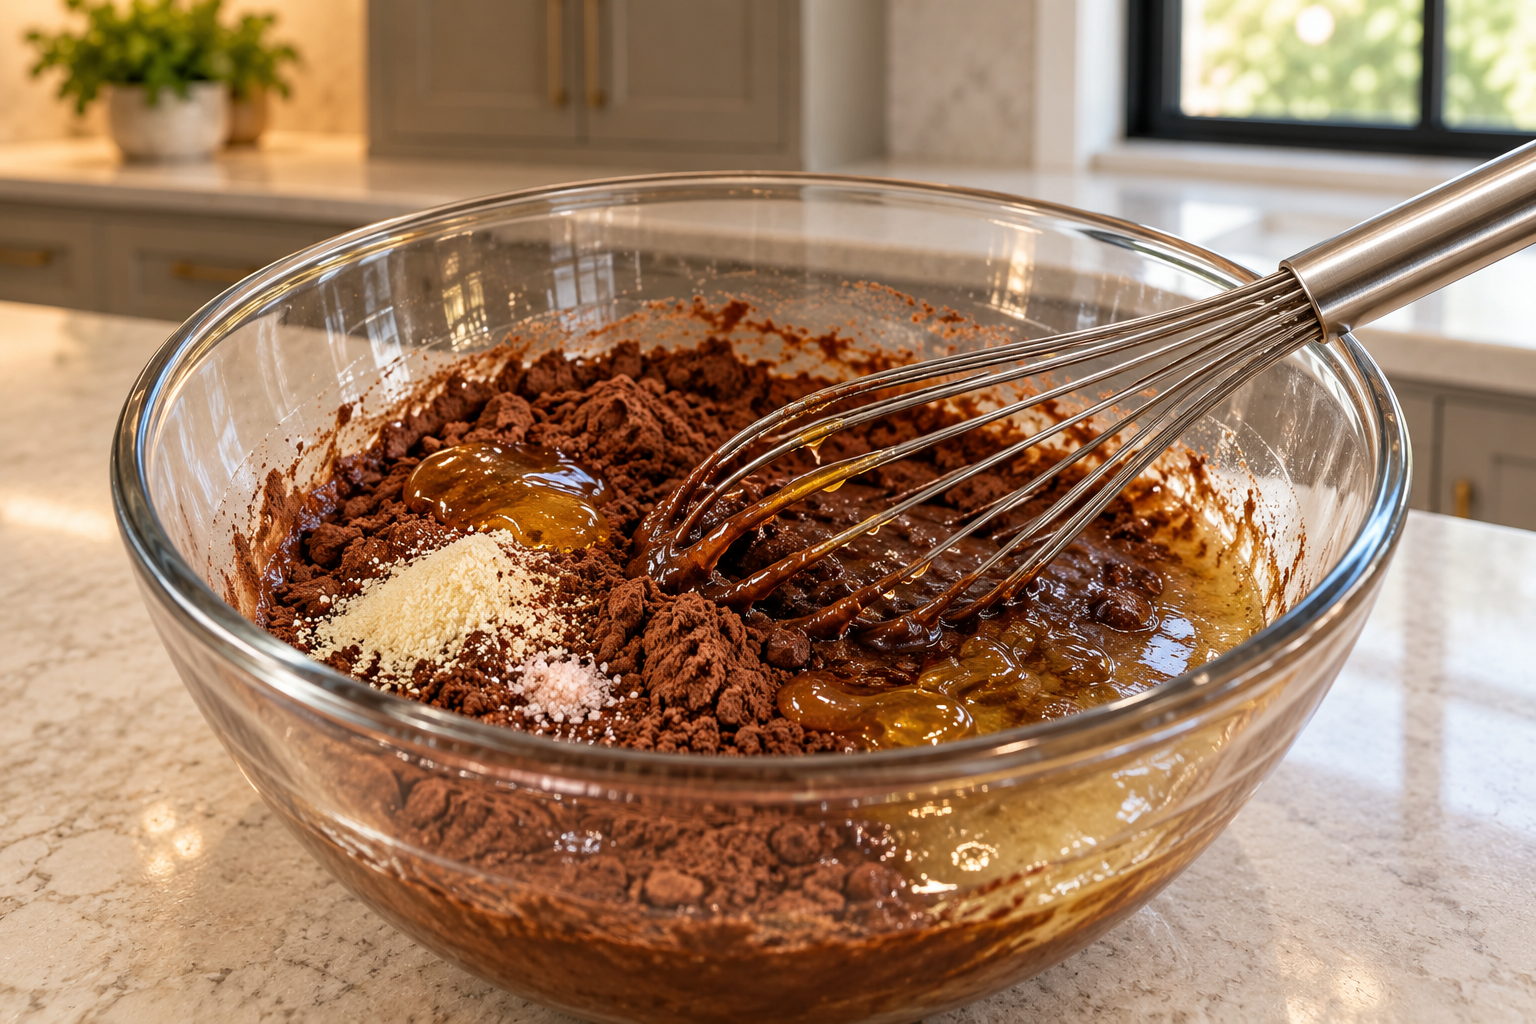
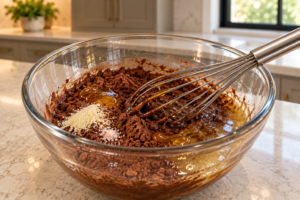
The early stage looks rough. You may see cocoa clumps, paler gelatin patches, amber honey streaks, and a clear coconut-oil edge. Those are cues to keep mixing, not reasons to add liquid.
Scrape the bottom and sides. Continue until the color is even, no pale gelatin powder remains, and no oil or honey ring sits around the bowl. The whisk should carry one uniform cocoa coating.
Spread It While the Dessert Is Chilled
The source directs the frosting onto a chilled dessert. A cold surface starts firming the coconut oil and gelatin as the mixture is spread, helping it stay where it is placed.
Use a small offset spatula or spoon. Place several small portions across the surface, then connect them with short strokes. This is easier than pushing one mound across a cold dessert after its edge begins to set.
If the frosting thickens in the bowl before you finish, let it lose a little chill at room temperature and stir. Do not reheat it aggressively or thin it with unmeasured liquid.
Refrigerate Briefly Until Set
Return the frosted dessert to the refrigerator. The source calls for a brief chill rather than a fabricated fixed time, so use the surface as the test.
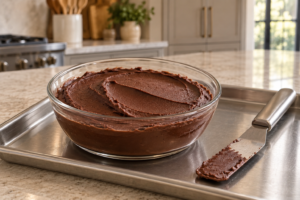
The frosting is set when a shallow spatula line stays sharply visible and the surface no longer moves when the plate or dish is gently shifted. The edge may turn matte before the center.
Do not wait for the frosting to become brittle. It should remain smooth enough to cut or scoop cleanly. A hard, cracking surface has chilled longer than the practical serving endpoint.
What the Finished Frosting Should Look Like
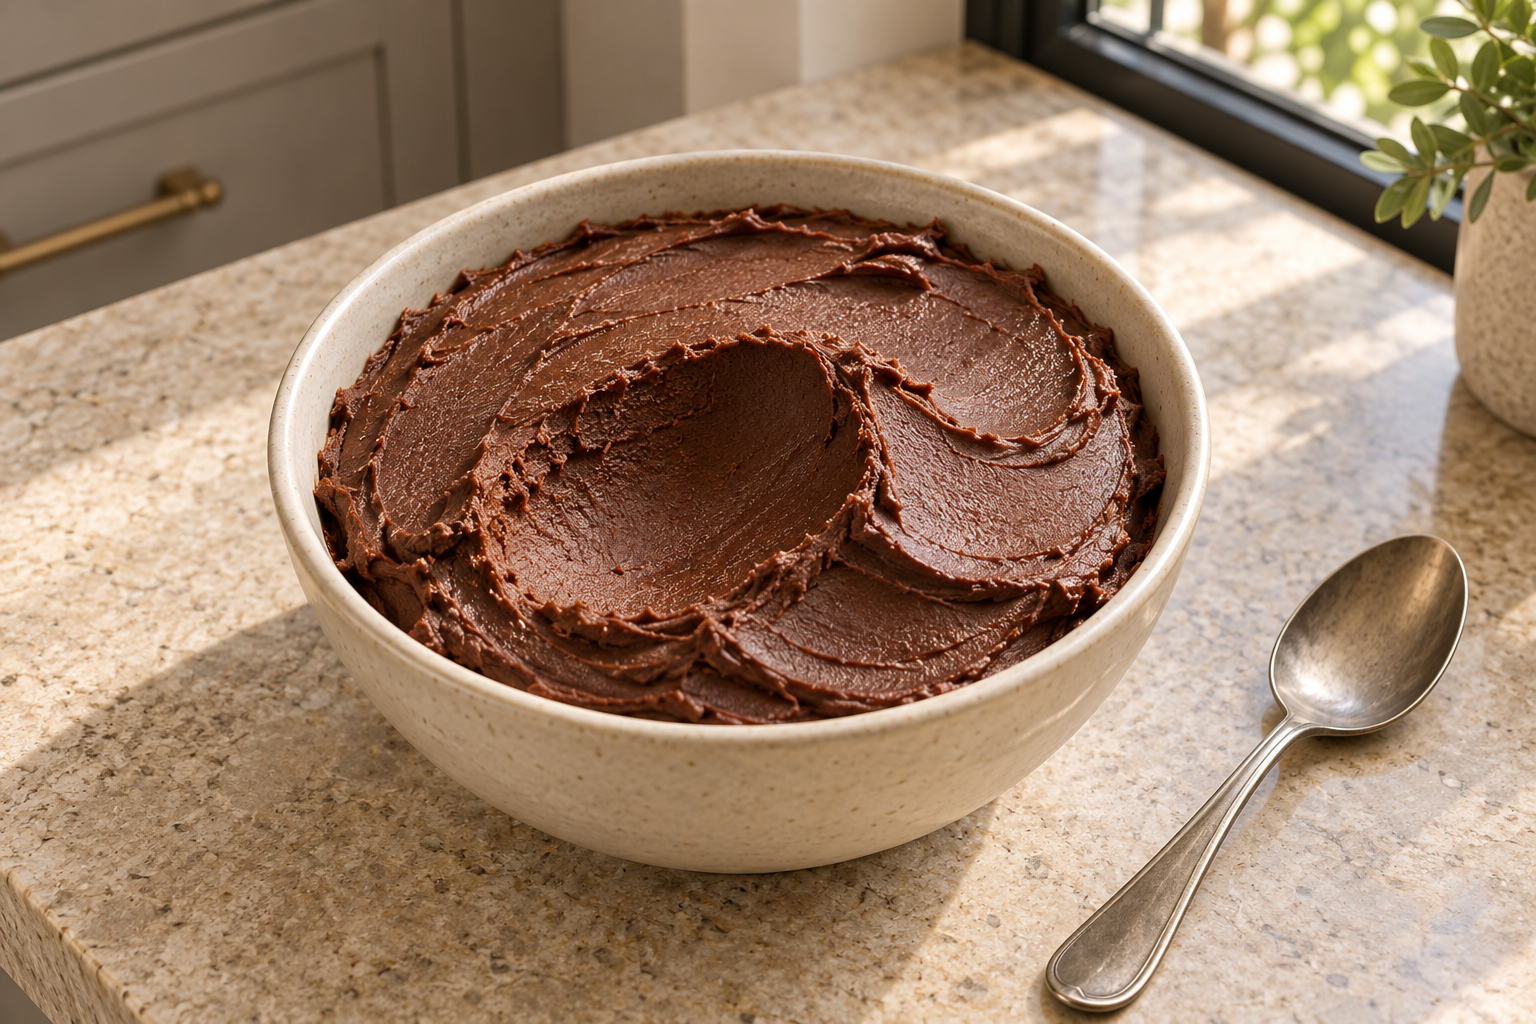
The finished color is deep cocoa brown. The surface is satin rather than wet and mirror-like. A spatula trail, scoop-shaped depression, or curved ridge remains firmly in place.
The texture is denser than the salted equal-parts cocoa frosting and more set than the three-ingredient cocoa drizzle. It contains less honey than either equal-parts formula and gains structure from gelatin.
The flavor is cocoa-forward with raw honey sweetness. Homemade vanilla and mineral salt remain in the background. Visible pale powder, rubbery granules, or an oily ring means the mixture was not fully uniform before chilling.
Where Gelatin-Set Frosting Fits on GAPS
This is an occasional later Full GAPS recipe for after digestive symptoms are gone and pure organic cocoa is already appropriate. It is not an Introduction Diet recipe and does not have an earlier-stage cocoa adaptation.
Use grass-fed gelatin powder, raw honey, natural non-hydrogenated coconut oil, mineral salt, and the linked homemade vanilla extract. The recipe makes no broader protocol or health claim.
Do not substitute maple syrup, coconut sugar, allulose, monk fruit, stevia, avocado oil, MCT oil, cream, canned coconut milk, commercial vanilla, or commercial chocolate. Those changes belong to separately measured formulas.
Serving Ideas
Spread this frosting on a chilled Full GAPS cake, bar, cookie layer, or other dessert whose own ingredients are already appropriate. The set texture is useful when the topping needs to remain in place during slicing or transport from refrigerator to table.
Let the finished dessert lose the hardest refrigerator chill before serving. Coconut oil and gelatin both feel firmer when very cold, so a short rest makes the texture smoother without changing the recipe.
For a softer topping, use an oil-only frosting. For a thin line or glossy sauce, use a drizzle or ganache rather than adding liquid to this set formula.
Storage and Texture Recovery
Keep leftover frosting covered in the refrigerator. Because the source gives no storage duration, prepare an amount suited to the dessert and use ordinary fresh-food judgment rather than inventing a long holding claim.
A refrigerated bowl becomes firm. Let it stand briefly at room temperature, then stir or beat only until spreadable. The edges soften before the center.
If the frosting separates into an oily surface, it has warmed too far. Let it cool slightly and whisk until uniform. Do not correct it with unmeasured cocoa or gelatin.
Label the container as gelatin-set cocoa frosting. Its gelatin, honey amount, vanilla, salt, and set method distinguish it from the other cocoa formulas.
When preparing the frosting ahead of application, keep it covered so the surface does not dry while the center remains soft. Stir the entire batch before spreading. A uniform bowl gives an even set; a skin on top folded into a loose center creates streaks and makes the chill endpoint harder to read.
For clean, neat serving, use a knife warmed under hot water and dried completely before each cut. The warm dry blade moves through the set layer without introducing water into the remaining frosting. Wipe and repeat rather than pressing through a cold dense topping with one rough stroke.
Recommended Equipment
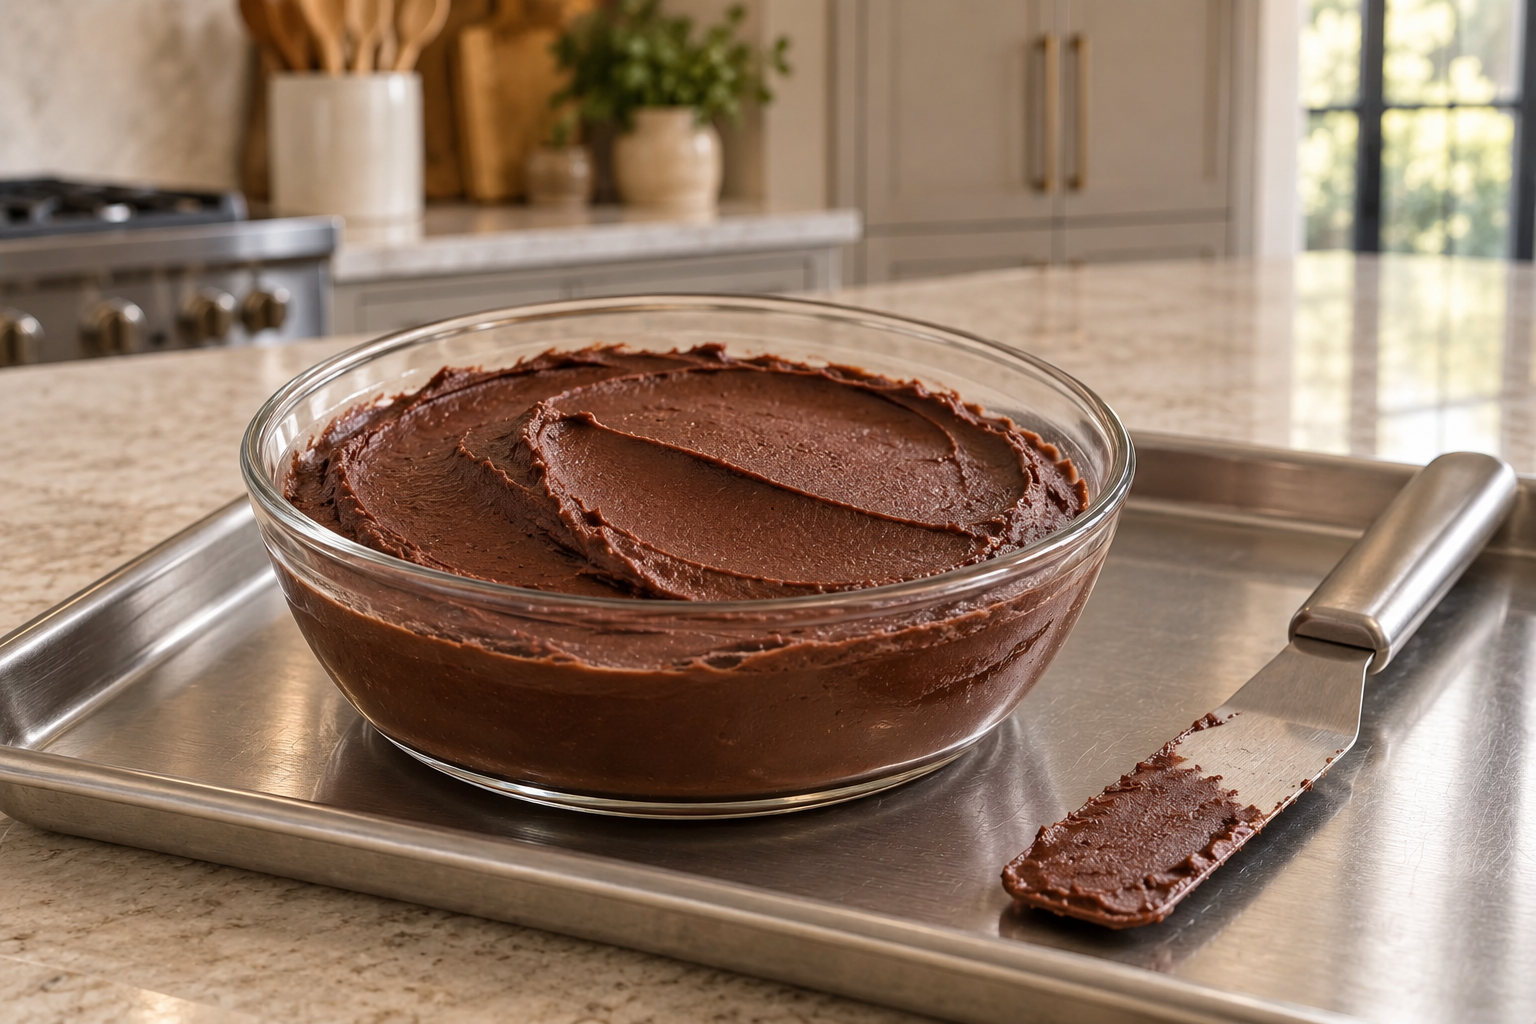
Use a dry glass or ceramic mixing bowl, stainless-steel whisk, level dry measuring cups and spoons, flexible scraper, small offset spatula, shallow glass or ceramic dish, and a plain stainless tray for supported refrigerator transfer.
The process photographs keep every tool and vessel supported. The whisk rests across the bowl rim, and the chilled dish sits fully on the tray with the spatula at rest.
Frequently Asked Questions
Do I Bloom the Gelatin in Water?
No. The exact source frosting measures no water. Mix the dry gelatin thoroughly with the other measured ingredients.
Why Are There No Times or Yield?
The source provides neither. One batch is used only as a truthful scaling base, and the physical set cue controls the brief chill.
Can I Leave Out the Gelatin?
No. Gelatin is what distinguishes this set frosting. Choose an oil-only frosting card if you do not want gelatin.
Can I Add Coconut Milk?
No. Coconut milk belongs to the separately measured coconut-milk ganache and changes this formula.
Why Did the Frosting Become Rubbery?
The gelatin may have been overmeasured or the frosting may be too cold. Preserve the level teaspoon and let the finished dessert lose the hardest chill before serving.
Can I Use It During the Introduction Diet?
No. Pure organic cocoa is an occasional later-Full-GAPS ingredient after digestive symptoms are gone.
Gelatin-Set Cocoa Frosting Recipe
Gelatin-Set Cocoa Frosting for Full GAPS
Ingredients
Equipment
Method
- Mix all six measured ingredients in a dry glass or ceramic bowl until no dry cocoa or gelatin, amber honey streak, or clear coconut-oil ring remains.
- While the frosting is still spreadable, drizzle or spread it over a chilled Full GAPS dessert whose own ingredients are already appropriate.
- Refrigerate briefly until the frosting is set: a shallow spatula line stays visible and the surface no longer moves when the dish is shifted. Let it lose the hardest chill before serving.
Notes
- The source supplies no portion yield or timing. One batch is a scaling base only.
- Do not bloom the gelatin or add water; the exact formula measures none.
- Pure organic cocoa is occasional on later Full GAPS after digestive symptoms are gone.
- Do not add coconut milk, cream, commercial chocolate, or another sweetener.
Tried this recipe?
Let us know how it was!Keep More Full GAPS Sweets Ready
A frosting that sets reliably is easier to use when the dessert and its GAPS stage are planned together. The upcoming Sweet Snack Recipe Card Deck will collect stage-tagged sweet snack cards from The Big Book of GAPS Kids’ Snacks. Find current guides and catalog updates in the WFLI shop.

Leave a comment