

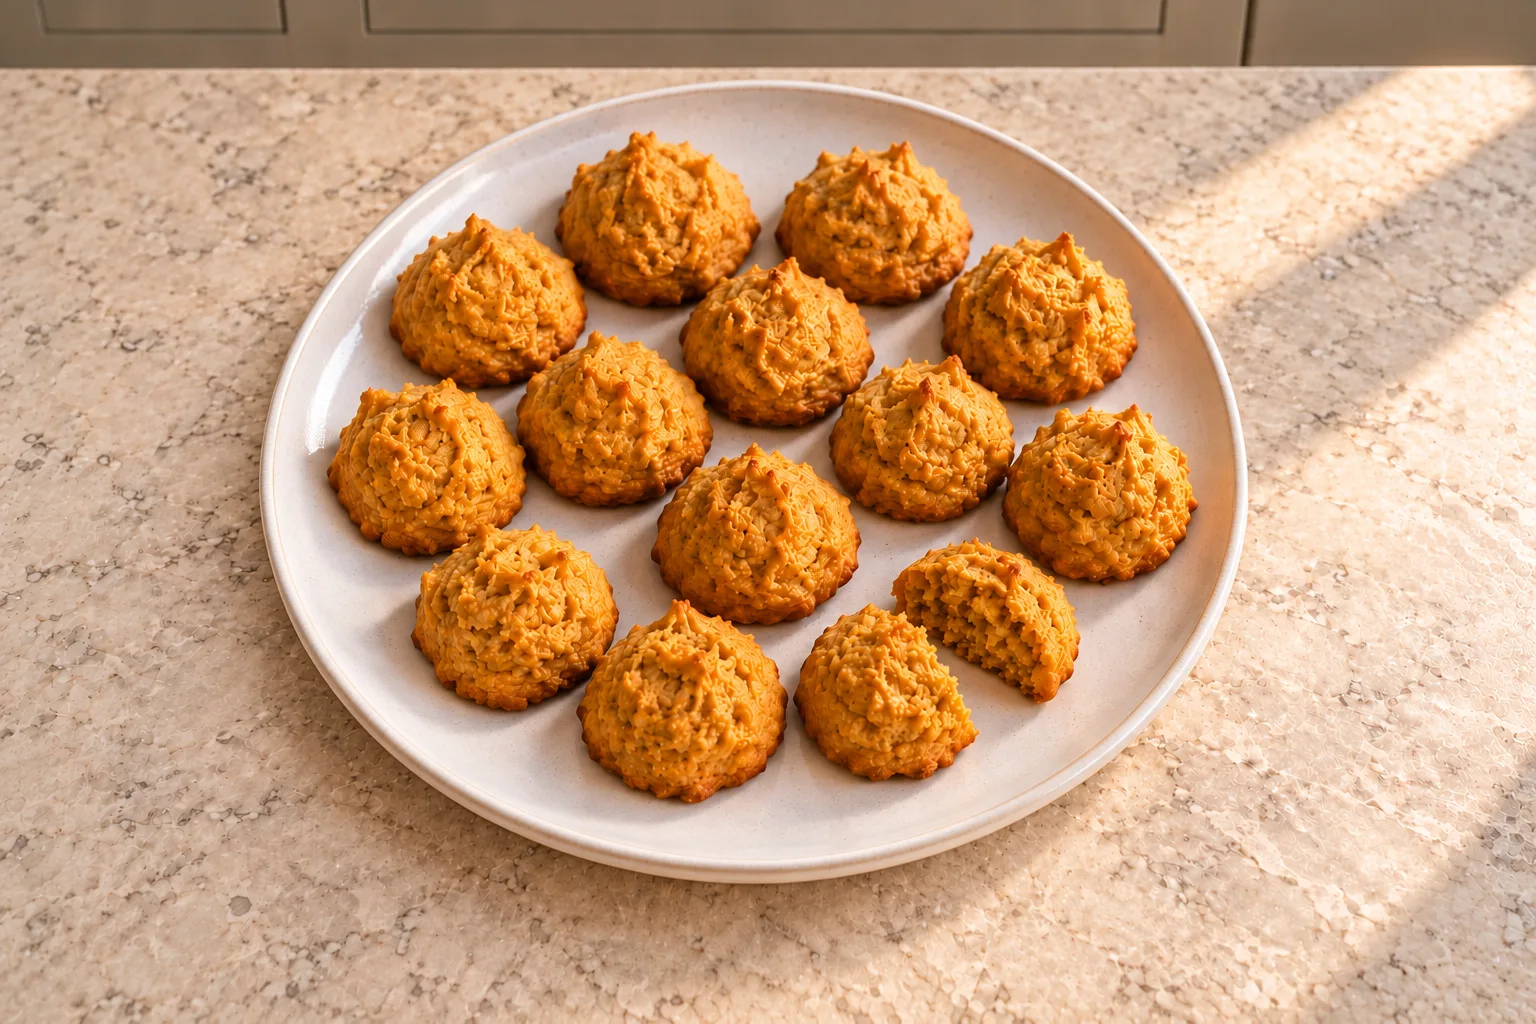
These pumpkin cookie kisses are small almond-flour cookies with honey, warm spices, and a soft pumpkin center. Each one starts as a heaping teaspoon of dough, so you get little bites rather than big bakery cookies. Watch the bottoms as they bake. Light browning underneath is the useful cue, even while the tops stay a gentle pumpkin color.
With six children and meals to get ready before second shift, I appreciate knowing what needs to be done before a baking project starts. Here, that means having cooked pumpkin and homemade almond flour ready. Once those are on the counter, you can focus on mixing and portioning instead of trying to prepare the flour with an oven already heating.
Where These Cookies Fit on GAPS
These are a Full GAPS treat for when eggs, properly prepared almonds, cooked pumpkin, honey, and the spices are already tolerated. They are not an Introduction Diet cookie. GAPS introduces particular kinds of nut-based baking earlier, but that does not make every sweet almond-flour recipe suitable for those stages.
Dr. Natasha’s Full GAPS guidance calls for nut flours to be fermented before baking. Use homemade fermented almond flour made from almonds that have been fermented, drained, dried thoroughly, and ground. The linked recipe covers that preparation. Measure the finished dry flour for these cookies.
Keep the cookies as a small snack rather than using them in place of a meal. If you are currently avoiding nuts or restricting honey, this is a recipe to leave for another time. Removing either would change the dough substantially.
Getting the Almond Flour Ready
The flour needs to be dry and finely ground before you measure it. Damp almond meal brings extra water into a dough that already contains pumpkin, egg, and honey. Coarse pieces also make tiny portions harder to shape evenly.
Measure one and two-thirds cups by packing the flour into the measuring cup first. Then sift that measured flour into the mixing bowl. Packing and sifting do different jobs: packing keeps the quantity consistent with this recipe, while sifting breaks up the compressed lumps. Sifting first and loosely scooping afterward can give you a different amount.
Break up flour clumps through the sieve instead of leaving dry pockets in the dough. Do not keep grinding almonds until they turn oily and begin becoming almond butter. These cookies need flour.
The Pumpkin, Honey, and Spices
Use one-half cup of plain cooked pumpkin. It should be soft enough to blend smoothly, without hard pieces. Measure the pumpkin flesh, not a mixture of flesh and leftover cooking water. Pumpkin pie filling adds ingredients this recipe does not call for.
One egg and one-quarter cup of raw honey are blended with the pumpkin. Cinnamon provides most of the familiar pumpkin-spice aroma. The smaller amounts of cloves, ginger, and nutmeg round it out without needing a prepared spice blend.
The vanilla is one-half teaspoon of homemade vanilla extract without added sugar or non-GAPS additives. Have it measured along with the salt and spices so the wet mixture can go straight from the blender to the bowl.
You can replace the pumpkin with the same one-half cup of cooked orange winter squash, such as butternut or acorn, or cooked carrots. Blend until smooth whichever you choose. Their flavor and moisture can differ, so watch the dough and the cookie bottoms rather than expecting every batch to look identical.
Mix the Dough and Keep the Portions Small
Heat the oven fully to 350°F before baking. These small cookies have a short bake, so putting them into an oven that is still warming makes the four-minute check less useful.
Blend the cooked pumpkin, egg, and honey in the Ninja BN801 until smooth. You should not see pieces of pumpkin or streaks of egg. Transfer the mixture to a bowl, then stir in the salt, homemade vanilla, cinnamon, cloves, ginger, and nutmeg.
Add the packed, sifted almond flour and mix until you cannot see dry flour pockets. The dough should be soft enough to scoop but thick enough to sit in small mounds on the sheet. Look for a fine almond texture throughout, with a little ridging where the spoon has moved through it.
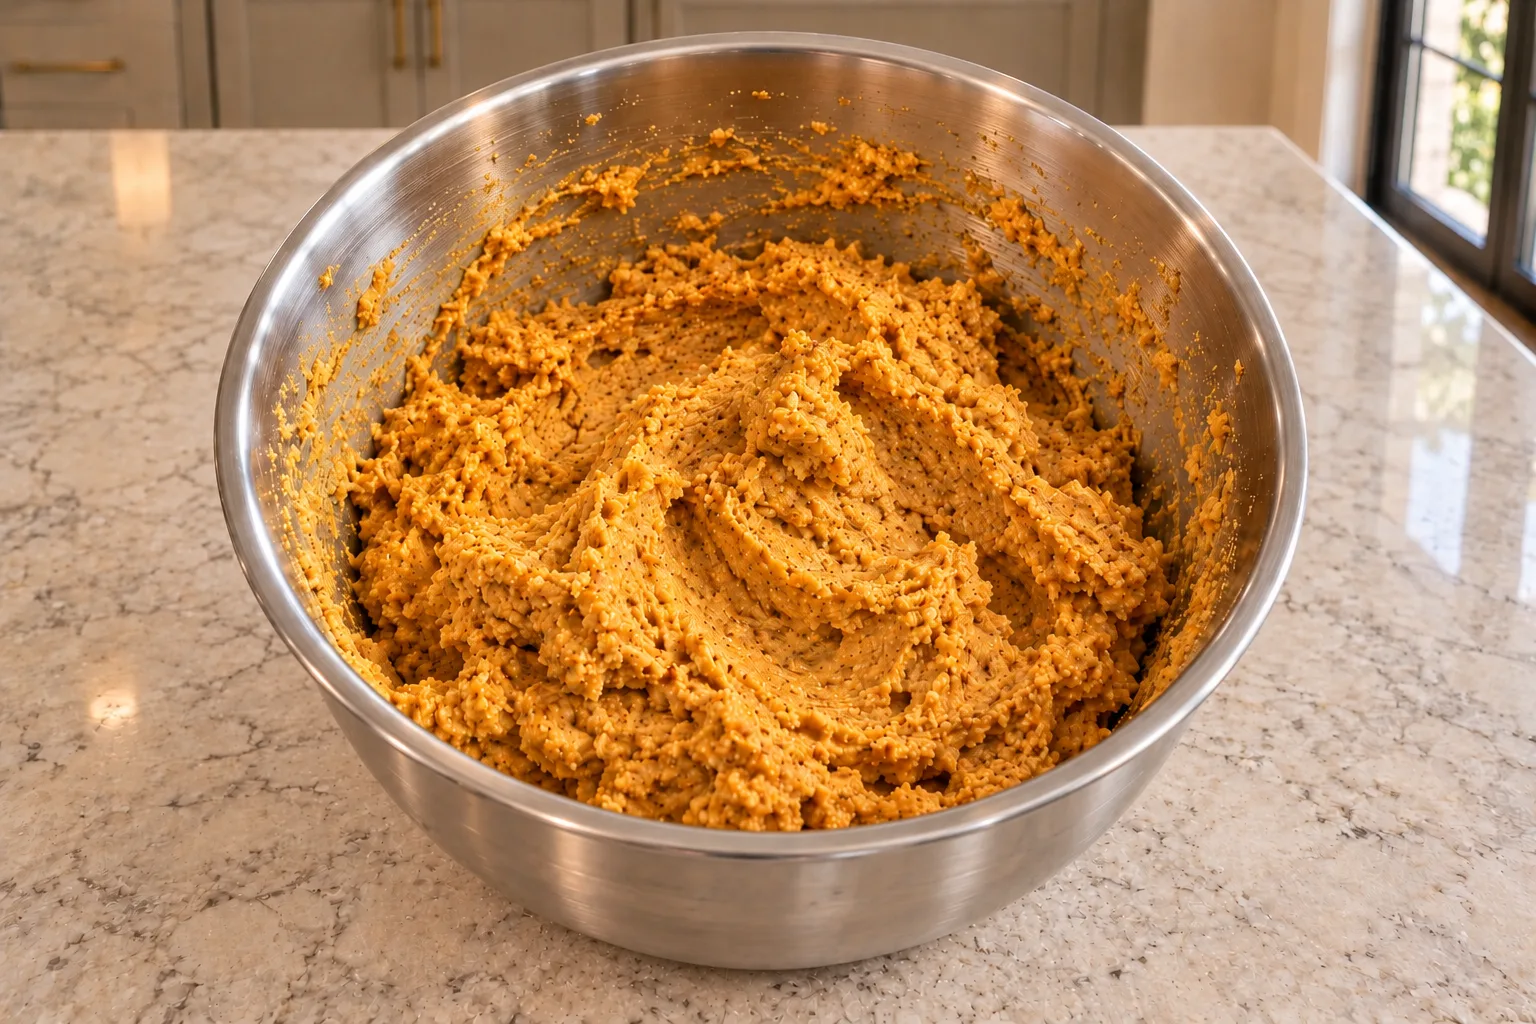
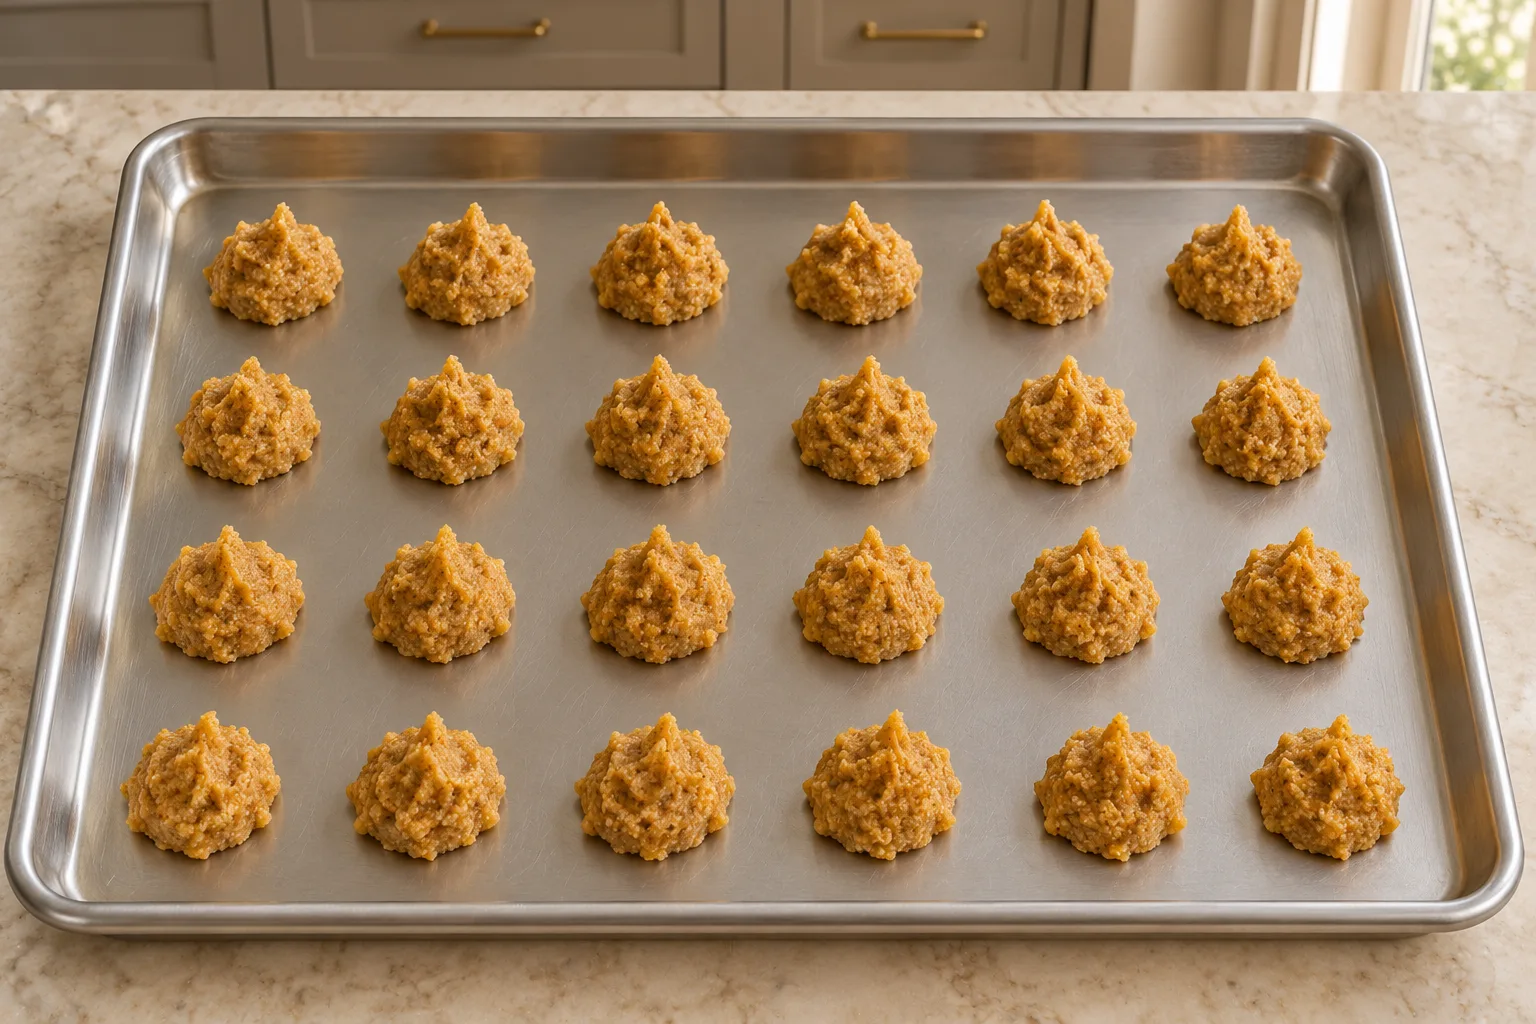
Drop the dough by heaping teaspoons onto a stainless steel baking sheet. Keep the portions close in size so you are not trying to finish large cookies while the smallest ones brown. Two ordinary teaspoons work well: one holds the dough, and the other helps push it onto the sheet.
An icing bag fitted with an open star tip is another way to portion this same dough. The ridges will look different from the spoon-dropped cookies pictured here, but keep each portion small. You do not need a piping bag to make the recipe.
Check the Bottoms as They Bake
Start checking at four minutes. Carefully lift the edge of a cookie with a thin spatula to look underneath. The bottom should be lightly browned. Do not wait for all of the tops to turn dark before checking the tray.
If the bottom is still pale, continue watching the cookies closely. Oven temperature, the sheet, and the texture of home-ground flour can affect how quickly the bottoms color. Keep the heat at 350°F instead of turning it up to hurry them along.
There is no baking powder or baking soda in this recipe. Expect a small, tender, dense bite rather than a tall, airy cookie. Let the cookies cool before packing them so you can handle them without crushing their soft centers.
Serving and Storing the Cookies
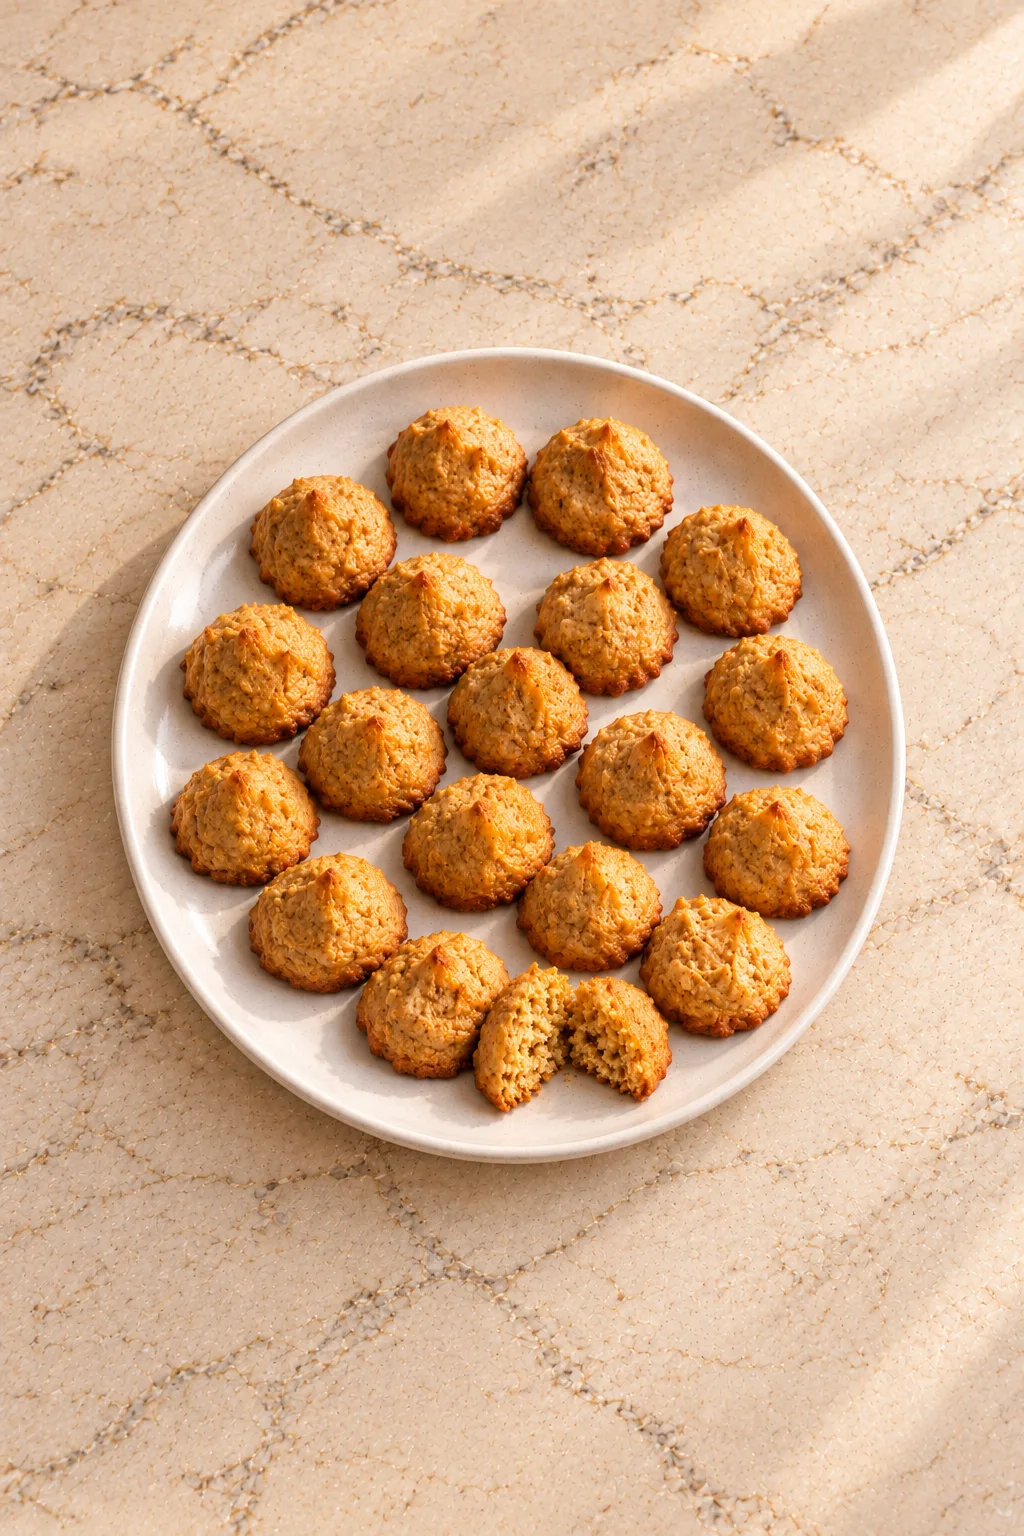
A batch makes about 70 little cookies when you use heaping-teaspoon portions. The number changes if the scoops get larger. You can put a few on a small plate for a snack and keep the rest covered after they have cooled completely.
Let steam escape before closing the container; trapped moisture can soften the cookies further. Use a shallow container or separate layers carefully so the small peaks do not get pressed flat. The flavor comes from the pumpkin, honey, and spices, so they do not need frosting or a dusting of sugar.
For a spoonable pumpkin dessert, coconut milk pumpkin pie custard uses a different method and texture. For another small cinnamon-flavored cookie, try the soft cinnamon almond butter cookies. Follow that recipe’s amounts instead of swapping almond butter into this dough.
Frequently Asked Questions
Can I Use Coconut Flour Instead?
Not as a one-for-one replacement. Coconut flour absorbs liquid differently, and this recipe is built around one and two-thirds cups of almond flour. Use the almond flour here rather than trying to correct a coconut-flour dough by adding extra liquid.
Do I Pack the Flour Before or After Sifting?
Before sifting. Pack and measure one and two-thirds cups of dry homemade almond flour, then sift that amount into the bowl. This keeps the quantity while breaking up lumps.
Why Are My Cookies Larger Than the Ones Pictured?
Check the scoop size. These are heaping-teaspoon bites, not tablespoon cookies. Larger mounds also need their own doneness check; do not assume the same four-minute bake will finish them.
Can I Leave Out the Egg?
The egg is part of how this dough holds together. No egg-free replacement has been established for this version. Choose an egg-free recipe when that is what you need instead of leaving the egg out and expecting the same result.
Can I Use Carrots or Winter Squash?
Yes. Use the same one-half cup of cooked carrots or orange winter squash. Blend it with the egg and honey until smooth, then follow the rest of the recipe. Keep the flour measure and small portions the same.
Recommended Equipment
- Ninja BN801 blender for the pumpkin, egg, and honey
- Mixing bowl and spoon
- Measuring cups and spoons, plus a sieve for the almond flour
- Stainless steel baking sheet and a thin spatula
- Optional icing bag and open star tip for piped cookies
Pumpkin Cookie Kisses Recipe
Pumpkin Cookie Kisses With Almond Flour for Full GAPS
Ingredients
Equipment
Method
- Fully preheat the oven to 350°F. Have the cooked pumpkin and finished dry homemade almond flour ready.
- Blend the pumpkin, egg, and honey in the Ninja BN801 until smooth, with no pumpkin pieces or egg streaks.
- Transfer to a bowl. Add the salt, homemade vanilla, cinnamon, cloves, ginger, and nutmeg. Mix well.
- Pack and measure the almond flour, then sift it into the bowl. Stir until evenly mixed with no dry pockets. The soft dough should hold small spooned mounds.
- Drop by heaping teaspoons onto a stainless steel baking sheet, keeping portions similar in size. Alternatively, pipe small portions with an icing bag and open star tip.
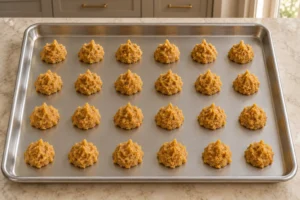
- Bake at 350°F, checking at 4 minutes. Lift an edge carefully and remove when the bottoms are lightly browned. Watch closely if more time is needed. Cool before packing.
Notes
Tried this recipe?
Let us know how it was!Get Comfortable With Nut-Flour Baking
The planned Nut Flour Baking course is a useful companion if preparing the flour and judging dough texture are the parts that slow you down. Look for its availability in the WFLI shop. For this batch, start with the homemade almond flour recipe linked above and have the flour completely dry before measuring.

Leave a comment