

Homemade coconut butter turns one bag of additive-free dried coconut into a thick, creamy Full GAPS pantry staple. You can make the whole five-cup batch in a food processor or a high-speed blender. The important part is letting the machine keep going through the crumbly stage, the damp clump stage, and the stubborn paste stage until the coconut finally loosens and moves like a thick butter.
There is no added oil, water, milk, sweetener, or emulsifier in this recipe. The coconut releases its own fat as it processes. That keeps the formula simple, but it also means you need enough coconut in the bowl and enough patience to let the texture change happen.
A Useful Full GAPS Pantry Staple
With six children, homeschool before work, and a second-shift schedule, I pay attention to whether a homemade staple can do more than one job. Coconut butter can become a spread, add body to a sauce, go into a grain-free baked recipe, or turn into a simple icing. That makes the ten minutes at the appliance easier to justify than a one-use project.
This is also the kind of swap that helps when you are trying to make food from scratch without filling the kitchen with a dozen specialty ingredients. Start with plain dried coconut, process it until its own fat releases, and store the finished butter in one jar. You decide what it becomes later.
What You Need
Use five cups of finely shredded, dried, unsweetened coconut. That is about 16 ounces. Check the ingredient label and choose coconut without sugar, starch, preservatives, flavoring, or other additives. The five-cup quantity matters because the blade needs enough food around it to keep the coconut moving.
Finer shreds process more evenly than large chips or wide flakes. The coconut should smell clean and mildly sweet. If it smells stale, soapy, or musty, replace it before you begin. Processing cannot fix coconut that has already lost its fresh flavor.
Start with a clean, completely dry work bowl, blade, lid, and spatula. Check that the processor bowl or blender jar is locked squarely onto its base before adding the coconut. The batch becomes heavy as it turns to paste, so the appliance needs its normal stable position on a dry counter rather than balancing near an edge.
Do not add water to help the machine. Water changes the recipe and can make the butter seize or spoil differently. Do not add coconut oil simply because the first few minutes look dry. The coconut needs time and friction to release the fat already inside it.
The Food Processor Method
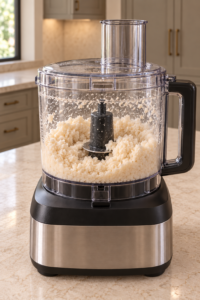
Fit the food processor with its metal blade. Add all five cups of coconut and lock the lid. Process continuously. The first change is fast: the shreds become smaller, lighter-looking crumbs. Then the crumbs begin to look moist and gather into heavier clumps.
At the damp-paste stage, the coconut may ride around the bowl instead of falling smoothly into the blade. This can look like the recipe is stuck. Keep watching the texture. The mass should become denser and leave oily smears on the clear bowl. Depending on the machine, the full change can take about 5 to 15 minutes.

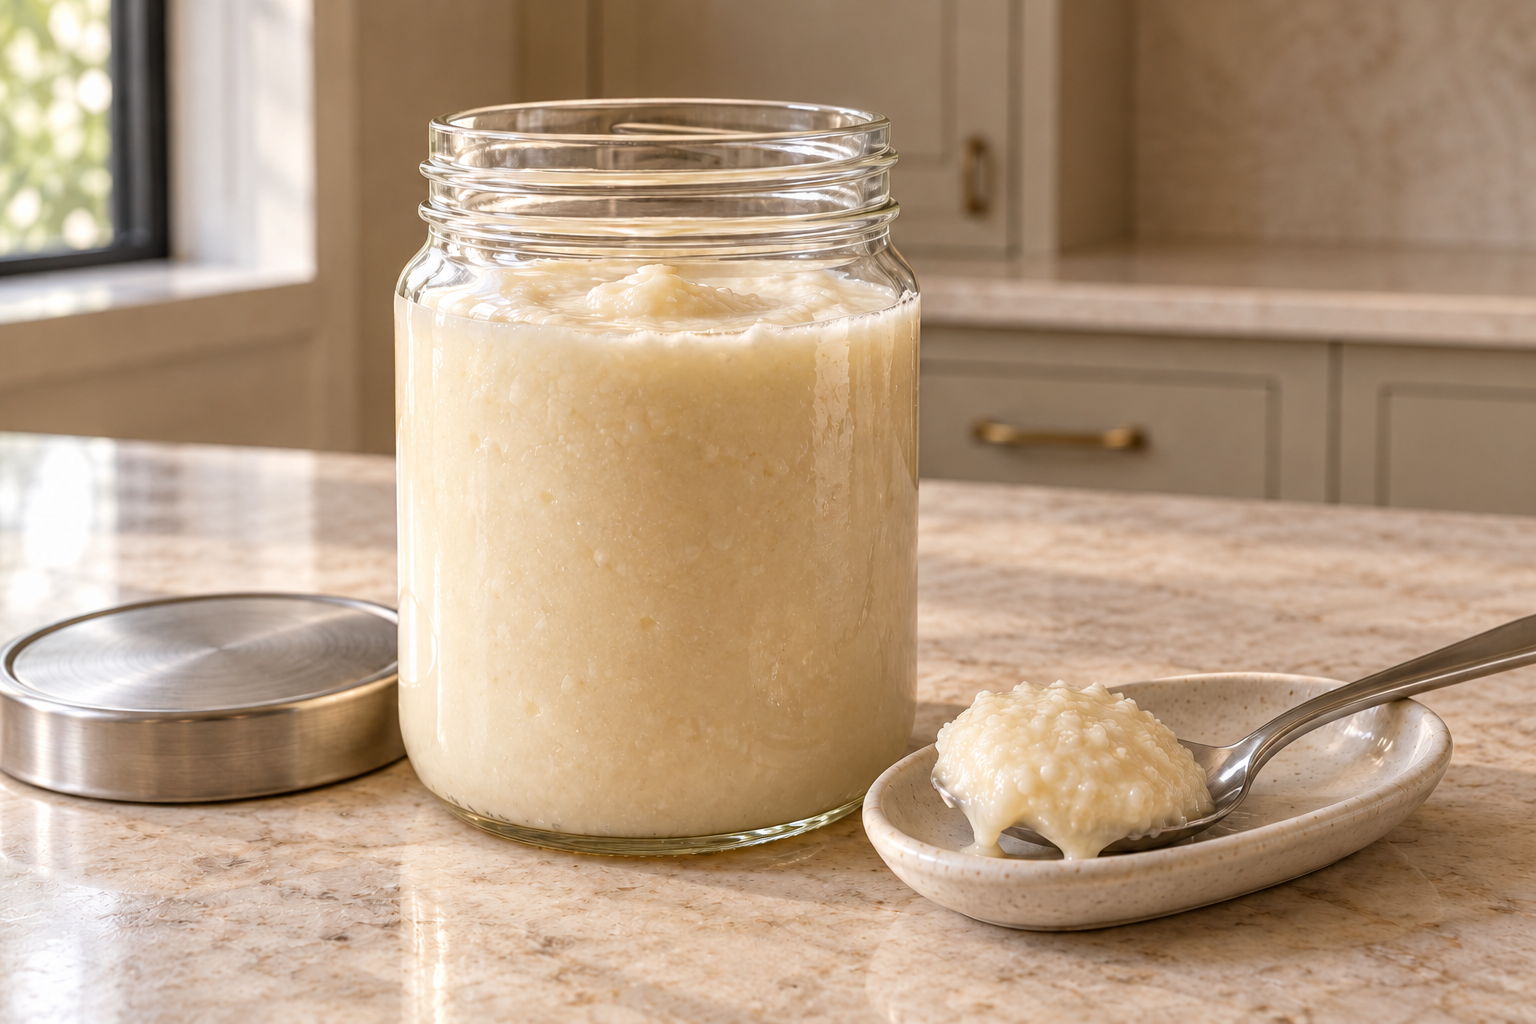
Continue until the paste loosens and begins to circulate more freely. The finished butter should look pale ivory and glossy, with no pockets of dry coconut. It may retain a fine coconut texture rather than becoming perfectly satin-smooth. Stop once it is runny and as smooth as your machine can make it, then scrape it into a clean glass jar.
The High-Speed Blender Method
Put all five cups of coconut in the blender and secure the lid. Begin at the lowest speed. Keep it there for about two minutes so the shreds can break down without immediately packing into a hard ring above the blades.
Use the tamper only while the mixture needs help moving, following the design of your blender. As the coconut becomes damp and begins to liquefy, increase the speed gradually. The texture, not the dial number, tells you when to move faster.
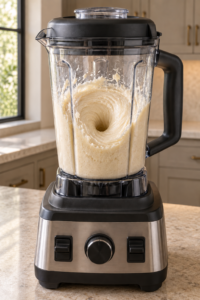
After about four minutes, the butter should begin moving on its own. At that point, the surface forms a shallow circulation funnel and thick ridges travel down the sides of the jar. Increase to medium-high and process for two more minutes. Stop when the butter is evenly pale, fluid, and free of dry pockets.

Scrape the finished butter into a glass jar while it is still warm and loose. It becomes firmer as it cools, so this is the easiest time to get the butter out from under the blades and along the sides.
How To Know The Coconut Butter Is Ready
Dry coconut looks fluffy and separate. The damp stage looks heavier and begins to clump. The paste stage holds together but may still sit stubbornly around the blade. Finished coconut butter is different. It moves, glistens, and falls slowly from a spatula or spoon.
Look for an even pale-ivory color with no dry white patches hiding along the bowl wall. A little fine texture is normal because this is whole coconut, not strained coconut oil. The butter should still be loose enough to scrape into a jar before it cools.
Where Coconut Butter Fits On GAPS
This plain one-ingredient recipe belongs on Full GAPS. Use additive-free fresh or dried shredded coconut. The butter is simply the whole dried coconut processed until its own fat releases.
Coconut appears in different forms at different points in the protocol. Coconut oil is introduced earlier, while homemade coconut milk and cream appear before whole coconut and coconut butter. Do not use this jar as an automatic substitute during the Introduction Diet. Wait until the person is on Full GAPS and coconut is already tolerated.
This recipe is dairy-free, egg-free, and nut-free as written. It contains no honey, cocoa, vanilla, or spice. Those belong in separate recipes with their own measurements.
Ways To Use Homemade Coconut Butter
Warm coconut butter works as a spread or as the base for another measured Full GAPS recipe. Stir a spoonful into a compatible sauce after the jar has been softened, or measure it into a baked recipe that specifically calls for coconut butter.
Use one-third cup in the Full GAPS coconut butter icing. That recipe adds homemade coconut milk, coconut oil, and raw honey in measured amounts so the icing stays separate from this plain staple.
If you are working through other coconut basics, make hot-water homemade coconut milk and then turn its pressed pulp into one-hour homemade coconut flour. Each has its own formula and its own job. They should not be combined into one oversized coconut recipe.

Storage And Rewarming
Scrape the finished butter into a clean glass jar with a lid and refrigerate it. It will harden when cold. That change is expected and does not mean the batch failed.
To soften the butter, keep the jar closed and set it in a larger bowl of hot water. Stir occasionally as the edges loosen. You can also place the jar in a warm oven for 20 to 30 minutes, stirring occasionally. Use gentle warmth. The goal is to soften the whole jar evenly, not to cook the coconut.
This batch does not come with a tested refrigerator or freezer deadline, so I am not adding one. Keep the jar covered, use a clean dry utensil, and rewarm only the amount or jar you need.
Troubleshooting
Why Is My Coconut Staying Crumbly?
First, confirm that you used the full five cups. A partly filled processor or blender may not keep enough coconut in contact with the blade. Then keep processing through the crumbly stage. Stop only if the appliance needs a normal cooling pause.
Why Did It Turn Into A Thick Paste?
Paste is an expected middle stage. Look for oily smears on the bowl and a heavier mass around the blade. Continue until the paste warms, releases more fat, and begins to move.
Should I Add Coconut Oil?
No. This recipe uses dried coconut alone. Added oil would create a different recipe and can hide whether the coconut has processed fully.
Can I Make A Smaller Batch?
Keep the five-cup amount for this recipe. The appliance needs enough volume to feed the coconut back toward the blade. A smaller batch needs its own tested method rather than an automatic reduction.
Why Is The Butter Firm After Refrigeration?
The coconut fat firms when cold. Set the closed jar in hot water and stir occasionally, or warm it gently in a warm oven until it loosens.
Can I Use Fresh Coconut?
This measured recipe uses dried shredded coconut. Fresh coconut contains more water and is not a direct one-for-one replacement in this method.
Recommended Equipment
Use a food processor fitted with a metal blade or a high-speed blender with a tamper. You also need a flexible spatula and a clean glass jar with a lid. A straight-sided jar makes it easier to stir the butter as it softens.
Choose the appliance that fits your kitchen. The food processor can run with less hands-on help, while the blender may need tamping and closer attention during the early stages. Both methods end at the same cue: the coconut butter moves on its own and no dry shreds remain.
Homemade Coconut Butter Recipe
Homemade Coconut Butter for Full GAPS
Ingredients
Equipment
Method
- Put all five cups of coconut into the food processor fitted with the metal blade.
- Process continuously. The coconut first looks crumbly, then gathers into a damp paste, and finally loosens into a runny butter. Depending on the machine, this takes about 5 to 15 minutes.
- Stop when the butter is runny and as smooth as the machine can make it. Scrape it into the jar.
- Put all five cups of coconut in the blender and secure the lid.
- Run the blender at its lowest speed for about 2 minutes. Use the tamper as needed to keep the coconut moving.
- Increase the speed gradually as the coconut liquefies. After about 4 minutes, when the butter moves on its own, blend at medium-high speed for 2 additional minutes.
- Scrape the finished butter into the jar.
Notes
Tried this recipe?
Let us know how it was!Build A More Useful Full GAPS Pantry
The upcoming GAPS Food Swap Guide organizes the homemade staples that replace the packaged ingredients families reach for most often. It is meant to help you see what to make, what to keep on hand, and which recipe should be linked when another dish calls for that component. Browse current resources and release updates in the WFLI shop.

Leave a comment