

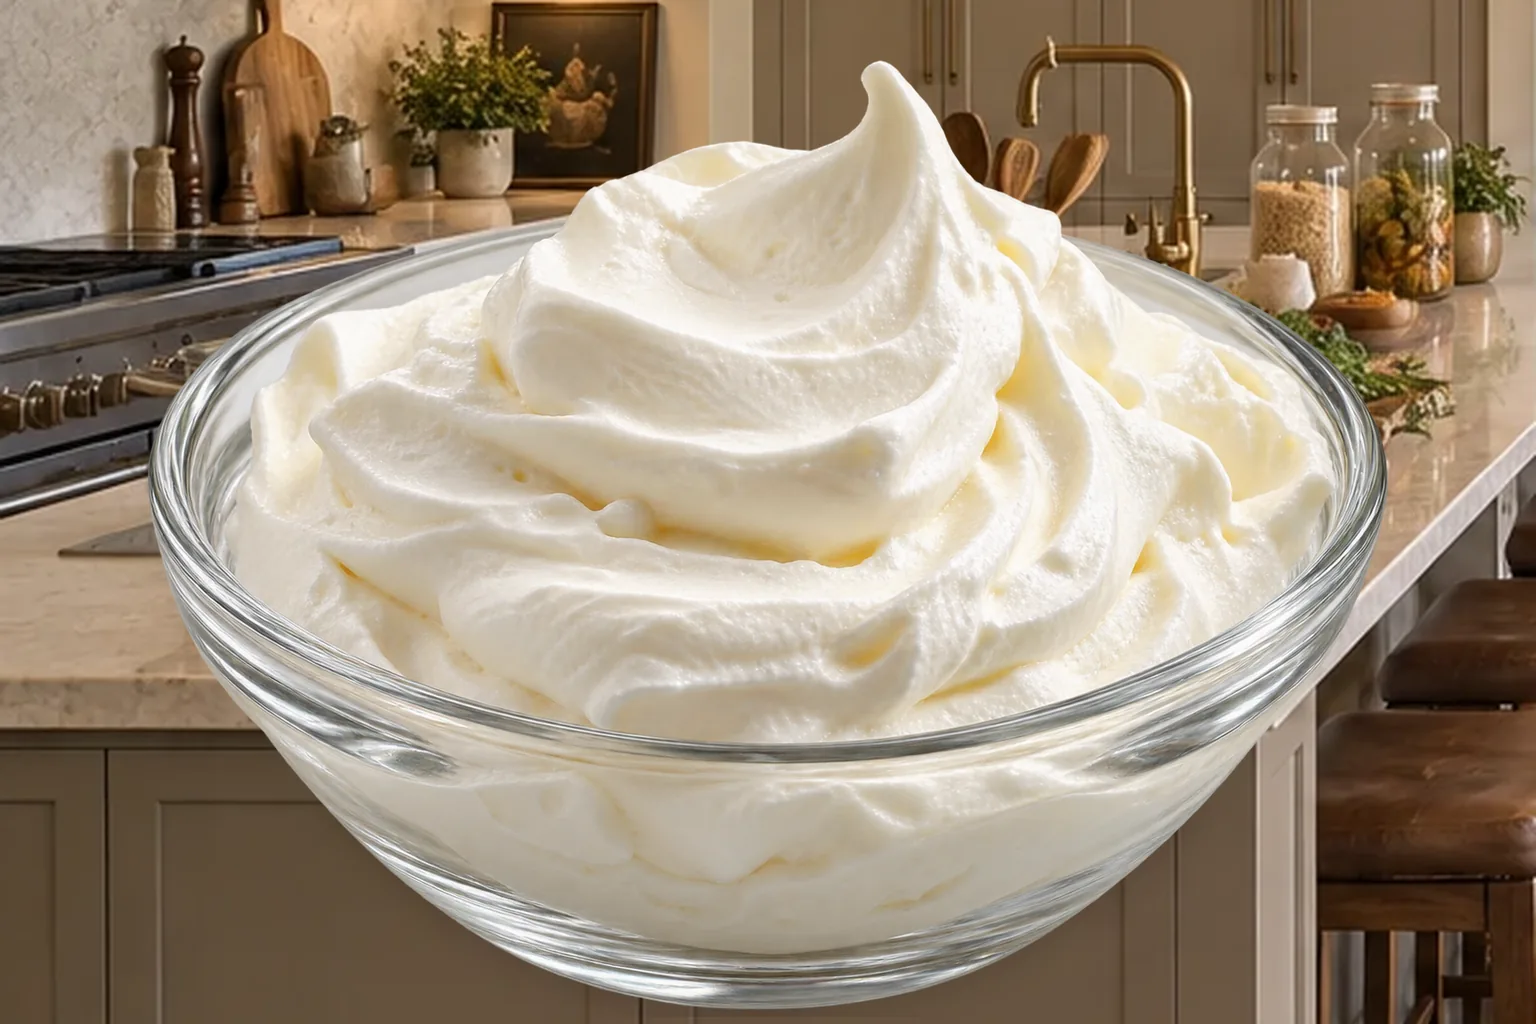
This stabilized raw whipped cream gives cakes, pies, berries, and layered desserts a light finish that keeps its shape after chilling. The formula starts with very cold fresh raw cream, then uses one teaspoon of plain gelatin to support two full cups. Raw honey is optional, so the finished cream can be softly sweet or left plain for a dessert that already carries enough sweetness.
The method is quick, but the stopping points matter. The gelatin water needs to turn clear without simmering. The cream needs to reach soft peaks before the warm mixture goes in. Once a lifted beater leaves a clean ridge with a gently bent tip, stop. Continuing past that point can make fresh cream grainy and eventually turn it into butter.
With six children at the table, a ten-minute topping makes celebration food much easier to finish without adding another complicated project. The ingredients stay simple, the cream can be piped or spread as soon as it is mixed, and the gelatin gives the finished swirls enough support to wait in the refrigerator until dessert.
Where Fresh Raw Cream Fits On GAPS
This is a Later Full GAPS recipe. Fresh raw cream comes at the end of the dairy introduction sequence, generally after about two years on GAPS. Introduce it gradually and use this two-cup recipe only after raw cream is already established and tolerated.
Fresh raw cream is not the same ingredient as homemade sour cream cultured for at least 24 hours. If cultured sour cream fits your current dairy stage but fresh cream does not, use the separate Stabilized Sour Cream Topping. The two formulas share a gelatin method, but the cream texture and GAPS placement are different.
Use raw organic cream from pasture-fed animals. Do not substitute ordinary store-bought whipping cream, sweetened whipped topping, canned spray cream, or a product containing gums, stabilizers, flavors, or other additives.
Start With Very Cold Raw Cream
Fresh cream traps air best when the cream, bowl, and beaters are cold. Chill the raw cream until it pours thickly but remains completely liquid. Put a clean glass bowl and the mixer beaters in the refrigerator before you begin.
Measure two cups of cream directly from the cold container. Do not warm it to dissolve firm honey. If your raw honey needs loosening, stand the closed honey jar in warm water until it pours, then measure it separately while keeping the cream cold.
Set the measured cream back in the refrigerator while you dissolve the gelatin. The gelatin mixture needs a few minutes of attention, and keeping the dairy cold preserves the clear soft-peak endpoint you need later.
Bloom And Dissolve The Gelatin
Pour 1/4 cup room-temperature filtered water into a small stainless steel saucepan. Sprinkle one teaspoon of plain, unflavored bovine gelatin evenly over the surface. Letting the granules touch water in a thin layer helps them dissolve without dry clumps.
Set the saucepan over low heat and stir constantly. The liquid changes from faintly cloudy to clear and glossy. Remove it from the heat at the first light steam, before bubbles collect around the edge. It does not need to simmer.
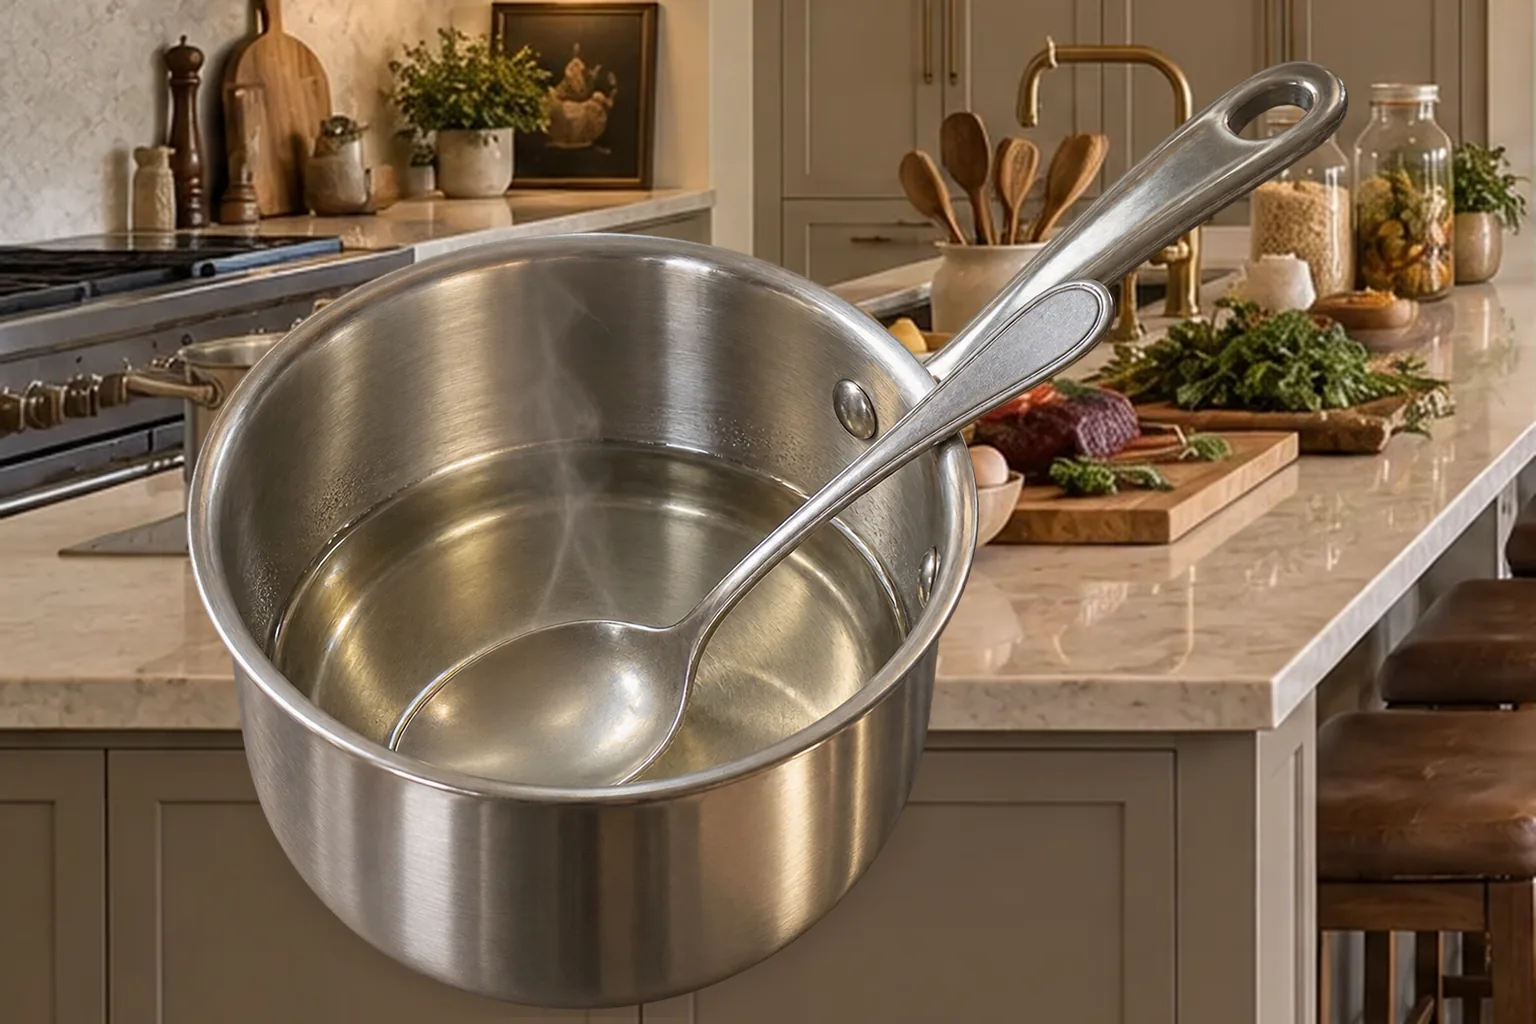
Stir in up to 1/4 cup raw honey while the liquid is warm. Use the full amount for noticeable sweetness, use less for a gentle honey note, or omit it when the dessert underneath is already sweet.
Let the mixture cool briefly while keeping it fluid. It should feel slightly warm and pour in a clean stream. If it becomes thick, stringy, or jelly-like, return it to the lowest heat just until it is clear and fluid again.
Whip The Cream Only To Soft Peaks
Pour the cold raw cream into the chilled bowl. Begin with the mixer on low so the cream stays in the bowl, then move to medium as it thickens. With a hand mixer, the source gives a working range of up to three to four minutes, but the visible cue controls the endpoint.
At first the beaters leave lines that disappear immediately. As more air enters the cream, the lines remain and the surface begins to mound. Stop and lift the beaters when the cream forms a peak whose tip bends gently instead of standing straight.
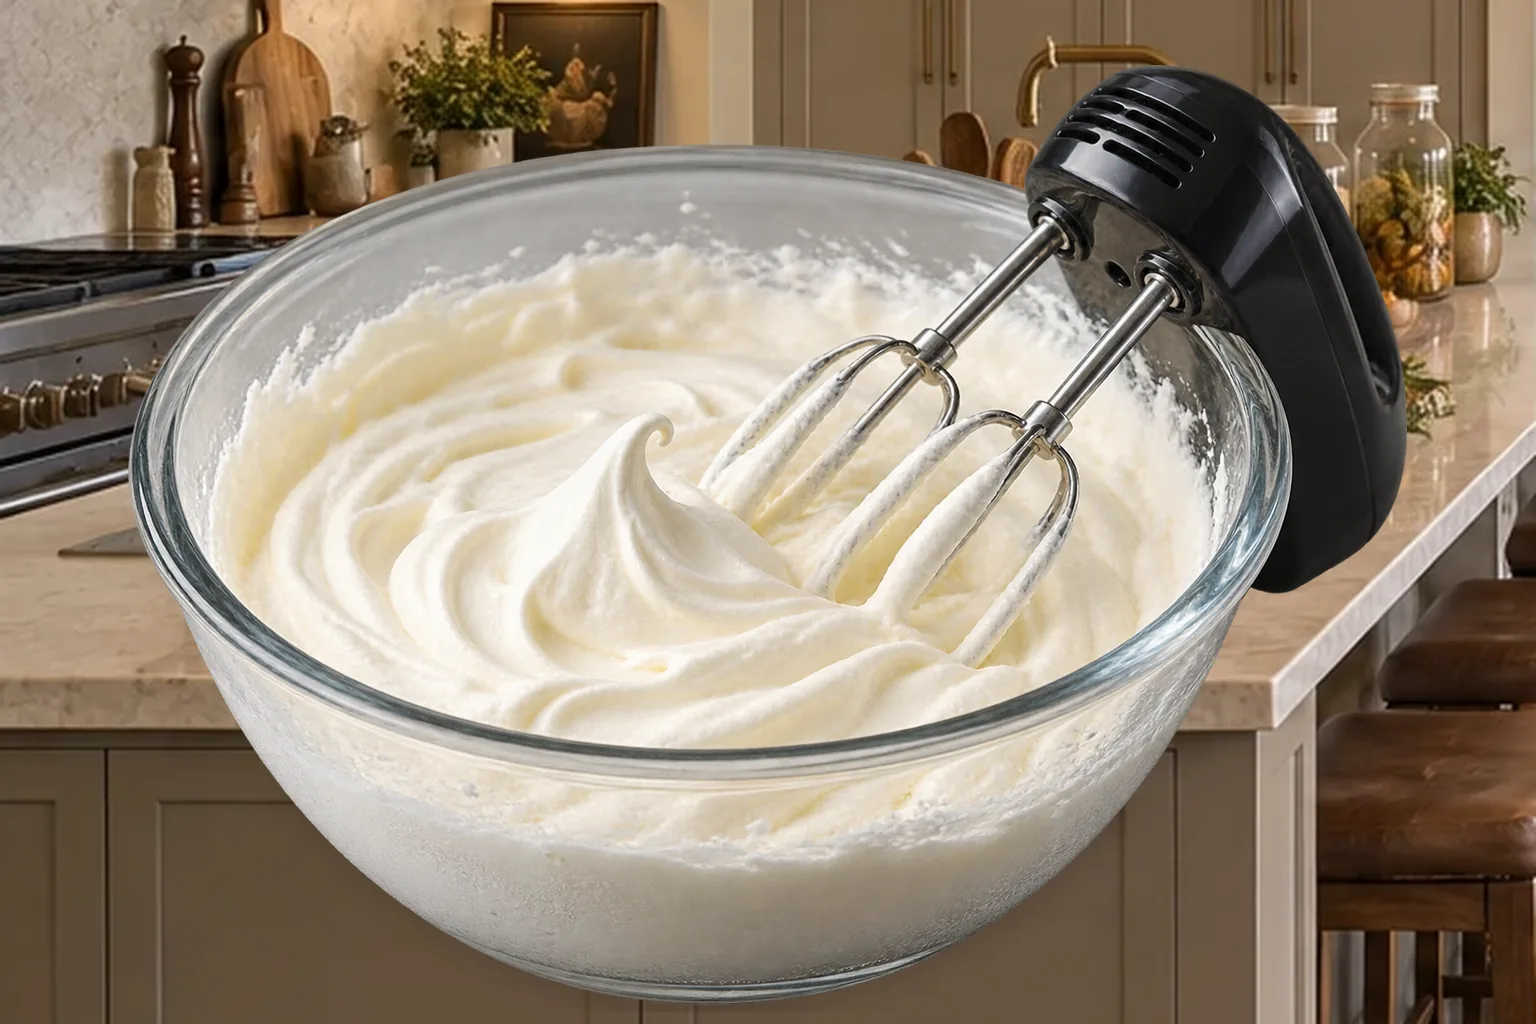
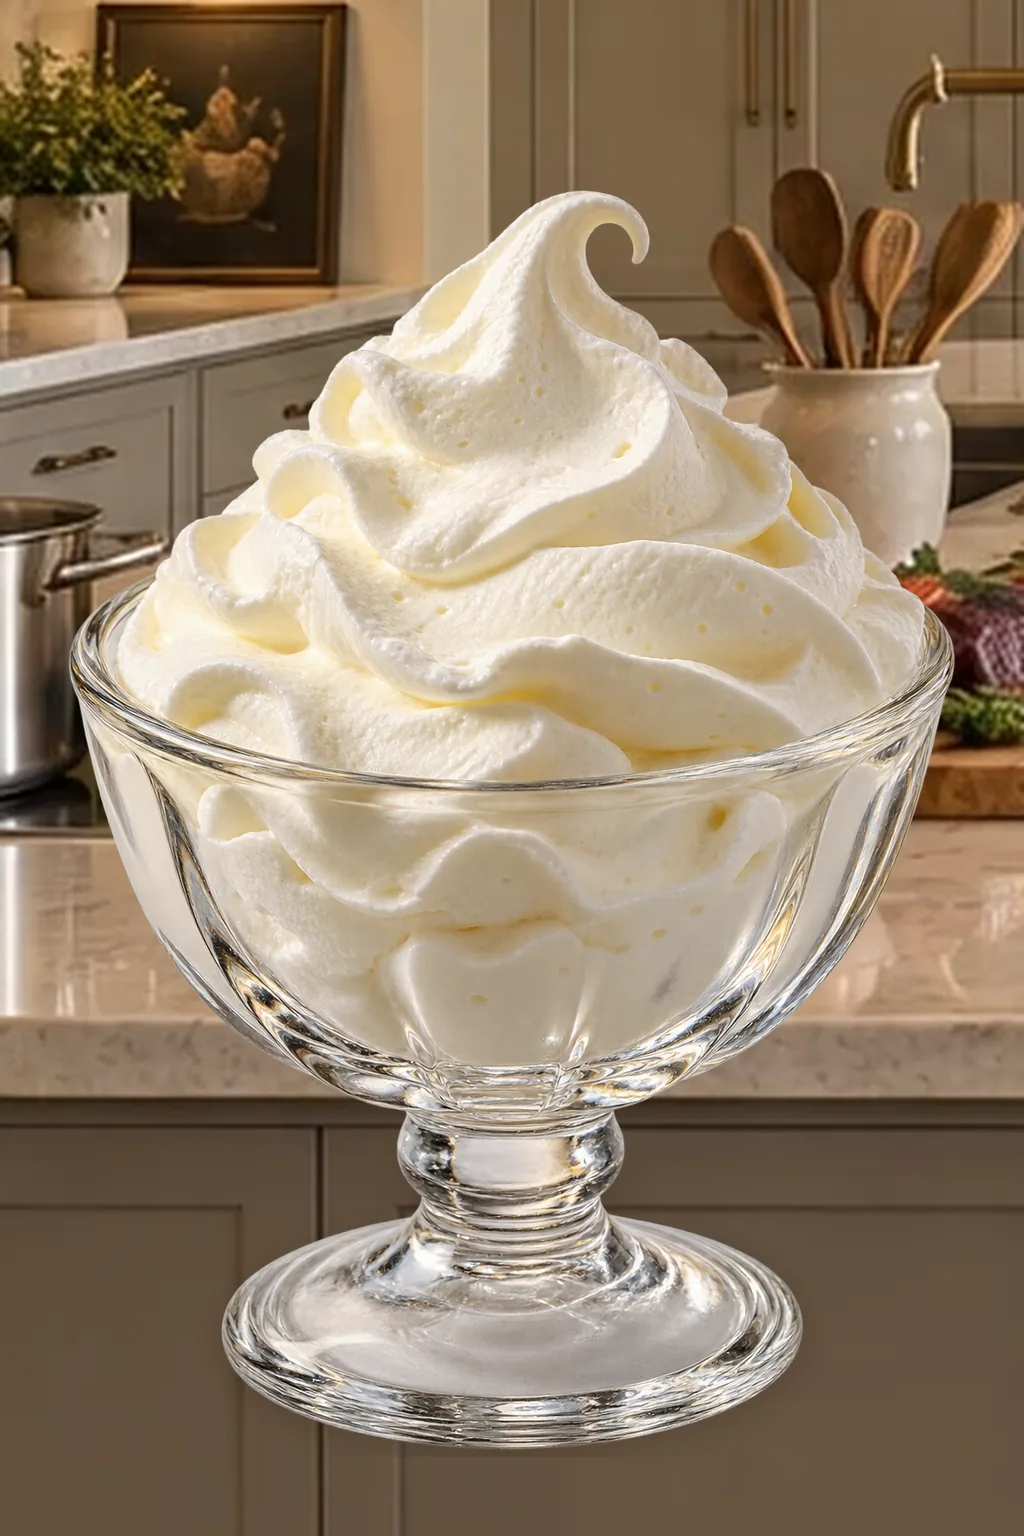
Soft peaks look airy, smooth, and moist. The cream should not appear stiff, dry around the bowl, grainy, separated, or yellow. If the peak stands rigidly before the gelatin goes in, the cream has already moved farther than this formula needs.
Stream In The Warm Gelatin Mixture
Start the mixer again on low. Pour the fluid gelatin mixture in a thin stream at one side of the bowl instead of directly onto the beaters. The moving cream should carry the warm liquid through the bowl before it can cool and set in one spot.
Move the mixer through the bowl only until the color and texture are even. Scrape the side once with a flexible silicone spatula if a glossy ribbon clings there, then mix only long enough to bring it into the cream.
Lift the beaters and look for a smooth ridge that remains visible with a softly curved tip. The stabilized cream still feels light and soft. Gelatin supports the shape as it chills; it does not need to be beaten until stiff.
Use It While It Is Light And Mobile
Spread or pipe the whipped cream as soon as it is mixed. At cool room temperature the cream moves easily, so it sweeps over a cake, settles into a parfait, or pipes into rounded swirls without tearing the surface underneath.
For piping, fill the pastry bag while the cream is still soft. Pipe one test swirl onto a plate. A clean ridge that stays standing shows that the mixture is ready. If the swirl relaxes more than you want, chill the filled bag briefly and test it again.
Once refrigerated, the gelatin sets softly and the swirls become firmer. Decorate the dessert before that chill whenever possible. Rebeating chilled stabilized cream flattens the air you worked into it and does not restore the original texture.
This topping also fits desserts already built around later dairy. Try it with Fresh Cream Mint Chocolate Chip Ice Cream or use a small spoonful beside Raw Milk Eggnog desserts when those fresh-dairy ingredients fit your current GAPS progression.
Choose One GAPS-Compatible Flavor
The cream works without any added flavoring. If you want a flavored version, choose one measured option and leave the stabilized base unchanged.
- Homemade vanilla: add 1 teaspoon homemade vanilla extract made without added sugar or non-GAPS additives.
- Cinnamon: add 1/2 teaspoon ground cinnamon for a warm aroma and fine speckles.
- Cocoa: whisk 1 tablespoon pure organic cocoa powder into the water before heating. This is an occasional Later Full GAPS option after digestive symptoms have gone.
Peppermint oil, citrus oil, matcha, coffee, instant espresso, liqueur, maple syrup, stevia, coconut sugar, powdered sugar, agave, and brown-rice syrup are not part of this GAPS card.
Storage And Serving
The whipped cream is easiest to shape immediately after mixing. Cover a decorated dessert without touching the topping and refrigerate it until serving. Return leftovers to the refrigerator promptly.
If you refrigerate the whipped cream in a bowl before using it, it will set more firmly and lose some of its billowy movement. A short chill can help a piping bag hold sharper ridges, but a long chill makes the cream harder to spread cleanly.
Use the shorter freshness window of the raw cream or the dessert underneath as the limit for the completed dish. Stabilizing the cream changes its structure, not the freshness of its ingredients.
Recommended Equipment
- Small stainless steel saucepan
- Small stainless spoon or mini whisk
- Chilled glass mixing bowl
- Electric hand mixer or Ninja food processor
- Flexible silicone spatula
- Measuring cups and spoons
- Pastry bag and tip, optional
Frequently Asked Questions
Can I Make This During The GAPS Introduction Diet?
No. Fresh raw cream belongs at the end of the dairy introduction sequence. Use it on Later Full GAPS after the complete progression and raw-cream tolerance are established.
Can I Use Store-Bought Heavy Whipping Cream?
No. This GAPS version uses fresh raw organic cream without additives. Commercial whipping cream and prepared whipped toppings do not replace it.
Why Does The Cream Need To Be Cold?
Cold cream holds the fat structure needed to trap air. A chilled bowl and beaters help the cream move from liquid to smooth soft peaks before the gelatin mixture is added.
Is The Raw Honey Required?
No. The source allows up to 1/4 cup, and the gelatin still stabilizes the cream when the honey is omitted. Honey changes the sweetness and flavor, not the basic setting action.
Why Did My Whipped Cream Turn Grainy?
It was probably beaten beyond soft peaks. Stop when a lifted beater leaves a smooth ridge with a gently bent tip. Dry-looking clumps or a yellow cast mean the cream is moving toward butter.
Why Are There Gelatin Threads In The Cream?
The gelatin mixture may have begun setting before it reached the bowl, or it may have been poured too quickly. Keep it fluid and slightly warm, then use a thin stream at the side while the mixer runs on low.
Can I Double The Recipe?
Yes. Use four cups fresh raw cream, 1/2 cup filtered water, up to 1/2 cup raw honey, and two teaspoons gelatin. Use a bowl large enough to keep the cream and gelatin stream moving without splashing.
Can I Use Cultured Sour Cream Instead?
Use the linked stabilized sour cream recipe rather than swapping it into this card. Cultured sour cream begins thick and needs only about 20 seconds of loosening, while fresh raw cream must be whipped to soft peaks.
Stabilized Raw Whipped Cream Recipe
Stabilized Raw Whipped Cream With Honey for Later Full GAPS
Ingredients
Equipment
Method
- Pour the filtered water into a small stainless steel saucepan and sprinkle the gelatin evenly over the surface. If using cocoa, whisk it into the water now until smooth.
- Set the saucepan over low heat and stir constantly until the liquid just begins to steam and the gelatin is clear and fully dissolved. Do not simmer.
- Remove the pan from the heat. Stir in the optional raw honey and homemade vanilla or cinnamon, if using. Cool briefly, keeping the mixture fluid and slightly warm.
- Put the very cold fresh raw cream in a chilled glass mixing bowl.
- Beat on low, then medium, just until smooth soft peaks form and the lifted tip bends gently, up to 3 to 4 minutes with a hand mixer.
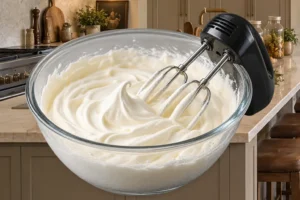
- Keep the mixer running on low and slowly pour the fluid gelatin mixture at one side of the bowl so it is carried through the fresh cream.
- Stop beating as soon as the cream is smooth and a clean soft ridge with a gently bent tip remains visible, before it looks stiff or grainy.
- Spread or pipe immediately, or chill briefly if a firmer piping texture is needed.
Notes
Fresh dairy: Use fresh raw organic non-UHT cream without additives. Commercial whipping cream does not replace it.
Gelatin cue: Heat only until the liquid is clear and just beginning to steam. Do not simmer.
Soft-peak cue: Whip the cold cream until a lifted peak bends gently, then stream in the fluid gelatin mixture and stop before the cream looks stiff or grainy.
Flavor choices: Use no added flavor or choose one measured option. Pure organic cocoa is occasional Later Full GAPS only after digestive symptoms have gone.
Cultured option: Use the separate Stabilized Sour Cream Topping when cultured sour cream fits but fresh raw cream does not.
Tried this recipe?
Let us know how it was!Make Celebration Desserts Easier
The planned GAPS Birthday Party Kit brings dessert choices, make-ahead timing, and serving plans into one place. Find current resources and upcoming releases in the WFLI shop.

Leave a comment