

Homemade green sauerkraut starts out crisp and sweet-smelling, then becomes tangy, juicy, and softer as the cabbage ferments. This batch uses two heads of cabbage and two tablespoons of mineral salt. There is no vinegar to add the sourness and no whey to prepare first.
The first useful pause is short: let the salted cabbage stand for ten to fifteen minutes before pounding it. You should have less work getting the juice out once the shreds have started to soften. From there, pack it into glass jars, keep it below its liquid, and give the ferment time to develop.
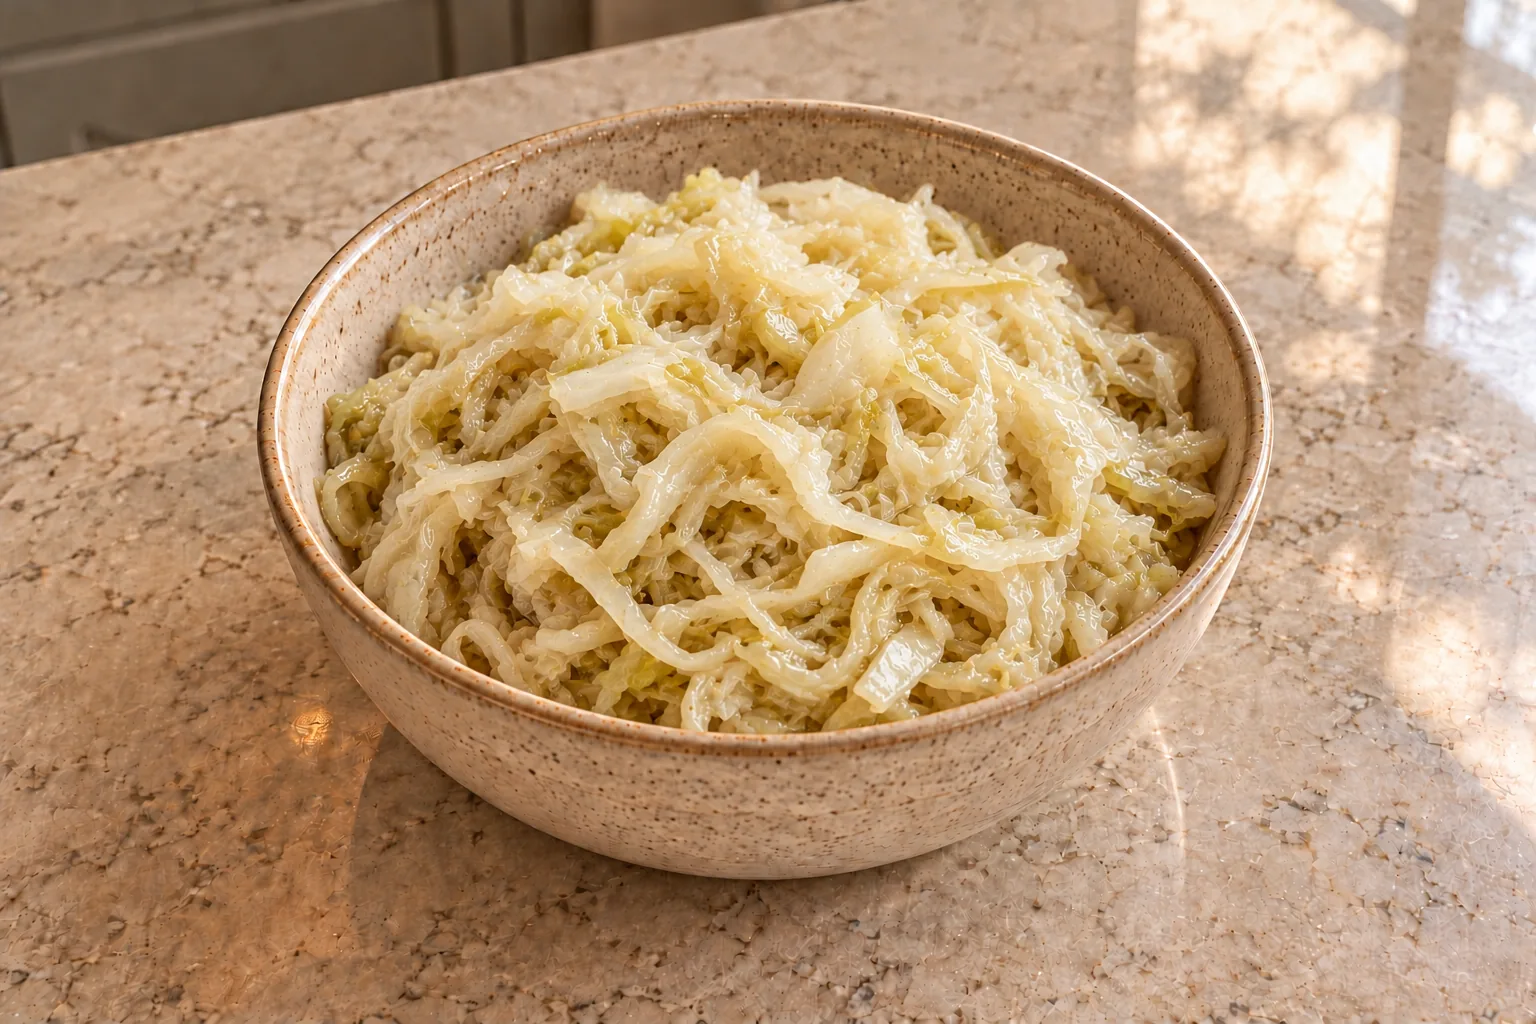
Sauerkraut and kimchi are part of our family’s regular fermented foods. I make them at home, and on busy stretches I have also bought ferments from Firefly in Seattle. With homeschooling and second-shift work, I understand why having a finished jar ready matters. Starting a homemade batch ahead of time gives you another way to keep those foods available without adding a whole new cooking project to dinner.
Preparing Two Heads Of Cabbage
Choose fresh green cabbage with firm leaves. The recipe makes about three quarts, although head size and how tightly you pack it will change the amount. Head sizes vary, and so will the finished amount. Have enough jar space ready so you can leave headroom above the cabbage rather than filling each jar right to the rim.
Wash the cabbage and remove any damaged outer leaves. Save two clean whole leaves before shredding the rest. Those leaves will sit over the small shreds later and help keep loose pieces from floating up around the weight.
Cut away the firm core and slice the leaves finely with a knife on a stable board. Thin strips are easier to pack than large stiff chunks. A few wider pieces of leaf are fine, but a hard piece of core takes up space without softening in the same way as the surrounding shreds.
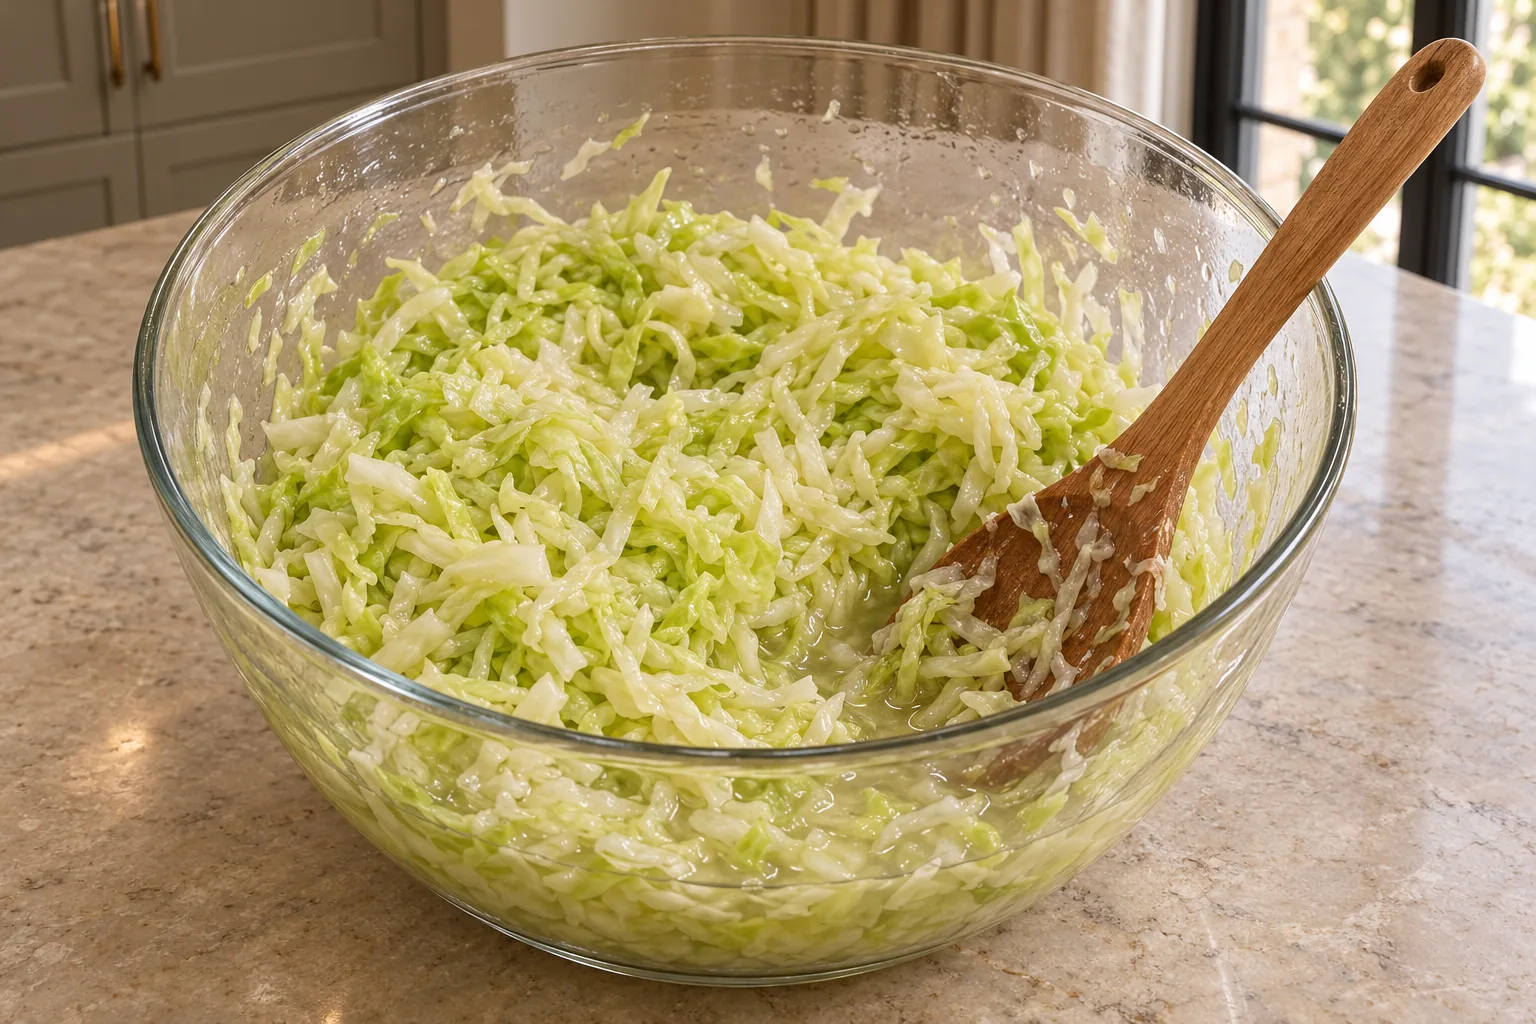
Put the shredded cabbage in a large glass bowl and mix through the two tablespoons of mineral salt. Let it rest for ten to fifteen minutes. At first, the cabbage may still look dry. As the salt draws moisture out, it starts looking glossy and settles a little in the bowl. Keep the cabbage and its liquid together.
Reading The Cabbage As You Pound
Pound or firmly press the rested cabbage until it releases juice. You can use a smooth wooden pounding tool or a sturdy wooden spoon. Work through the bowl rather than pressing only the top layer. The shreds become more flexible, and a small pool of liquid collects underneath them.
Sandor Katz describes a useful physical cue in The Art of Fermentation: the bruised vegetables should be wet enough to release juice when squeezed. That is more helpful than counting a fixed number of strokes. If the cabbage still feels rigid and dry, keep working it before deciding it needs extra brine.
Packing The Half-Gallon Jars
Use clean, wide-mouth glass jars. Two half-gallon jars give this roughly three-quart batch room for the cabbage, weights, and headspace. You will also need your wooden tool, a tray for the jars, and glass fermentation weights or another suitable food-safe fermentation weight.
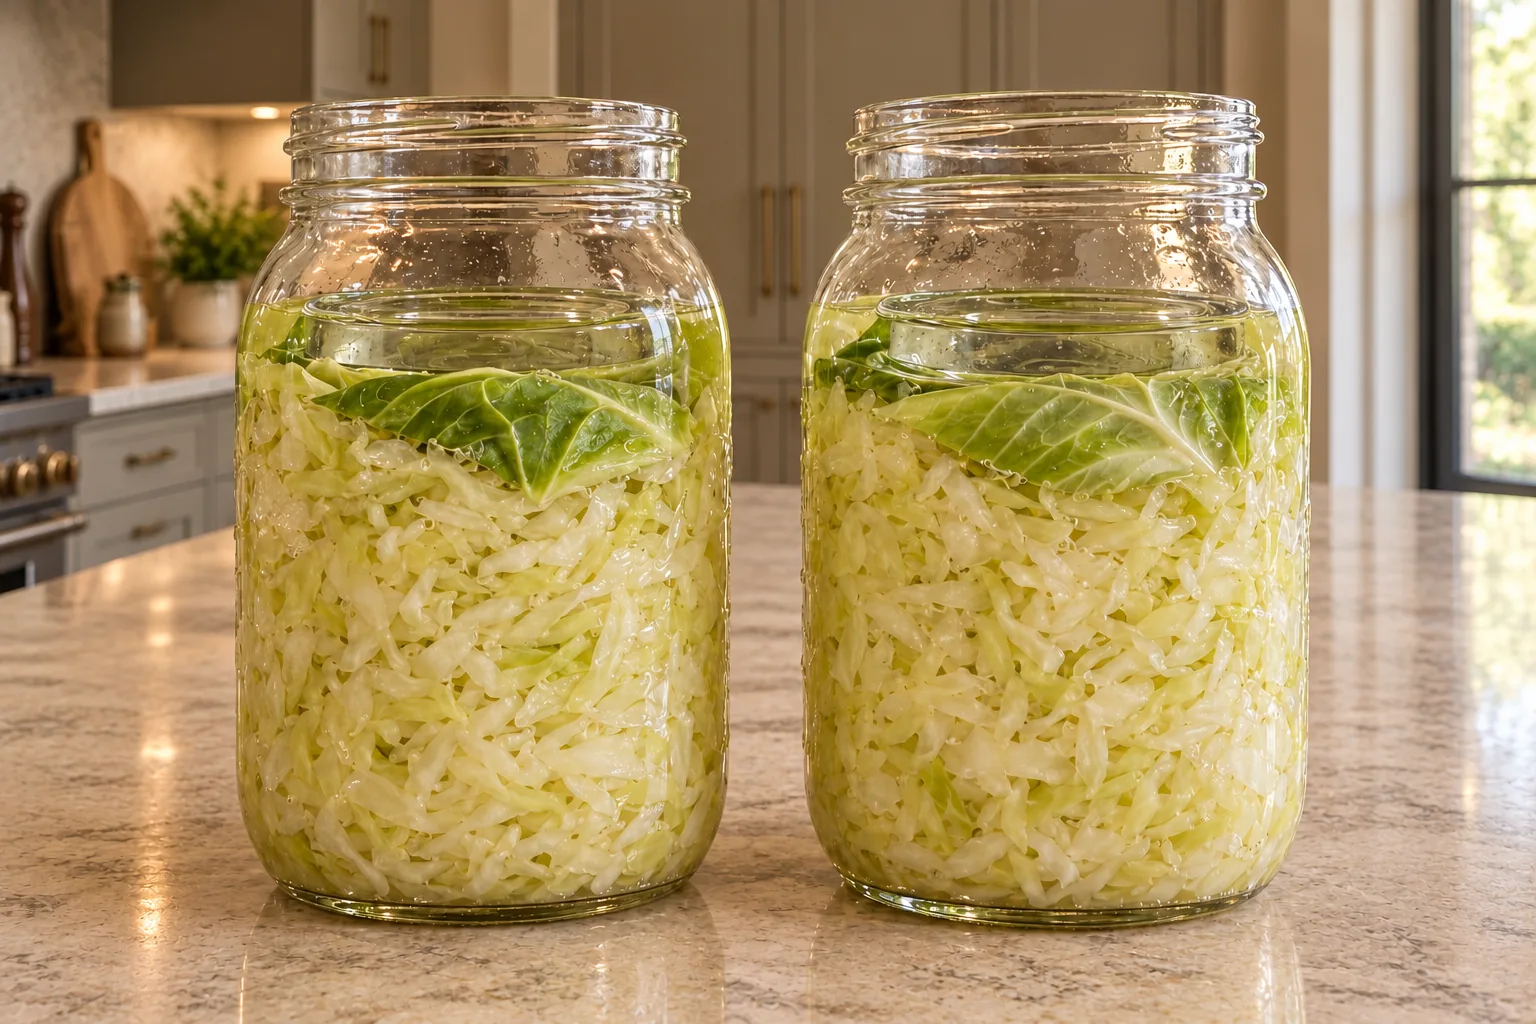
Add the cabbage in layers and press each layer down before adding more. You are closing the large air pockets, not trying to crush the leaves into a paste. Watch the side of the jar: tightly packed cabbage settles together, and the liquid rises around it. Pour in the juice left in the mixing bowl too.
Fold a reserved leaf over the shredded surface, then add a weight to hold it below the liquid. Leave about two inches of empty space below the rim. That space allows for the changes that happen as fermentation produces gas. Set the jars on a tray to catch any brine that works its way out.
Maintaining The Brine Level
After packing, check whether the liquid covers the folded leaf as well as the shreds beneath it. A damp-looking top is not the same as being submerged. If the natural cabbage juice is not enough, dissolve one teaspoon of mineral salt in one pint of filtered water. Add only enough of this covering brine to keep the cabbage and cover leaf under liquid.
You may not need the whole pint, or any added brine at all. Keep that extra teaspoon separate from the two tablespoons mixed into the cabbage. The card lists it in the optional covering-brine group so it is clear which salt goes where.
Keep checking that the cabbage remains below its brine as the batch develops. If a loose shred escapes around the leaf, tuck it back down with a clean utensil. The weight needs to hold the vegetables under the liquid; it does not need to fill every bit of the jar’s opening.
Following The Fermentation Timeline
Keep the jars at room temperature out of direct sunlight. Use a fermentation lid that gives the gas a way out, or briefly loosen ordinary screw lids to release pressure. With standard lids, check daily during the first few days when activity is greatest, then continue checking as it slows. Close the lids again after releasing the gas. You are releasing pressure, not stirring air into the cabbage.
For GAPS, Dr. Natasha Campbell-McBride describes a finished sauerkraut with a sharp acidic taste and no more gas production. Depending on temperature, that can take roughly one week to a month. The shreds should smell and taste sour rather than simply like freshly salted cabbage. Do not move a still-active batch to the refrigerator just because a particular day has arrived.
Longer fermentation produces a different flavor and texture. Some people prefer the cabbage after several more weeks, when it is more sour and softer. That is a preference to explore with a completed batch, not a promise that every jar needs the same number of days. Refrigerate it once it has finished and reached the flavor you want.
Using The Sauerkraut And Brine On GAPS
The brine and cabbage have different starting places in the Introduction Diet. Earlier Intro uses small amounts of juice from the completed ferment. The cabbage solids begin at Stage 3, starting with a small amount and gradually increasing toward one to two tablespoons with a meal. Both continue into later stages and Full GAPS.
For the earlier liquid-only route, GAPS begins fermented foods at one to two teaspoons a day for two to five days, then increases gradually. Stir the juice into homemade chicken meat stock or soup once it is no longer very hot. Keep the shredded cabbage for the stage that includes the solids. A finer cut does not turn it into fermented juice.
There is no dairy, egg, nut, honey, or added spice in this recipe. For a one-head batch with a four-hour rest after packing, see small batch sauerkraut. For a plain purple version with its own one-hour jar wilt, use red cabbage sauerkraut. It has a different salt amount per head, so follow that recipe from start to finish rather than borrowing one measurement and keeping the rest of this batch.
Serving The Finished Sauerkraut
Serve a small spoonful beside a meal, or mix it through the food on your plate if you prefer the sourness spread out. On Full GAPS, homemade sausage links are a practical pairing: cook the sausages, then add the cool kraut when you serve them. The contrast gives the meal some crunch without making another hot side dish.
For soups and stews, add the fermented cabbage after cooking when you want to keep it raw. Let the portion cool enough for the fermented addition first. The same jar can supply both a less-wet spoonful for a plate and a little brine for stock. Take out what you need rather than draining the whole batch.
Refrigerated Storage
Keep the finished sauerkraut covered in the refrigerator with its brine. Use a clean utensil each time, and press the remaining cabbage back beneath the liquid. Cold storage slows fermentation, so the flavor and texture can keep changing even after the jar moves into the fridge.
Use a smaller clean glass jar when that makes it easier to keep the remaining portion submerged. Plan meals around the finished batch and start the next one before you run out.
Frequently Asked Questions
Why Is My Cabbage Still Dry?
It may need its full ten-to-fifteen-minute salted rest and more firm pressing. Work the whole bowl so the salt and pressure reach all the shreds. If the packed cabbage still does not have enough liquid to stay covered, use the measured optional covering brine.
Is The Extra Teaspoon Of Salt Part Of The Two Tablespoons?
No. The two tablespoons season the two shredded heads. The extra teaspoon goes into one pint of filtered water only if you need additional liquid. Add enough of that brine to cover the cabbage; do not automatically empty the whole pint into a jar.
Can I Use Smaller Jars?
Yes. Divide the mixed cabbage and its juice between enough clean glass jars to leave the same headspace. Pack and weight each jar separately. Smaller jars can be convenient in the refrigerator, but the same submersion and pressure-release instructions apply.
Does This Need A Starter?
No. This plain sauerkraut starts with cabbage and mineral salt. Whey is not part of the formula. Keep the cabbage under liquid and give the fermentation time to develop.
Can I Double The Batch?
Yes. The card doubles the cabbage and salt together. If you need covering brine for the larger batch, its salt-to-water ratio also stays the same. Use additional jars rather than reducing the headspace, and allow more time for slicing and packing. The fermentation time does not simply double.
Ferments For Everyday Meals
The planned Kid-Friendly Ferments Recipe Card Deck is for building a rotation of fermented foods you can bring to family meals. You can find current and upcoming resources in the WFLI shop. For this batch, start with the cabbage you have time to slice and enough clean jars to keep every portion submerged.
Homemade Green Sauerkraut for GAPS
Ingredients
Equipment
Method
- Wash the cabbage. Remove damaged outer leaves and reserve clean whole leaves for covering the jars. Cut away the hard cores and finely slice or shred the remaining cabbage.
- Mix the shredded cabbage with the salt for the cabbage in a large glass bowl. Leave for 10–15 minutes so it begins to soften and release moisture.
- Pound or press the cabbage with a smooth wooden tool until the shreds are wet and juice pools in the bowl. Work through the whole bowl rather than only pressing the surface.
- Pack the cabbage into clean wide-mouth glass jars in layers, pressing out large air pockets. Add the juice from the bowl. Cover with a folded cabbage leaf and a fermentation weight, keeping everything submerged and leaving about two inches of headspace.
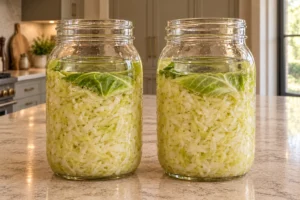
- If the natural juice is insufficient, dissolve the additional salt in the filtered water listed for the optional covering brine. Add only enough to cover the cabbage and cover leaf; keep the headspace clear.
- Fit pressure-releasing fermentation lids, or use ordinary screw lids and briefly loosen them to release gas daily during the first few days, then continue checking as activity slows. Close after releasing pressure. Stand the jars in a tray at room temperature out of direct sunlight and keep the cabbage submerged.
- For GAPS, allow roughly one week to a month, depending on temperature. Finish when the kraut tastes sharply acidic and is no longer producing gas. A longer ferment can be left to develop a sourer flavor. Refrigerate the completed kraut covered with its brine; use a clean utensil to serve.
Notes
Tried this recipe?
Let us know how it was!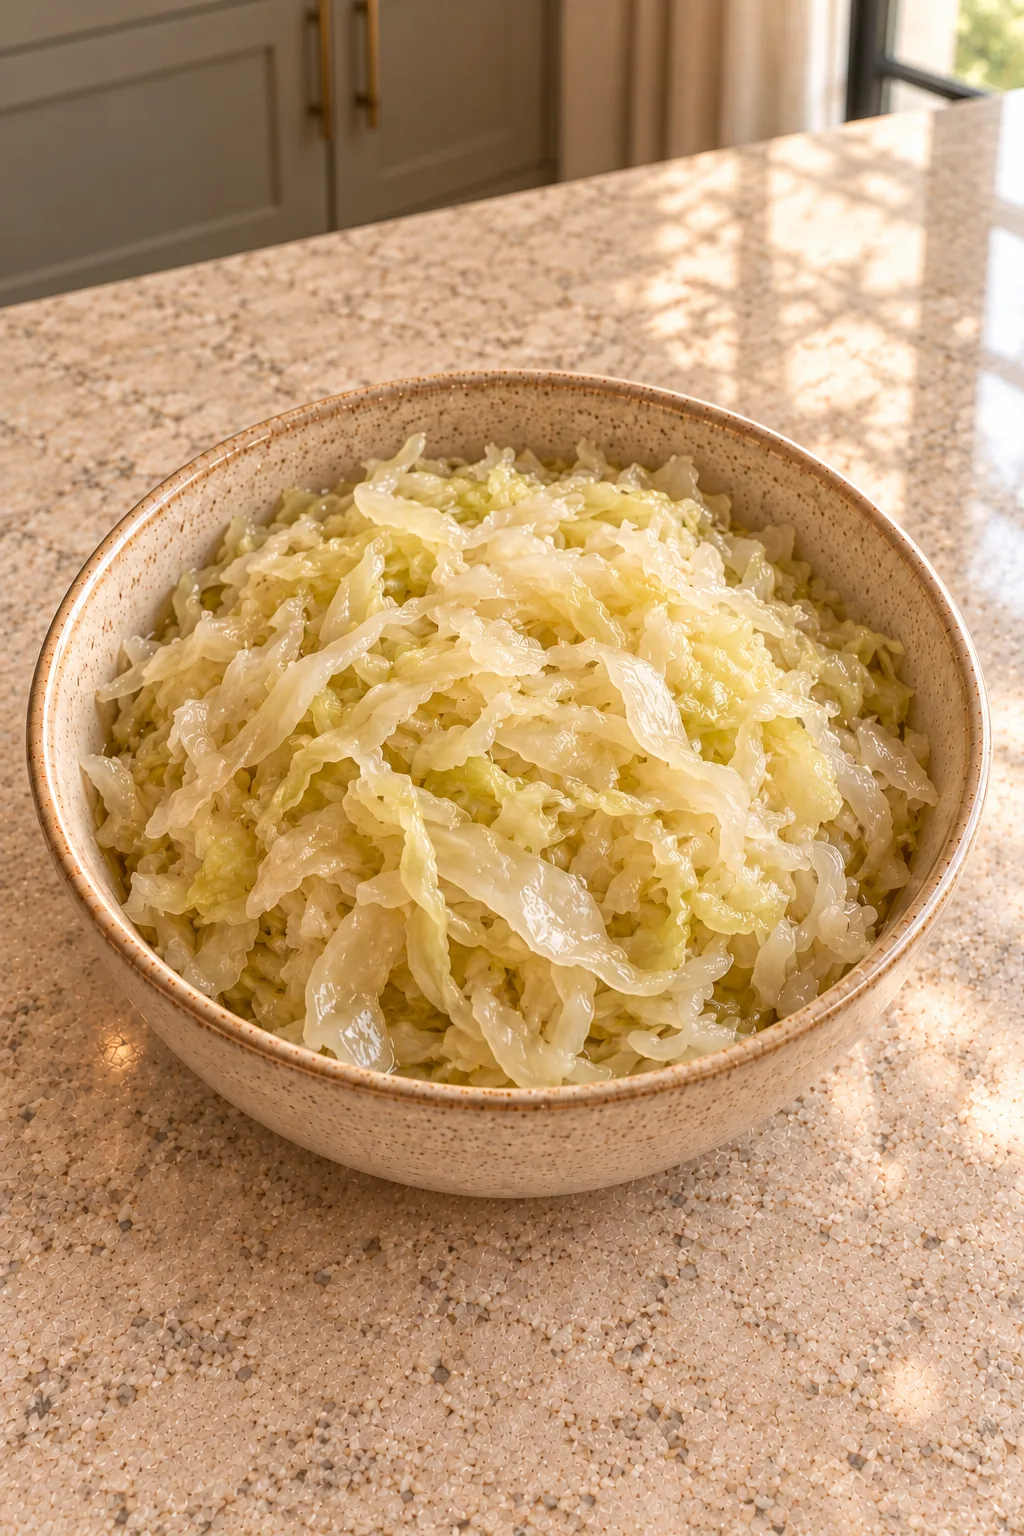

Leave a comment