

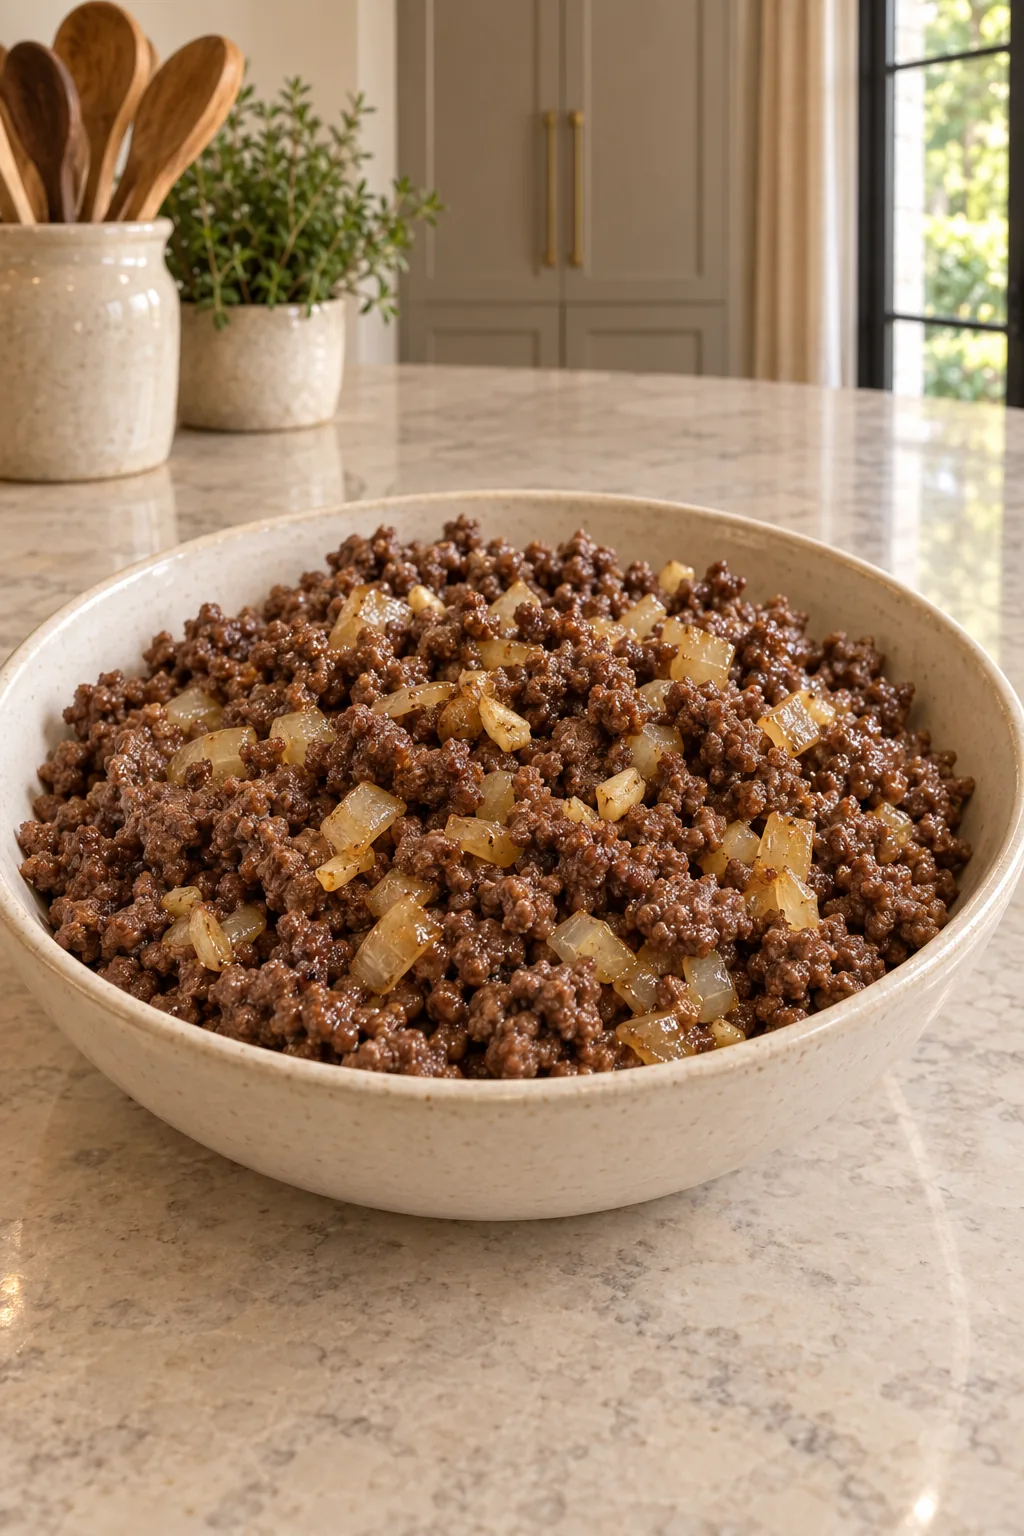
Ground beef cooks quickly, but good browning still depends on a few small decisions. Use a wide hot skillet, give the beef enough room, break it into uneven crumbles, and stop stirring long enough for the meat to touch the pan. The finished beef should be brown throughout with crisp edges, tender centers, and no puddle of water underneath.
This Full GAPS version keeps the formula simple: 1 to 1 1/2 pounds ground beef, half an onion, two garlic cloves, and natural sea salt. The onion and garlic cook in the fat rendered by the beef, so an 85/15 or 80/20 package does not need added oil.
Ground beef is one of the ingredients I can turn into several different meals for our household of eight. The useful part is cooking it as a flexible base without seasoning it so heavily that it can only become one dish. Brown it properly, salt it at the end, then use it where the rest of the meal needs it.
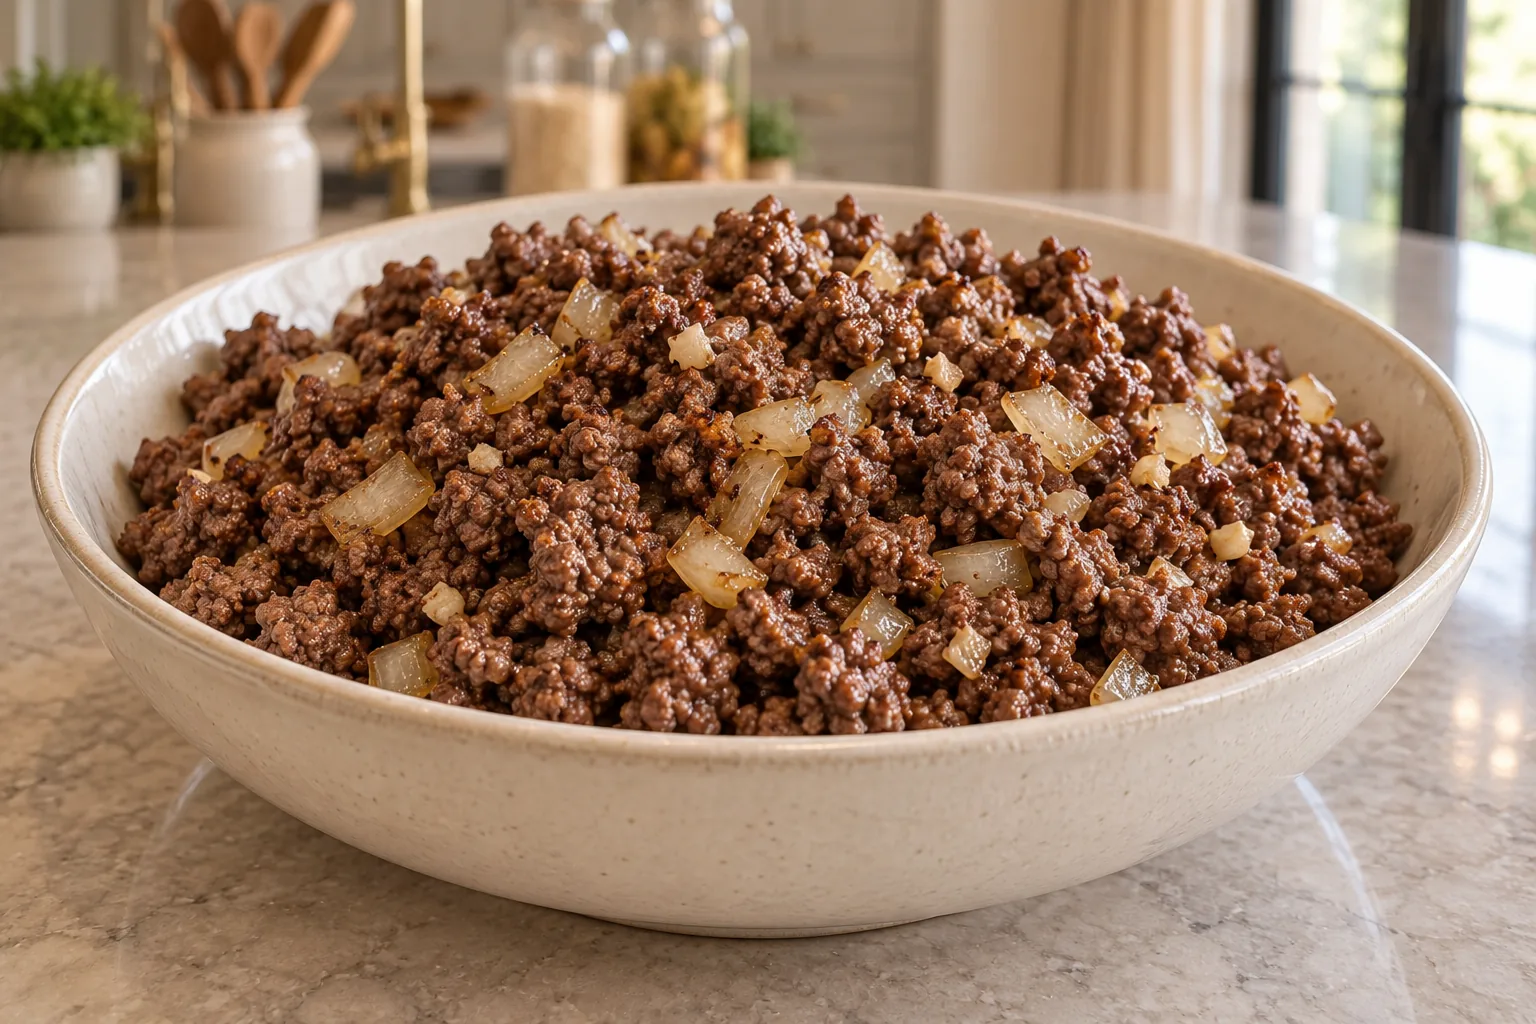
Where This Ground Beef Fits On GAPS
This browned skillet method fits Full GAPS after beef, onion, garlic, and natural sea salt are introduced and tolerated. It is not an early Introduction Diet method because the goal is dry browning and crisp contact with the skillet. Intro uses gently cooked meats and homemade meat stock instead.
Buy plain ground beef without added solution, flavoring, sugar, starch, preservatives, or a seasoning packet. Pastured or grass-finished beef is the preferred choice when it fits your budget and access. The label should still name beef as the only ingredient.
Choose A Fat Ratio That Browns Well
An 85/15 or 80/20 package carries enough beef fat to coat the skillet as it cooks. That fat keeps the meat from drying out and helps the onion soften without a separate oil measurement. Very lean 93/7 beef behaves differently. It can stick before enough fat renders and will finish drier.
Use a package weighing between 1 and 1 1/2 pounds, preserving the source range. A 10.25-inch skillet handles the lower end comfortably. For the full 1 1/2 pounds, use the widest skillet you own or cook in two batches if the beef forms a thick crowded layer.
Crowding traps steam. The meat turns gray before it can build many crisp brown edges. A single broad layer gives moisture somewhere to escape.
Prepare The Onion And Garlic
Dice half a yellow onion into small, even pieces. Mince two garlic cloves. Keep both beside the stove before the beef goes into the pan because the first few minutes move quickly.
The source card lists onion and garlic but omits the moment they enter the skillet. This version adds them after the beef begins releasing fat. That keeps all four source ingredients in the recipe without inventing a separate oil amount or leaving the aromatics raw.
Take Off The Refrigerator Chill
Set the ground beef out for at least 15 minutes before cooking. You are taking off the hard refrigerator chill, not leaving raw meat on the counter for an afternoon. Keep it wrapped until the skillet and vegetables are ready.
Cold beef drops the pan temperature and can release more moisture before it starts browning. A short rest helps the first side meet a properly hot surface.
Start In A Hot Skillet
Heat a wide cast-iron or stainless skillet over medium-high. The pan is ready when it feels evenly hot and a small edge of beef sizzles as soon as it touches the surface.
Add the ground beef and immediately break the block into several large chunks with a wooden spoon or sturdy enamel-safe spatula. Let those pieces sit long enough for the lower surface to begin releasing fat, then add the diced onion and minced garlic around and between them.
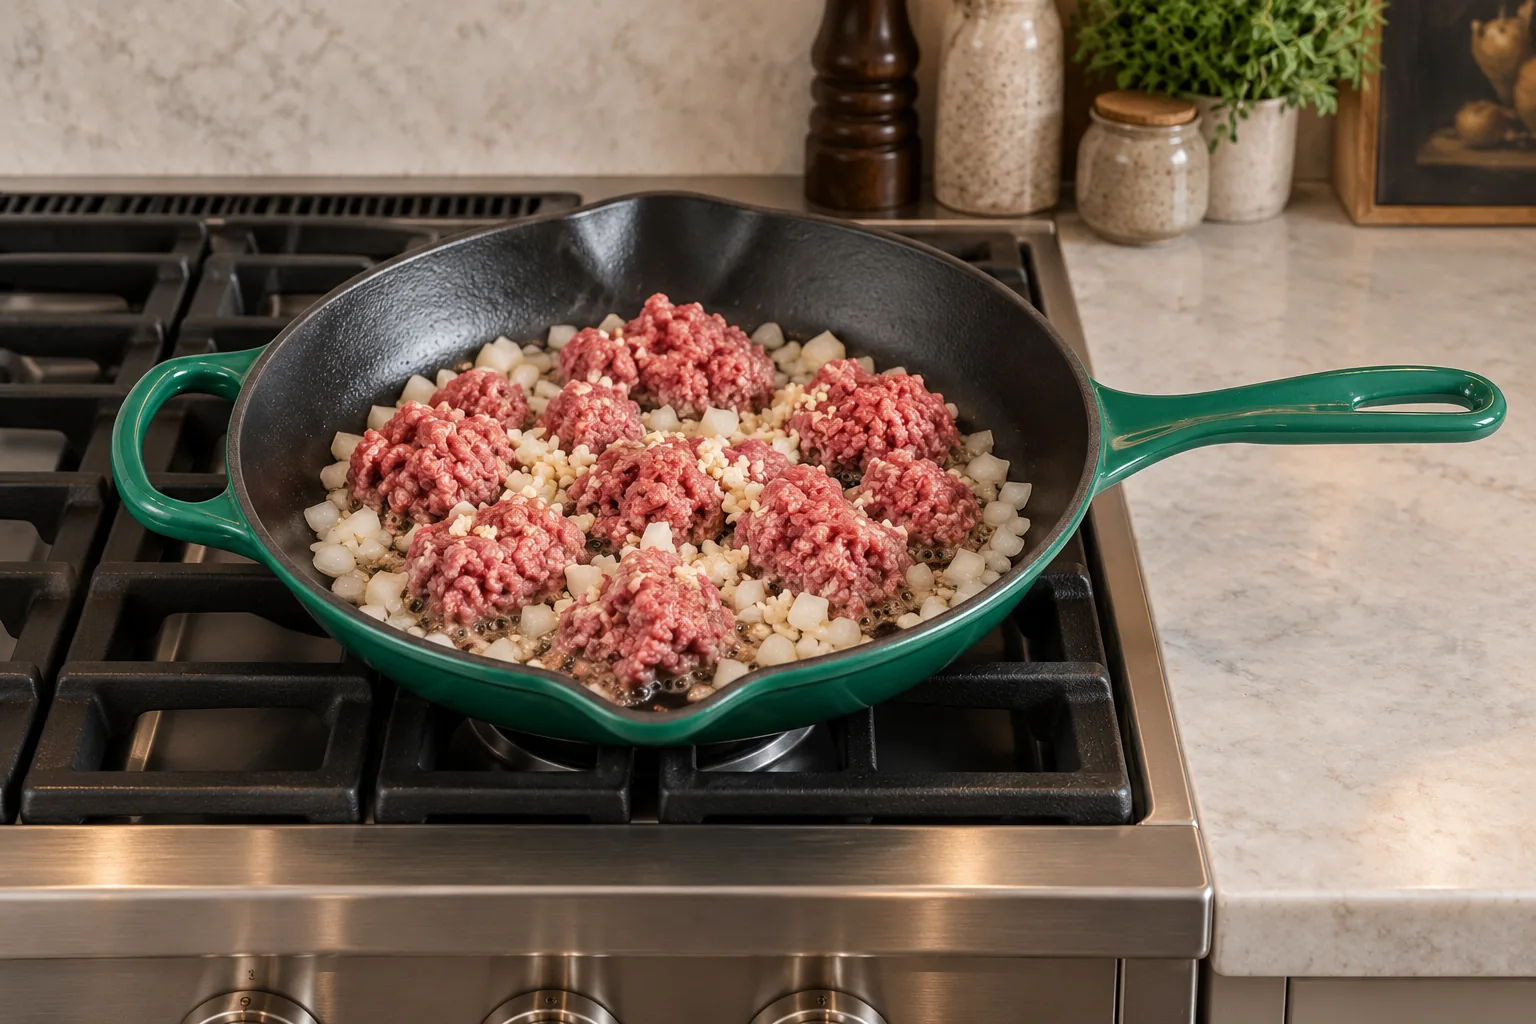
The onion looks white and firm at first. As the beef renders, the pieces turn glossy and begin to soften in the fat. Keep the garlic moving enough that it does not sit in one dry hot spot and burn.
Break It Into Uneven Crumbles
Continue breaking the beef into pea-size pieces and slightly larger crumbles. Perfectly uniform pellets are not the goal. A mix of sizes gives you crisp edges and tender pieces in the same bite.
Once the meat is spread across the skillet, stop stirring for a minute or two. Listen for a steady sizzle. Moisture should evaporate rather than collect. Turn and redistribute the beef, then leave it alone again.
If browned bits stick to the skillet before the beef releases enough fat, add a small splash of filtered water and scrape them loose. Let the water evaporate completely before you finish. Do not keep adding water when crisp browning is the goal.
Tell Rendered Fat From Released Water
Ground beef can release both fat and water. Rendered beef fat looks clear and glossy and continues to shimmer around the crumbles. Released water looks cloudy or brown and bubbles more actively across the bottom of the skillet.
If you see watery liquid, keep the beef spread out and let the moisture evaporate. Stirring constantly keeps moving cooler meat into the liquid and delays browning. Wait until the sound changes from a wet bubbling noise back to a sharper sizzle before expecting crisp edges.
Do not pour off the liquid halfway through and call the meat finished. The moisture can cook away in the wide skillet while the beef continues toward its proper endpoint. Once the water is gone, the rendered fat helps the crumbles make direct contact with the pan again.
Cook Until No Pink Remains
Lower the heat if the edges are turning black before the center pieces cook. Continue until the beef is brown throughout, the onion is soft and translucent with a few golden edges, and the garlic smells mellow rather than sharp.
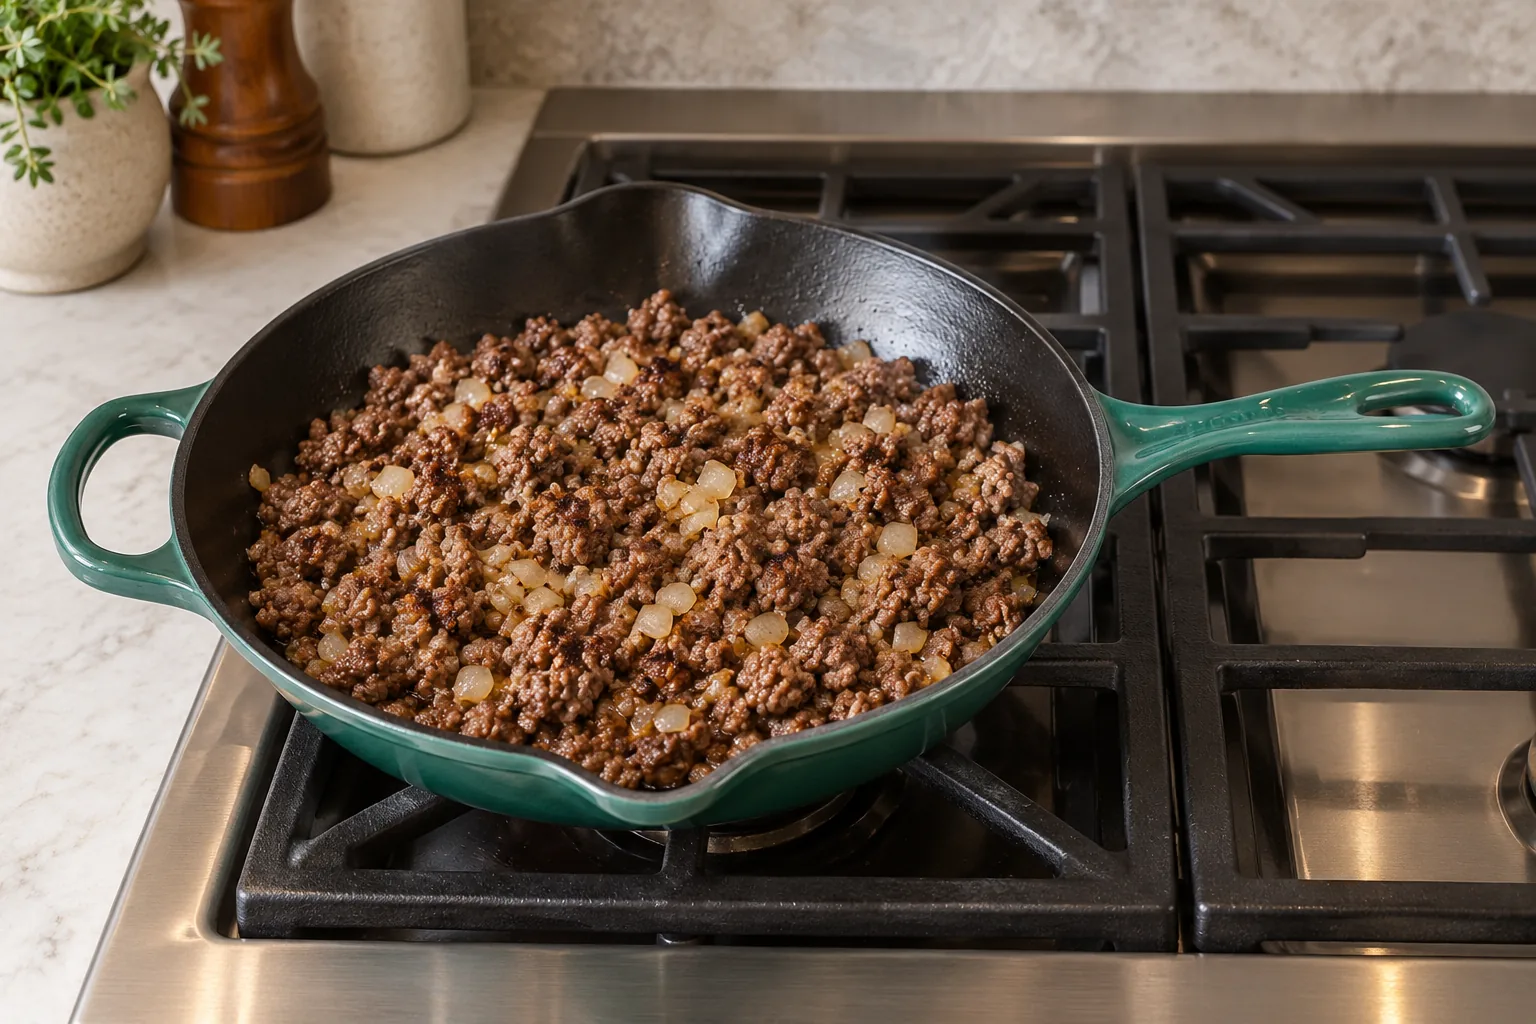
The source endpoint is 165°F. Check the thickest cluster with an instant-read thermometer if you need confirmation. The pan should no longer hold pink meat or cloudy liquid. Rendered fat may remain as a light sheen.
Season After Browning
Sprinkle natural sea salt over the fully cooked beef. Start with a small amount, stir, and taste. The source leaves salt to taste, so the card does not invent one fixed quantity.
Seasoning at the end keeps this batch flexible. You can take it toward a casserole, soup, breakfast skillet, or another measured recipe without fighting a spice blend already in the beef.
Use The Cooked Beef In Another Meal
Use the browned beef immediately or cool it for another recipe. For a nightshade-free seasoned skillet, follow the separate Nightshade-Free Mexican Ground Beef. For a vegetable-heavy meal, the Mexican Cabbage Roll Casserole uses its own complete formula.
The Spaghetti Squash Fried Rice shows another way to use cooked meat with vegetables. Follow that card’s measured amount instead of adding this entire batch automatically.
Storage And Freezing
Cool the beef promptly and refrigerate it in a covered glass container for up to three days. Divide it into the amounts your next recipes need before refrigerating if that will save time later.
For longer storage, freeze cooled beef in flat portions. A thin package thaws more evenly than one dense block. Reheat in a covered skillet over low heat with a spoonful of homemade beef meat stock if the crumbles seem dry.
Recommended Equipment
- Le Creuset Signature 10.25-inch Artichaut skillet or another wide cast-iron or stainless skillet
- Wooden spoon or enamel-safe sturdy spatula
- Cutting board and chef’s knife
- Instant-read thermometer
- Covered glass storage container
Frequently Asked Questions
Do I Need Oil To Cook Ground Beef?
Not for 85/15 or 80/20 beef. The meat releases enough fat as it cooks. A very lean package may need a small amount of traditional cooking fat, but that is a different branch from this card.
Why Is My Ground Beef Gray Instead Of Brown?
The skillet may be crowded or not hot enough, or the beef may be stirred constantly. Use a wide pan, spread the crumbles into one layer, and leave them undisturbed long enough to contact the hot surface.
Should I Drain The Beef Fat?
This formula keeps the rendered beef fat with the meat. If an unusually fatty package leaves a deep pool, spoon off only the excess and save clean rendered fat separately. Do not rinse the beef.
Why Are The Onion Pieces Still Firm?
The pieces may be too large, or they may have entered after most of the beef was already brown. Dice the onion small and add it as soon as the first beef fat appears. It should finish translucent and soft with a few golden edges.
Why Did The Garlic Burn?
Minced garlic burns when it sits in one dry hot spot. Add it with the onion after the beef begins rendering, then distribute it through the pan. Lower the heat if dark garlic pieces appear before the beef is cooked.
Can I Use Frozen Ground Beef?
Use the separate How to Cook Frozen Ground Beef recipe. It starts in a cold pan with measured water and uses a different thawing and breaking sequence.
Can I Use Ground Turkey Or Chicken?
This card is written for beef. Lean ground poultry needs added cooking fat and has its own handling and endpoint. Do not swap it into this card and expect the same browning.
Can I Double The Recipe?
Use the WPRM 2× control for the ingredient amounts, but cook in two batches unless your skillet can hold the doubled beef in one broad layer. Crowding both pounds into a small pan will steam the meat.
How To Cook Ground Beef Recipe
How to Cook Ground Beef for Full GAPS
Ingredients
Equipment
Method
- Set the ground beef out for at least 15 minutes to take off the refrigerator chill. Dice the onion and mince the garlic. Heat a wide skillet over medium-high until a small edge of beef sizzles on contact.
- Add the ground beef and immediately break the block into several large chunks with a wooden spoon or sturdy enamel-safe spatula. Let the lower surfaces begin releasing fat.
- Add the diced onion and minced garlic around and between the beef. Break the meat into pea-size and slightly larger crumbles, then spread it into one broad layer.
- Leave the crumbles undisturbed for 1 to 2 minutes at a time so they brown, then turn and redistribute them. If browned bits stick before enough fat renders, add a small splash of filtered water and let it evaporate completely.
- Cook until no pink remains, the onion is translucent with a few golden edges, and the thickest cluster reaches 165°F. Lower the heat if the beef begins to blacken.
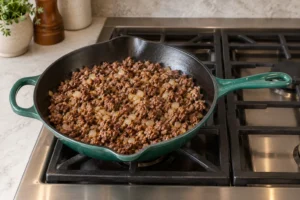
- Season the cooked beef with natural sea salt to taste. Serve immediately or cool promptly for another measured recipe.
Notes
Beef: Use plain ground beef without injected solution or seasoning.
Browning: Do not crowd the skillet; cook in batches when doubling.
Frozen beef: The frozen route is a separate recipe because it starts in a cold pan with water.
Tried this recipe?
Let us know how it was!Plan More Meals From One Beef Order
The upcoming Whole-Animal Buying & Cut Sheet Guide helps you plan ground beef, roasts, bones, trim, and cooking fat before a freezer order arrives. Find current releases and upcoming additions in the WFLI shop.

Leave a comment