

This GAPS roast turkey gets its flavor from salt, garlic tucked under the skin and celery in the cavity. There is no sweet glaze or bread stuffing to prepare. You start the bird at 400°F for thirty minutes, then lower the oven to 325°F and continue roasting until a meat thermometer reads 180°F.
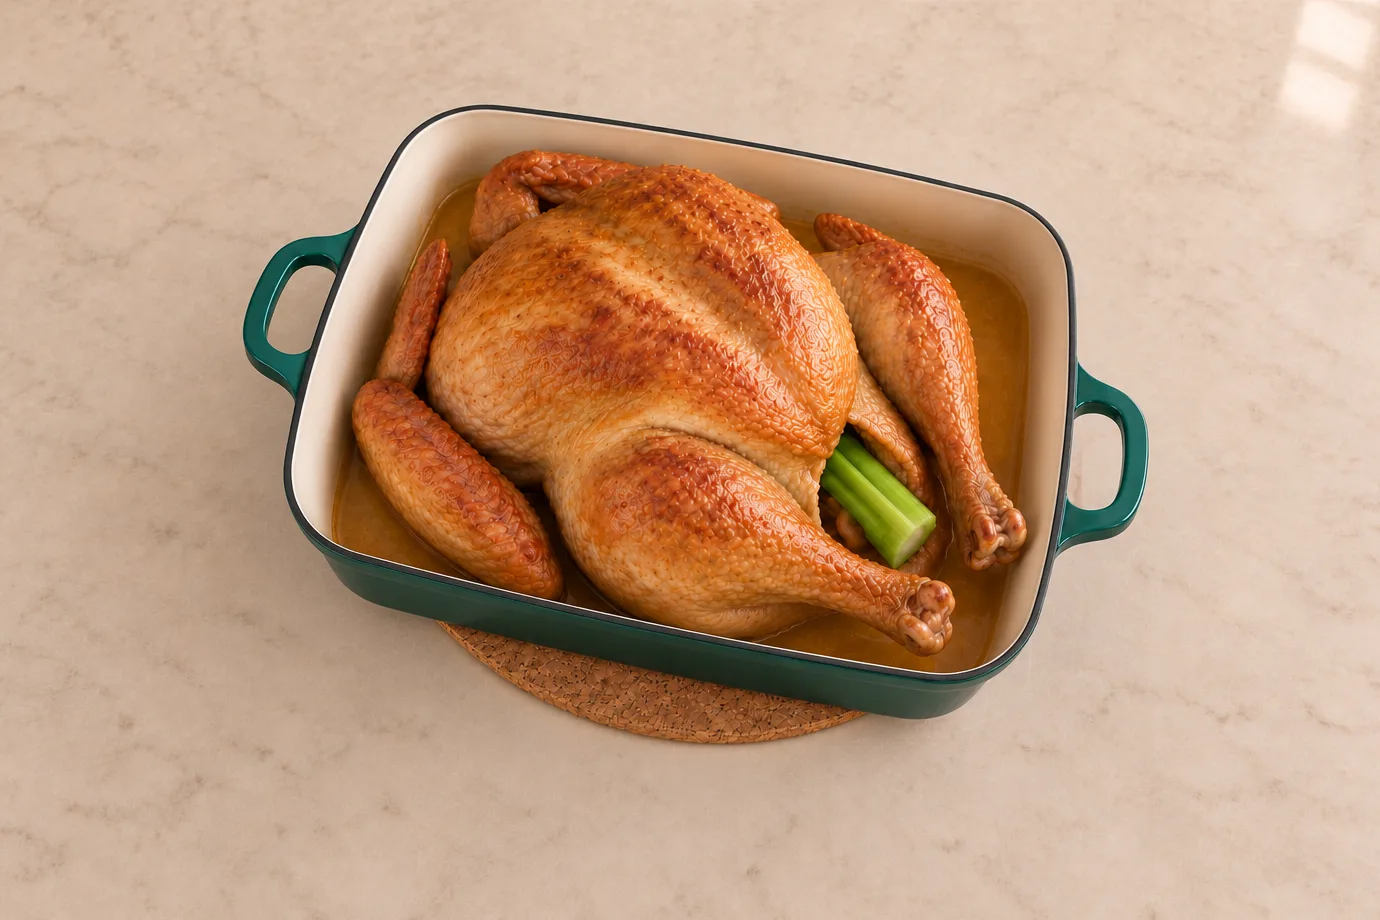
A whole turkey needs a little planning, but the ingredient list is short. The most useful details are the weight of your bird, a roasting pan that actually fits it and a thermometer. Keep those clear before you begin, and you can plan the rest of the meal around the oven work.
With eight of us at the table, and homeschooling before my second shift, I need the oven plan to be clear. I like having the bird’s weight, the hot start and the lower roast written out before I start the sides. A short ingredient list helps, but knowing what needs to happen in the oven is what makes the rest of dinner easier to arrange.
GAPS introduces roasted meats in Intro Stage 4. This preparation also fits Full GAPS. Keep the skin gently golden and leave burned or overly browned bits off the plate. For a Stage 4 meal, serve the meat with cooked vegetables, fermented vegetables and a cup of warm chicken meat stock.
Start With A Fully Thawed Turkey
Use one plain whole turkey, fresh or fully thawed if it was frozen. Read its ingredient label before buying. The bird should not bring a flavored marinade, sweetened coating or seasoning mixture into this simple recipe.
Give a frozen turkey enough time to thaw completely before the roasting day. The weight affects thawing as well as cooking, so a fixed one-day promise is not useful for every bird. Check the cavity and the joints before seasoning. You should be able to reach inside without meeting a hard pocket of ice.
Remove any packaging and any bag tucked inside the cavity. If the bird came with a neck or giblets, set them aside for a separate preparation. They are not extra ingredients to pack around the turkey in this roasting pan.
Put The Garlic Under The Skin
Salt the turkey inside and out. The amount is to taste, so there is no fixed teaspoon count in the card. Distribute it across the bird instead of leaving a thick white pile on one patch of skin.
Peel a few garlic cloves and tuck them between the skin and meat. Work gently along a loose edge of skin so you can slide the cloves underneath. You want the garlic close to the meat, with the skin still covering it, rather than scattered loose across the pan.
Place two celery stalks in the cavity. Leave them loose enough that they fit without forcing or tightly packing the bird. The celery and garlic give the roast its savory aroma. They are the only vegetables in this preparation.
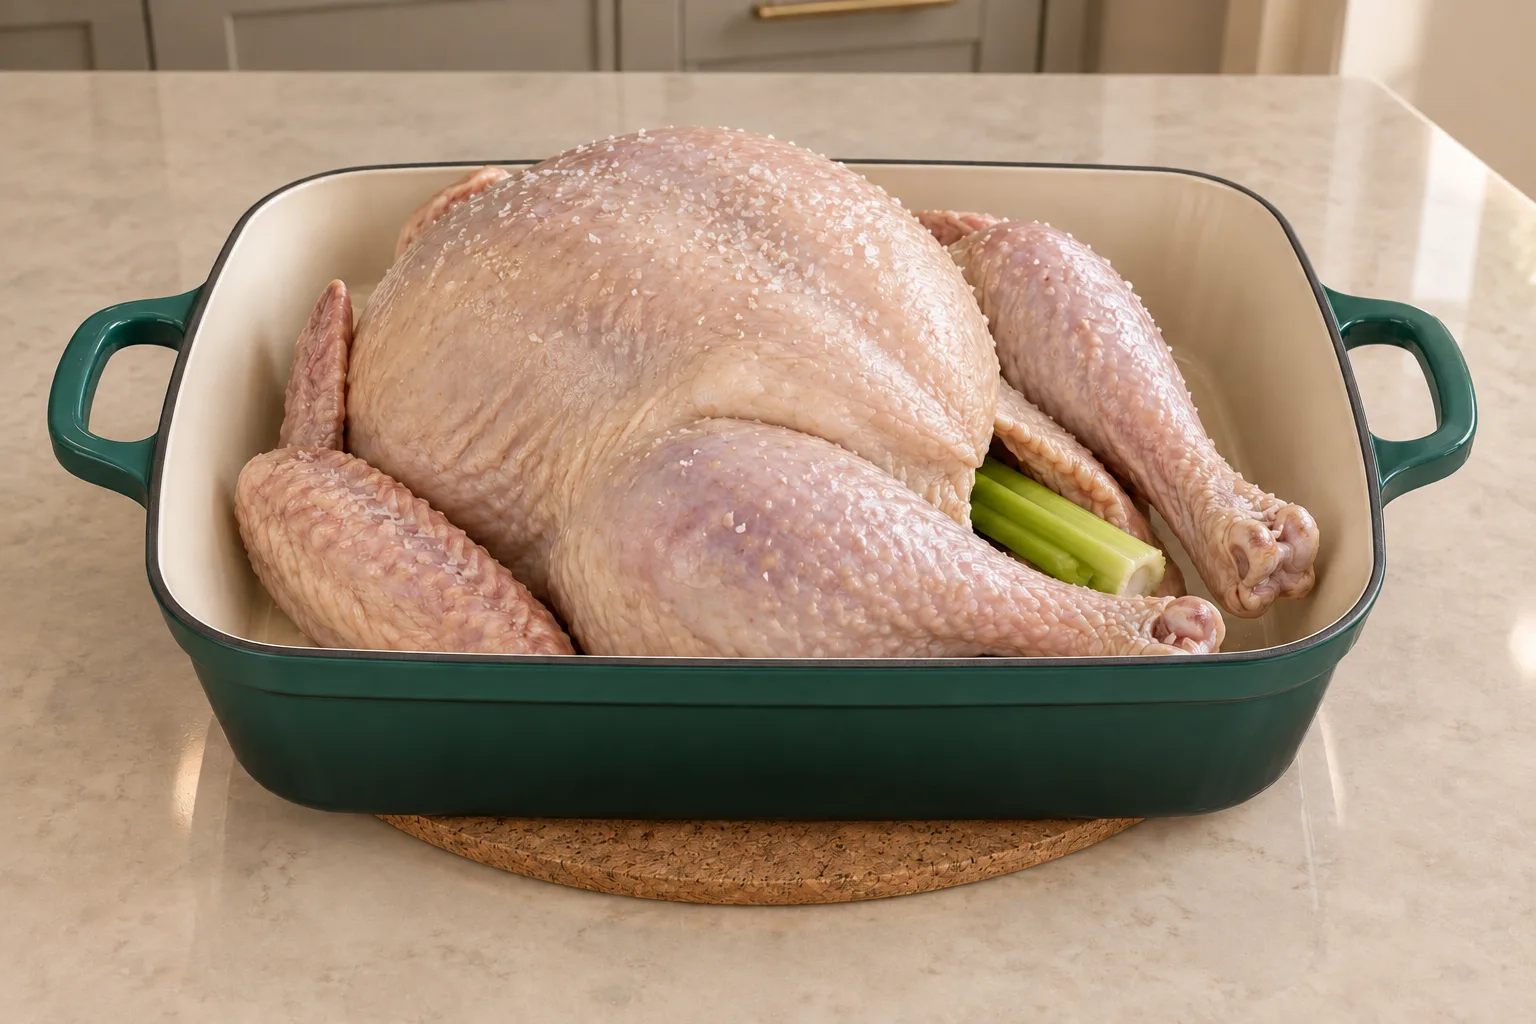
The prepared turkey is still raw at this point. Its skin is pale, with the cloves under it and the celery in the cavity. There is no golden crust yet. A neat arrangement helps you see what has gone into the bird before it reaches the oven.
Choose A Pan That Fits Your Bird
Use an oven-safe stainless steel or enameled cast-iron roasting pan with enough room for the turkey. The bird should sit comfortably in the pan, with its legs and wings contained and some space around it. Match the pan to the bird you bought.
The photographs show a Le Creuset Signature rectangular roaster in Artichaut. This is the 5.25-quart, 33-centimeter model, used here to illustrate a smaller whole turkey. Le Creuset describes that size for turkeys up to twelve pounds. A larger bird needs a larger suitable roaster; the pan in a photograph is not a guarantee of fit for every turkey.
The turkey goes directly into the roasting pan. This method does not add a nonstick roasting rack, a bread filling, a layer of potatoes or a butter glaze. Keep the roasting space available for the bird and its own juices.
Start Hot, Then Lower The Oven
Heat the oven to 400°F. Put the prepared turkey in the roasting pan and begin the roast at that temperature for thirty minutes. This is the first oven phase, not the total cooking time.
After thirty minutes, lower the oven to 325°F. Continue roasting at the lower temperature. The skin may have started taking on color, but a little surface color does not tell you that the thick meat inside is finished.
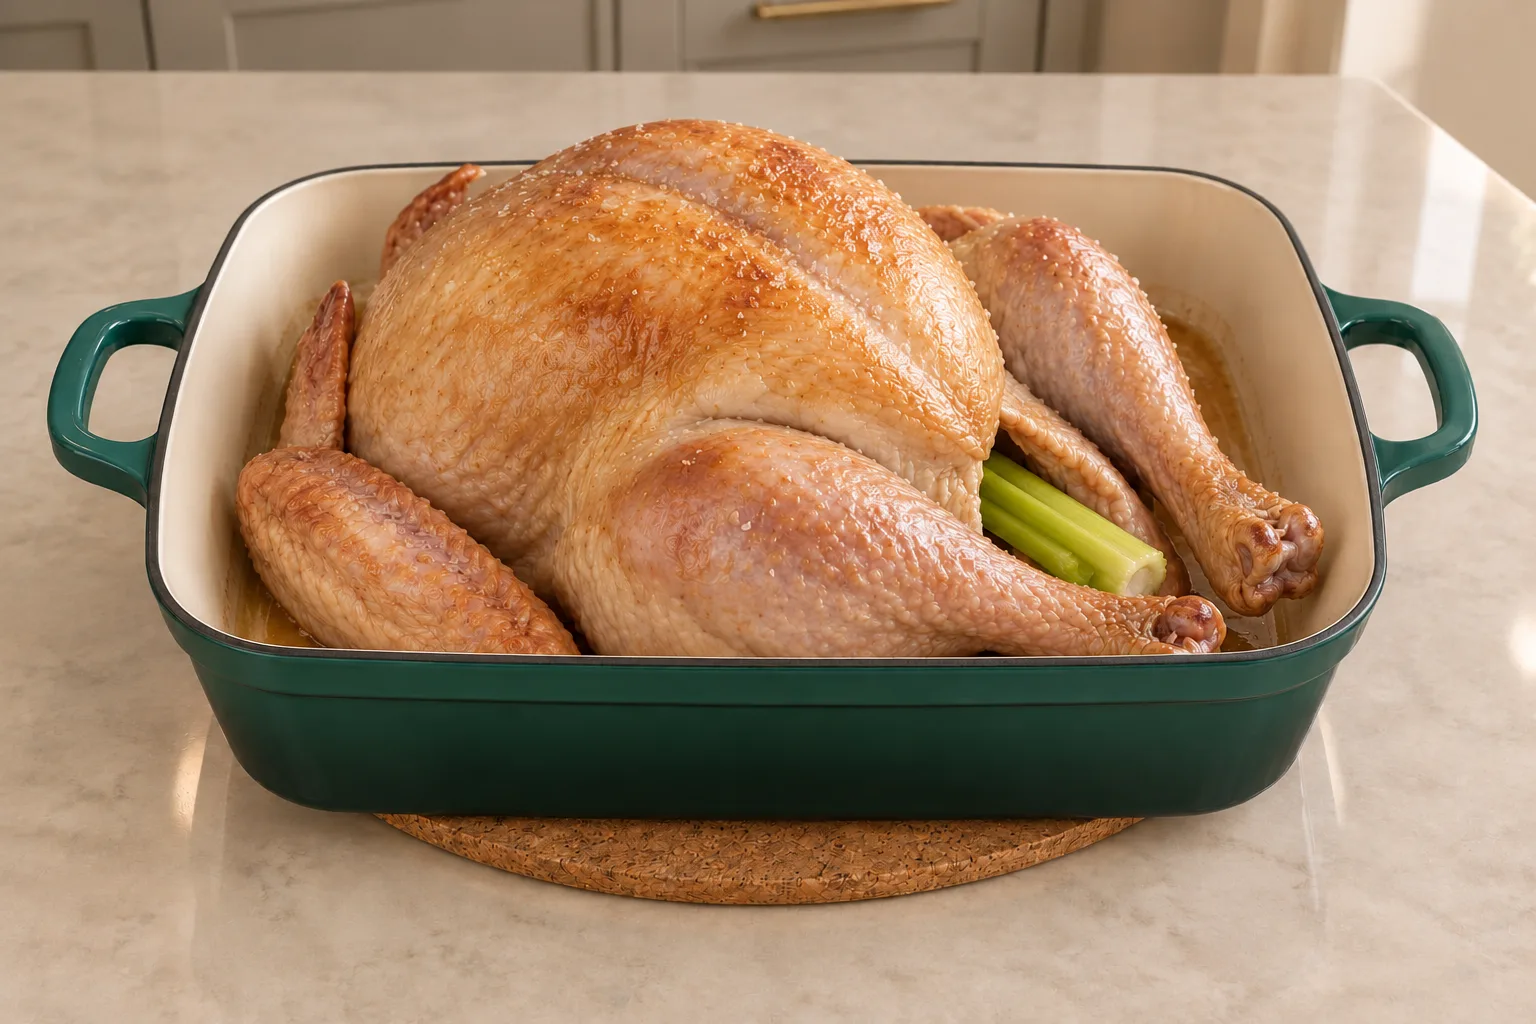
Keep the two temperatures separate in your plan. The short hotter start comes first; the longer, lower roast follows. If you are making other oven dishes, arrange their timing around that change rather than assuming the turkey stays at 400°F all afternoon.
Use The Thermometer For The Finish
The roasting guide for this preparation is approximately twenty minutes per pound. Use the bird’s weight to help plan your oven schedule, while allowing time to check it. That estimate is not a measured total for a turkey of every size, and the recipe does not supply one fixed bird weight.
Continue at 325°F until a meat thermometer inserted into the thick meat reads 180°F. Place the probe in the meat, away from a bone, so you are checking the bird rather than the bone or the pan. The thermometer is the finishing cue for this recipe.
The finished roast should have gently golden skin and moist meat underneath. Avoid using a very dark outside as a target, especially when serving it during Intro Stage 4. GAPS directs you to avoid burned or too-brown bits when roasted meat is introduced.
Leave time in your meal plan for preparation as well as roasting. The initial thirty minutes is just the hot start. Keep the longer roast and thermometer checks in view when deciding when to begin your sides.
Build A Stage 4 Or Full GAPS Meal
For Intro Stage 4, keep the rest of the meal within the foods already introduced. Serve the roast meat with well-cooked nonstarchy vegetables, fermented vegetables and warm meat stock. Chicken meat stock gives you a straightforward cup to warm on the stove alongside the meal.
Add a little of your introduced probiotic food to the warm stock, as GAPS describes for this stage. The linked meat stock begins with raw, meaty chicken and its connective tissues. The cooked turkey carcass from this roast does not replace the raw meat used to make Intro meat stock.
For a Full GAPS holiday meal, Almond Meal Stuffing With Apple and Raisins makes a spoonable side. It bakes in its own dish, so you can check its softened vegetables, set center and browned edges while planning the turkey’s finishing work.
Honey-Sweetened Cranberry Sauce adds a tart, sweet contrast for Full GAPS. Keep those two fruit-and-nut side suggestions with the Full GAPS menu rather than treating them as the Stage 4 plate.
The turkey itself contains no dairy, grain or nuts. Garlic and celery are plant ingredients, so this version is not labeled No-Plant GAPS. Its cooking method and its flavoring ingredients both matter when you choose where a whole recipe fits.
Keep Leftovers Useful
After serving, remove the leftover meat from the bird and refrigerate it promptly in covered containers, or portion it for freezing. Keep breast and darker meat easy to identify if you want to use them for different meals. Label freezer portions with the recipe name and date.
Save the natural pan juices separately if there are leftovers. They belong to this roast and can moisten its cooked meat when reheating. Warm only the portion you plan to serve, rather than repeatedly heating the whole batch.
For Full GAPS, the Turkey Vegetable Soup With Meat Stock uses cooked turkey with a separate homemade stock. That gives the leftover meat a clear next job. Follow the soup’s own directions for its vegetables and stock.
Frequently Asked Questions
When Can I Have Roast Turkey On GAPS?
GAPS introduces roasted meat in Intro Stage 4, with cooked vegetables, fermented vegetables and a cup of warm meat stock. This garlic-and-celery roast also fits Full GAPS. Leave burned or overly browned pieces off the plate.
Does Thirty Minutes Mean The Turkey Is Finished?
No. Thirty minutes is the initial 400°F phase. Lower the oven to 325°F after that and continue roasting until the meat thermometer reads 180°F.
How Much Garlic And Salt Do I Need?
Use a few peeled cloves under the skin and salt the inside and outside to taste. The celery is two stalks per turkey. If you make more than one bird, season each one and divide the celery between them.
Can I Put The Almond Meal Stuffing Inside?
The turkey cavity in this recipe holds celery. Bake the linked Full GAPS stuffing in its own dish, following its separate directions. That also lets you check the stuffing’s set center and browned edges directly.
Will The Pictured Roaster Fit My Turkey?
Check the bird and the pan together before cooking. The pictured 5.25-quart model is a smaller-turkey example, with the maker’s guidance of up to twelve pounds. Larger birds need more roasting space.
Plan The Oven Work Before The Meal
The planned WFLI Holiday Menu & Prep Timeline fits a meal with a whole roast and several separate sides. Use it to arrange the preparation, oven jobs and finishing work around the meal you are serving. Look for release details in the WFLI shop.
For the cooking itself, have a suitably sized roasting pan and a meat thermometer ready. Put the turkey’s weight in your meal plan before choosing its oven start. Keep the thermometer check in that plan too.
Garlic And Celery Roast Turkey Recipe
Garlic and Celery Roast Turkey for GAPS
Ingredients
Equipment
Method
- Start with a fresh or fully thawed whole turkey. Remove packaging and any bag inside the cavity. Check the cavity and joints for remaining ice. Weigh the bird and choose an oven-safe roasting pan with enough room. Heat the oven to 400°F (205°C).
- Salt the turkey inside and out to taste. Tuck a few peeled garlic cloves between skin and meat. Put the celery stalks loosely in the cavity. Place the prepared turkey in the roasting pan without added glaze, bread stuffing or a nonstick rack.

- Roast at 400°F (205°C) for 30 minutes. Then lower the oven to 325°F (165°C). A little color may have begun developing on the skin, but it does not show that the thick meat is finished.
- Continue roasting at 325°F (165°C) until a meat thermometer inserted into thick meat away from a bone reads 180°F (82°C). Approximately 20 minutes per pound is a planning guide, not a fixed total for every bird. Use the thermometer endpoint.
- Remove the finished turkey from the oven. Serve and carve the meat. For GAPS Intro Stage 4, avoid burned or too-brown bits and serve with cooked vegetables, fermented vegetables and warm meat stock. For Full GAPS, choose compatible sides separately.
Notes
Tried this recipe?
Let us know how it was!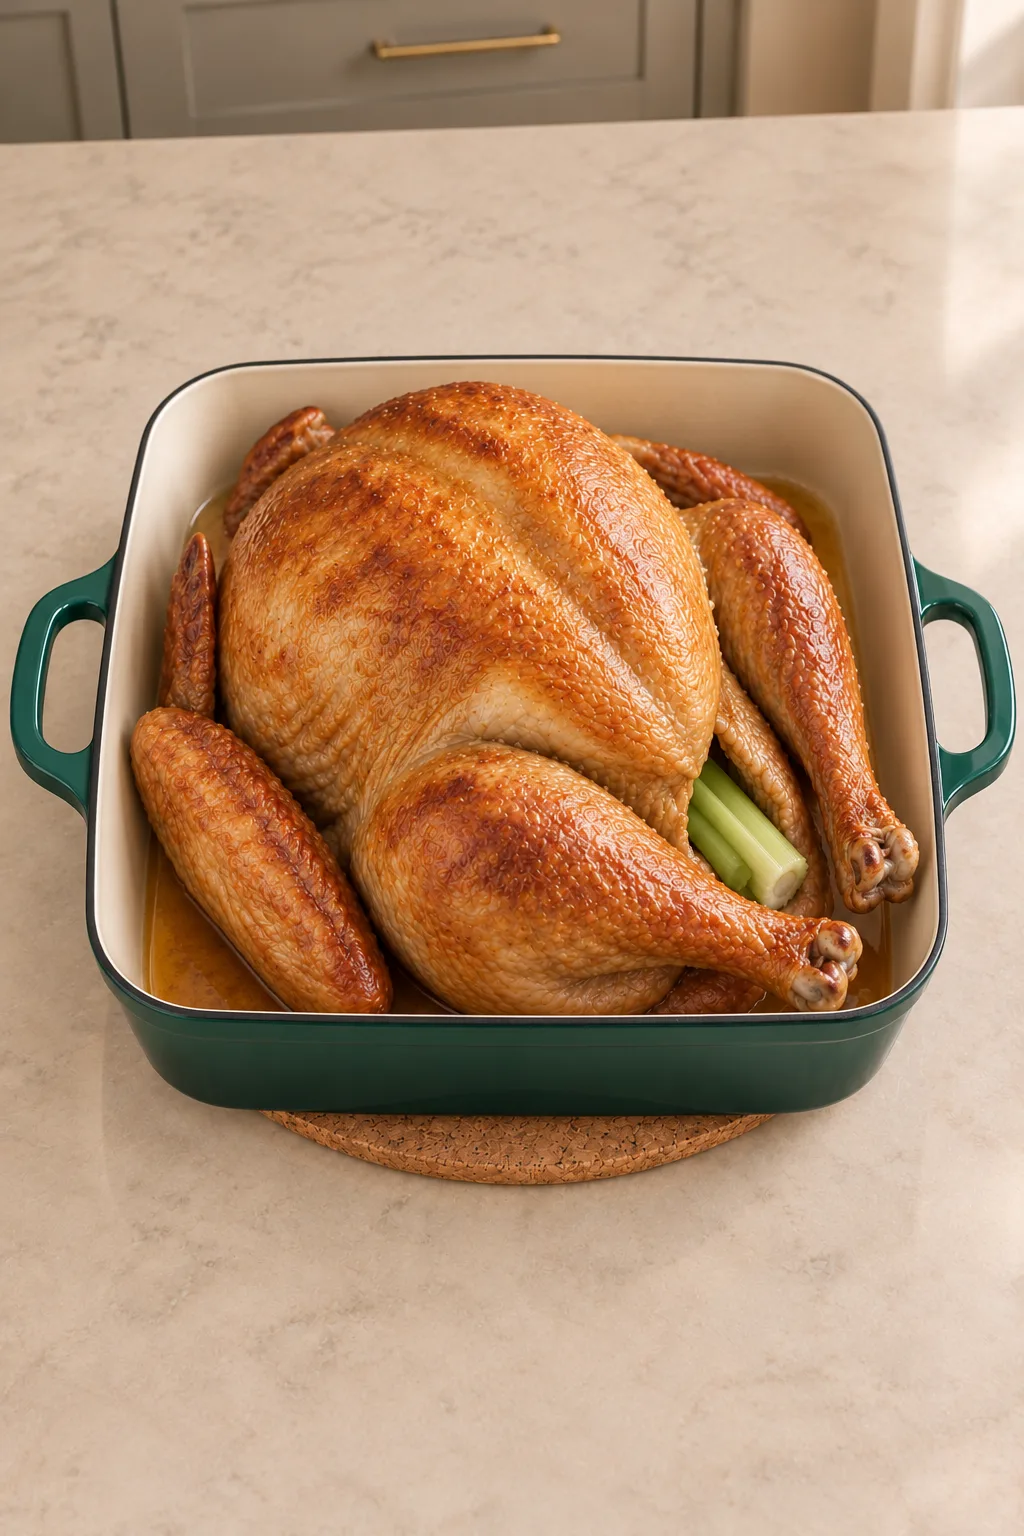

Leave a comment