

Properly prepared white navy beans take planning, but most of that time belongs to soaking and fermentation. One full one-pound batch gives you soft beans for Full GAPS salads, soups, baking, and freezer portions without opening a can or skipping the preparation that makes legumes easier to digest.
The order matters. White navy beans soak in warm alkalized water, ferment under liquid with homemade whey or kefir, then cook in fresh water until every bean is completely soft. Soaking alone is not the finished method used here.
I do not always have a freezer full of prepared components, and weekday cooking is harder when I skip that work. This is one of those jobs worth putting on the calendar. Start the beans several days before you need them, cook the whole bag, then freeze the extra in useful portions.
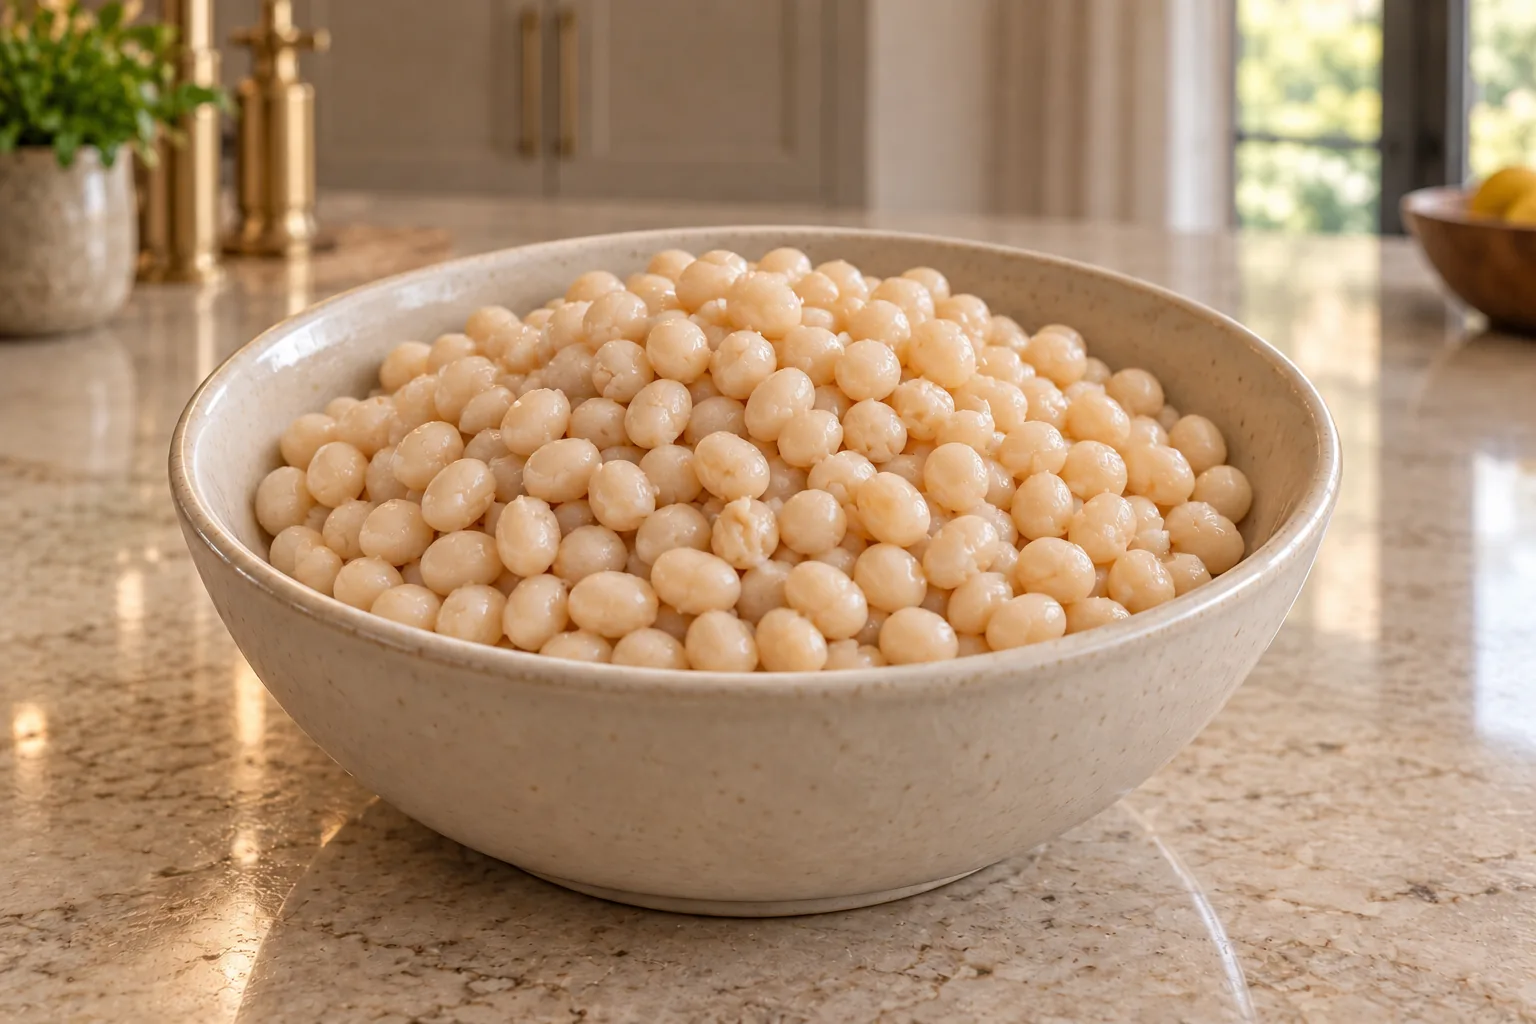
Use True White Navy Or Haricot Beans
Start with one 16-ounce bag of dried white navy beans. Haricot beans are the same small white bean under another name. They are compact ovals, much smaller than cannellini beans.
Do not swap in cannellini, white kidney, black, pinto, chickpea, or another bean because the color looks similar. GAPS names white navy or haricot beans specifically, and this method is built around that bean.
Sort the dry beans before soaking. Remove stones, broken debris, and any dark or shriveled beans. Rinse away loose dust in cool filtered water.
Where Properly Prepared Beans Fit On GAPS
These beans belong on Full GAPS after diarrhoea and other digestive symptoms have cleared completely and beans are ready for your menu. The current GAPS book says not to rush legumes. For many people, that means avoiding them for a year or longer.
Proper preparation does not mean pouring canned beans into a colander. Dried white navy beans need the soaking, fermentation, rinsing, and thorough cooking steps below. Canned beans and commercial bean flour do not replace that process.
This is the single-fermented white-navy-bean method used for the linked recipes on this site. The current GAPS book also contains a separate double-fermented bean preparation for people who need more extensive predigestion. Keep those methods distinct instead of silently blending their times and cultures.
Soak In Warm Water With Pure Bicarbonate
Put the rinsed beans in a large glass or ceramic bowl. Cover them generously with warm filtered water and add one small pinch of pure bicarbonate of soda.
Leave the beans to soak for 12 to 24 hours. Longer within that range is better. When the water cools, drain it and replace it with just-simmered filtered water plus another pinch of pure bicarbonate. Keep enough water above the beans to allow for expansion.
The beans will swell and become smoother as they take up water. The soak water may turn slightly cloudy. At the end of the soak, drain the beans and rinse them thoroughly under cool running water.
Use pure bicarbonate only. Baking powder and blended raising agents are different products and do not belong in this bean soak.
Ferment For Four To Six Days
Transfer the soaked, rinsed beans to a clean glass or glazed ceramic vessel. Add two quarts filtered water and one cup homemade whey or kefir. That preserves the GAPS ratio of one-half cup starter for every quart of water.
If two quarts do not keep the expanded beans fully submerged, add another quart of filtered water with another one-half cup starter. Do not add plain water by itself and dilute the culture ratio.
Cover the vessel loosely and keep it in a warm place out of direct sunlight for four to six days. The beans must remain under the liquid. Check the vessel every day rather than sealing it and forgetting it.
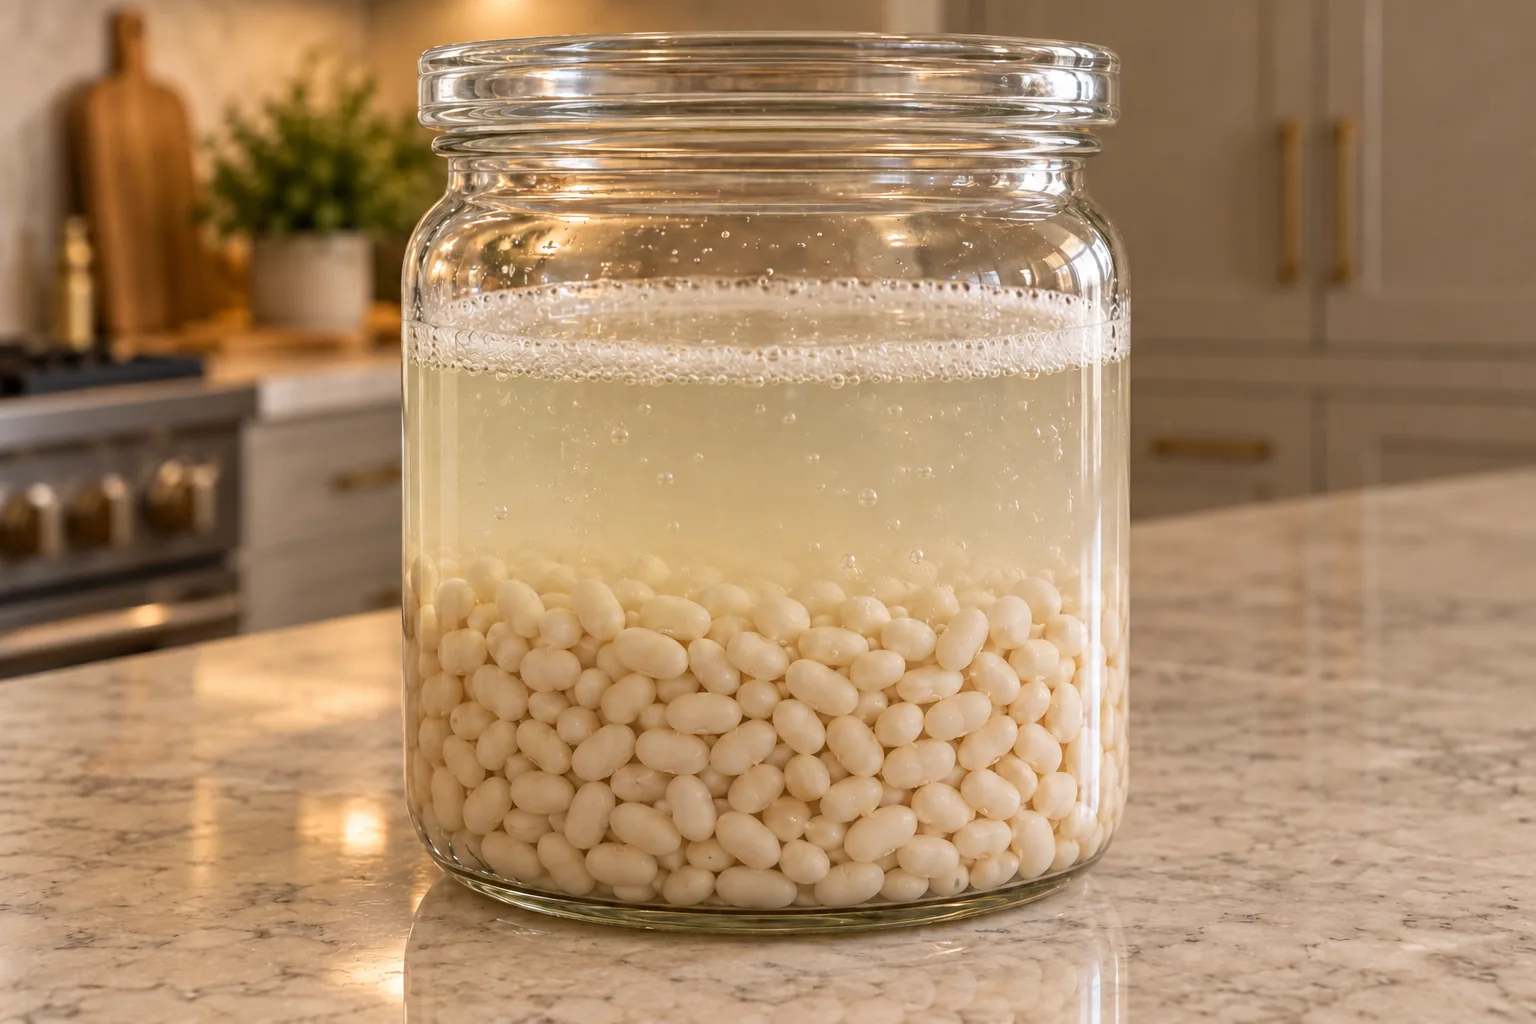
Sandor Katz’s The Art of Fermentation is the technique reference I use for reading a ferment as it changes. Here, normal activity can include lightly cloudy liquid, tiny bubbles, a thin clean froth, and a mild sour smell. The photographed beans stay below the water with clear headspace above them.
The change is gradual. Early in the ferment, the beans mostly smell wet and earthy. As the culture becomes active, the aroma turns lightly tangy and the liquid loses its glass-clear look. It should smell clean and pleasantly sour when you lift the loose cover, never putrid or chemical. Those cues matter more than expecting dramatic bubbling from every jar.
Fuzzy growth, colored spots, a rotten smell, or a dried bean layer at the surface is not the clean endpoint described here. Keep the vessel, beans, and liquid visually accessible so you can see the difference.
Drain And Rinse Before Cooking
After four to six days, pour the fermented beans into a stainless-steel colander. Discard the fermentation liquid and rinse the beans thoroughly with cool water.
Do not cook the beans in their old soak or fermentation water. Fresh cooking water carries away the liquid used during predigestion and gives the finished batch a cleaner flavor.
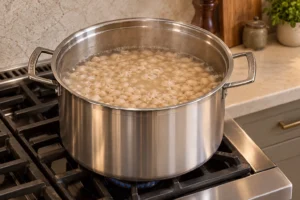
Move the rinsed beans to a large stainless-steel stockpot. Add plenty of fresh filtered water and one and one-half teaspoons natural sea salt. Leave room for simmering and for more water if the level drops during the long cook.
Simmer Until Completely Soft
Bring the fresh water and beans to a boil. Lower the heat to a gentle simmer and skim away foam that rises to the surface.
Cook for two to six hours. Bean age, soaking time, and water all affect the length. Check the water level periodically and add more hot filtered water when the beans are no longer well covered.
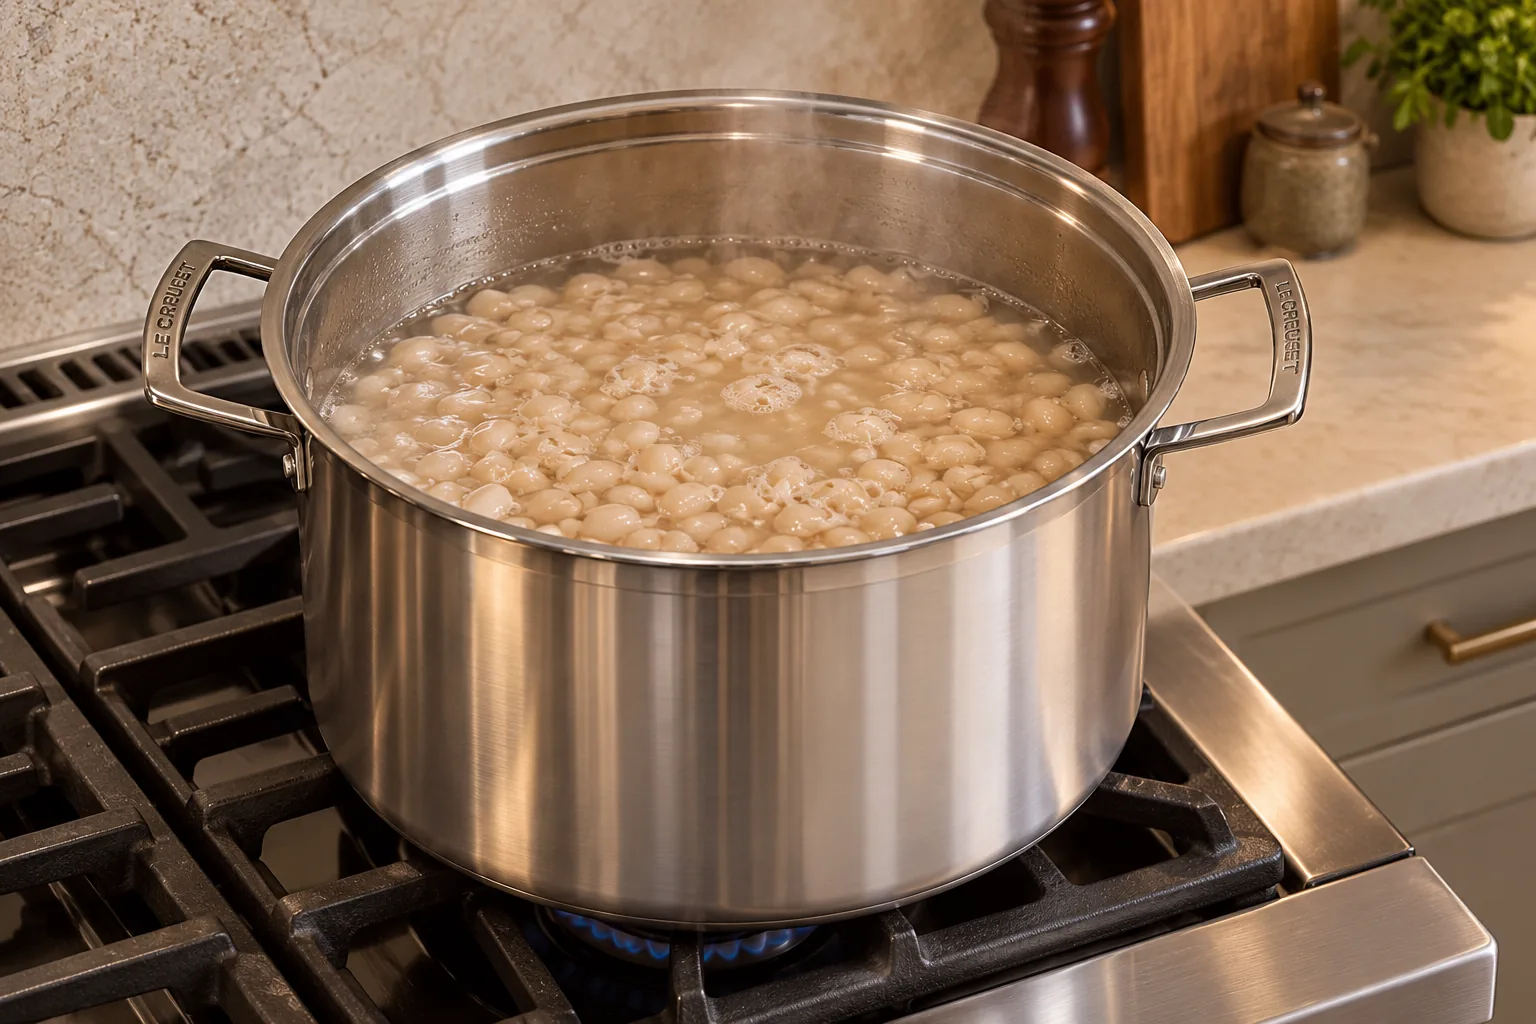
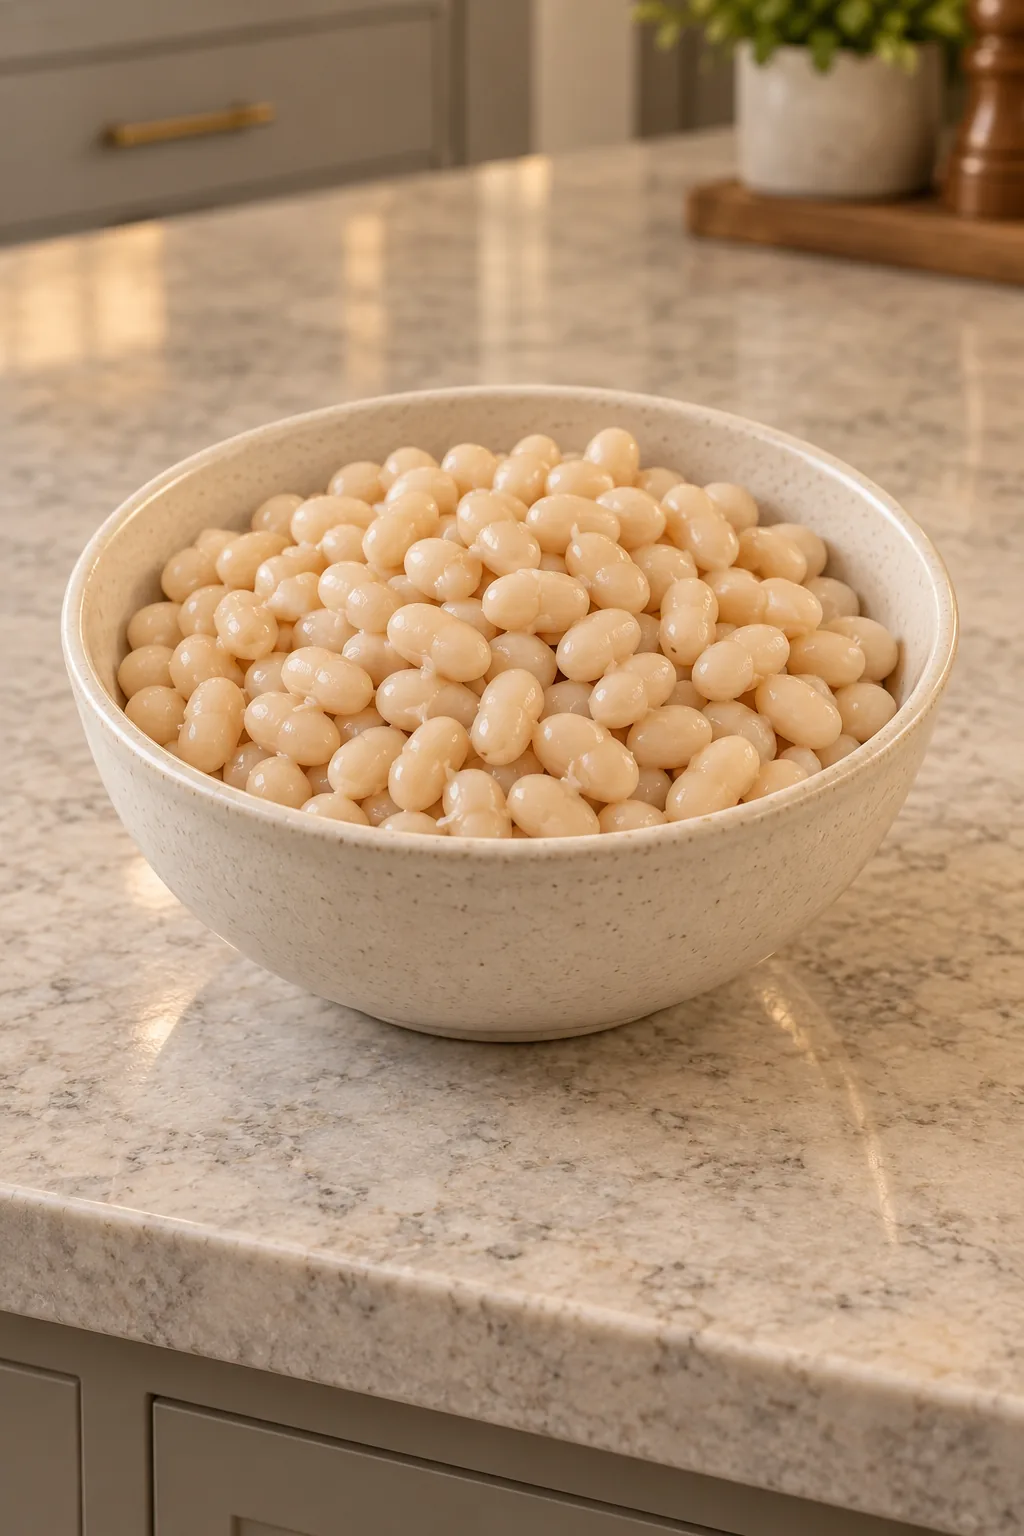
A finished bean should crush easily between a fork and the side of a bowl. The center should be creamy rather than chalky or firm. Some skins will split, and a few beans may begin to break apart. That is a better endpoint than stopping while the batch still looks perfectly intact.
Taste one only after it has cooled enough to handle. The center should feel smooth and tender all the way through, with no dry fleck hiding beneath the skin. The cooking liquid may look a little starchy, and the aroma should be mild and bean-like. If the bean looks soft outside but still feels grainy in the middle, add hot water as needed and keep the pot at a quiet simmer.
Drain the beans once they are completely soft. If you plan to freeze some, reserve enough clean cooking liquid to keep those portions from drying out.
Use The Batch In Full GAPS Meals
Prepare the beans once here, then measure them into the salad, soup, chili, or baking recipe that needs them. Keeping a plain batch on hand gives each meal its own clear flavor and directions without making you repeat this several-day preparation every time.
Measure one and three-quarter cups of these prepared beans for the GAPS Marinated Asparagus and White Bean Salad. Use the remaining batch in another recipe or freeze it in measured portions.
You can also use properly prepared beans in the White Navy Bean and Pork Hock Soup. Keep that finished soup separate from this plain foundation.
Cooling, Storage, And Freezing
Cool the drained beans promptly in a shallow glass container. Refrigerate the portion you will use soon and freeze the rest.
For freezing, divide the beans into recipe-size glass containers and add a little reserved cooking liquid. Leave room for expansion. Label each container with the quantity so you do not need to thaw the full batch for a recipe that needs only one and three-quarter cups.
A wide, shallow container cools more evenly than a deep jar packed while the beans are still steaming. Once chilled, the beans should remain plump and separate easily with a spoon. A small amount of cooking liquid protects their creamy texture; a container flooded with liquid is harder to measure accurately for salads.
Thaw beans overnight in the refrigerator. Drain away extra liquid when a cold salad needs them dry; keep the liquid when a soup or stew can use it.
Recommended Equipment
- Large glass or glazed ceramic soaking and fermenting vessel with a loose-fitting lid
- Bormioli Rocco Fido two-liter glass jar, using a larger vessel or proportional second jar when needed to keep the expanded beans submerged
- Large stainless-steel colander or Cuisinart stainless mesh strainer set
- Le Creuset Classic stainless-steel stockpot or another uncoated stainless stockpot
- Liquid measuring cup and measuring spoons
- Covered freezer-suitable glass containers
A one-pound dry batch expands substantially. Choose the fermentation vessel for the soaked volume rather than the compact dry beans, and leave real headspace above the liquid.
Frequently Asked Questions
Are Cannellini Beans The Same As White Navy Beans?
No. Use small white navy or haricot beans. Cannellini beans are a larger white kidney bean and are not the bean specified for this preparation.
Can I Use Canned White Beans?
No. Canned beans skip the controlled home soaking and fermentation sequence. Begin with dry, unprocessed white navy beans.
Can I Skip The Fermentation?
No. This method is defined by soaking, fermenting, rinsing, and cooking. Skipping the fermentation gives you a different preparation.
Can I Use Yogurt Instead Of Whey Or Kefir?
For this batch, use homemade whey or homemade kefir at one-half cup per quart of water. That ratio remains easy to measure if the beans need another quart of liquid.
How Do I Know The Beans Are Cooked Enough?
Press one with a fork. It should collapse into a creamy paste without a firm or chalky center. Keep simmering if the middle resists.
Why Does The Cooking Time Range From Two To Six Hours?
Bean age and soaking affect how quickly the beans soften. Use the texture endpoint rather than removing the pot at two hours while the centers are still firm.
Can I Pressure Cook The Beans?
No. This method uses a gentle stovetop simmer after soaking and fermentation. Keep the pressure cooker out of this bean preparation.
Properly Prepared White Navy Beans Recipe
Properly Prepared White Navy Beans for Full GAPS
Ingredients
Equipment
Method
- Sort the dry beans, removing stones, debris, and damaged beans. Rinse thoroughly in cool filtered water.
- Place the beans in a large glass or glazed ceramic vessel. Cover generously with warm filtered water and add 1 small pinch pure bicarbonate of soda. Soak for 12 to 24 hours. Each time the water cools, drain it and replace it with just-simmered filtered water plus another pinch bicarbonate, keeping the expanding beans well covered.
- Drain the soaked beans and rinse them thoroughly. Return them to a clean glass or glazed ceramic vessel. Add the scaled 2 quarts filtered water and scaled 1 cup homemade whey or kefir. If the beans are not fully submerged, add water and starter together at the same 1/2 cup starter per quart ratio.
- Cover loosely and ferment in a warm place out of direct sunlight for 4 to 6 days, keeping every bean below the liquid. Check daily. Light cloudiness, tiny bubbles, thin clean froth, and a mild sour aroma are expected; discard a batch with fuzzy growth, colored spots, or a rotten smell.
- Pour the fermented beans into a stainless-steel colander. Discard the fermentation liquid and rinse the beans thoroughly with cool water.
- Transfer the rinsed beans to the stockpot. Add plenty of fresh filtered water and the scaled sea salt. Bring to a boil, lower to a gentle simmer, and skim away foam that rises.
- Simmer for 2 to 6 hours, checking the water level and adding hot filtered water whenever the beans are no longer well covered. Continue until the centers are completely creamy and a bean crushes without resistance or a chalky middle.
- Drain the completely soft beans. Reserve a little clean cooking liquid for any portions you plan to freeze. Cool promptly in shallow glass containers, then refrigerate or freeze in measured recipe-size portions.
Notes
Tried this recipe?
Let us know how it was!Make Full GAPS Prep Easier
The planned Weekly Kitchen Rhythm Planner will help you place long jobs like the soak, four-to-six-day ferment, cooking day, and freezer portioning on a real family schedule. Follow its progress with the current resources in the WFLI shop.

Leave a comment