

That damp coconut pulp left after you strain homemade coconut milk still has a job to do. Spread it thinly, dry it completely, cool it, and pulse it briefly. The result is a small batch of homemade coconut flour with no sweetener, starch, preservative, or other ingredient added.
This one-hour method begins with all the pressed pulp from one exact hot-water coconut milk batch made with 1 1/2 cups additive-free shredded coconut and 2 1/2 cups hot filtered water. It does not use the pulp from the room-temperature or Almond Cow milk formulas. Those batches have their own drying schedules and their own recipe posts.
GAPS placement: Full GAPS
Drying time: About 1 hour, continuing until fully dry
Yield: The flour produced from one matching hot-water coconut-milk batch
Formula: One-hour residual-pulp method
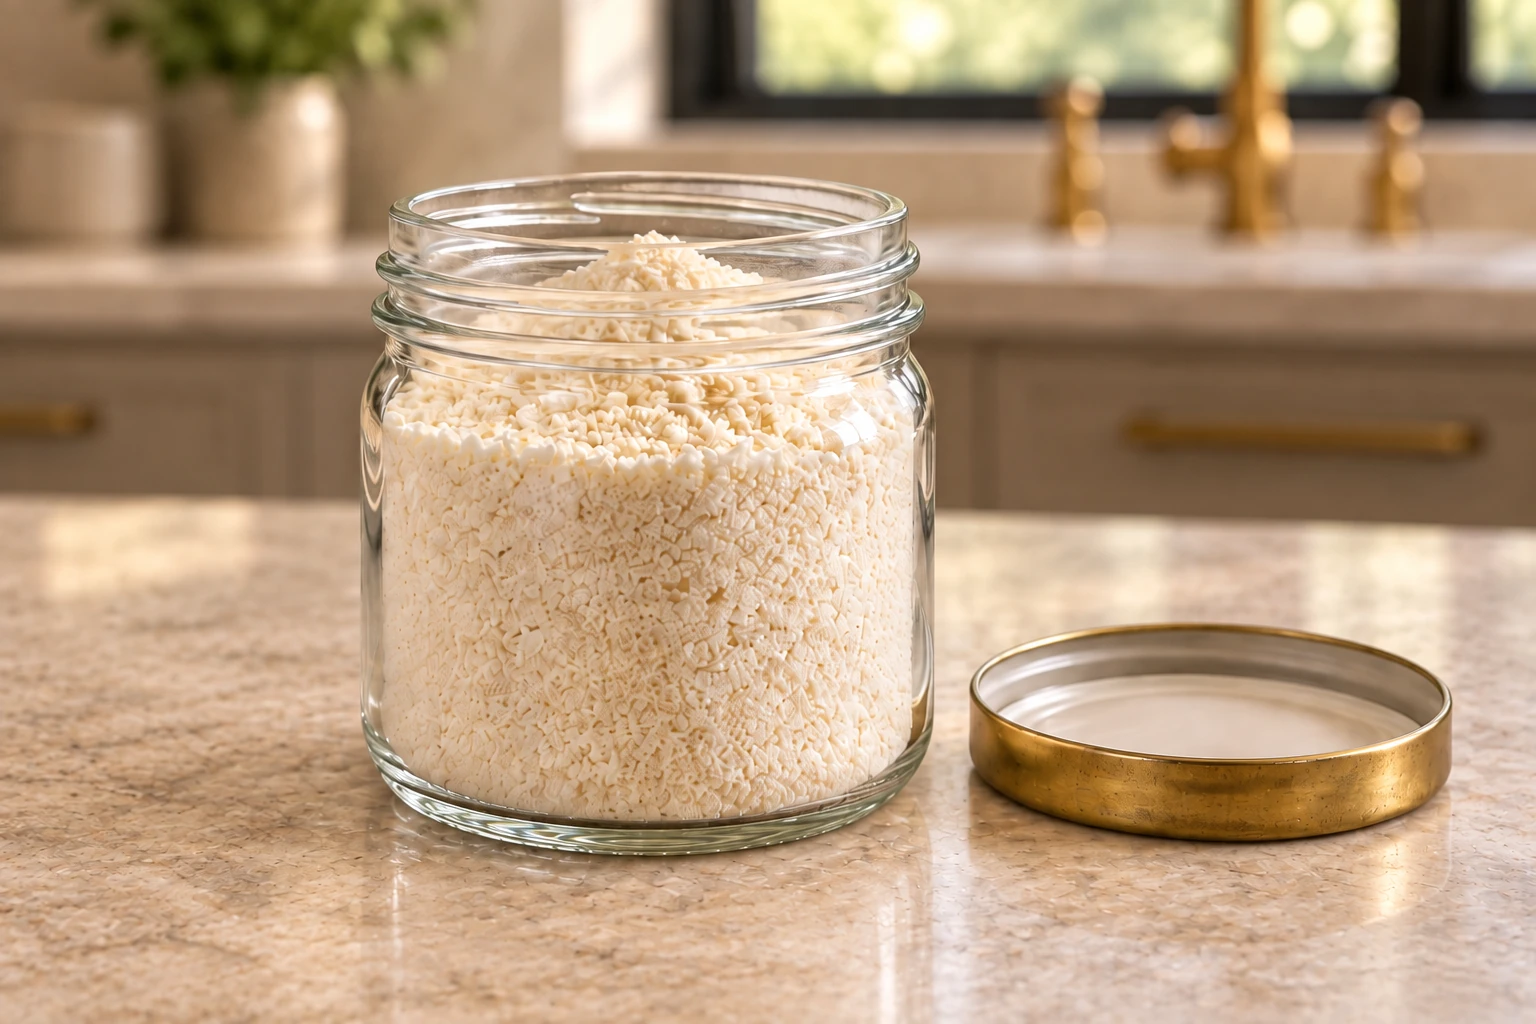
Making one food from the leftovers of another sounds efficient, and it is, but it also creates a little chain of jobs. There is milk to refrigerate, pulp to dry, and flour to label. In a week that includes homeschooling before I leave for second shift, I am not counting on myself to remember which pale container came from which batch hours later. Label the damp pulp hot-water batch before you set it aside. That will not happen twice.
This page contains one complete flour preparation and one recipe card. The long-dry and Almond Cow routes are genuinely different recipes. Keeping them in separate posts protects the measured milk formula, the drying surface, the temperature, and the physical endpoint for each batch.
Start With the Matching Coconut Pulp
The only ingredient is the damp pulp left after the hot-water coconut milk is blended, strained, and gently pressed. Use all of the pulp from that one batch. Do not add fresh shredded coconut, water, sweetener, oil, or another flour. This recipe starts after the milk has already been removed.
The pulp should be damp and compact but no longer releasing a steady stream of milk. If it is still dripping freely, finish the milk recipe first. If it has already dried in thick clumps in the refrigerator, break those clumps apart before they reach the tray so the center does not stay moist.
This formula does not promise a finished cup yield. The amount depends on how much liquid your cloth and pressing method left in the pulp, then how much moisture leaves during drying. The correct endpoint is fully dry flour from the complete matching batch, not a made-up volume.
Recommended Equipment
- Uncoated stainless-steel rimmed baking sheet
- Parchment paper
- Oven at its lowest setting, or a food dehydrator with stainless-steel trays
- Glass-vessel blender or food processor with stainless-steel blade
- Clean, completely dry glass jar
The one-hour route uses parchment on an uncoated stainless-steel sheet. The parchment helps keep the small pieces together while the sheet gives the pulp a broad, level drying surface. Use a tray large enough to spread the pulp thinly without crowding it into a mound.
The blender or processor needs to be completely dry before the cooled pulp goes in. A damp vessel puts moisture back into an ingredient you just spent an hour drying. Check under the blade and around the lid before you load it.
How to Make One-Hour Coconut Flour
- Prepare the tray. Line the uncoated stainless-steel rimmed baking sheet with parchment paper.
- Spread the damp pulp. Break up the pressed coconut pulp and scatter it across the parchment in a thin, even layer. Separate thick clumps so the center can dry at the same rate as the edges.
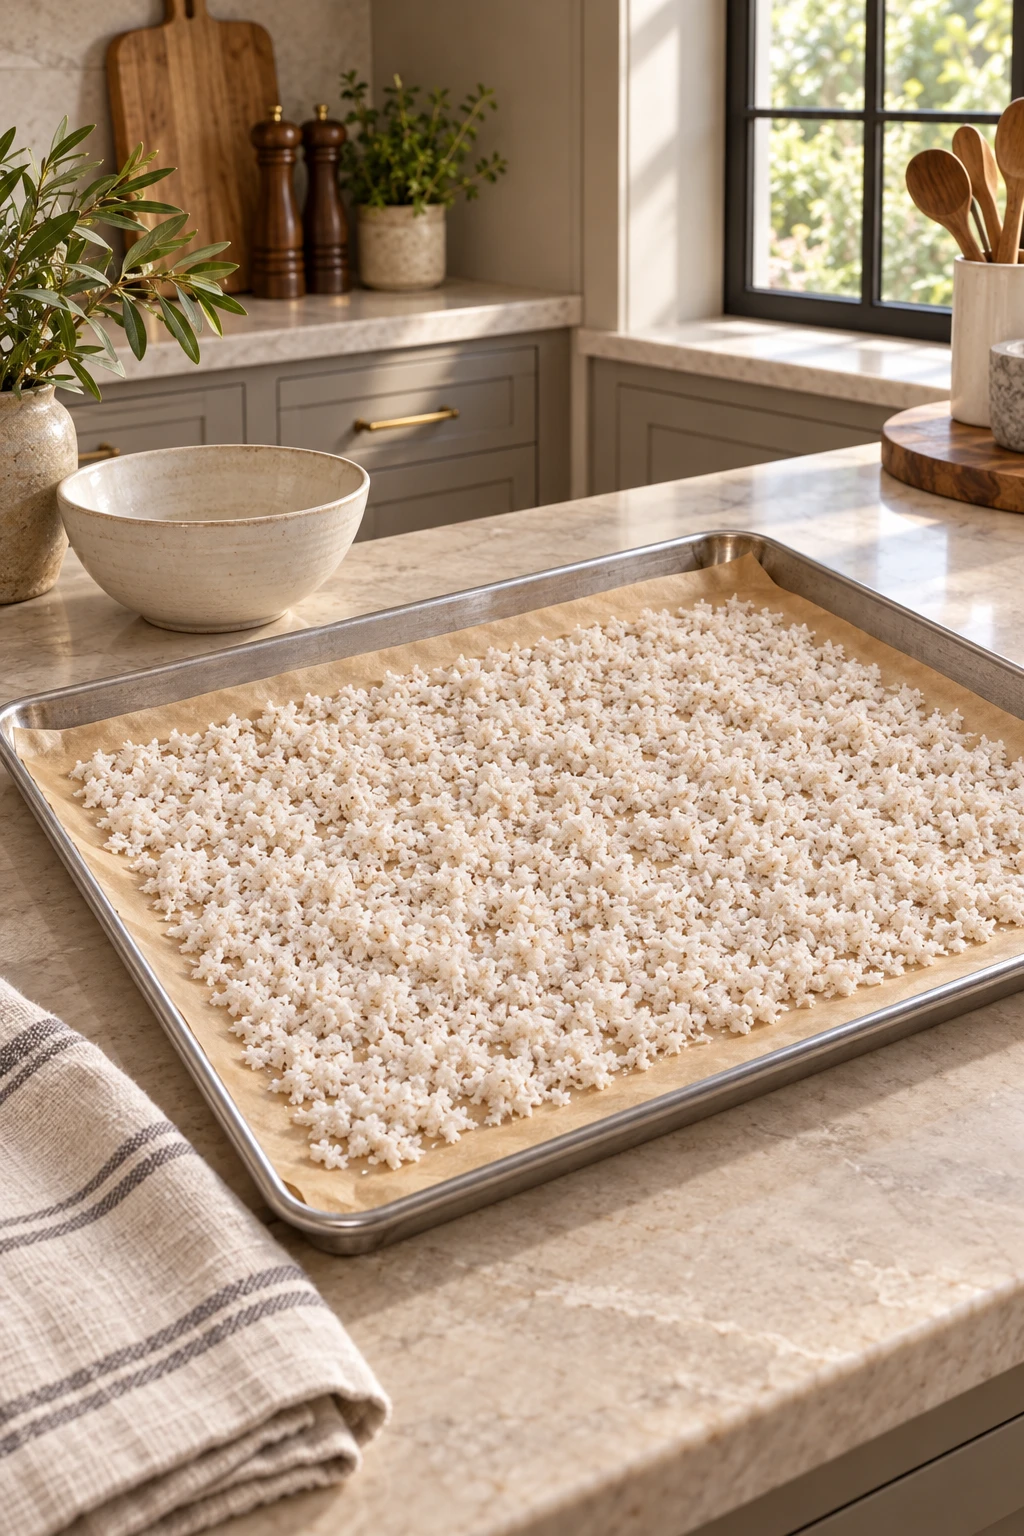
- Dry it completely. Put the sheet in the oven at its lowest setting for about 1 hour, or use a food dehydrator with stainless-steel trays. Continue drying until every part feels dry rather than cool, soft, or damp.
- Cool the pulp. Remove the tray and let the dry coconut cool completely. Warmth can make the final texture harder to judge and can trap moisture if the flour is sealed too soon.
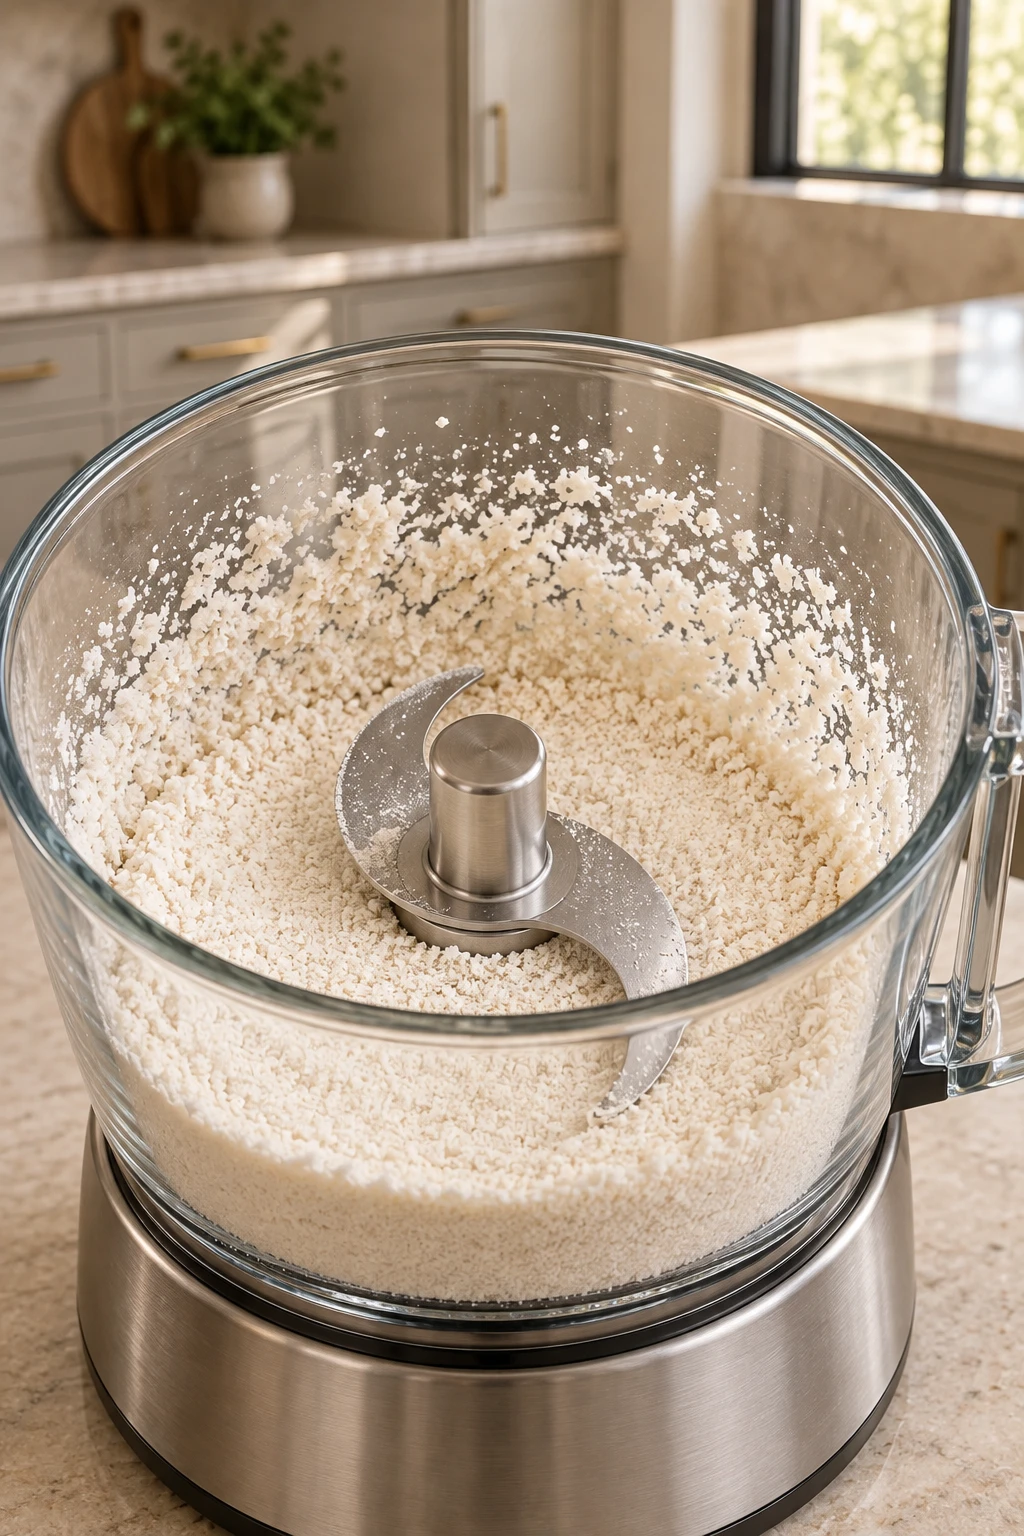
- Load the dry processor. Transfer all of the cooled, dried pulp to a completely dry glass blender vessel or food processor with a stainless-steel blade.
- Pulse briefly. Pulse for only a few seconds at a time. Stop when the pieces have become a fine, loose flour and before continued processing releases enough coconut fat to make it clump.
- Jar the flour. Transfer the flour to a clean, dry glass jar only after both the flour and container are completely cool and dry.
Watch the Dryness and Grinding Cues
The drying time is a guide. Complete dryness is the endpoint. Before the tray leaves the oven or dehydrator, pinch one of the thickest pieces between your fingers. It should feel dry and loose all the way through. A piece that feels cool, soft, or slightly bendable still holds moisture. Break it apart, spread it back out, and keep drying.
Look across the whole tray rather than checking only a crisp edge. Thin bits dry first. A mound near the center can stay damp after the rest feels ready, which is why step 2 matters so much. You should be able to see parchment between small pieces in places instead of one thick blanket of pulp.
The processor gives you a different cue. At first, the cooled pulp looks coarse and irregular. After a few short pulses it becomes a finer, loose meal. Stop there. Coconut still contains fat after the milk is pressed out. Continuous processing warms that fat and moves the flour toward damp clumps and coconut butter.
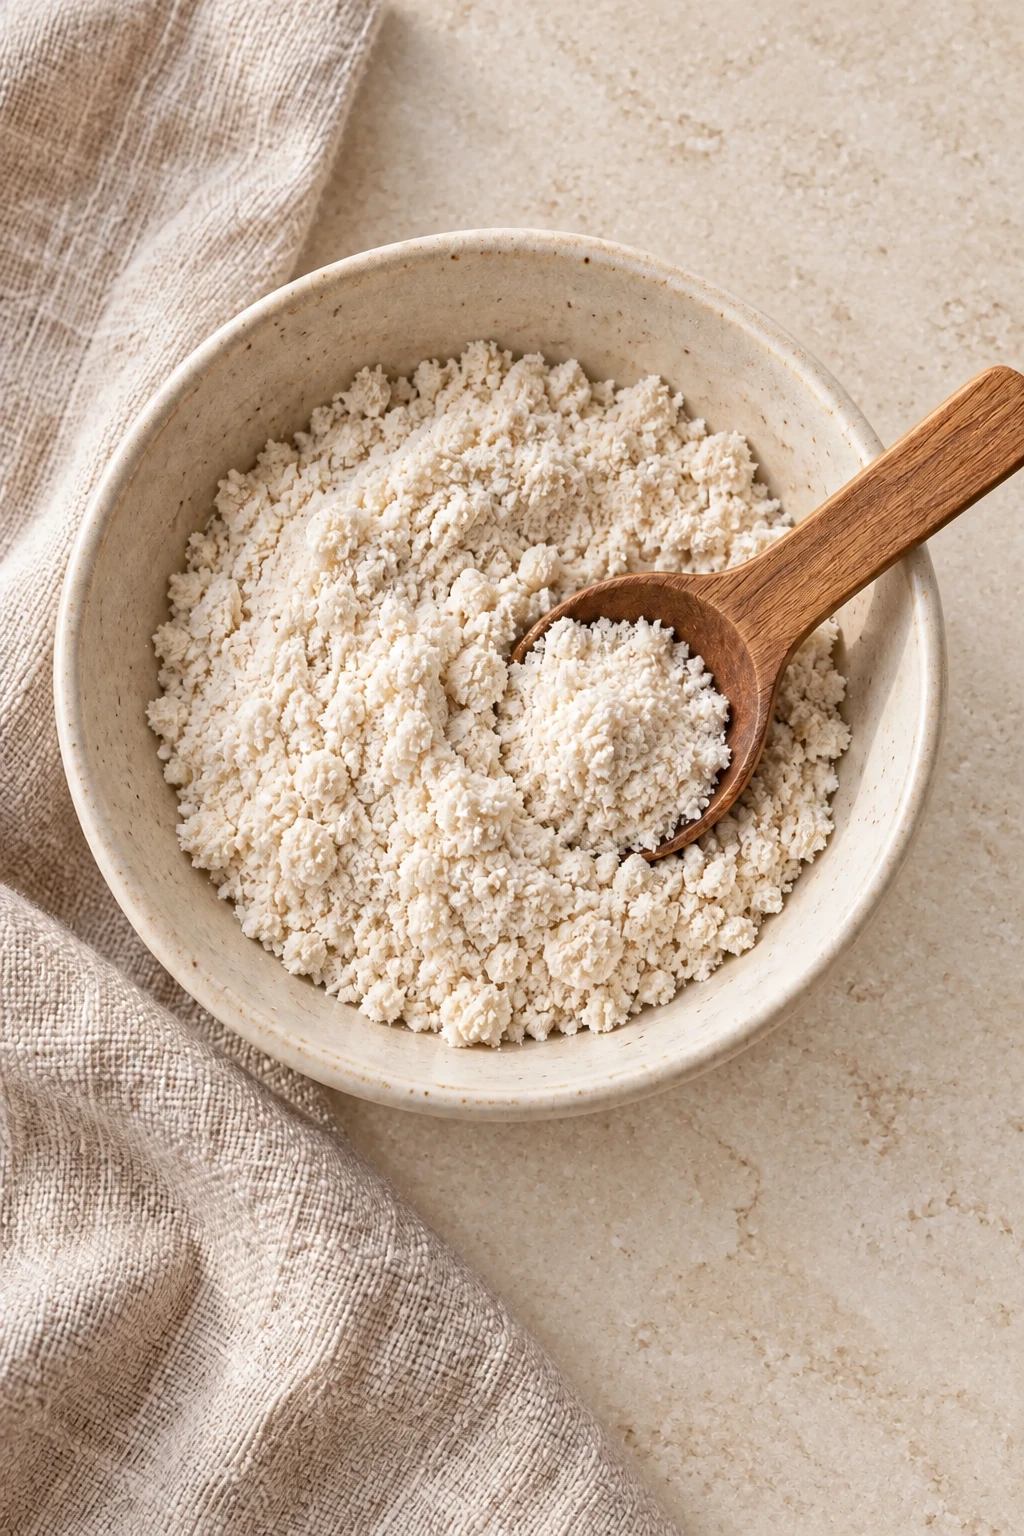
The finished flour should look pale, fine, and loose. It may not be as powdery or uniform as commercial coconut flour, and that is fine. This is residual-pulp flour from one measured homemade milk batch. Its job is to be used in a recipe written and measured for homemade coconut flour. Keep that small-batch identity on the jar instead of treating every coconut flour as interchangeable.
One-Hour Coconut Flour
Ingredients
Equipment
Method
- Line the uncoated stainless-steel baking sheet with parchment paper.
- Break up the damp pressed pulp and spread it in a thin, even layer. Separate thick clumps so the pulp can dry at the same rate.
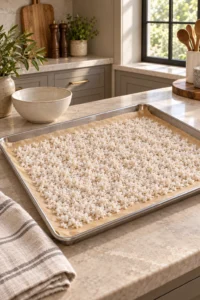
- Place the sheet in the oven at its lowest setting for about 1 hour, or use the food dehydrator. Continue until every part of the pulp is fully dry rather than damp or soft.
- Let the dried pulp cool if it is warm from the oven or dehydrator.
- Transfer the dry pulp to the glass blender vessel or food processor.
- Pulse for only a few seconds at a time. Stop when the coconut reaches a fine flour texture and before extended processing turns it into coconut butter.
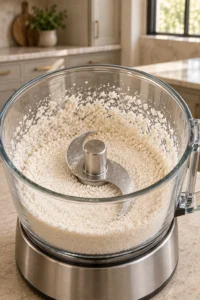
- Transfer the finished flour to the glass jar.
Notes
Tried this recipe?
Let us know how it was!Why This Fits Full GAPS
The 2020 Gut and Physiology Syndrome book permits pure, additive-free coconut flour on Full GAPS and distinguishes it from commercially processed forms with unwanted additions. This recipe makes flour at home from one ingredient already used to make homemade coconut milk.
This remains a Full GAPS pantry component. It is not assigned to an Introduction Diet stage. When a later baking recipe calls for replacement flour to be fermented before baking, follow that recipe’s measured fermentation method and quantities. This page prepares the dry flour itself and does not invent a general soaking or fermentation time.
Homemade pulp flour is not automatically interchangeable with every store-bought coconut flour. Commercial products can be milled differently, defatted differently, or processed to a different moisture level. Use this flour where the recipe specifically calls for homemade coconut flour and gives its own amount.
Storage and Use
Let the flour cool completely before closing the jar. Warm flour in a sealed container can trap moisture, which is exactly what the drying step was meant to remove. Use a clean, completely dry jar and a dry spoon every time you scoop.
This formula does not establish a fixed storage duration. Label the jar with the date and one-hour hot-water pulp so it is not confused with flour from the room-temperature or Almond Cow batches. If you make more than one kind, store them in separate labeled jars.
Do not use the flour simply because a recipe says “coconut flour” without checking the method. A recipe developed around commercial flour may absorb liquid differently. Follow a vetted Full GAPS recipe written for homemade flour, and use the visible batter or dough cues supplied there.
Related Recipes
- Hot-Water Homemade Coconut Milk for Full GAPS supplies the exact pressed pulp used here.
The long-dry room-temperature pulp and the Almond Cow pulp remain separate formula posts. Their links belong here after those posts complete the same public release check.
Frequently Asked Questions
Can I Start With Dry Shredded Coconut?
No. This exact recipe begins with the damp pressed pulp from the linked hot-water coconut milk. Grinding dry shredded coconut directly would be a different formula.
Is One Hour Always Enough?
About one hour is the measured timing, but the pulp must be completely dry. Continue drying when any thick piece still feels cool, soft, or damp.
Can I Use a Food Dehydrator?
Yes. Use a food dehydrator with stainless-steel trays and keep the same complete-dryness endpoint. The method does not replace that endpoint with a new fixed dehydrator time.
Do I Need Parchment?
Yes. This one-hour formula uses parchment on an uncoated stainless-steel rimmed baking sheet. The separate pulp recipes keep their own approved tray preparation.
Why Use Short Pulses?
Short pulses reduce the dry pulp to a fine texture without processing long enough to release so much coconut fat that the flour clumps or turns toward coconut butter.
What If the Flour Starts Clumping?
Stop the processor. If the pulp was fully dry and cool, clumping during grinding usually means the coconut fat is beginning to release. The endpoint is a fine, loose flour, so more processing will not improve it.
Will This Behave Exactly Like Commercial Coconut Flour?
No identical substitution is promised. Use this flour in recipes that measure homemade coconut flour and provide their own liquid ratios and physical cues.
Put Your Homemade Flour to Work
Making the flour is only useful if you know what to do with it next. The coming-soon Breads, Crackers & Wraps Cookbook will collect the dough and batter recipes that put homemade GAPS flours to work with clear texture cues. You can find it with the other WFLI guides in the shop.

Leave a comment