

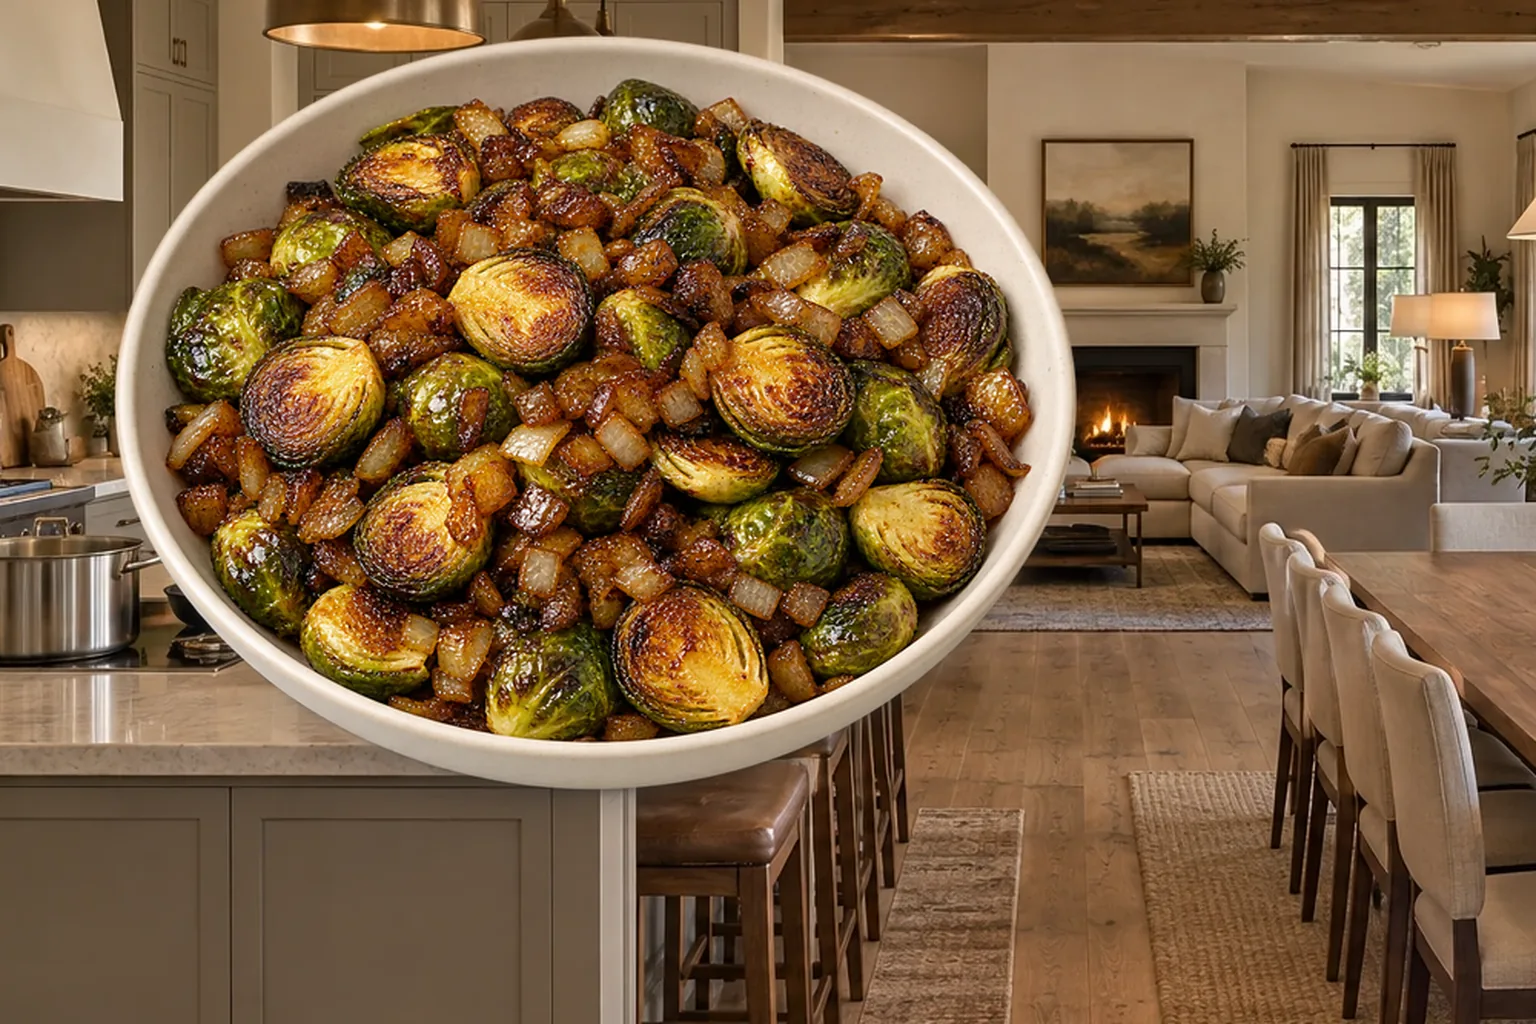
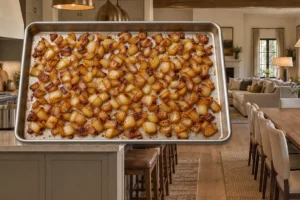
Roasted Brussels sprouts with crispy onions gives you two different kinds of browning in one Full GAPS side. The sprouts roast cut-side down until their flat surfaces are deep gold. Diced yellow onions start first and stay in the oven long enough to become sweet, browned, and crisp at the edges.
Two small sheet pans make the timing easier. You can remove the sprouts when they are tender without waiting for the onions, or keep the onions roasting while the sprouts catch up. One large pan also works when you keep the vegetables on separate sides.
I cook in the morning before homeschool and second shift, so I appreciate a method that gives each vegetable a clear checkpoint. The onions go in first. The sprouts join later. Once both pans are roasting, you only need to turn the onions twice and watch for browned edges.
Where This Side Fits on GAPS
This measured version is for Full GAPS after Brussels sprouts, onions, and the chosen cooking fat are introduced and tolerated. It is not an Introduction Diet recipe. The goal here is a dry, deeply roasted surface rather than the soft simmered vegetables used earlier.
Use one-quarter cup duck fat or fat rendered from salt-only, unsmoked, additive-free home-cured bacon. Divide the fat evenly between the onion pan and the sprout pan. The measured amount stays the same whichever of those two fats you choose.
Cold-pressed olive oil and avocado oil stay for unheated finished food in this GAPS version. They do not replace the measured fat in the 400°F roast. If you enjoy olive oil with Brussels sprouts, add a small raw drizzle only after the vegetables come out of the oven.
The dish is egg-free, gluten-free, nut-free, and dairy-free. It does not need cheese, nuts, or a sweet glaze. The long-roasted onions bring the sweetness.
Why the Onions Start First
One and one-half medium-large yellow onions need more oven time than one pound of cut Brussels sprouts. Starting the onions 25 to 30 minutes earlier lets them brown fully without overcooking the sprouts.
Dice the onions rather than slicing them into long strips. Small pieces spread into one layer, pick up the melted fat, and develop browned edges. Keep the pieces fairly even so tiny bits do not burn while larger pieces remain pale.
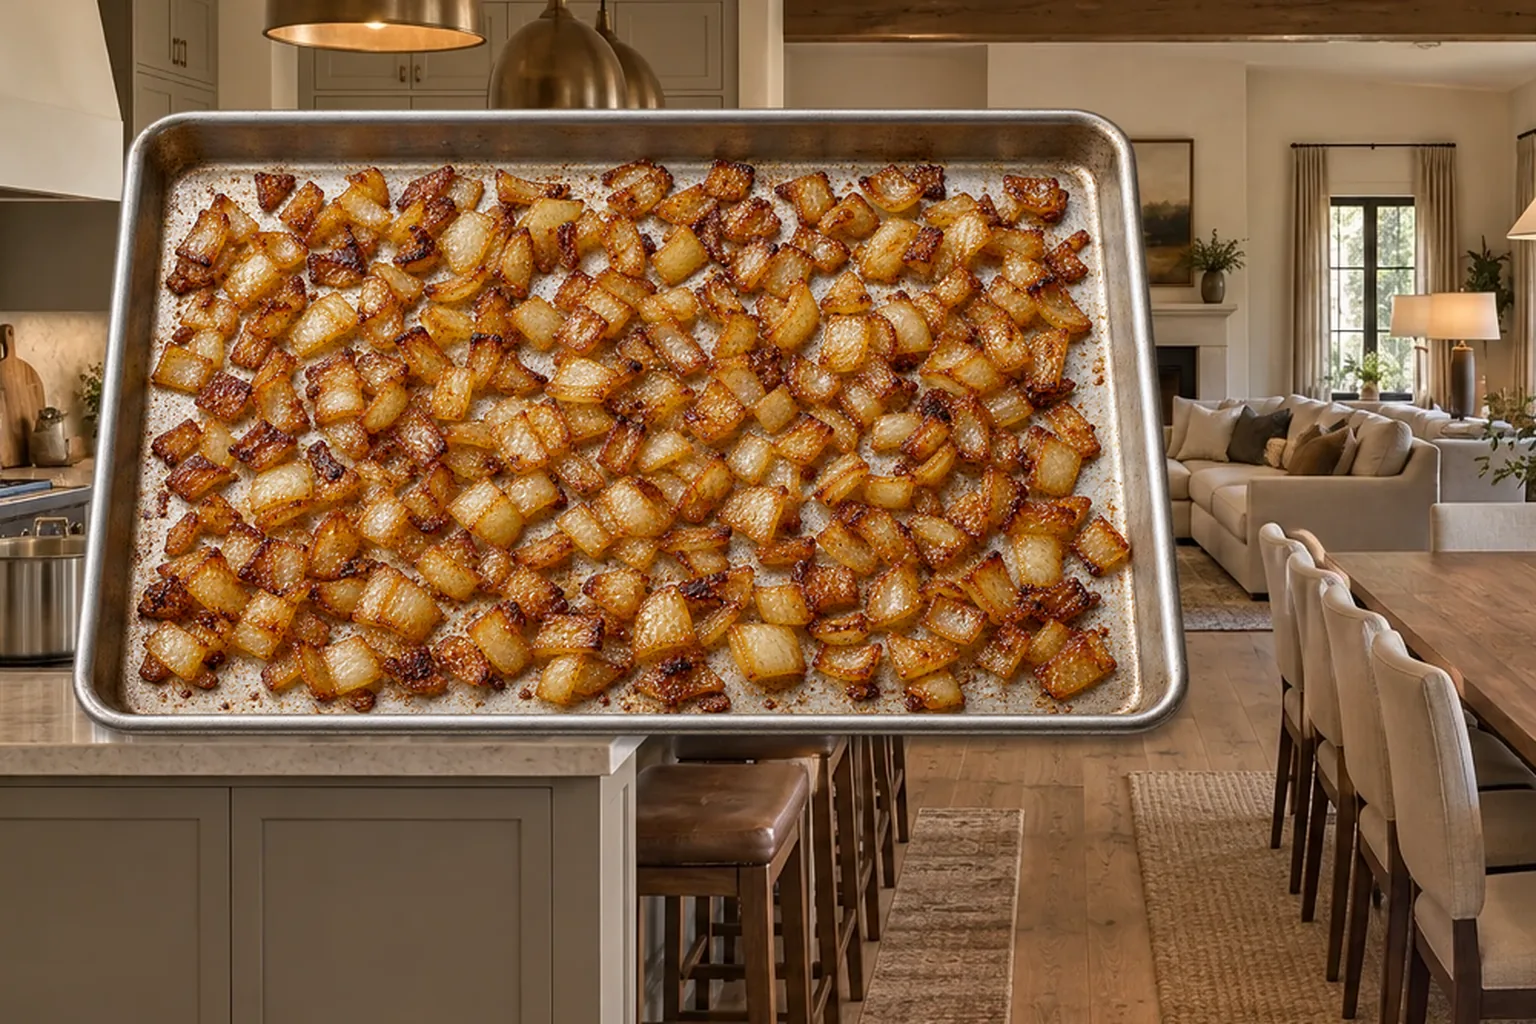
The onions will first look glossy and pale. As water cooks away, the pieces shrink and their edges turn gold. By the end, they should be deeply browned across the pan without a sharp burned smell.
Use two wooden or silicone spoons to toss them about twice while they roast. Pull darker pieces toward the center and move paler pieces closer to the outside. That small adjustment helps the whole pan finish together.
Prepare and Roast the Onion Pan
Heat the oven to 400°F. Put two tablespoons of the measured fat on one small uncoated stainless-steel sheet pan. If the fat is solid, slide the empty pan into the oven only until it melts.
Add the diced onions and three-quarters teaspoon mineral sea salt. Toss until the pieces look lightly glossy, then spread them into one layer. Thick piles trap moisture and slow the browning you want.
Roast the onions for 25 to 30 minutes before the Brussels sprouts go into the oven. This is their head start, not their full cook time. They will continue roasting while the sprouts cook.
During the second part of the roast, toss the onions about twice. They are ready when the pieces are soft through the centers and deep golden brown at the edges. A few darker corners are welcome. Black, dry pieces and a bitter smell mean they have gone too far.
Cut the Brussels Sprouts for Even Browning
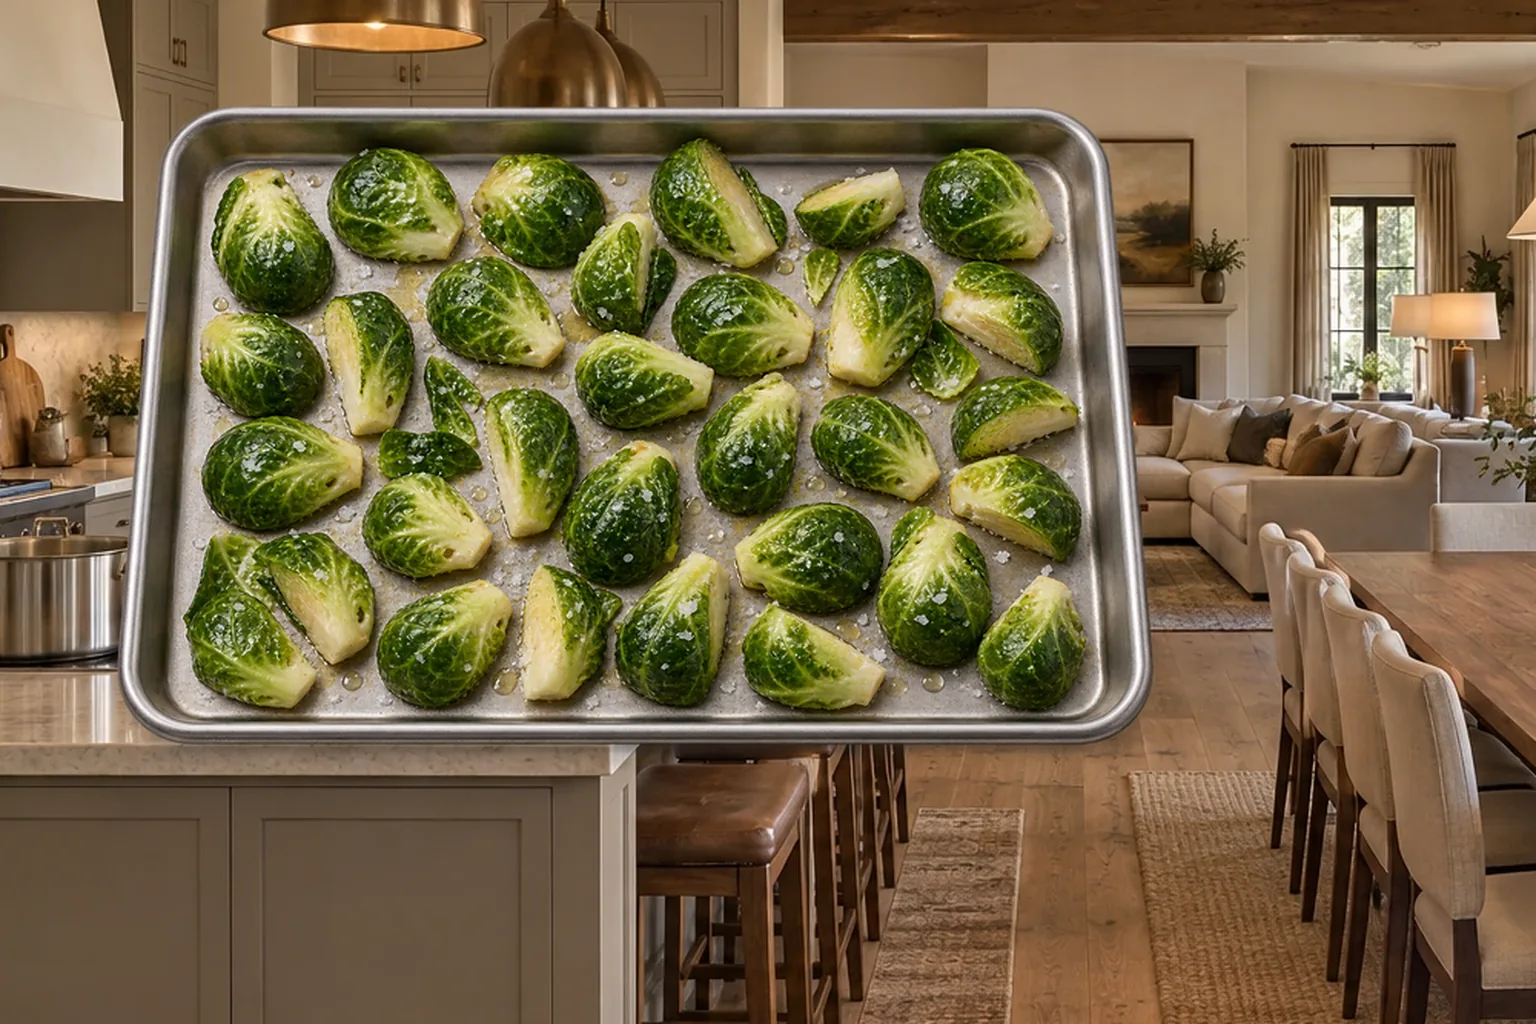
Trim only the dry stem ends. Halve small Brussels sprouts and quarter the large ones. The goal is similar-size pieces with broad cut faces that can sit against the hot metal.
Loose green leaves are fine. They become crisp sooner than the dense sprout pieces, so place them toward the center of the pan where the heat is a little gentler. Remove any very small leaf that turns dark before the rest is ready.
Melt the remaining two tablespoons fat on a second small stainless sheet pan or on the empty side of one large pan. Add the cut sprouts and one-quarter teaspoon sea salt. Toss until they are lightly coated.
Turn the sprouts cut-side down in one layer. That flat contact is what creates the golden face. Pieces resting on their rounded sides will soften, but they will not develop the same even browning.
Finish Both Pans at Their Own Endpoint
Roast the Brussels sprouts for 25 to 30 minutes. The cut sides should be deep gold and the thickest pieces should be tender when pierced. Decide by the vegetables in front of you rather than forcing both pans to finish at the same minute.
Keep tossing the onions about twice during the sprout roast. If the onions finish first, move them to a covered pan on the stove over the lowest heat. If the sprouts finish first, remove their pan and leave the onions to brown.
Using one large sheet pan works the same way when the onions and sprouts stay on separate sides. Lift the finished vegetable off with a large spatula and leave the other side in the oven. Do not mix them early, because the onions need their longer roast and regular tossing.
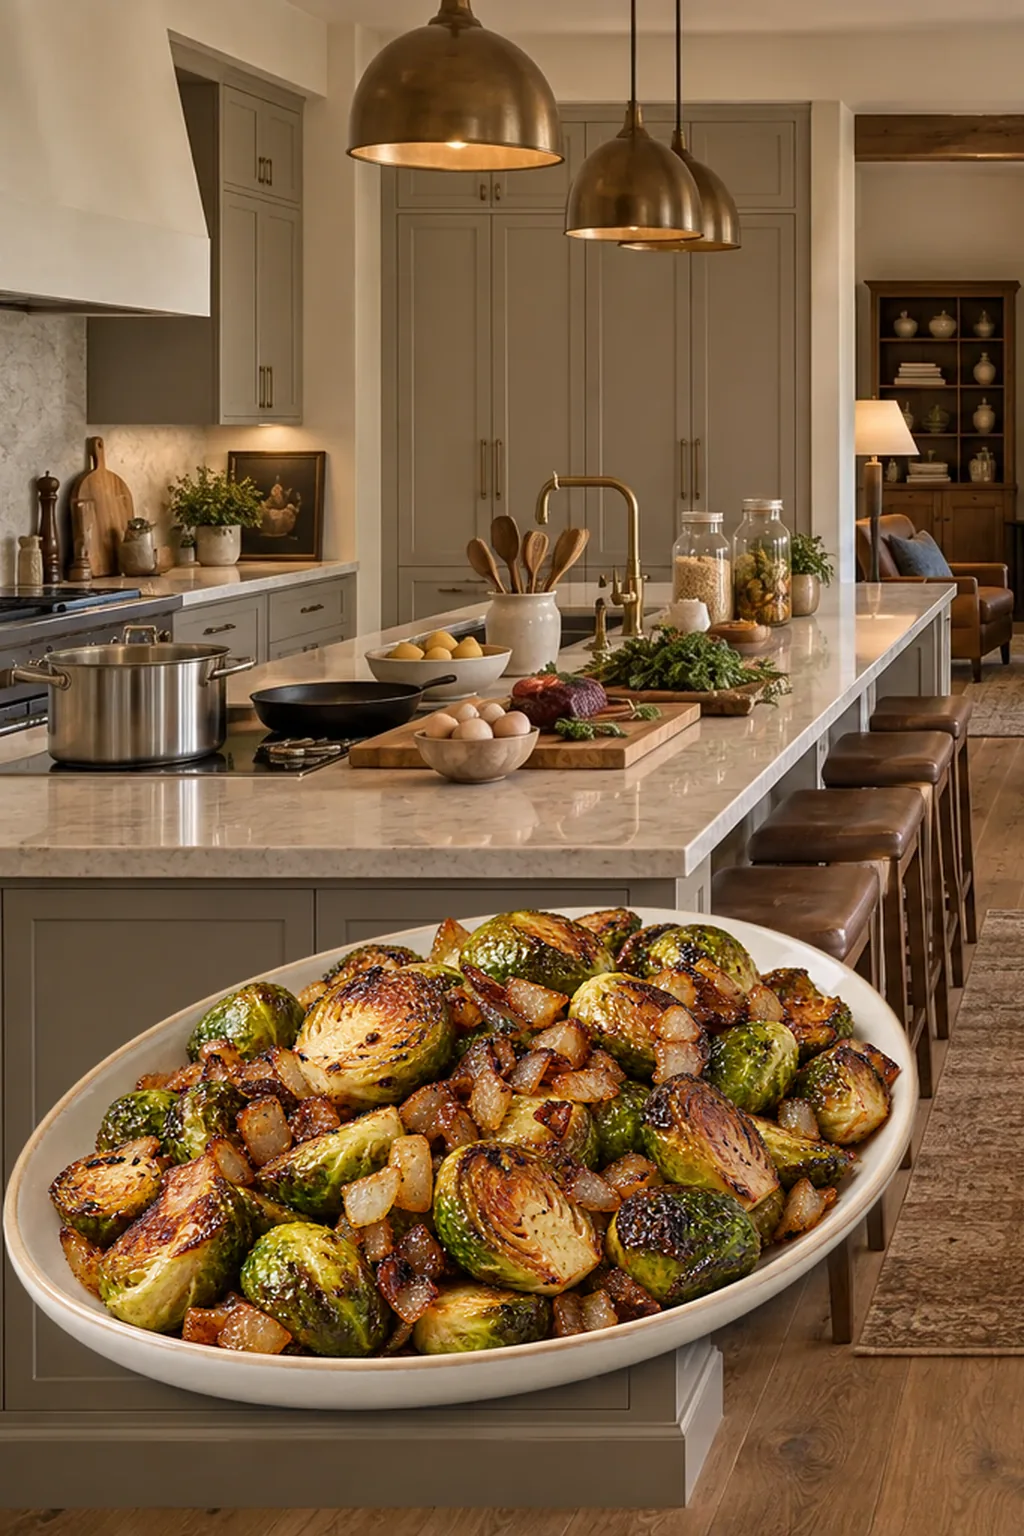
Fill a serving bowl with the Brussels sprouts and spoon the browned onions over the top. The finished side should have tender sprout centers, browned cut faces, soft sweet onions, and crisp onion edges.
What to Serve With Brussels Sprouts and Onions
Serve this with roasted chicken, steak, lamb, or a holiday main. The sweet onion topping makes it especially useful beside a simple salted roast that does not already have a sauce.
For an easy oven dinner, pair it with Boneless Leg of Lamb Roast With Rosemary and Ginger. The Brussels sprouts bring the browned vegetable side while the lamb remains the center of the meal.
If you want a different Brussels-sprout texture, make Full GAPS Brussels Sprouts and Bacon Hash. That recipe finely chops the sprouts and cooks them in a skillet rather than roasting halves and quarters on sheet pans.
Use the Leftovers in Another Meal
Leftover Brussels sprouts and onions can go into a Full GAPS soup, stew, or hash. The onions already carry browned flavor, so they work well when folded into a savory meal rather than simply warmed alone.
Let leftovers stop steaming before covering them in a glass container and moving them to the refrigerator. If you reheat the side as-is, spread it in one layer on a stainless pan at 350°F until hot and the edges begin to crisp again.
This method does not include freezer directions. Make the four-serving batch for the meals you expect to use from the refrigerator, or plan to turn the leftovers into soup or hash.
Recommended Equipment
Use two small uncoated stainless-steel sheet pans, or one large uncoated stainless pan with room for separate onion and sprout zones. You also need a cutting board, sharp stainless knife, two wooden or silicone spoons, and a large spatula.
Two pans give you the most control because each vegetable can leave the oven at its own endpoint. One pan saves washing but needs enough surface area to keep both vegetables in separate, uncrowded layers.
Frequently Asked Questions
How Brown Should the Onions Be?
Roast them until soft and deeply golden, tossing about twice so darker pieces do not burn while paler pieces catch up.
Why Keep the Vegetables Separate?
The onions start 25 to 30 minutes earlier and need tossing. Separate pans or separate zones let each vegetable reach its own browned endpoint.
Can I Use Olive or Avocado Oil for Roasting?
Use the measured duck fat or homemade bacon fat for this 400°F roast. Keep cold-pressed olive and avocado oils for unheated finished food.
Why Put the Sprouts Cut-Side Down?
The flat surface makes full contact with the hot pan. That contact creates the deepest and most even browning.
What If One Pan Finishes First?
Remove it. Keep the finished vegetable covered on the stove over the lowest heat while the other pan continues roasting.
Can I Double the Recipe?
Yes, but add pans rather than crowding the vegetables. Keep every piece in one layer and rotate the pans between racks for even browning.
Can I Use One Large Pan?
Yes. Keep onions and sprouts on separate uncrowded sides, and remove whichever vegetable reaches its browned endpoint first.
Roasted Brussels Sprouts With Crispy Onions Recipe
Roasted Brussels Sprouts With Crispy Onions for Full GAPS
Ingredients
Equipment
Method
- Heat the oven to 400°F. Put half the measured fat on one small uncoated stainless-steel sheet pan, or on one side of a large pan. Warm the empty pan only until the fat melts.
- Halve small Brussels sprouts and quarter large ones. Dice the yellow onions.
- Toss the onions in the first portion of melted fat with the measured salt for the onions and spread them into one layer.
- Roast the onions for 25 to 30 minutes before adding the Brussels-sprout pan. This is their head start, not their full cook time.
- Melt the remaining fat on a second small sheet pan, or on the other side of the large pan. Toss the Brussels sprouts with the fat and their measured salt, then arrange every piece cut-side down in one layer.
- Roast the Brussels sprouts for 25 to 30 minutes. During this second roast, toss the onions about twice so darker pieces do not burn while lighter pieces brown.
- Remove each pan when its vegetables are deeply browned without burned edges. If one finishes first, transfer that vegetable to a covered pan on the stove over the lowest heat.
- Fill a serving bowl with the roasted Brussels sprouts and top them with the deeply browned onions. Serve hot.
Notes
- Full GAPS: Use after Brussels sprouts, onions, and the chosen cooking fat are introduced and tolerated.
- Cooking fat: Use duck fat or fat rendered from salt-only, unsmoked, additive-free home-cured bacon.
- Oil: Keep cold-pressed olive and avocado oils for unheated finished food.
- Two pans: Separate pans make it easier to remove either vegetable at its own browned endpoint.
- One pan: Keep onions and sprouts on separate uncrowded sides.
Tried this recipe?
Let us know how it was!Plan the Holiday Sides Before the Oven Gets Busy
The planned Weekly Kitchen Rhythm Planner will help you line up oven temperatures, pan space, advance chopping, and leftovers when several dishes need to reach the table together. Find current resources in the WFLI shop.

Leave a comment