

Meal prep sheet pan chicken thighs give you one large batch of plain, juicy chicken that can move through several meals without locking you into one flavor. Six to seven pounds of boneless, skinless thighs bake with a measured cooking fat and sea salt, then wait for salads, soups, bowls, lettuce wraps, or a quick dinner plate.
The method is simple, but the order matters. The chicken cooks smooth-side down first, then every thigh is flipped and repositioned by thickness for the second half of the bake. That small step helps a crowded family-size batch finish evenly while keeping the meat moist.
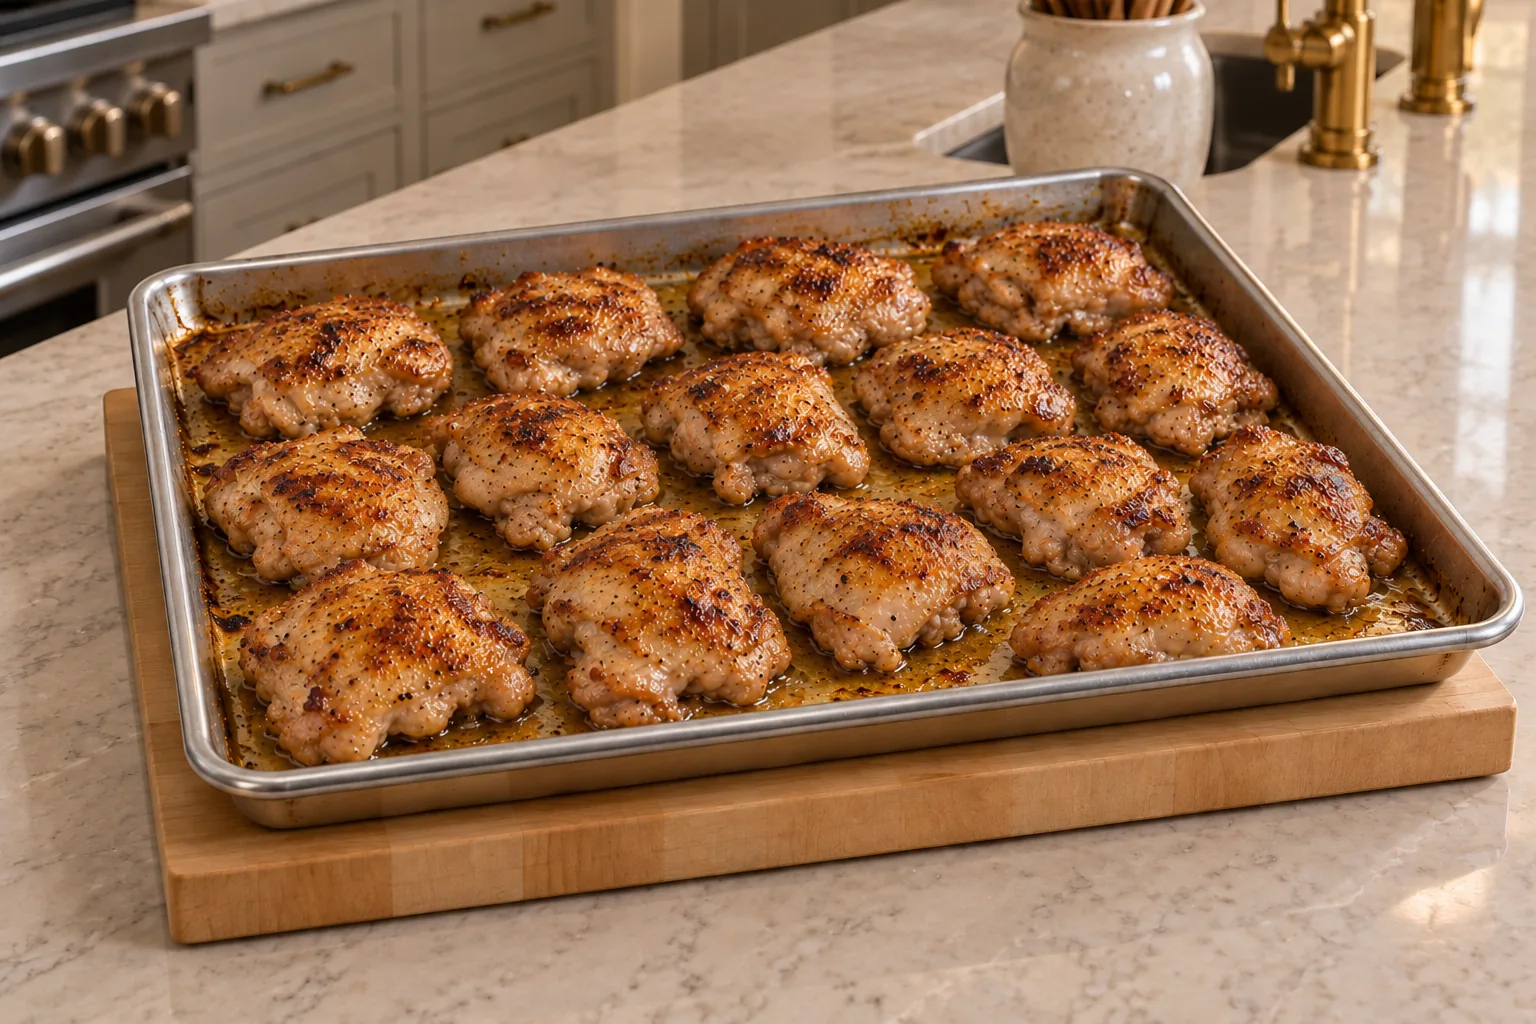
A Plain Batch That Does More Than One Job
Plain chicken is useful when it is truly ready to use. These thighs are fully seasoned with salt and rich cooking fat, but they do not carry a sauce or spice blend that limits the next meal.
In our house, the useful part of batch cooking is the breathing room it creates. With six kids, work, and homeschooling folded into the week, a container of cooked chicken can turn a salad or pot of soup into a full meal without starting another protein from raw.
The herb combinations later in the post are simple ways to season individual portions after baking, so the rest of the batch stays plain and flexible.
Where These Chicken Thighs Fit on GAPS
This recipe fits Full GAPS after chicken, the selected cooking fat, sea salt, and optional black pepper have been introduced and tolerated.
Choose butter, homemade ghee, lard, or natural non-hydrogenated coconut oil for the measured four tablespoons. For a dairy-free batch, use lard or coconut oil.
Do not replace the cooking fat with heated olive oil or avocado oil. Cold-pressed plant oils belong on finished food rather than in this 375°F oven method.
Choose Plain Chicken Thighs
Use six to seven pounds of fresh or fully thawed boneless, skinless chicken thighs. Check the package for added broth, starch, sugar, flavoring, or seasoning solutions; the ingredient line should simply identify the chicken.
Thighs work well here because they stay moist through a full 50-minute bake and are easy to slice or cube afterward. Keep the pieces whole during baking so smaller exposed edges do not dry out.
If the thighs vary in size, do not trim the thick ones to match the small ones. The method accounts for that difference when you rearrange them halfway through.
Set Up the Sheet Pan
Heat the oven to 375°F. Put four tablespoons of your chosen cooking fat on a large rimmed stainless-steel sheet pan. The fat does not need to be spread before the pan goes into the oven; it will melt into the chicken juices as the thighs cook.
Arrange the thighs smooth-side down in one layer. They can sit close together, but no thigh should be folded under another. If your pan cannot hold the full batch in one layer, divide the same measured recipe between two pans.
Sprinkle two teaspoons of sea salt evenly over the first side. The chicken should look pale and raw at this point, with separate whole thighs and visible bare pan between some pieces.
Bake the First Side for 25 Minutes
Bake for 25 minutes. When the pan comes out, the chicken will be opaque around the edges and sitting in a generous layer of clear-to-golden pan juices and melted fat.
This is a paused cooking stage, not finished chicken. The upper surfaces may still look pale, and the thickest centers may not yet be cooked through.
Set the hot sheet pan on a sturdy wood trivet before you begin flipping. Keep the pan fully supported and use stainless-steel tongs rather than lifting hot pieces by hand.
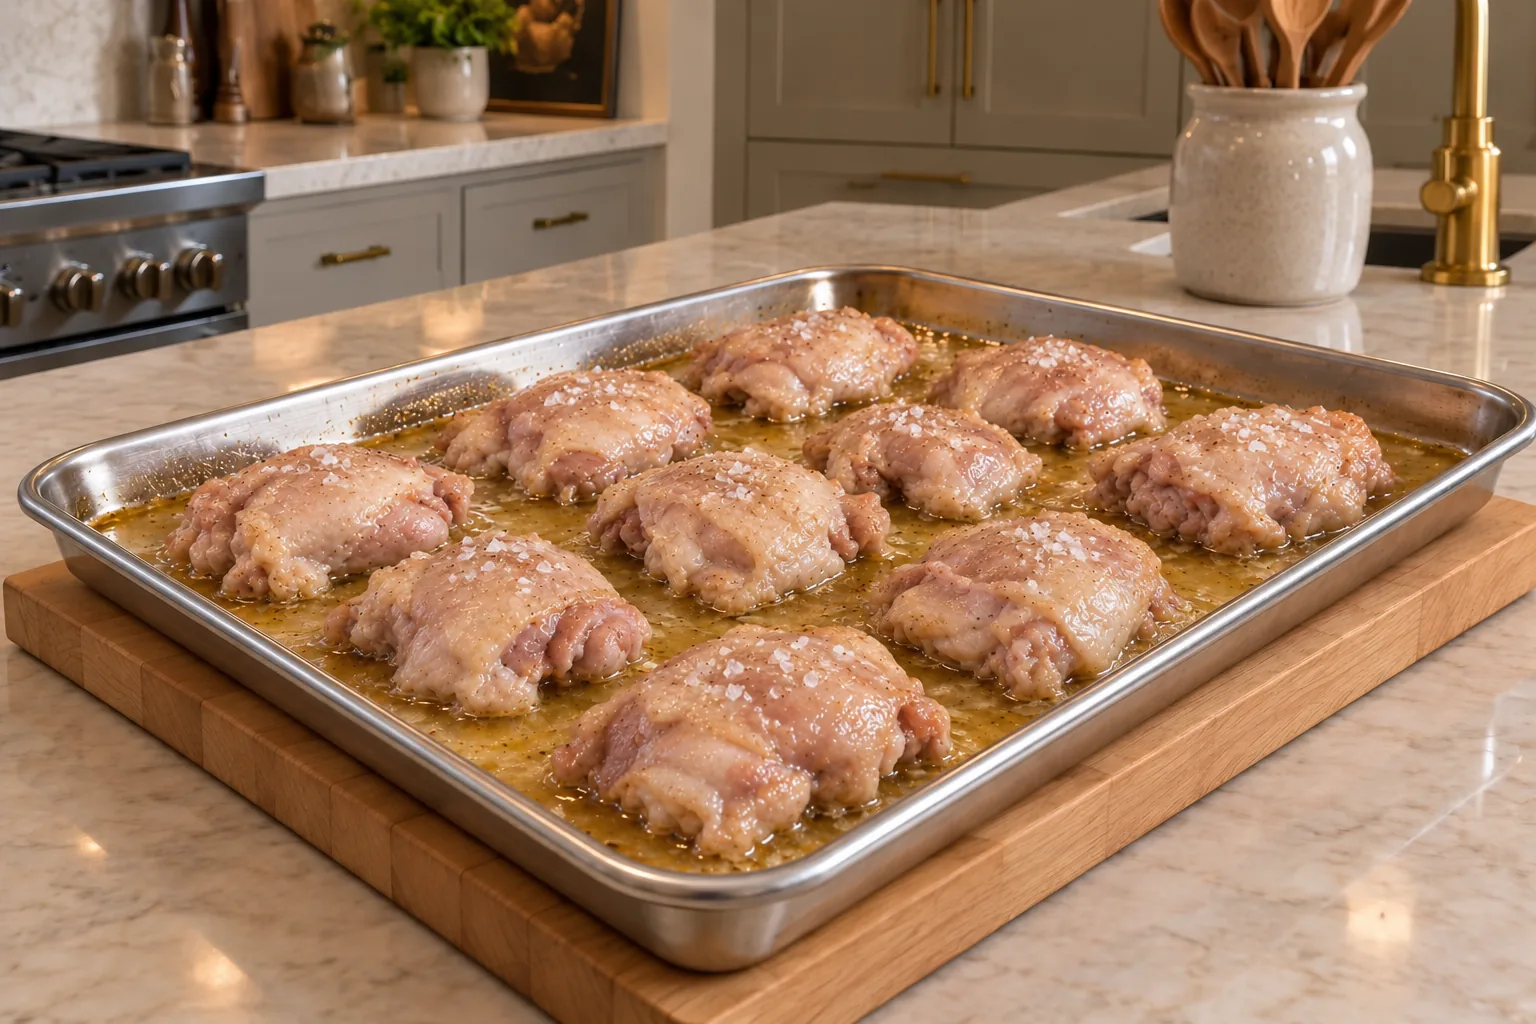
Flip and Reposition Every Thigh
Turn every thigh over with the tongs. Sprinkle the remaining two teaspoons of sea salt over the newly exposed sides.
Move the thickest thighs to the outer edges of the pan, where they receive stronger heat. Move the smaller thighs toward the center, where they are less likely to overcook. Add freshly ground black pepper now if your family uses it.
Before the pan returns to the oven, the flipped surfaces should be glossy with pan juices. The thick pieces belong around the outside perimeter, and the smallest pieces should be visibly grouped nearer the center.
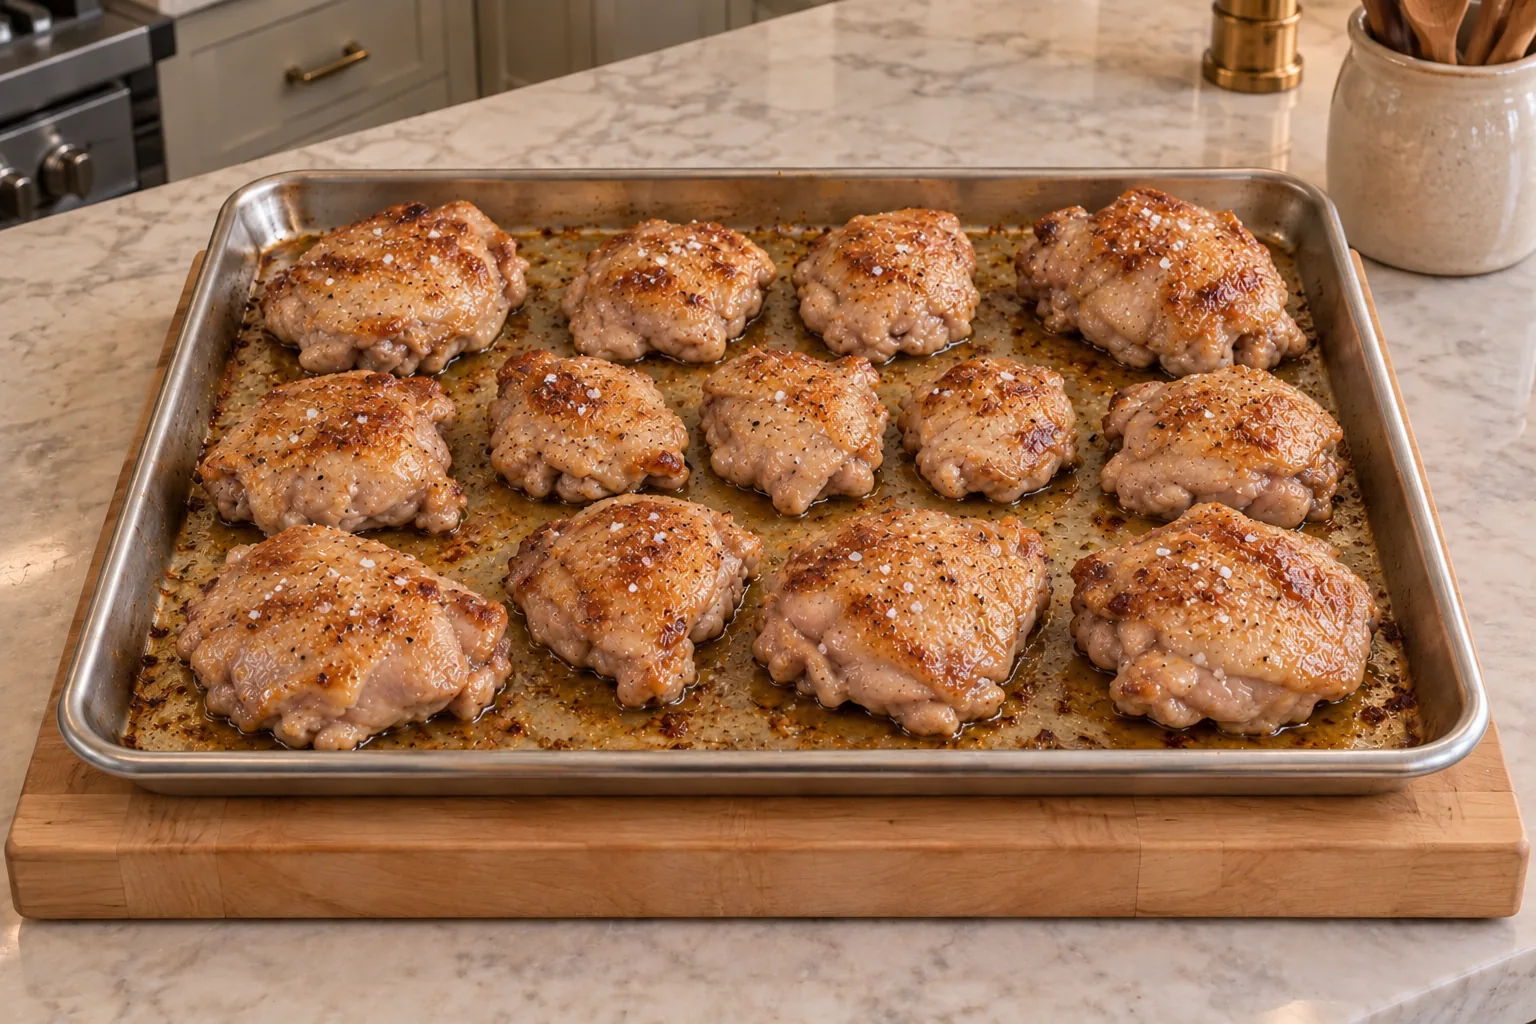
Finish the Second Side
Return the pan to the oven for another 25 minutes. The thighs should develop light golden edges while remaining visibly juicy.
Check one of the thickest pieces with an instant-read thermometer. The center should reach at least 165°F. If you cut into a large thigh, the center should be opaque with clear juices and no raw-looking glossy flesh.
Let the pan stand on its trivet for about five minutes. The juices will settle, and the chicken will be easier to move without losing as much moisture onto the cutting board.
Slice, Cube, or Store the Thighs Whole
For dinner right away, move the thighs to a stainless or wood cutting board and slice across the grain. Spoon warm pan juices over the meat before serving.
For meal prep, decide how you are most likely to use each portion. Leave some thighs whole for reheating, slice some for salads and bowls, and cube some for soup or lettuce wraps.
Keep the pan juices. They add back moisture when you reheat the chicken and can be spooned over softly cooked vegetables or stirred into a finished soup.
Add Flavor After Baking
For every two cups of warm sliced or chopped chicken, use two teaspoons total of pure dried herbs or spices, up to one-quarter cup chopped fresh herbs, and at least one-quarter cup hot pan juices.
For a Greek direction, choose from marjoram, oregano, spearmint, parsley, sage, powdered dried rosemary, tarragon, or thyme. For Italian flavor, use basil, marjoram, oregano, rosemary, or thyme.
For a Middle Eastern direction, use cumin, oregano, and thyme with fresh cilantro, mint, or dill. For Mexican-style chicken, use a pure chili powder without starch, sugar, flavor enhancers, or anti-caking ingredients.
Season only the portion you need. The remaining plain chicken stays flexible for a different meal later in the week.
Ways to Use the Cooked Chicken
Serve the thighs as a simple dinner with softly cooked vegetables and a spoonful of pan juices. A cool Japanese cucumber salad gives the warm chicken a crisp contrast.
Slice cold chicken over greens, tuck warm cubes into lettuce leaves, or add chopped chicken to soup during the final minutes so it heats through without simmering long enough to become dry.
You can also build a quick bowl with cooked vegetables, avocado, homemade salsa or guacamole, and a spoonful of the reserved juices. Keep every added component within the GAPS stage and variation your family is using.
Storage and Reheating
Cool the chicken fully and portion it into covered glass containers. Refrigerate for up to five days or freeze for up to three months.
Thaw frozen portions overnight in the refrigerator. Reheat covered at 325°F for about 20 minutes, adding a spoonful of reserved pan juices before warming.
Cold chicken can go directly onto a salad. For soups and stews, stir it in near the end and heat only until steaming so the already-cooked thighs stay tender.
Recommended Equipment
Use a large rimmed stainless-steel sheet pan, stainless-steel tongs, an instant-read thermometer, stainless measuring spoons, oven mitts, a sturdy wood trivet, a stainless or wood cutting board, a chef’s knife, and covered glass storage containers.
Frequently Asked Questions
Can I Halve the Recipe?
Yes. Use three to three and one-half pounds chicken, two tablespoons cooking fat, and two teaspoons sea salt. Keep the two 25-minute baking periods and begin checking the thickest thigh at the end.
Can I Double the Recipe?
Yes. Use 12 to 14 pounds chicken, eight tablespoons fat, and eight teaspoons sea salt. Divide the batch between at least two sheet pans so the thighs stay in one layer.
Can I Use Bone-In, Skin-On Thighs?
You can use the same general two-stage arrangement, but bone-in pieces may need additional time. Check the thickest piece at the bone and cook until it reaches at least 165°F.
Can I Use Olive Oil or Avocado Oil?
Keep the oven fat to butter, ghee, lard, or natural non-hydrogenated coconut oil. Add cold-pressed oils only after cooking if they suit the finished meal.
Why Move the Thick Thighs to the Pan Edges?
The outside of the sheet pan receives stronger heat. Moving thick pieces outward and small pieces inward helps the batch finish more evenly.
What Should I Do With the Pan Juices?
Spoon them over the sliced chicken, vegetables, or a finished bowl. Chill extras with the chicken or stir them into soup for moisture and flavor.
Meal Prep Sheet Pan Chicken Thighs Recipe
Meal Prep Sheet Pan Chicken Thighs for Full GAPS
Ingredients
Equipment
Method
- Preheat the oven to 375°F. Put the 4 tablespoons cooking fat on a large rimmed stainless-steel sheet pan.
- Arrange the chicken thighs smooth-side down in one layer. Divide between two pans rather than overlapping pieces if needed.
- Sprinkle 2 teaspoons sea salt evenly over the chicken.
- Bake for 25 minutes. Set the hot pan on a wood trivet; the thighs should be opaque around the edges and sitting in clear-to-golden pan juices.
- Flip every thigh with stainless-steel tongs. Sprinkle the remaining 2 teaspoons sea salt over the newly exposed sides.
- Move the thickest thighs to the outer pan edges and the smallest thighs toward the center. Add black pepper if desired.
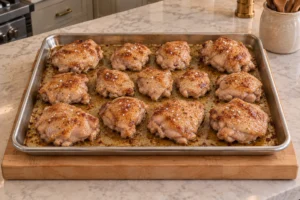
- Bake 25 minutes more, until the thickest thigh reaches at least 165°F and the meat is opaque and juicy with light golden edges.
- Rest 5 minutes. Serve whole, slice across the grain, or cube for later meals. Spoon pan juices over the chicken before serving or storing.
Nutrition
Notes
- Full GAPS: Use after chicken, the selected cooking fat, sea salt, and optional black pepper are introduced and tolerated.
- Dairy-free: Choose lard or natural non-hydrogenated coconut oil.
- Pan size: Keep all thighs in one layer; divide between two pans rather than overlap.
- Storage: Refrigerate up to 5 days or freeze up to 3 months.
- Scaling: At 2x, use 12 to 14 pounds chicken, 8 tablespoons fat, and 8 teaspoons sea salt for 24 servings; divide across at least two pans.
Tried this recipe?
Let us know how it was!Build a Calmer Weekly Kitchen Rhythm
The planned Weekly Kitchen Rhythm Planner and Intro Stage 1–6 Batch-Cooking Guides are designed to help you decide what to cook ahead, what to freeze, and what to leave flexible for the week. Find current guides and catalog updates in the WFLI shop.

Leave a comment