

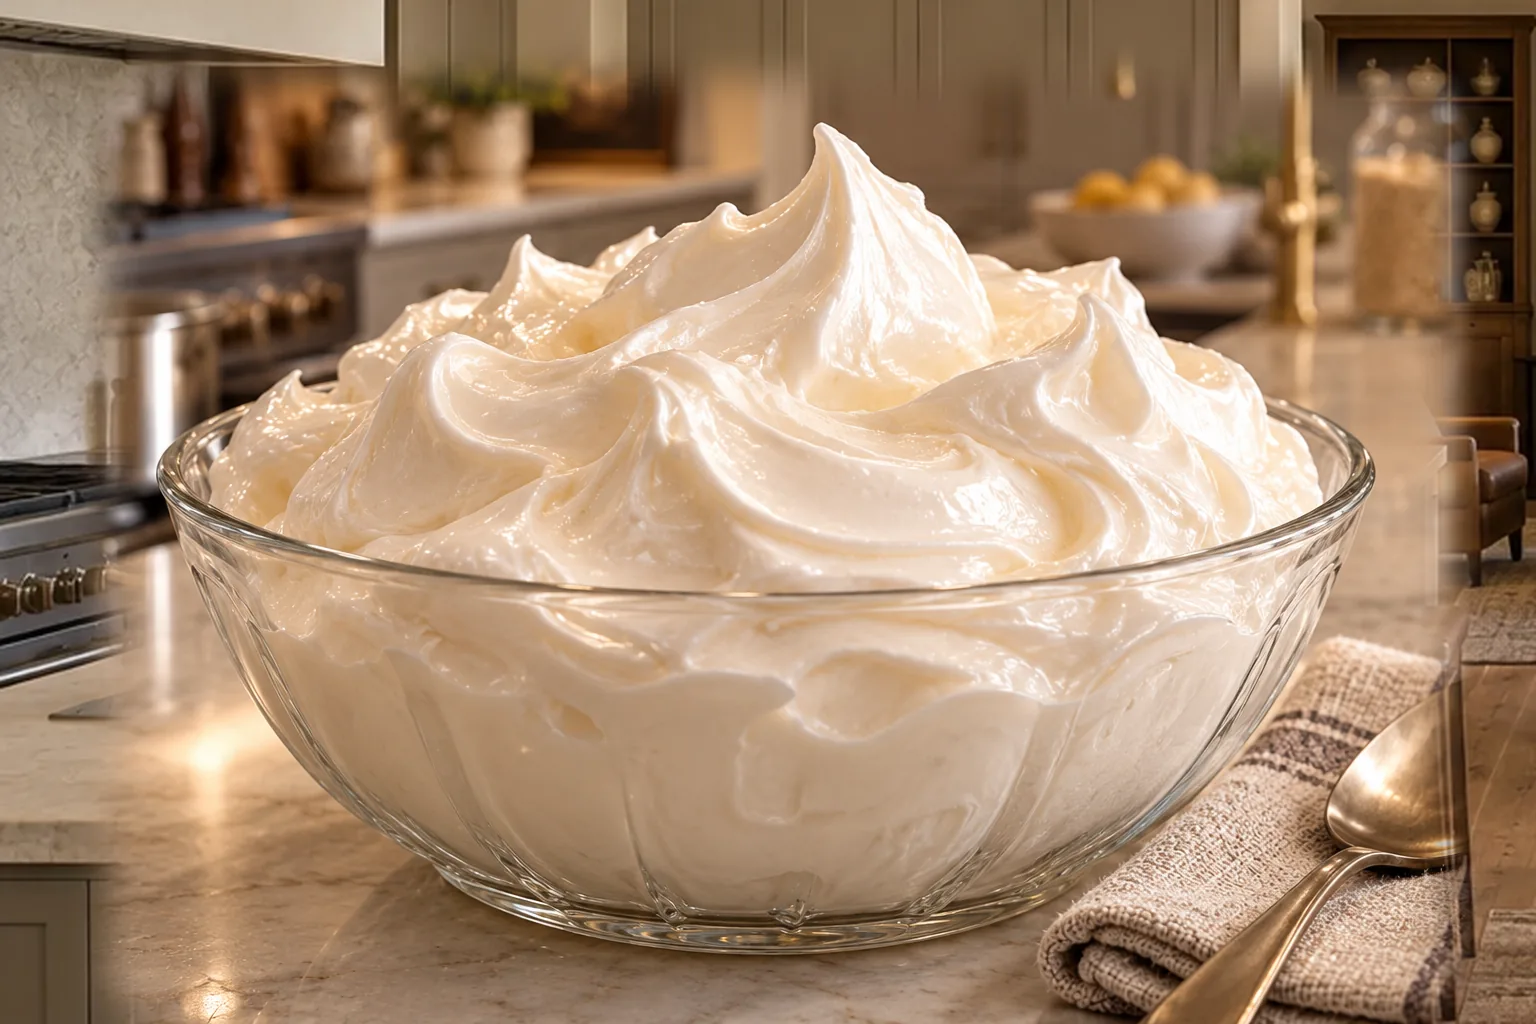
This honey gelatin marshmallow meringue gives a Full GAPS dessert the soft, glossy finish of marshmallow fluff without refined sugar or corn syrup. Hot raw honey and bloomed gelatin are streamed into stiff egg whites, then beaten until the mixture stands in smooth peaks.
The texture is the point. This is not a dry baked meringue and it is not a pan of cut marshmallows. It stays spoonable while freshly made, pipes cleanly before chilling, and becomes more firmly set after it rests in the refrigerator.
In a working, homeschooling household with six children, I value a finishing recipe that can make a simple dessert feel complete without starting another long baking project. The method moves quickly once the honey boils, so I measure the water, gelatin, egg whites, honey, and homemade vanilla before I turn on either the mixer or the stove.
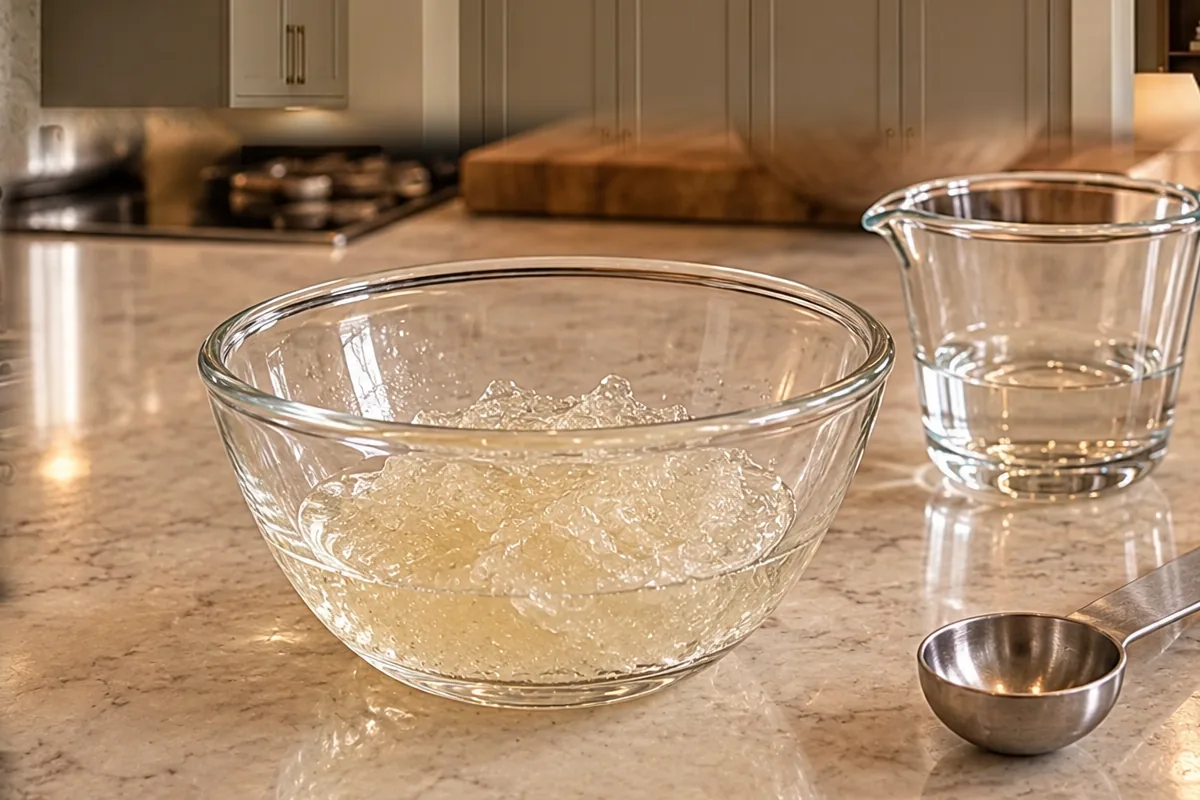
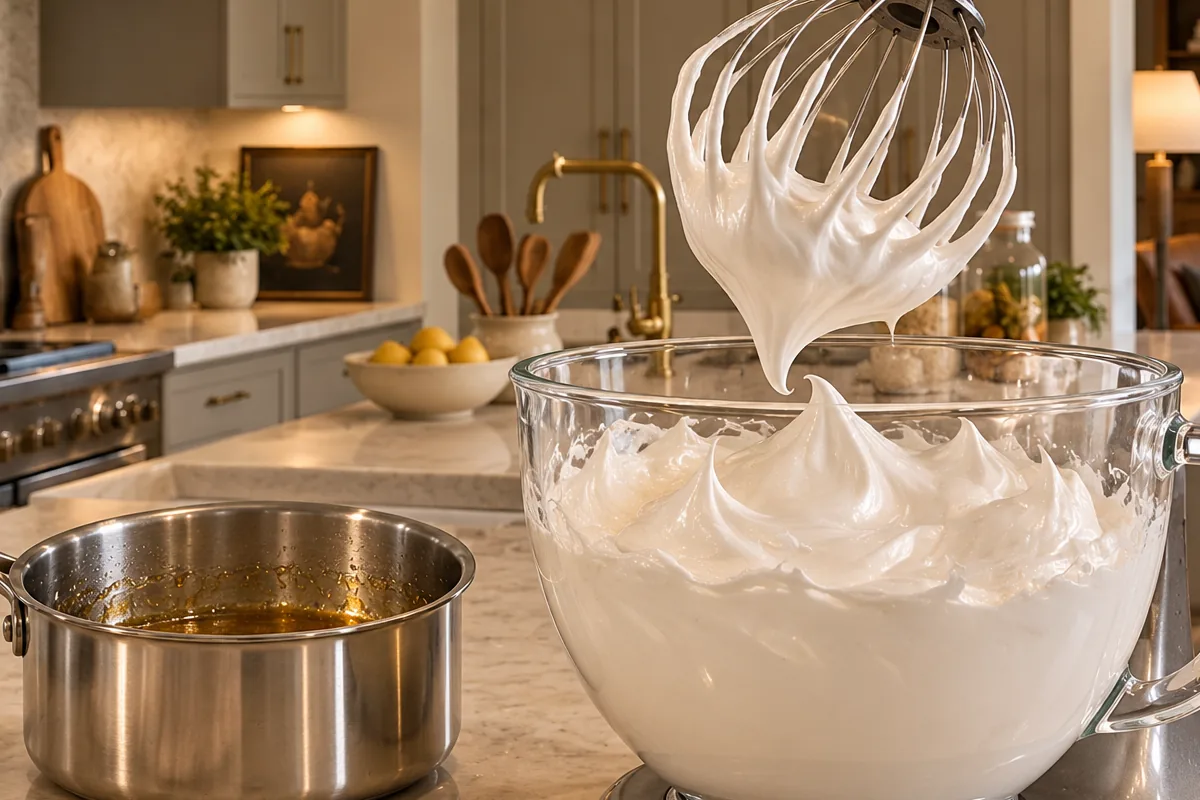
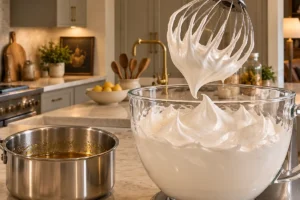
The important cues are visible: the gelatin becomes a soft translucent sponge; the egg whites stand upright; the honey bubbles across the saucepan; and the finished meringue holds glossy peaks around the whisk. Keep those cues in order and the short ingredient list makes sense.
Why This Meringue Tastes Like Marshmallow
Traditional meringue depends on refined sugar. This version uses one-half cup raw honey, while a small amount of pure unflavored gelatin helps the whipped mixture keep its marshmallow-like body after chilling.
The honey is heated only until it boils. It is not cooked to a hard-candy temperature for this formula. The gelatin is bloomed separately in two tablespoons plus one teaspoon filtered water, then added to the stiff egg whites before the hot honey is streamed in.
Those details define this recipe. A gelatin-free Italian meringue uses a different honey-and-water syrup and a thermometer; cut marshmallows use another gelatin balance. They belong in their own posts and cards rather than being folded into this one.
Where This Topping Fits on GAPS
This is an occasional Full GAPS treat. Use fresh egg whites, raw honey, pure unflavored gelatin, filtered water, and homemade vanilla extract with no added sugar.
The recipe contains no refined sugar, corn syrup, maple syrup, coconut sugar, commercial marshmallow creme, cream of tartar, or packaged vanilla flavoring. Honey is still a sweet food, so the topping belongs between meals and in modest portions rather than replacing the regular foods of a Full GAPS day.
The eggs are not a stage shortcut. Make this after the ingredients are already introduced and tolerated in the eater’s own progression. The completed topping stays a dessert garnish, not a reason to add an otherwise unsuitable pie, cookie, or cake beneath it.
Set Up Before Heating the Honey
Choose a large, completely clean and dry stainless-steel or glass mixing bowl. Egg whites need room to expand, and traces of grease or yolk can keep them from building a stable foam. Separate the eggs carefully and move any yolk-free whites into the mixing bowl.
Use a small lightweight stainless-steel saucepan for the honey. A lighter pan is easier to lift and pour in a narrow stream while the mixer continues running. Place the mixer, the bloomed gelatin, and the measured homemade vanilla within reach before heating the honey.
This setup matters because the honey should move from the stove to the mixer as soon as it boils. Pausing to find a measuring spoon or clear a place for the hot pan lets the process lose momentum.
Bloom the Gelatin Until It Looks Like a Soft Sponge
Put two tablespoons plus one teaspoon filtered water in a small glass bowl. Sprinkle one and one-quarter teaspoons pure unflavored gelatin evenly over the surface instead of dropping it in one mound.
Leave it undisturbed while you prepare the egg whites. The dry granules will absorb the water and turn into a pale translucent mass with a wrinkled, softly set surface. There should be no powdery pocket in the center.
Do not heat the gelatin separately and do not add extra water. The small bloom is designed to disappear into the whipped whites when the hot honey follows.
Whip the Egg Whites to Stiff Peaks
Beat two egg whites on high with an electric mixer for about two minutes. Begin checking the shape rather than stopping only because the clock reaches two minutes.
At the correct stage, the whites look bright and evenly foamy, and a lifted whisk leaves a peak that stands upright instead of folding back into the bowl. The bowl should not have a clear watery layer at the bottom.
If the whites reach stiff peaks before the honey is ready, stop the mixer briefly. Do not keep whipping dry-looking whites while the saucepan catches up.
Heat the Honey Just Until It Boils
Put one-half cup raw honey in the small stainless-steel saucepan. Warm it while swirling the pan so the first bubbles spread through the honey instead of concentrating in one hot spot.
Watch for active bubbles moving across the surface. Remove the saucepan from the heat as soon as the honey boils. This formula does not ask for a thermometer or a candy-stage syrup, so do not keep cooking it into a darker, thicker mass.
The honey will be hot and fluid. Keep the saucepan handle turned safely inward while heating, then carry it directly to the prepared mixing area.
Stream the Honey Into the Whites
Add the set gelatin to the stiff egg whites. Start the mixer and keep it running while you pour the hot honey in a slow, steady stream.
Aim the stream between the moving whisk and the side of the bowl. Pouring directly onto the whisk can throw honey against the bowl; pouring all of it in one pool can weigh down the foam before it disperses.
The mixture will loosen briefly as the hot honey enters, then begin to gain gloss and body. Keep the stream narrow until the saucepan is empty. Set the hot pan on a heat-safe surface before reaching back toward the mixer.
Beat for the Full Ten Minutes
Add one teaspoon homemade vanilla and continue beating until the meringue forms glossy peaks, about ten minutes. The change between five and ten minutes may look modest, but the full beating time gives the topping its finished body.
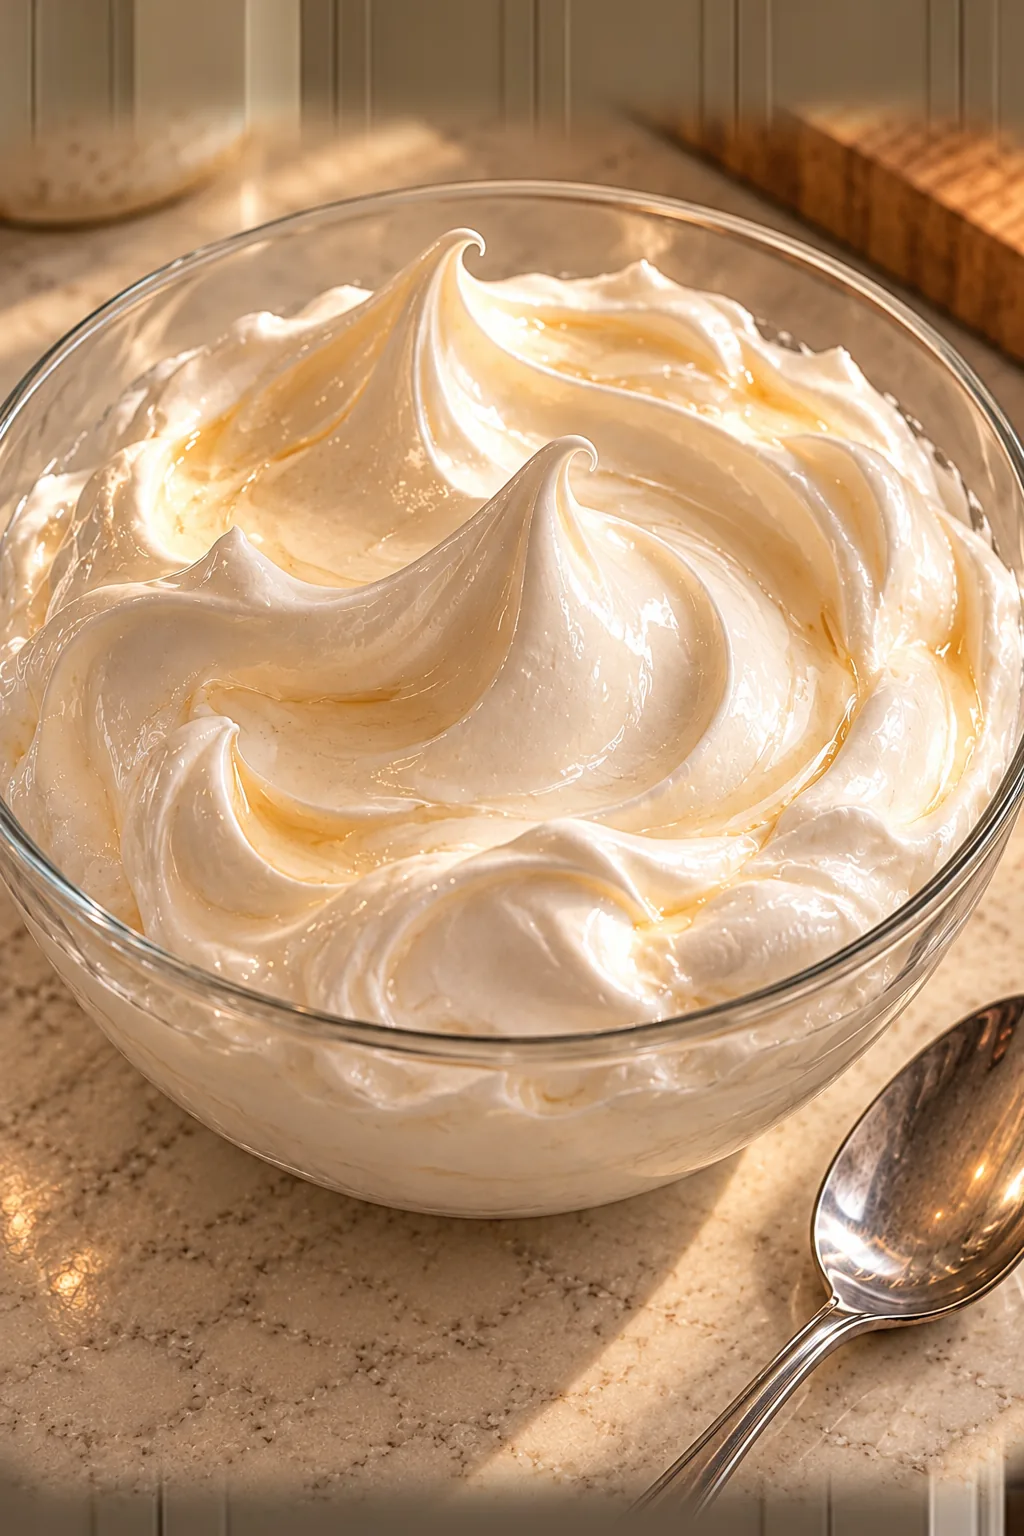
Look for thick ivory-white folds, a satiny surface, and a peak that holds when the whisk is raised. The finished meringue should look soft and billowy rather than grainy, watery, or dry.
Stop the mixer before scraping the whisk or bowl. The photographed method stage shows the switched-off whisk raised above meringue that falls in a thick ribbon and holds a rounded point in the bowl.
Use It Before It Chills
Spoon or pipe the meringue as soon as it reaches finished peaks. This is when it is easiest to spread over a cooled GAPS-compatible dessert or place in a serving bowl.
Once refrigerated, the gelatin firms the mixture. That setting is useful when the topping needs to hold its shape, but it also means a chilled batch will not move through a piping bag like freshly beaten meringue.
Cover and refrigerate any portion you are not serving. For the softest texture and cleanest peaks, make it close to serving and use it the day it is prepared. Do not reheat the finished meringue.
Recommended Equipment
Use a small glass bowl for blooming gelatin; measuring spoons and dry and liquid measuring cups; a large clean stainless-steel or glass mixing bowl; a stand mixer with whisk attachment or electric hand mixer; a small lightweight stainless-steel saucepan; a silicone or wooden scraper used only after the mixer stops; and a heat-safe spoon rest or trivet for the hot pan.
A stand mixer leaves both hands free for the honey stream. A hand mixer also works when the bowl is stable and the hot saucepan can be lifted safely with the other hand. Keep the cord, towel, and measured ingredients away from the burner.
Frequently Asked Questions
Is This a Baked Meringue?
No. It is a soft marshmallow-like topping. It is neither baked nor dried, and it does not become a crisp meringue shell.
Why Bloom the Gelatin First?
Blooming lets every granule absorb the measured water before it meets the egg whites. The hydrated gelatin then disperses when the hot honey is streamed into the running mixer.
How Hot Should the Honey Get?
Heat it just until it boils, then remove it from the burner. This gelatin formula does not use the 235 to 240°F syrup required by a separate gelatin-free Italian meringue.
Can I Replace the Honey With Maple Syrup?
No. Keep the measured one-half cup raw honey. Maple syrup, refined sugar, corn syrup, and coconut sugar do not belong in this Full GAPS formula.
Can I Use Cream of Tartar?
No. This recipe relies on the measured gelatin and hot honey. It does not use cream of tartar.
Why Did My Egg Whites Stay Flat?
Check for grease, moisture, or even a small trace of yolk in the bowl. Use a clean dry stainless-steel or glass bowl and begin again with carefully separated whites.
Why Does the Topping Set After Chilling?
The gelatin continues to firm as the meringue cools. Pipe or spread it while freshly beaten if you want a decorative shape.
Honey Gelatin Marshmallow Meringue Recipe
Honey Gelatin Marshmallow Meringue
Ingredients
Equipment
Method
- Put 2 tablespoons plus 1 teaspoon filtered water in a small glass bowl. Sprinkle the gelatin evenly over the surface and leave it to bloom until pale, translucent, wrinkled, and softly set.
- Beat the egg whites on high in a completely clean, dry stainless-steel or glass bowl until stiff peaks stand upright, about 2 minutes.
- Put the raw honey in a small lightweight stainless-steel saucepan. Heat just until it boils, swirling the pan so the bubbles spread evenly, then remove it from the heat.
- Add the bloomed gelatin to the stiff egg whites. With the mixer running continuously, pour the hot honey into the whites in a slow, steady stream aimed between the whisk and the bowl.
- Add the homemade vanilla and continue beating until thick glossy peaks form, about 10 minutes. The full beating time gives the topping its finished marshmallow-like body.
- Spoon or pipe the meringue immediately for the softest finish. Cover and refrigerate any portion not served; once chilled, the gelatin sets more firmly.
Notes
- Full GAPS: Serve as an occasional treat after every ingredient is introduced and tolerated.
- Honey: Keep the measured raw honey; do not substitute maple syrup, refined sugar, corn syrup, or coconut sugar.
- Clean bowl: Grease, moisture, or yolk can keep the whites from reaching stiff peaks.
- Use promptly: Pipe or spread the topping before chilling because the gelatin sets more firmly in the refrigerator.
Tried this recipe?
Let us know how it was!Make Full GAPS Sweets Easier to Plan
The planned Sweet Snack Recipe Card Deck will gather measured occasional treats in a format that is easier to use at the counter. Find current resources and release updates in the WFLI shop.

Leave a comment