

These winter squash peanut butter pancakes are the sort of breakfast I appreciate when the refrigerator already holds cooked squash. The batter comes together quickly, but the separated eggs make the result feel more special than the short ingredient list suggests. Folded egg whites loosen the squash-and-nut-butter base so each little pancake cooks tender and moist instead of heavy.
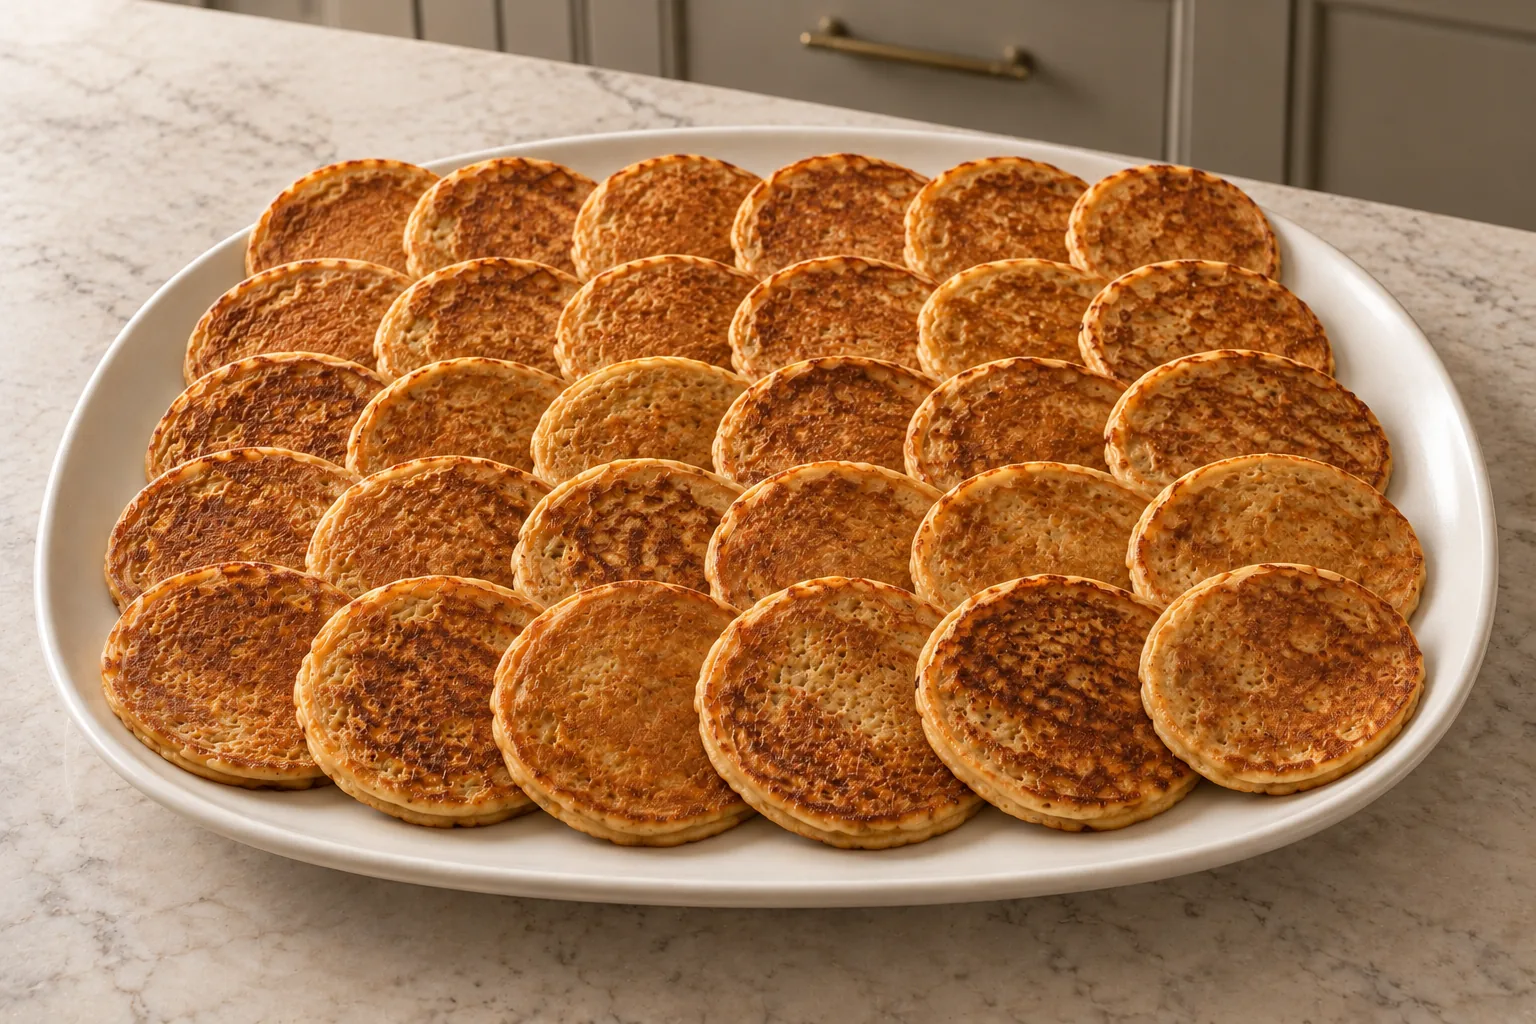
I also like the small size for a family breakfast. Three-inch pancakes are easier to turn, especially when the batter contains no grain flour to give it the structure of a boxed mix. A batch makes about 30, so there is enough to feed several people at once or set some aside for another meal.
Why This Formula Works
Baked winter squash supplies the body of the batter. Properly prepared peanut butter adds richness and helps the pancakes hold together. Homemade coconut milk thins that base enough to accept the eggs without making it runny. The yolks enrich it, while the beaten whites supply the lift.
The important part is not to expect tall, cakey pancakes. These stay fairly thin, soft, and moist inside. Their edges set first, the surface loses its wet shine, and the bottom develops a mottled golden crust. Those physical cues matter more than an exact minute on the clock because squash moisture and skillet heat vary.
Where These Pancakes Fit on GAPS
This exact recipe belongs in Full GAPS once every ingredient has been introduced and tolerated. It should not be labeled as the official Intro Stage 3 squash pancake. The Stage 3 route uses its own fresh peeled and deseeded squash, nut butter, and egg structure. Here, baked winter squash, homemade coconut milk, cinnamon, and whipped egg whites create a different formula.
If you are moving through Intro, follow your current stage rather than trying to force this Full GAPS version backward. For a simpler related breakfast that is already published, see my Flourless Pumpkin Egg Pancakes. That recipe is also distinct; it uses a different ratio and does not include peanut butter or coconut milk.
Prepare the Ingredients First
Use baked winter squash that is completely tender and cooled enough not to cook the egg yolks on contact. A smooth mash folds into the batter most evenly. If the squash is stringy, press it firmly with a fork before measuring. Do not drain away all its natural moisture, but avoid spooning watery liquid from the bottom of a storage container into the cup.
The peanut butter must fit the accepted GAPS preparation route. I use properly prepared peanut butter rather than a conventional sweetened jar. You can make it with the method in Properly Prepared Fermented Peanut Butter. Stir it before measuring so separated oil is distributed instead of leaving the batter greasy in one place and dry in another.
Use homemade, unsweetened, noncanned coconut milk. It should smell clean and lightly coconutty, with no sweetener, gum, flavoring, or thickener. If it has separated while cold, warm it only enough to make it uniform, then cool it before mixing with the eggs.
Beat the Whites to Stiff Peaks
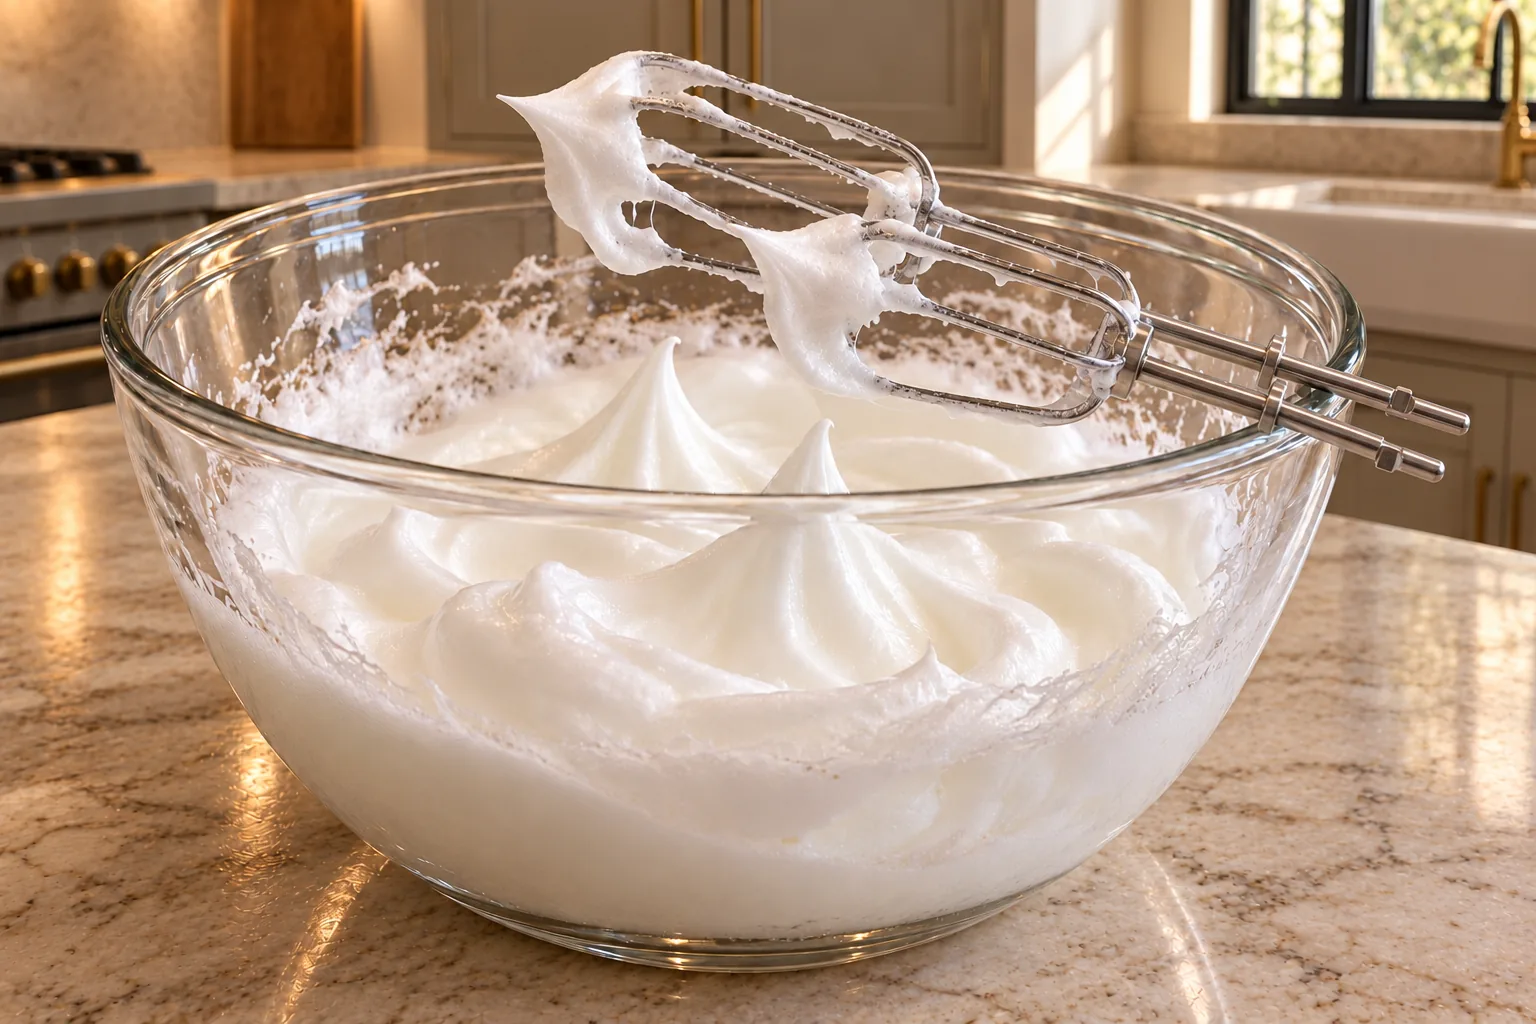
Separate the five eggs carefully. Even a little yolk can make the whites harder to whip. Put the whites in a clean, dry bowl and beat until they look glossy and hold a pointed peak. When the beaters lift, the peak should stand instead of folding over immediately. Stop there. Whites that look dry, clumpy, or broken have gone too far and are harder to fold into the thick squash base.
Mix the squash, peanut butter, coconut milk, cinnamon, and yolks separately until the base looks uniform. It will be much thicker than standard pancake batter. Fold in one-third of the whites first to loosen it. Add the remainder in two additions, lifting from the bottom and turning the mixture over itself. A few pale streaks are better than vigorous stirring that knocks out all the air.
Cook a Small Test Pancake
Heat a heavy skillet over medium heat with a thin layer of qualifying GAPS cooking fat. Ghee works well once it fits your route. The fat should look fluid and lightly bubbly around a tiny dab of batter, but it should not smoke. Drop about two tablespoons of batter for the first pancake and keep it close to three inches across.
Treat the first pancake as your heat test. If it colors before the top begins to lose its shine, lower the burner. Nut butter can brown quickly, so medium-low often works better after the pan is fully heated. Wait until the outer edge looks dry and matte and the underside releases cleanly before sliding the turner underneath. If the center smears or the pancake buckles, give it more time.
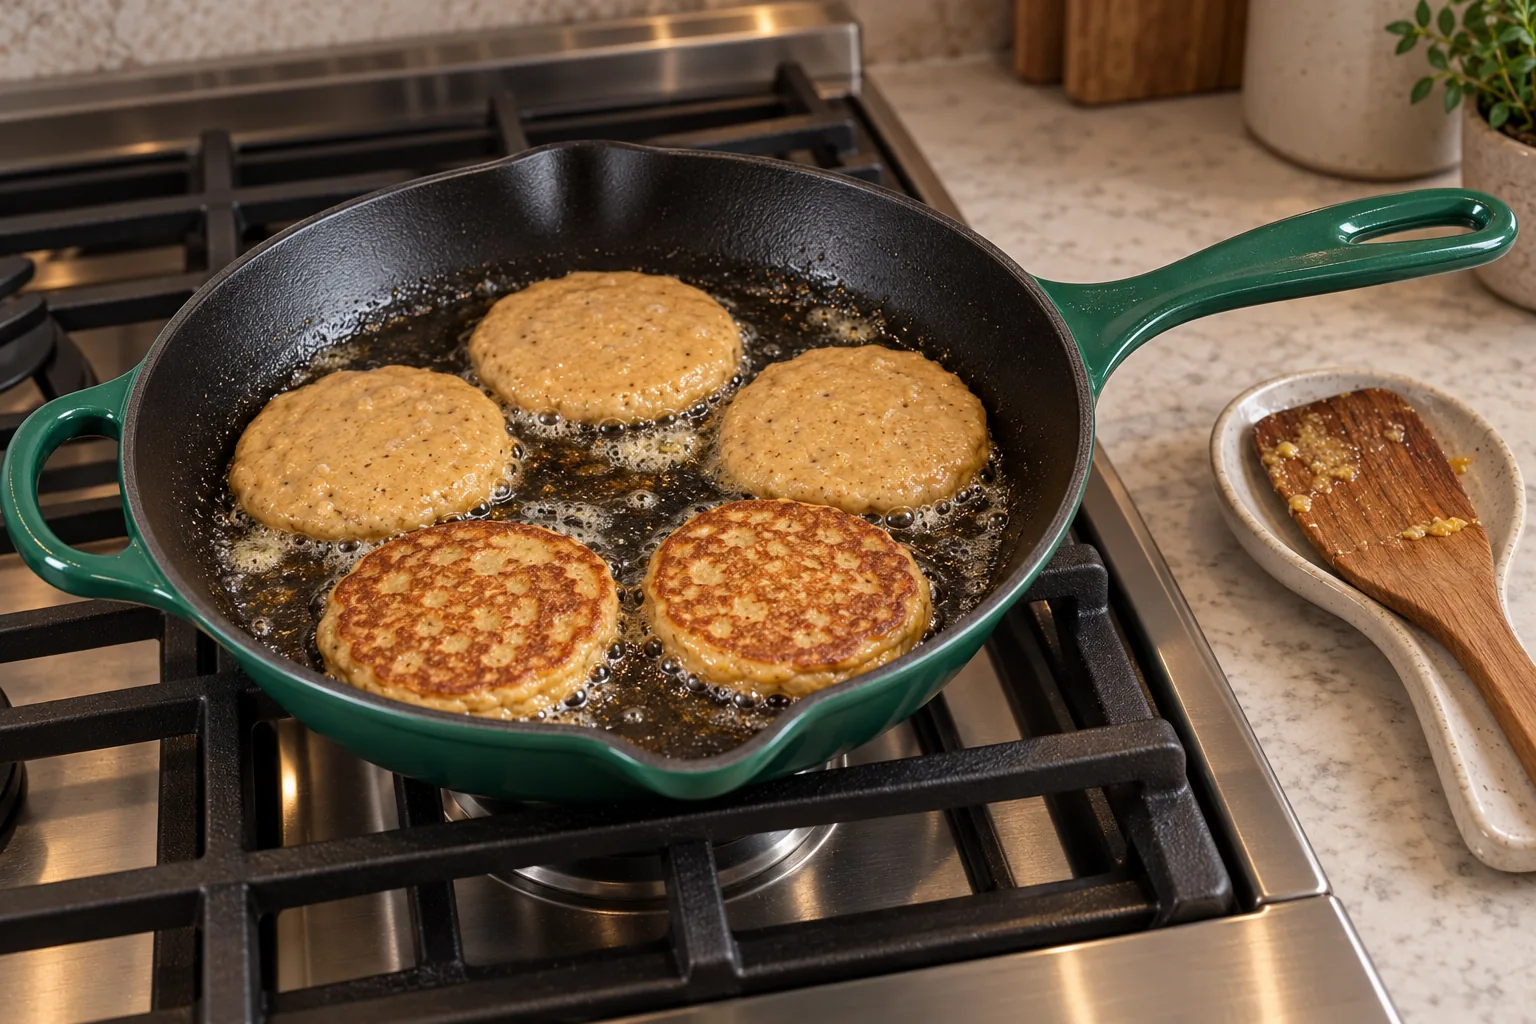
Turn each pancake once. The second side usually needs less time because the center is already warm. The finished pancake should feel set but still tender when pressed gently with the turner. A very dark, hard rim means the pan is too hot; a pale, greasy surface means it is too cool or the pancake was turned before its crust formed.
What the Batter and Pancakes Should Look Like
- Before the whites: thick, smooth, and spoonable, with no puddle of coconut milk.
- After folding: lighter and slightly aerated, with enough body to hold a two-tablespoon mound.
- Ready to flip: dry, matte edges; fewer wet patches on top; and a bottom that releases without tearing.
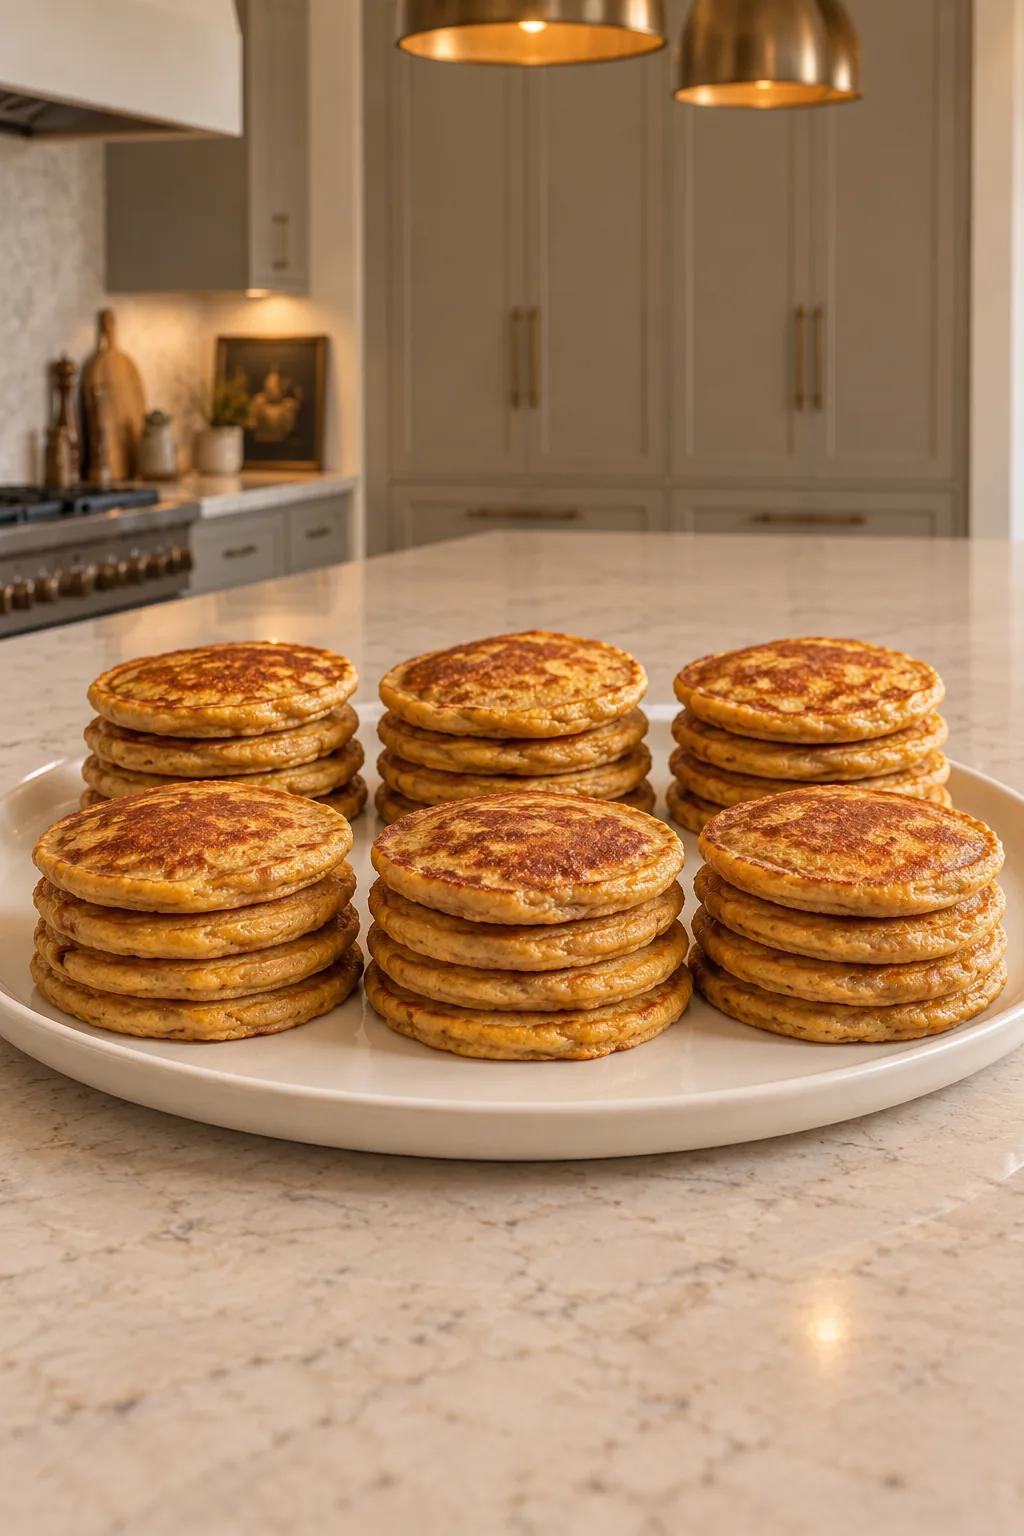
- Finished: mottled golden surfaces, soft centers, and edges that are set but not brittle.
A Practical Family Breakfast
With six children, I would rather make one useful batch than stand over the skillet for a breakfast that disappears before I sit down. The small pancakes help because they cook evenly and can be passed around as they come off the pan. I keep the heat steady, use the first one to calibrate the skillet, and then settle into a rhythm: portion, watch the edges, turn, and remove.
I serve these plain first. The peanut butter and cinnamon already give them a warm, rounded flavor, and the squash keeps them moist. If everyone at the table tolerates the same Full GAPS foods, a little cultured dairy or another accepted accompaniment can be served alongside rather than poured over the entire batch.
Storage and Make-Ahead Notes
Cool extra pancakes in a single layer so trapped steam does not make the surfaces soggy. Once cool, cover and refrigerate them promptly. For freezing, place parchment between layers before sealing so you can remove only what you need. The source cook froze part of the batch successfully, which makes this a useful recipe when cooked squash is already on hand.
Reheat gently in a skillet with a small amount of qualifying fat. High heat can darken the peanut butter before the center warms. A low oven also works for a larger group; arrange the pancakes in one layer and remove them as soon as they are hot so they stay tender.
Frequently Asked Questions
Can I call these Intro Stage 3 pancakes?
No. This version is routed to Full GAPS because it uses baked squash, coconut milk, cinnamon, peanut butter, and separately whipped whites. Keep the official Stage 3 formula separate.
Can I substitute canned coconut milk?
Use homemade noncanned coconut milk for this formula. A thick canned product can change the batter, and commercial versions may include ingredients that do not belong in the recipe.
Why are my pancakes breaking?
They may be too large, turned too early, or cooked over heat that browned the outside before the center set. Keep each portion near two tablespoons, wait for matte edges and a clean release, and lower the heat after the first test if needed.
Can I stir the whites in quickly?
Fold them gently. Vigorous stirring removes the air you worked to create and leaves a denser pancake. Loosen the base with one-third first, then fold in the rest.
Which squash should I use?
Use a baked winter squash with smooth, sweet flesh and enough body to mash, such as butternut. Measure the cooked flesh after baking, not the raw cubes.
Recommended Equipment
- A heavy 10.25-inch Le Creuset Artichaut skillet or another approved heavy skillet
- A clean glass bowl for whipping the egg whites
- Hand-mixer beaters or a whisk
- A flexible turner narrow enough for three-inch pancakes
- Two-tablespoon measure for consistent portions
More Breakfasts Like This
For another squash-based option, try the Flourless Pumpkin Egg Pancakes. The Spaghetti Squash Pancake gives you a savory direction with a visibly different texture. For help turning recipes like these into a workable family rhythm, browse the Full GAPS batch-cooking guides and kitchen planners.
Serving the Batch Without Losing the Texture
If you are cooking for several people, place finished pancakes on a warm platter in a single loose layer while the next batch cooks. A tightly covered stack traps steam and softens the golden surfaces. When the skillet is moving steadily, overlap the pancakes only slightly and leave the platter uncovered until everyone is ready to eat.
Keep the portion small for younger eaters and let the tender center cool before serving. Because the recipe already contains peanut butter, eggs, squash, and coconut milk, I do not treat it as an empty breakfast that needs a sugary topping. It is a practical base that can sit beside other accepted Full GAPS foods when the family needs a fuller meal.
If the Batter Changes Between Batches
The folded batter can lose some air as it sits. Avoid beating it again. Give it one gentle fold from the bottom before portioning, then continue. If liquid begins collecting at the base of the bowl, the squash or coconut milk may have contributed more moisture than expected. Make the next pancakes a little smaller and allow the first side to set fully rather than trying to correct the formula with an unmeasured dry ingredient.
Also watch the skillet itself. A pan that was properly heated for the first batch can grow too hot after several rounds. Dark speckles appearing almost immediately are a heat cue, not a signal to rush the flip. Move the pan off the burner briefly or lower the flame, refresh the fat if needed, and resume once a test spoonful cooks gradually.
Winter Squash Peanut Butter Pancakes Recipe
Winter Squash Peanut Butter Pancakes for Full GAPS
Ingredients
Equipment
Method
- Combine the baked winter squash, properly prepared peanut butter, homemade coconut milk, and cinnamon. Mix until smooth and uniform.
- Add the five egg yolks to the squash mixture and whisk until completely combined.
- In a separate clean, dry glass bowl, beat the five egg whites until glossy stiff peaks stand without drooping.
- Fold one-third of the whites into the squash base to loosen it. Fold in the remaining whites in two additions, lifting from the bottom and stopping when only a few pale streaks remain.
- Heat a heavy skillet over medium heat with a thin layer of qualifying cooking fat. The fat should be fluid and lightly bubbly around a dab of batter, never smoking.
- Drop about 2 tablespoons batter for each pancake, keeping each one close to 3 inches wide. Use the first pancake to test the heat and reduce to medium-low if it browns before the surface begins to set.
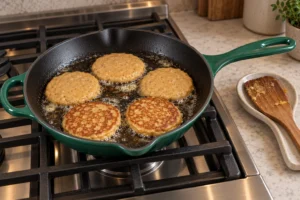
- Flip when the edges look dry and matte and the underside releases cleanly. Cook the second side until mottled golden and the center feels set but tender.
- Continue in batches, refreshing the fat as needed and adjusting heat to prevent the nut butter from scorching. Serve warm.
Notes
Tried this recipe?
Let us know how it was!Formula adapted from the proportions and method in GAPS Diet Journey’s Squash Pancakes; WFLI stage routing, instructions, cues, and prose are independently developed.

Leave a comment