

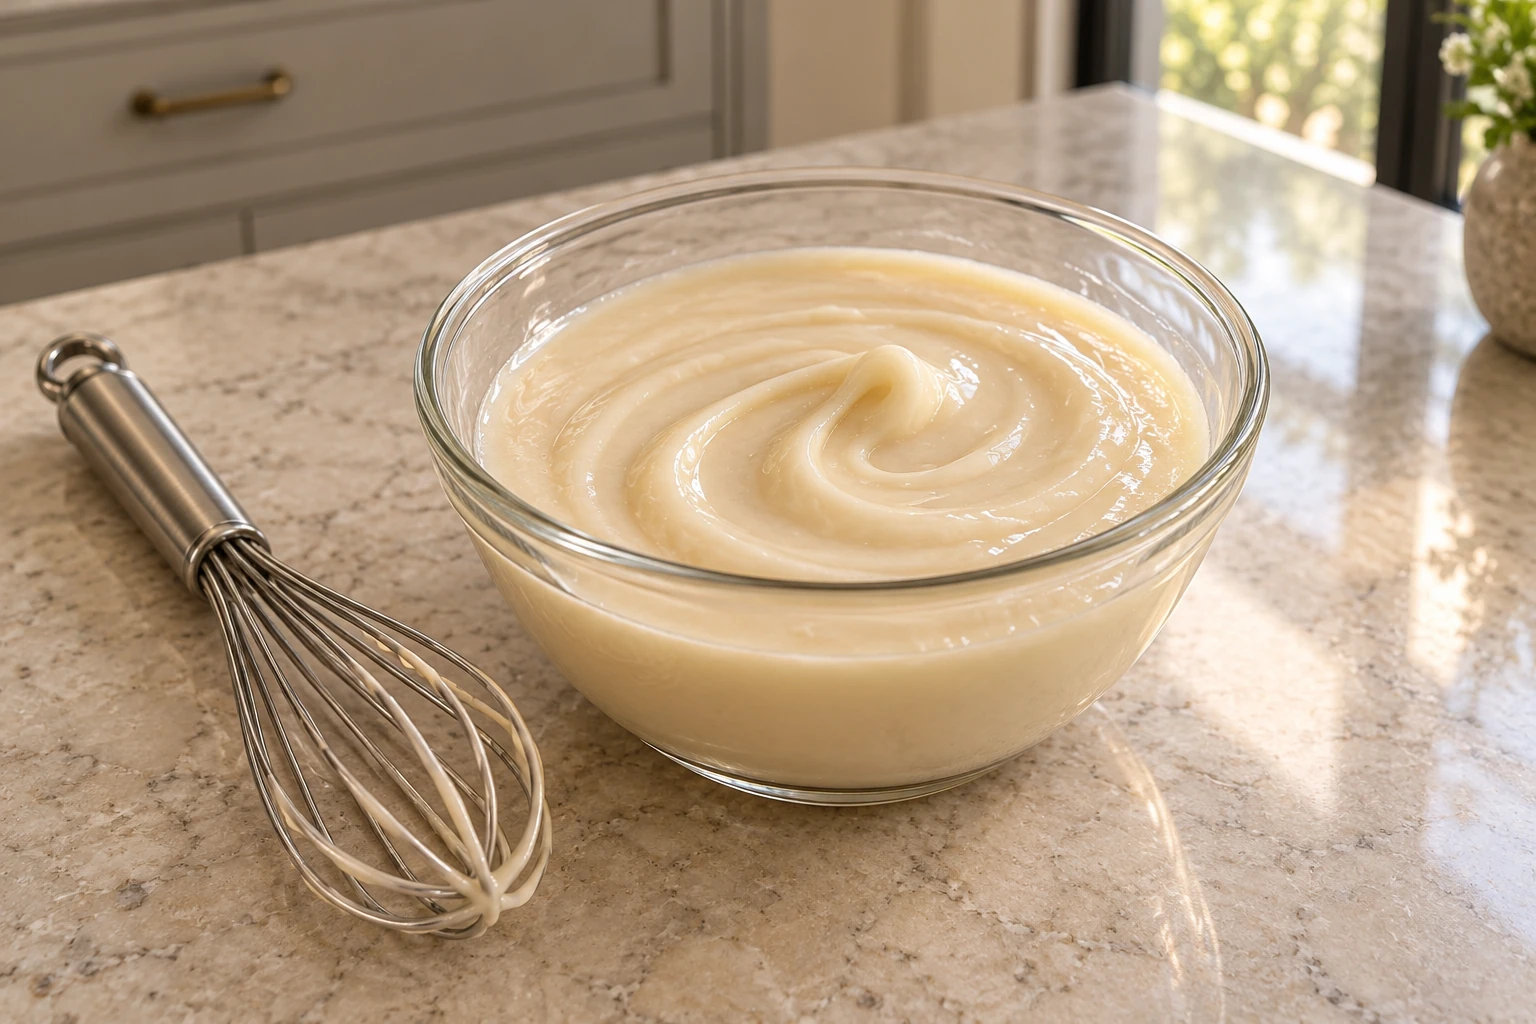
This Full GAPS coconut butter icing is pale, glossy, and gently sweetened with raw honey. It comes together in about ten minutes from four familiar ingredients: coconut butter, homemade coconut milk, coconut oil, and honey. The result is thick enough to pipe, yet fluid enough to drizzle while it is warm.
The important part is temperature. Coconut butter and coconut oil firm as they cool, so every ingredient needs to begin warm or at a warm room temperature. When they do, the icing whisks into one smooth ribbon instead of breaking into oily streaks or small firm pieces.
A Small Recipe That Finishes The Whole Bake
With six children, I appreciate a finishing recipe that does not turn a simple cake or tray of muffins into a second project. This icing uses ingredients that already belong in a Full GAPS kitchen, needs one small bowl and a whisk, and makes just enough for nine modest portions.
It is also easy to adjust without changing the formula. One tablespoon of honey gives you a firmer, coconut-forward icing. Two tablespoons lands in the middle. Three tablespoons makes a sweeter icing that settles into a looser drizzle. That range lets you match the finish to the baked good instead of forcing every cake, muffin, or quick bread to wear the same texture.
What Each Ingredient Does
Prepared coconut butter gives the icing its body. Use plain coconut butter made only from additive-free dried coconut. It should be warm enough to stir easily and look fluid rather than chalky or crumbly. Measure one-third cup after it has softened.
Homemade coconut milk loosens the coconut butter and helps the icing spread. Use three tablespoons of hot-water homemade coconut milk, warmed or held at a warm room temperature. Cold coconut milk can chill the mixture before it has time to become smooth.
Coconut oil helps the icing flow while warm and firm gently as it cools. Melt one tablespoon completely. You should not see opaque flakes or a soft white lump in the measuring spoon.
Raw honey supplies the Full GAPS sweetener and helps control the final consistency. Keep it at room temperature. Very cool honey is thick enough to cool the other ingredients and make whisking harder.
Bring The Ingredients To The Same Temperature
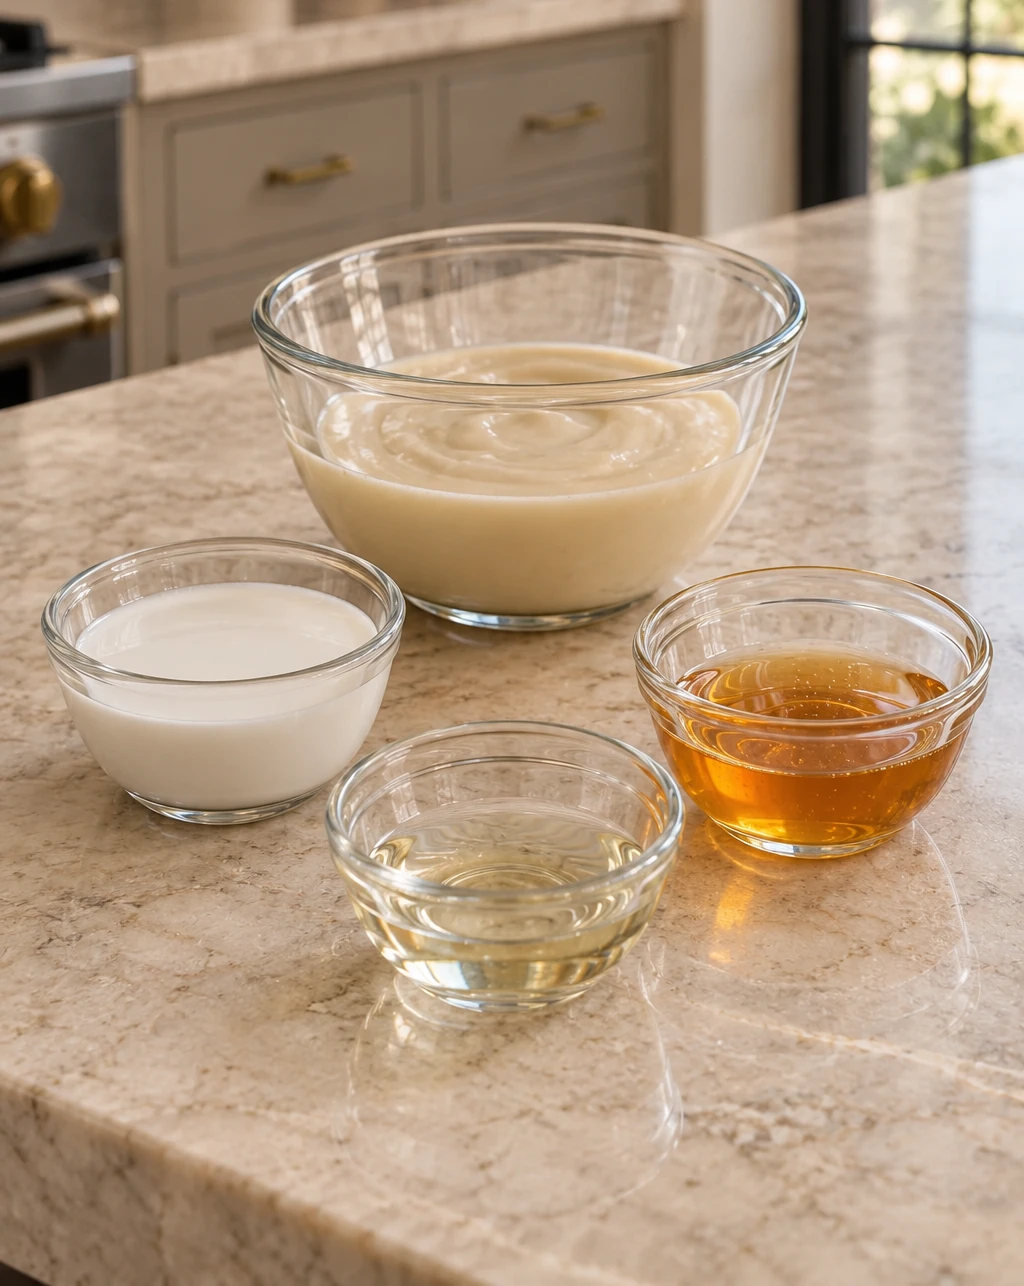
You do not need to make the ingredients hot. You are aiming for warm and fluid. The coconut butter should run from a spoon in a thick stream. The coconut oil should be completely clear and melted. The coconut milk should feel warm rather than refrigerator-cold, and the honey should pour without dragging heavily behind the spoon.
If one ingredient is noticeably cooler than the others, pause before combining them. Set its closed container or small measuring cup in warm water for a few minutes. Dry the outside before measuring so no water enters the icing. Water is not part of this formula and is not the right fix for an icing that has cooled.
Choose The Honey Amount Before You Whisk
Start with one tablespoon when you want a firm icing for a small cake or a light finish on a muffin. It will taste mostly of coconut with a mild honey note. This version holds a thicker ribbon and sets more quickly as it cools.
Use two tablespoons for an easy middle texture. It is sweet enough to notice and usually fluid enough for a controlled drizzle while warm. Use the full three tablespoons when the baked good is not already sweet or when you want the icing to flow more readily over a larger surface.
Keep the choice inside the measured one-to-three-tablespoon range. Adding extra coconut milk to thin the icing changes more than sweetness, while adding water can make the mixture less stable. Temperature and the measured honey range give you the useful adjustment the recipe already provides.
Whisk Until The Oil Streaks Disappear
Put the warm coconut butter, warm homemade coconut milk, melted coconut oil, and chosen amount of room-temperature raw honey in a small mixing bowl or heat-safe glass measuring cup. A pour spout is helpful if you plan to drizzle the icing directly from the cup.
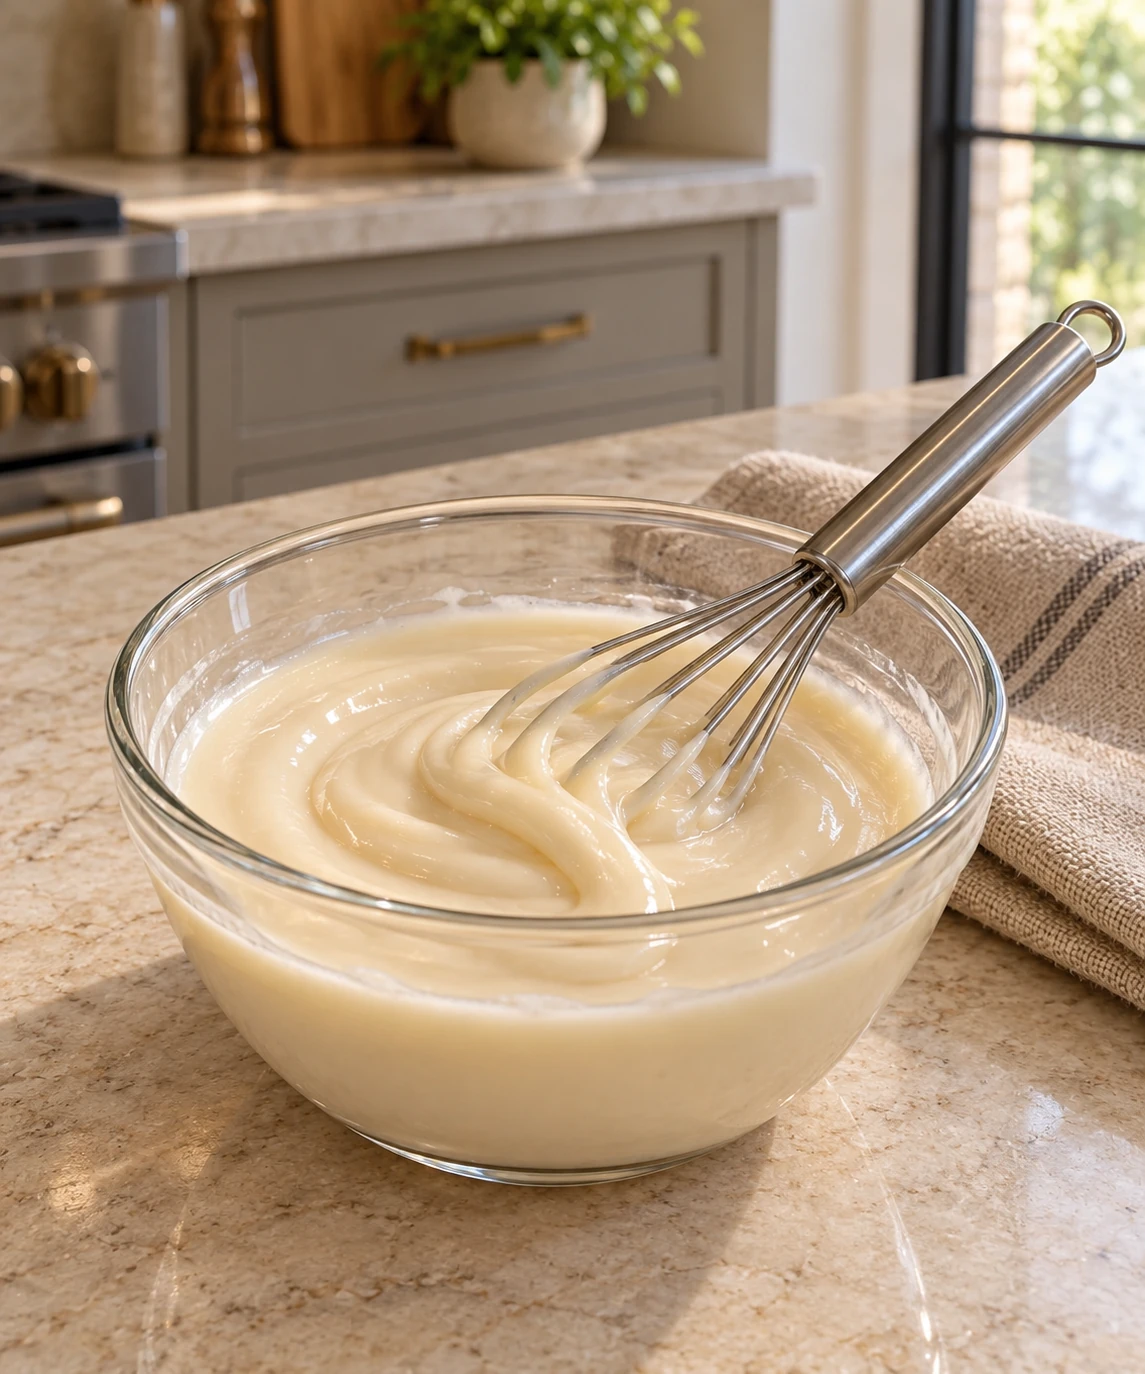
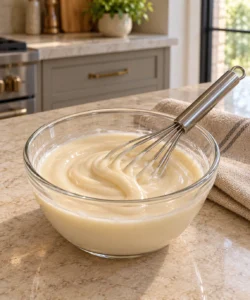
Whisk steadily, reaching the bottom and sides. At first, you may see clearer coconut-oil streaks or small areas that look more translucent than the rest. Continue until the color is even and the mixture looks glossy from edge to edge.
Lift the whisk just above the surface. The icing should fall back in a thick, smooth ribbon and leave a visible line for a moment before settling. That is the useful endpoint. Stop once the mixture is uniform; more whisking will not improve it after the four ingredients are fully combined.
How To Rescue Icing That Firms Too Soon
If the icing turns stiff, grainy, or difficult to whisk, the mixture has usually cooled. Set the bowl in a larger bowl of warm water for a short time, then whisk again. Keep the water below the rim of the icing bowl and dry the outside before you lift it away.
Watch the texture instead of adding another ingredient. The firm pieces should soften, the oily-looking streaks should disappear, and the icing should return to a glossy ribbon. Once it does, remove it from the warm-water bath so it does not become unnecessarily hot.
If the icing is smooth but firmer than you want, first confirm that it is warm. Then decide whether you are still within the one-to-three-tablespoon honey range. Add more honey only if you originally used less than three tablespoons and want the sweeter, looser branch.
Drizzle Or Pipe While The Icing Is Fluid
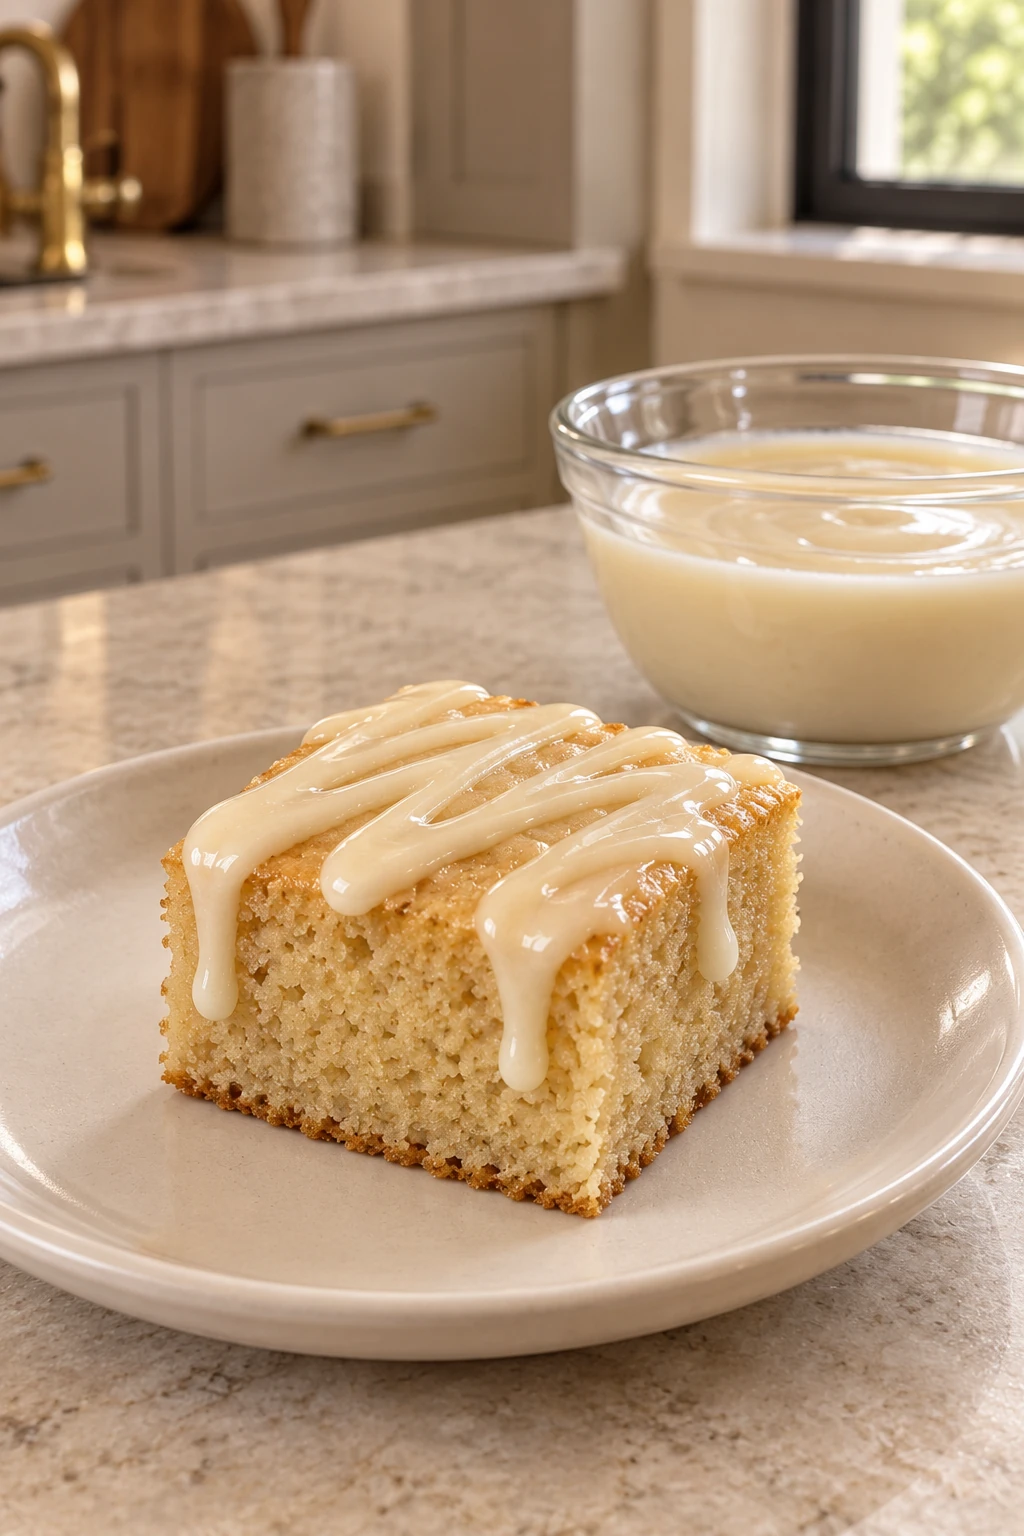
Use the icing as soon as it reaches the ribbon stage. For a drizzle, pour slowly from a spouted cup or use a spoon to make narrow lines. For a piped finish, transfer it to your piping bag while it is still warm and flexible.
Let the baked good cool before adding the icing. A very warm cake can make the coconut oil run toward the edges, while a refrigerated cake can make the icing set before you finish spreading it. A fully cooled, room-temperature surface gives you more working time and a cleaner finish.
This is a modest batch. Use a thin drizzle when you want to cover nine servings, or make a thicker layer over fewer pieces. The icing becomes more opaque and firm as it cools, but it should still look smooth rather than dry or crusted.
Where This Icing Fits On GAPS
This four-ingredient version is for Full GAPS. It uses plain coconut butter, homemade additive-free coconut milk, coconut oil, and raw honey. It does not use maple syrup, powdered sugar, commercial frosting mix, dairy, eggs, grains, or culinary essential oils.
Use it with a baked good that already fits the person’s current Full GAPS needs. Coconut ingredients may suit a dairy-free household, but the cake or muffin underneath still needs its own ingredient check. The icing cannot make a non-GAPS baked good compatible simply by sitting on top of it.
If you are beginning Full GAPS rather than moving through the Introduction Diet, keep the broader Full GAPS progression in mind. Baking and fruit are commonly brought back after the initial settling-in period rather than treated as the first foods on day one. This icing belongs with that later baked-good context.
Serving Ideas
Drizzle it over a plain grain-free snack cake, a lightly sweetened muffin, or a Full GAPS quick bread. A narrow drizzle adds sweetness without covering the texture of the bake. A thicker layer works when the cake itself is barely sweet.
The one-tablespoon honey version is useful when the baked good already contains fruit or dried fruit. The three-tablespoon version makes more sense when the base is plain and the icing needs to carry more of the sweetness.
Keep the serving simple. This icing already brings coconut flavor, richness, and a glossy finish. It does not need a scatter of unrelated garnish to look complete.
Make-Ahead And Storage
This recipe is easiest to make close to serving time. Coconut butter and coconut oil naturally firm as they cool, so a bowl that sits for a while will become thicker even when the formula is correct.
If you prepare it before the baked good is ready, keep the bowl covered and at a comfortably warm room temperature. When it becomes too firm to drizzle, warm the bowl gently in water and whisk it back to the smooth ribbon stage. Do not microwave it until hot or thin it with unmeasured liquid.
The formula does not supply a specific refrigerator or freezer storage window. Make the small batch for the bake in front of you, and rely on gentle warmth rather than an invented storage promise.
Recommended Equipment
Use a small heat-safe glass bowl or measuring cup with a pour spout. A small stainless whisk reaches the sides better than a full-size balloon whisk, although a fork can combine the ingredients when that is what you have.
You will also need measuring cups and spoons, plus a second bowl for a warm-water bath if the icing cools before it becomes smooth. Choose glass, stainless steel, or neutral unbranded ceramic for food contact. No saucepan or special appliance is required.
Frequently Asked Questions
Can I Use Maple Syrup?
Use raw honey for this Full GAPS version. The measured recipe gives honey as the compatible branch, with a range of one to three tablespoons.
Why Did My Icing Turn Grainy?
One or more ingredients were probably too cool. Warm the bowl gently in water and whisk again. The icing is ready when it is uniform, glossy, and falls in a smooth ribbon.
Can I Use Canned Coconut Milk?
Use homemade additive-free coconut milk. Measure three tablespoons after the milk is prepared, and warm it before combining it with the coconut butter.
Can I Make The Icing Less Sweet?
Yes. Use the bottom of the measured range: one tablespoon raw honey. Keep the coconut butter, coconut milk, and coconut oil amounts unchanged.
Why Is The Icing Sliding Off The Cake?
The cake may still be warm or the icing may be at the loosest end of the honey range. Let the cake cool completely. If the icing is very fluid, allow it to cool briefly until it leaves a thicker ribbon, then drizzle again.
How Much Does One Batch Cover?
The recipe yields nine icing portions. A thin drizzle reaches farther than a piped or fully spread layer, so portion size depends on how you finish the baked good.
Full GAPS Coconut Butter Icing Recipe
Full GAPS Coconut Butter Icing
Ingredients
Equipment
Method
- Warm the coconut butter until it is runny. Melt the coconut oil, and make sure the coconut milk and honey are not cold.
- Put the coconut butter, homemade coconut milk, coconut oil, and one to three tablespoons raw honey in the bowl or measuring cup.
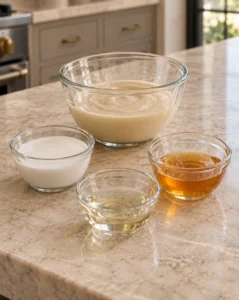
- Whisk until the mixture is completely combined, glossy, and free of separate oil streaks. It should fall from the whisk in a smooth ribbon. If it turns grainy or stiff while mixing, the ingredients have cooled; set the container in warm water briefly and whisk again.
- Pipe the icing or pour it slowly over the finished Full GAPS baked good. Work while it is fluid because coconut butter firms as it cools.
Notes
Tried this recipe?
Let us know how it was!More Help For Full GAPS Baking
The upcoming Muffins, Cakes & Cookies Cookbook is designed to put compatible bakes and practical finishing recipes together, so you are not rebuilding every snack or celebration bake from scattered notes. Browse current resources and release updates in the WFLI shop.

Leave a comment