

Properly prepared fermented peanut butter begins with raw whole peanuts, not with a finished jar of peanut butter. The peanuts soak first, ferment while fully submerged in homemade cultured whey, rinse, cook in fresh water until completely soft, and only then become a smooth spread in the food processor.
That longer order matters on GAPS because peanuts are legumes. The familiar result is still a thick, creamy peanut spread, but the method handles the whole food before grinding instead of trying to ferment roasted peanut butter for a few hours.
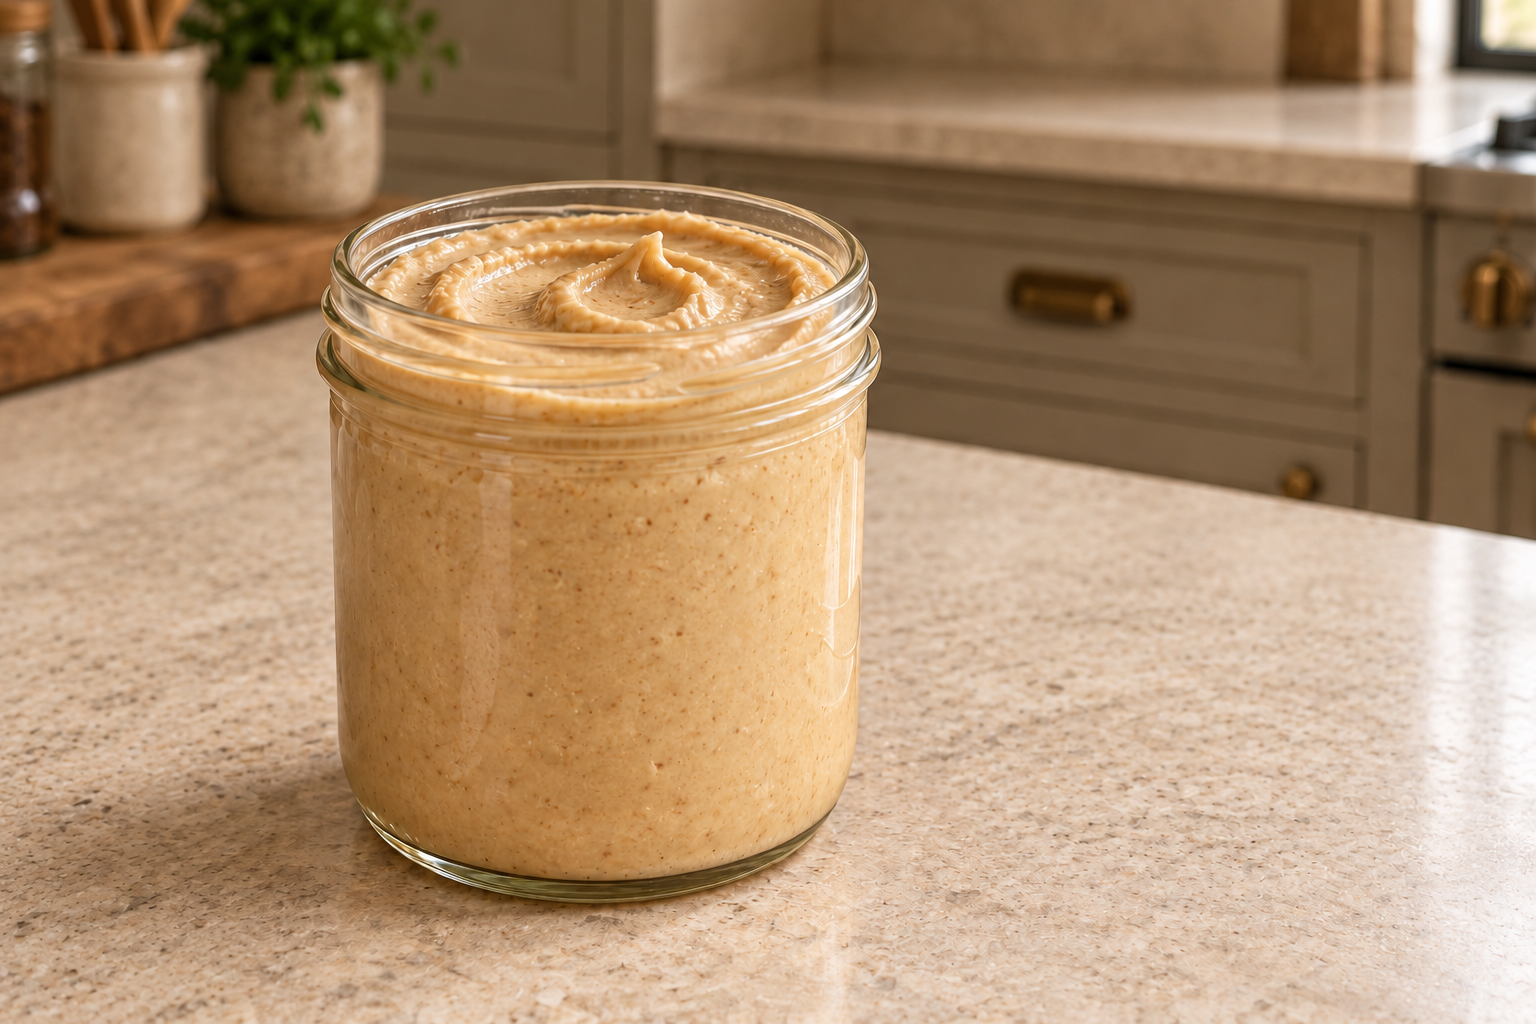
A Familiar Spread With the Full Preparation Intact
In our house, making a GAPS version has never meant giving up the job a familiar food used to do. It means rebuilding that food with the preparation the protocol actually calls for. Peanut butter can still go into pancakes, sauces and a groundnut stew. The difference is what happens before it reaches the jar.
This is also why the recipe does not start with commercial peanut butter, roasted peanuts or probiotic capsules. Those shortcuts produce a different formula. Here, the whole raw peanuts move through the complete soak, culture, rinse, cook and grind sequence.
Start With Raw Unprocessed Peanuts
Measure two cups of raw peanuts that have not been roasted, salted, flavored or ground. The finished spread will be lighter than ordinary roasted peanut butter. Expect a pale beige-tan color and a mild peanut flavor with a gentle cultured tang, not the dark caramel color or toasted aroma of a commercial jar.
Peanuts are legumes even though we cook with them like nuts. That is why this recipe treats them as legumes from the first soak through the fresh-water simmer. The optional half-teaspoon of mineral salt belongs at the end, after the peanuts are processed.
Soak for Twelve to Twenty-Four Hours
Put the peanuts in a glass or ceramic bowl and cover them generously with filtered water. Give them twelve to twenty-four hours. The peanuts should look plumper and feel less dry by the end of the soak.
Drain away all of that soaking water. Rinse the peanuts thoroughly in cold filtered water, moving them around so the rinse reaches the entire batch, then drain again. The soaking liquid does not become part of the ferment.
Next, cover the peanuts with boiling filtered water. This step helps break their tough skins. Let the peanuts and water cool to room temperature before the cultured whey goes in. Adding whey to very hot water would work against the culture you are trying to establish.
Ferment the Whole Peanuts Under Liquid
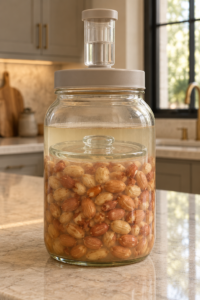
Add one full cup of homemade cultured whey. Use whey drained from properly fermented 24-hour GAPS yogurt or kefir. Transfer the peanuts and liquid to a clean wide-mouth glass jar, then add enough filtered water to cover the peanuts completely.
Place a glass fermentation weight over the peanuts so none can rise to the surface. Leave practical headspace and close the jar with an airlock or another self-venting, pressure-aware lid. Keep it at room temperature out of direct sunlight for four to six days. An airlocked jar stays closed; it does not need routine opening or burping.
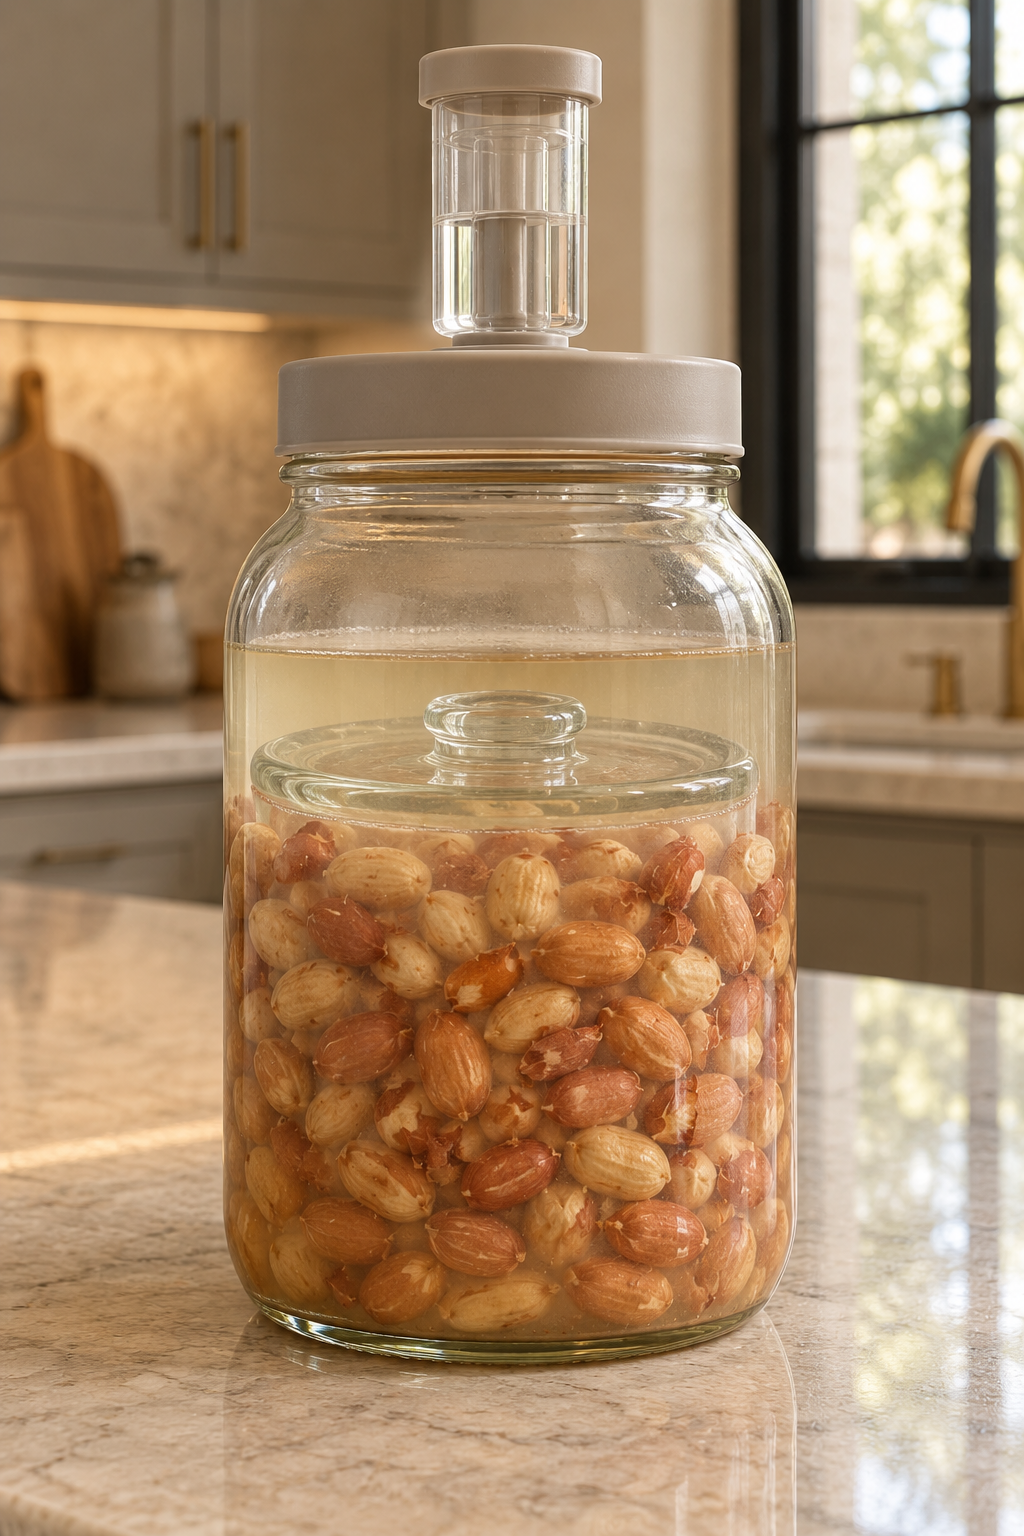
Look through the glass instead of disturbing the vessel. Every peanut should remain below the slightly cloudy cultured liquid. Small bubbles may appear near the glass or weight. At the end of the window, the scent should be clean and cultured when the jar is opened for draining, without the roasted smell of ordinary peanut butter.
Rinse, Then Cook in Fresh Water
Pour off the fermentation liquid. Rinse the peanuts thoroughly in filtered water and drain them again. This is a new stage of the method, so use a clean stainless-steel saucepan and fresh filtered water rather than cooking in the fermenting liquid.
Bring the fresh water to a boil, add the peanuts, return the pan to a boil, then reduce the heat to a steady simmer. Keep the peanuts covered with water. Add more hot filtered water if the level drops before the centers soften.
Cooking time depends on the peanuts, so use the physical cue. Lift one peanut out, let it cool enough to handle and press it. It should yield completely with no firm center or resistance. If the center still feels dense, keep simmering. Once the whole batch is very soft, drain it and let the peanuts cool until they are no longer steaming.
Process Without Adding Oil or Water
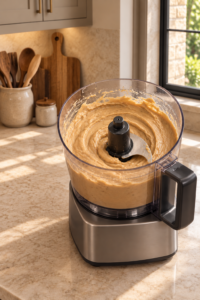
Put the cooked peanuts in the food processor. At first they will tumble as separate soft pieces. Continue processing and stop to scrape the bowl as needed. The pieces become a coarse mash, then a thick paste, and finally a smoother, even spread.
Do not pour in oil or the three-quarter cup of water used by the 15-hour roasted-peanut shortcut. The fully cooked peanuts already contain moisture. Extra liquid would create a different consistency and an untested storage profile. Stop when the spread is even and holds a soft spiral from the blade.
If the paste climbs above the blade, switch the processor off before scraping it back toward the center. Continue in short runs until the grainy patches disappear. The finished butter should move as one cohesive mass, mound softly on a spoon and leave a clear track when the surface is swept. A few fine natural flecks are normal; dry crumbs, separate cooked peanuts or a puddle of liquid mean the processing endpoint has not been reached.
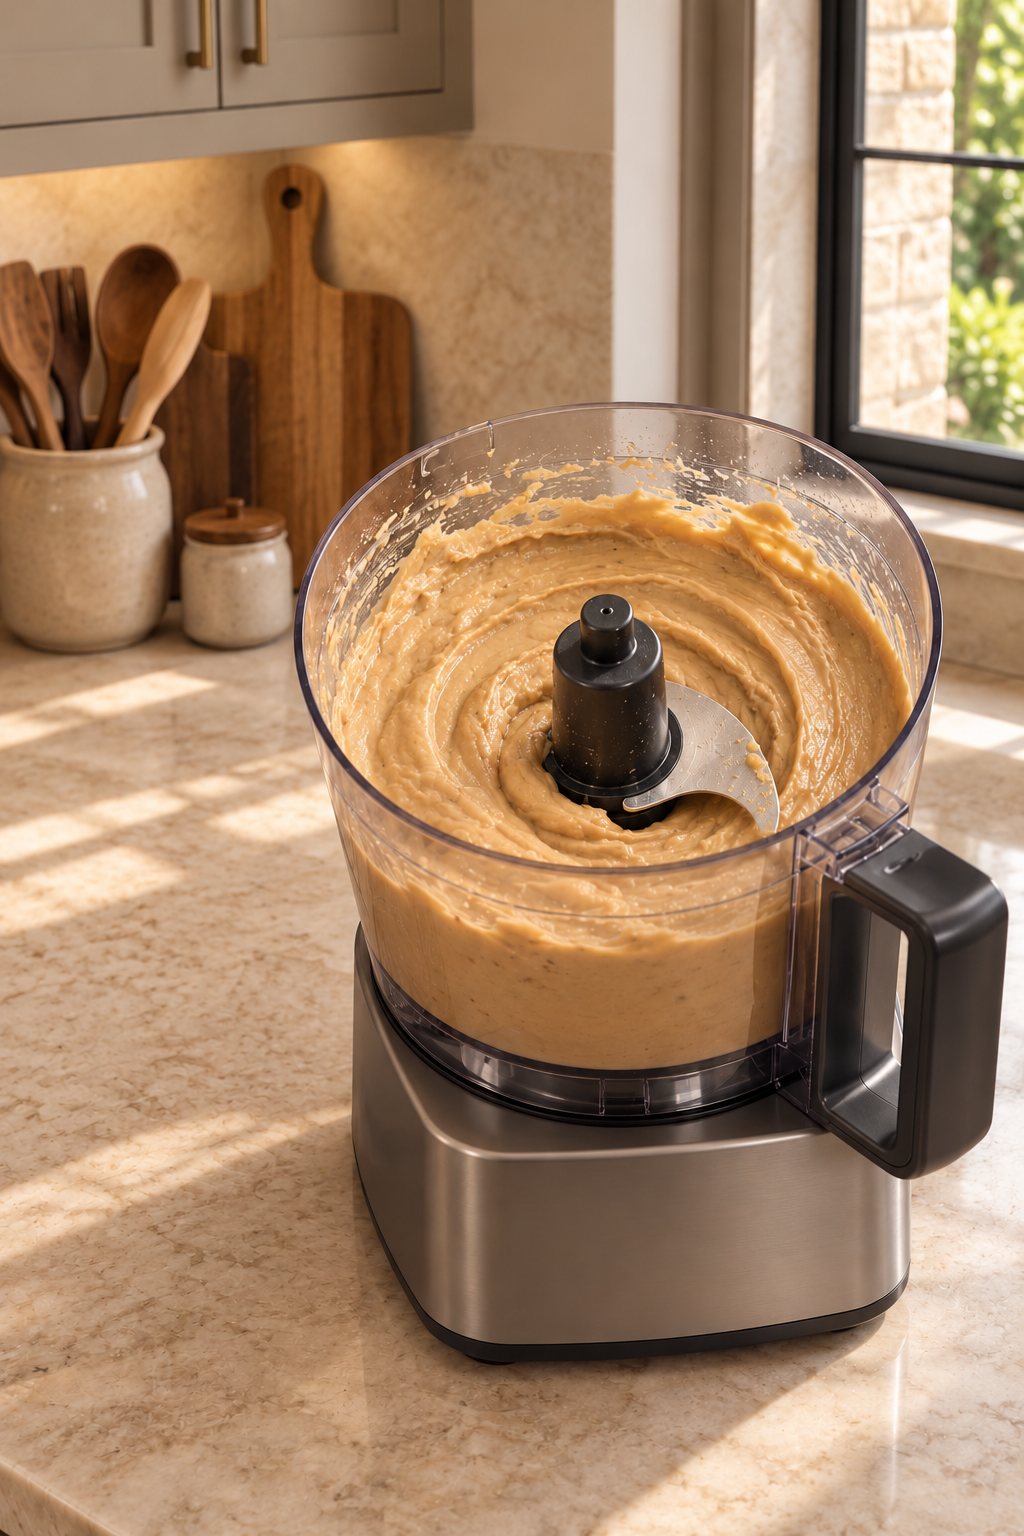
Add the optional half-teaspoon mineral salt and pulse only long enough to distribute it. Spoon the finished spread into a clean glass jar and refrigerate it.
What the Finished Peanut Butter Is Like
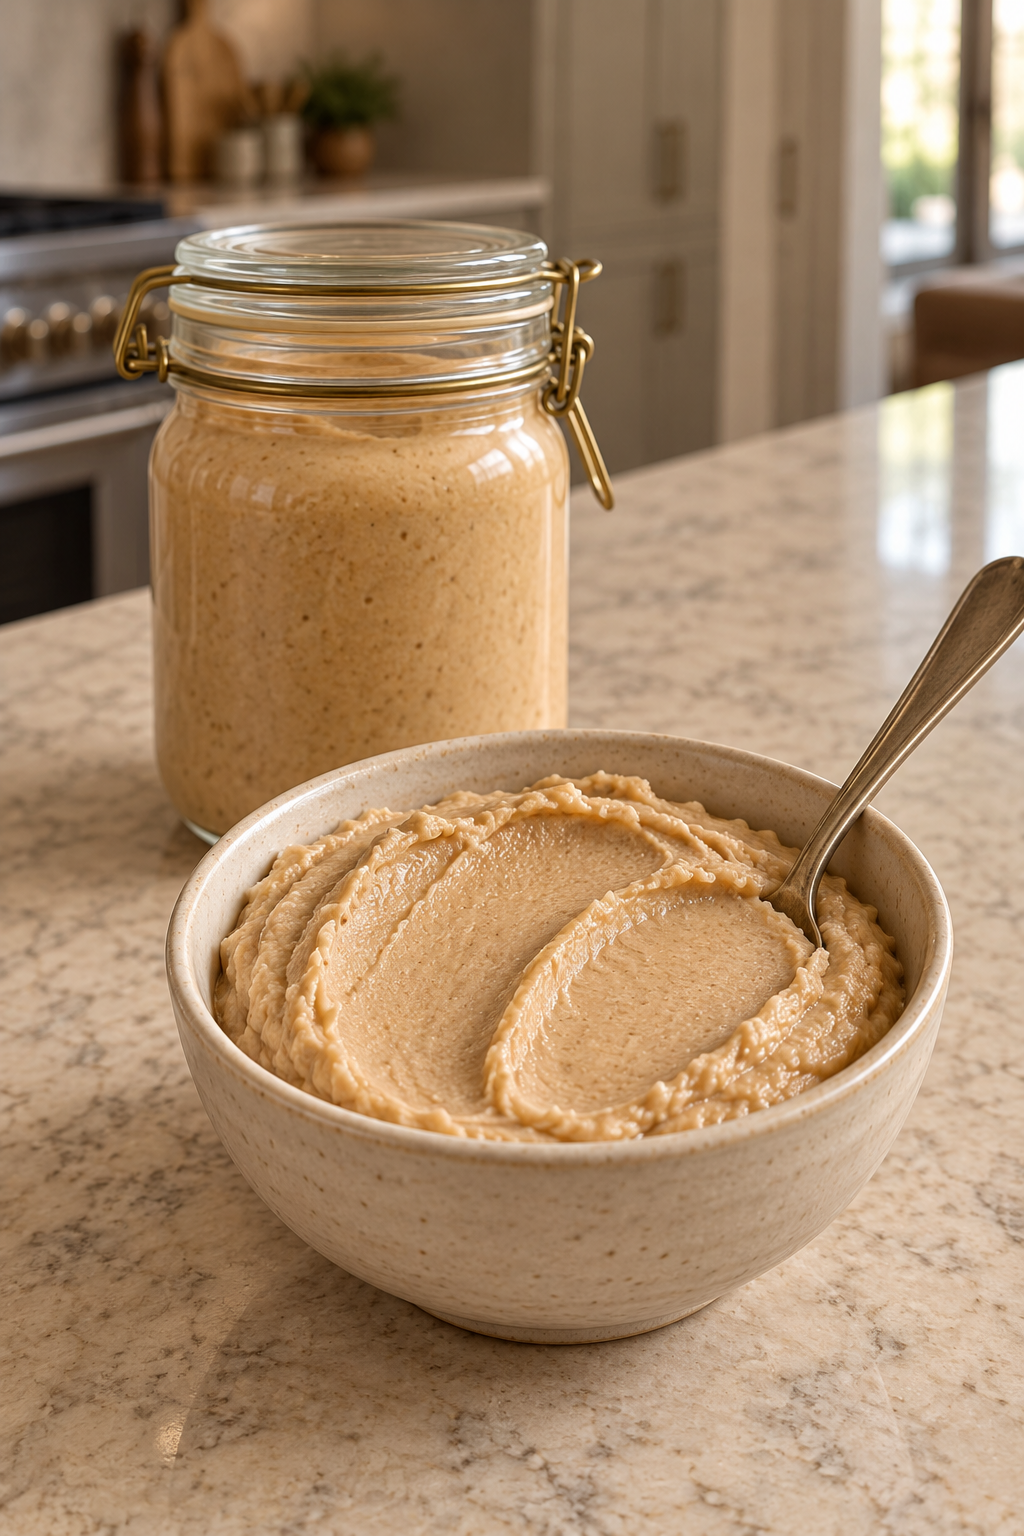
The color should be pale beige-tan because there is no roasting step. The texture is thick and smooth enough to spread, with a little more body than commercial peanut butter. It should not pour, separate into an oil layer or taste heavily toasted.
The cultured flavor is mild but noticeable. Think of a gentle tang behind the peanuts rather than lemon juice or sour candy. The optional salt sharpens that flavor without turning the spread salty.
Stir the jar before measuring the spread into another recipe. This batch does not contain added oil, so it should not have the floating oil layer common in some commercial natural peanut butters. A firm chilled texture is expected; let the measured portion sit briefly at room temperature when a pancake batter or sauce needs it easier to stir.
Where This Fits on GAPS
This is a Full GAPS preparation for a household that has already introduced peanuts and cultured whey successfully. Although peanuts can appear in GAPS guidance, legumes still require proper preparation and may be difficult for some people to digest. This complete spread is not presented as an early Introduction Diet food.
The process follows the newest Tier 0 legume method: soak, rinse, use boiling water to break the skins, cool, add homemade culture, keep the legumes submerged for four to six days, rinse, cook in fresh water until very soft, drain and grind. The closed, pressure-aware jar keeps the fermentation environment consistent without routine opening.
How to Use Fermented Peanut Butter
Use it anywhere a properly prepared peanut butter belongs in an existing formula. It can be the nut-butter component in Full GAPS nut butter pancakes or waffles. It also links naturally to African chicken groundnut stew, where the peanut flavor belongs in a savory meal rather than a sweet snack.
Measure it as written in the recipe you are making. Do not replace a cup of commercial peanut butter by adding extra water or oil to this batch. If the finished spread is thicker than the product you used before GAPS, stir it well and measure the actual spread rather than any moisture on the jar.
Storage and Make-Ahead Options
Transfer the finished butter to a clean covered glass jar and refrigerate it promptly. The 15-hour roasted-peanut shortcut supplied a one-month storage statement, but that timing does not establish a tested refrigerator life for this complete soaked, cultured and cooked version. Make a batch you can use without relying on that transferred claim.
For a clearer make-ahead point, stop after the peanuts are cooked, drained and cooled. The Tier 0 method allows prepared legumes to be portioned and frozen for future use. Thaw a portion in the refrigerator, then process it into peanut butter when you need the spread.
Recommended Equipment
Use a glass or ceramic soaking bowl, a wide-mouth glass fermentation jar, a glass fermentation weight, an airlock or self-venting closure, a stainless-steel colander, a stainless-steel saucepan, a food processor with a stainless blade, a flexible spatula for scraping and a clean glass storage jar.
Frequently Asked Questions
Can I Start With Roasted Peanuts?
No. Start with two cups of raw unprocessed peanuts so the full soak, culture, cook and grind sequence stays intact.
Can I Ferment Store-Bought Peanut Butter?
Not for this recipe. A finished commercial butter has already skipped the whole-peanut preparation that defines this Full GAPS method.
Can I Use Probiotic Capsules?
No. Use one cup of homemade cultured whey drained from properly fermented 24-hour GAPS yogurt or kefir.
Why Do the Peanuts Need Cooking After Fermentation?
They are legumes. The complete preparation rinses them after fermentation and cooks them in fresh water until every center is fully soft before grinding.
How Long Do They Ferment?
Keep the closed, submerged ferment at room temperature for four to six days, following the Tier 0 method that controls this overlap.
Why Is My Peanut Butter So Pale?
That is expected. This spread uses soaked, fermented and boiled peanuts rather than roasted peanuts, so it stays much lighter than conventional peanut butter.
Properly Prepared Fermented Peanut Butter Recipe
Properly Prepared Fermented Peanut Butter for Full GAPS
Ingredients
Equipment
Method
- Put the raw peanuts in a glass or ceramic bowl and cover generously with filtered water. Soak for 12 to 24 hours.
- Drain the soaking water. Rinse the peanuts thoroughly in cold filtered water and drain again.
- Cover the peanuts with boiling filtered water to break their tough skins. Let the peanuts and water cool to room temperature before adding the cultured whey.
- Stir in the homemade cultured whey. Transfer the peanuts and liquid to a clean wide-mouth glass fermentation jar, then add enough filtered water to keep every peanut fully submerged.
- Set a glass fermentation weight over the peanuts. Leave practical headspace and close the jar with an airlock or self-venting pressure-aware lid. Ferment at room temperature out of direct sunlight for 4 to 6 days without routine opening.
- Drain the fermentation liquid. Rinse the peanuts thoroughly in filtered water and drain again.
- Bring a saucepan of fresh filtered water to a boil. Add the peanuts, return to a boil, then reduce the heat and simmer until every peanut is completely soft with no firm center. Add more hot filtered water as needed to keep them covered.
- Drain the cooking water and let the peanuts cool until they are no longer steaming.
- Transfer the cooked peanuts to a food processor. Process, stopping to scrape the bowl as needed, until the pieces become a thick, smooth and even paste. Do not add oil or water.
- Add the optional mineral salt and pulse only until it is evenly distributed.
- Transfer the spread to a clean glass jar, cover and refrigerate. For make-ahead preparation, the fully cooked, drained peanuts may instead be cooled, portioned and frozen before processing.
Notes
Tried this recipe?
Let us know how it was!Take Ferments Past One Jar
The upcoming Crock & Jar: Ferments for GAPS Families is built to make starter choices, submersion, timing and weekly jar routines easier to repeat. Find current resources and catalog updates in the WFLI shop.

Leave a comment