

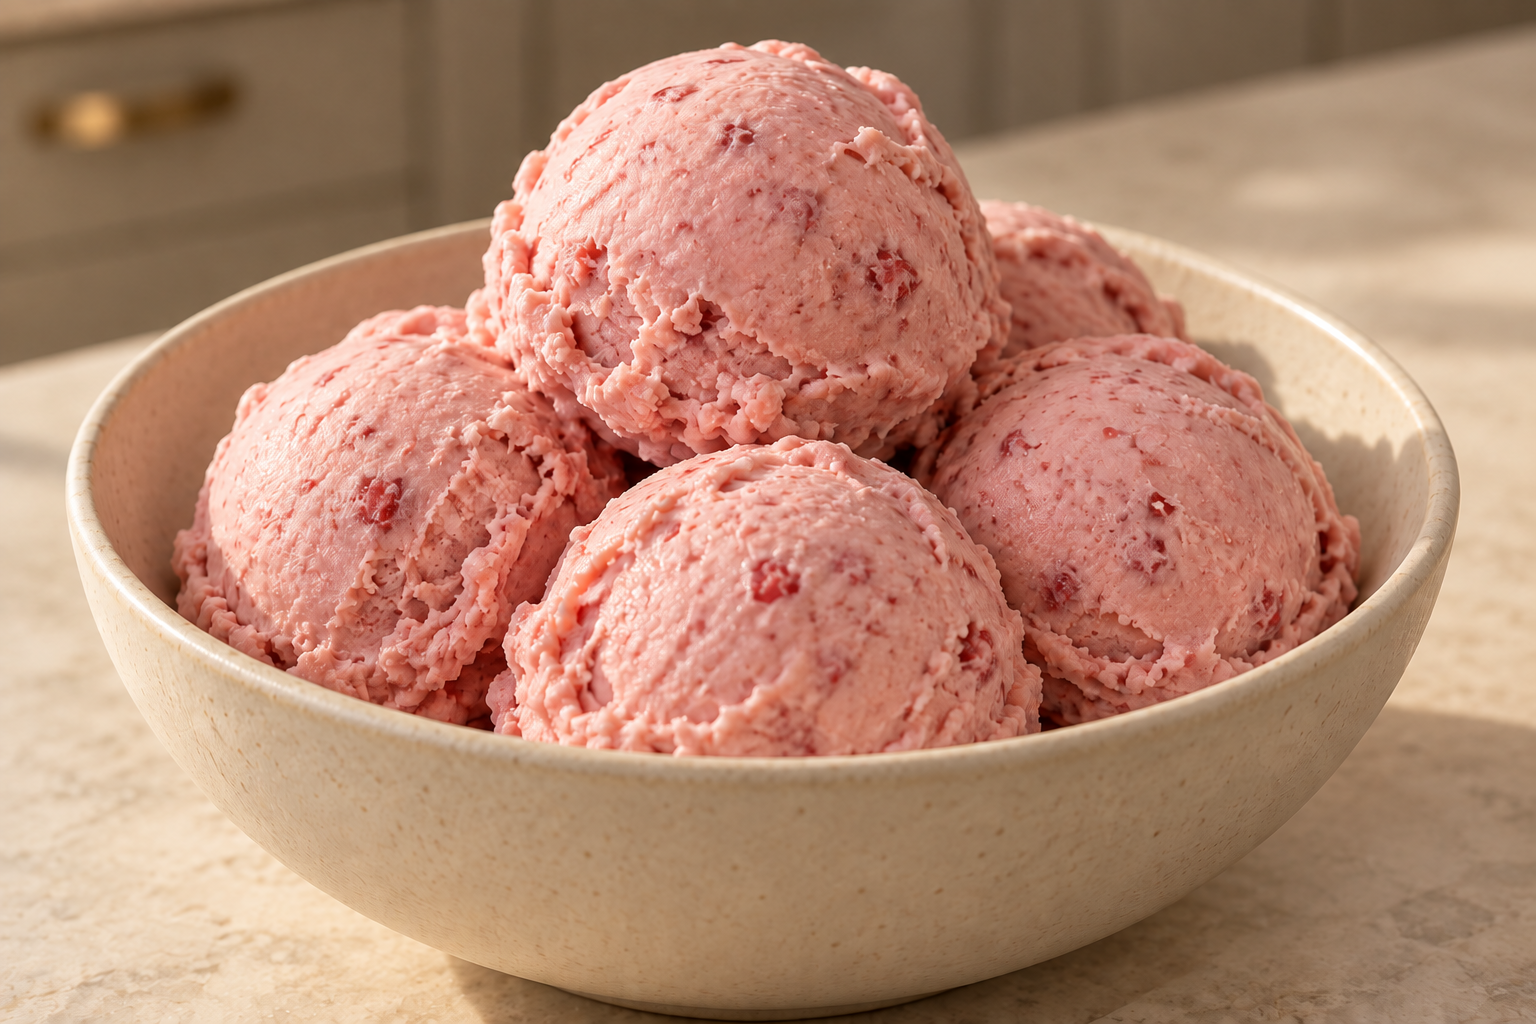
This strawberry blender ice cream turns frozen homemade coconut milk and frozen strawberries into a thick, scoopable Full GAPS treat without an ice-cream machine. The blender does the churning work. Raw honey sweetens the fruit, and homemade vanilla rounds out the strawberry flavor without changing the simple coconut-milk base.
The result is pale pink, creamy, and dense enough to scoop after a short freezer rest. It is different from a sorbet because coconut milk supplies the fat and body. It is also different from cultured-cream or frozen-yogurt ice cream. Here, the coconut-milk version stands on its own, with its own texture and method.
Freeze The Coconut Milk Before You Need It
The actual blending takes about ten minutes, but the coconut-milk cubes need time in the freezer first. Pour full-fat hot-water homemade coconut milk into a stainless-steel ice cube tray and freeze it for two to three hours, or keep a measured supply of cubes ready for another day. The printed preparation time begins after the cubes and strawberries are frozen.
With six kids, homeschooling, and second-shift work sharing the same week, I need frozen ingredients to be easy to identify. Label the coconut-milk cubes before they disappear among frozen stock and fruit. That small step matters because plain water ice does not give this ice cream the same creamy texture.
Measure three slightly heaping cups of coconut-milk cubes for the recipe. “Slightly heaping” means the cubes rise just above the rim of the measuring cup without being packed down. Keep the remaining homemade coconut milk unfrozen. You will gently warm three-quarters cup of it for dissolving the honey.
Prepare The Strawberries
Hull the strawberries before freezing them. Halve small berries and quarter larger ones so the frozen pieces are closer in size. Measure two slightly heaping cups after cutting. Spread them in a single layer to freeze if you have time; separate pieces are easier for the blender to break down than one solid berry block.
The berries should be fully frozen when they go into the jar. Their color and sweetness vary by season, but the measured half cup of raw honey stays the same in this formula. Vanilla is optional, but if you include it, measure one tablespoon of homemade vanilla extract made without added sugar or other non-GAPS ingredients.
Dissolve The Honey First
Gently warm three-quarters cup homemade coconut milk until it is warm enough to dissolve honey. It does not need to boil. Stir in the raw honey and optional homemade vanilla until the honey no longer sits in a thick layer at the bottom.
Let this mixture return to room temperature before it touches the frozen cubes. Hot liquid melts the cubes too quickly and leaves you with a thinner blend. The milk should feel neutral rather than warm when you are ready to add it.
Do not pour all of the liquid into the blender at the beginning. You may need the full amount, but starting with less lets the frozen ingredients stay thick. The amount used affects how long the finished ice cream needs to firm in the freezer.
Powder The Frozen Ingredients
Place the coconut-milk cubes and frozen strawberry pieces in a high-powered blender. Secure the lid and begin blending. This stage can be noisy because the blades are breaking hard frozen pieces rather than moving through a liquid.
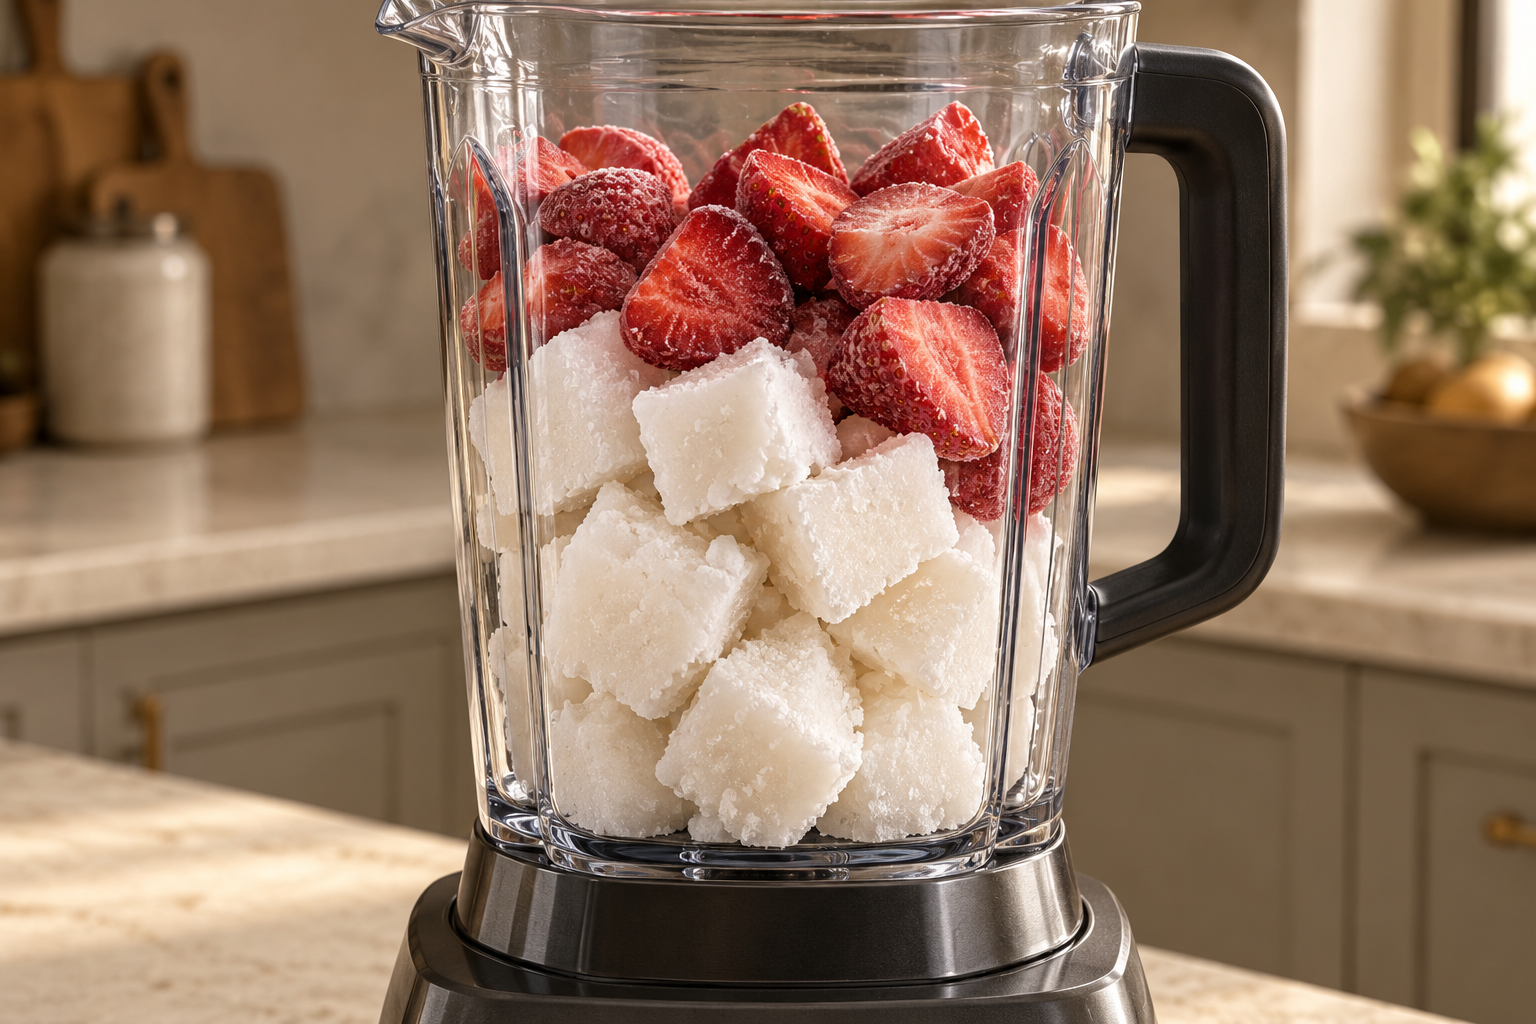
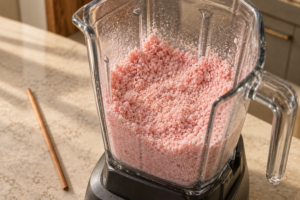
Stop when the contents look like an even coarse pink powder. You should no longer see whole white cubes or large strawberry pieces. Frozen crystals will collect in the corners of the jar, and the mixture will still look dry and loose rather than creamy.
If the blades make an empty spinning sound while large pieces sit above them, stop the machine. Reposition the frozen pieces only with the blender switched off, or use the manufacturer’s tamper exactly as designed with the lid in place. Never put a loose utensil into a running blender.
Add Only As Much Liquid As You Need
With the machine off, loosen the powder from the jar corners using a wooden chopstick or supported spatula. Add about two-thirds of the cooled honey-coconut-milk mixture. Blend again, stopping to scrape the sides with the machine off when needed.
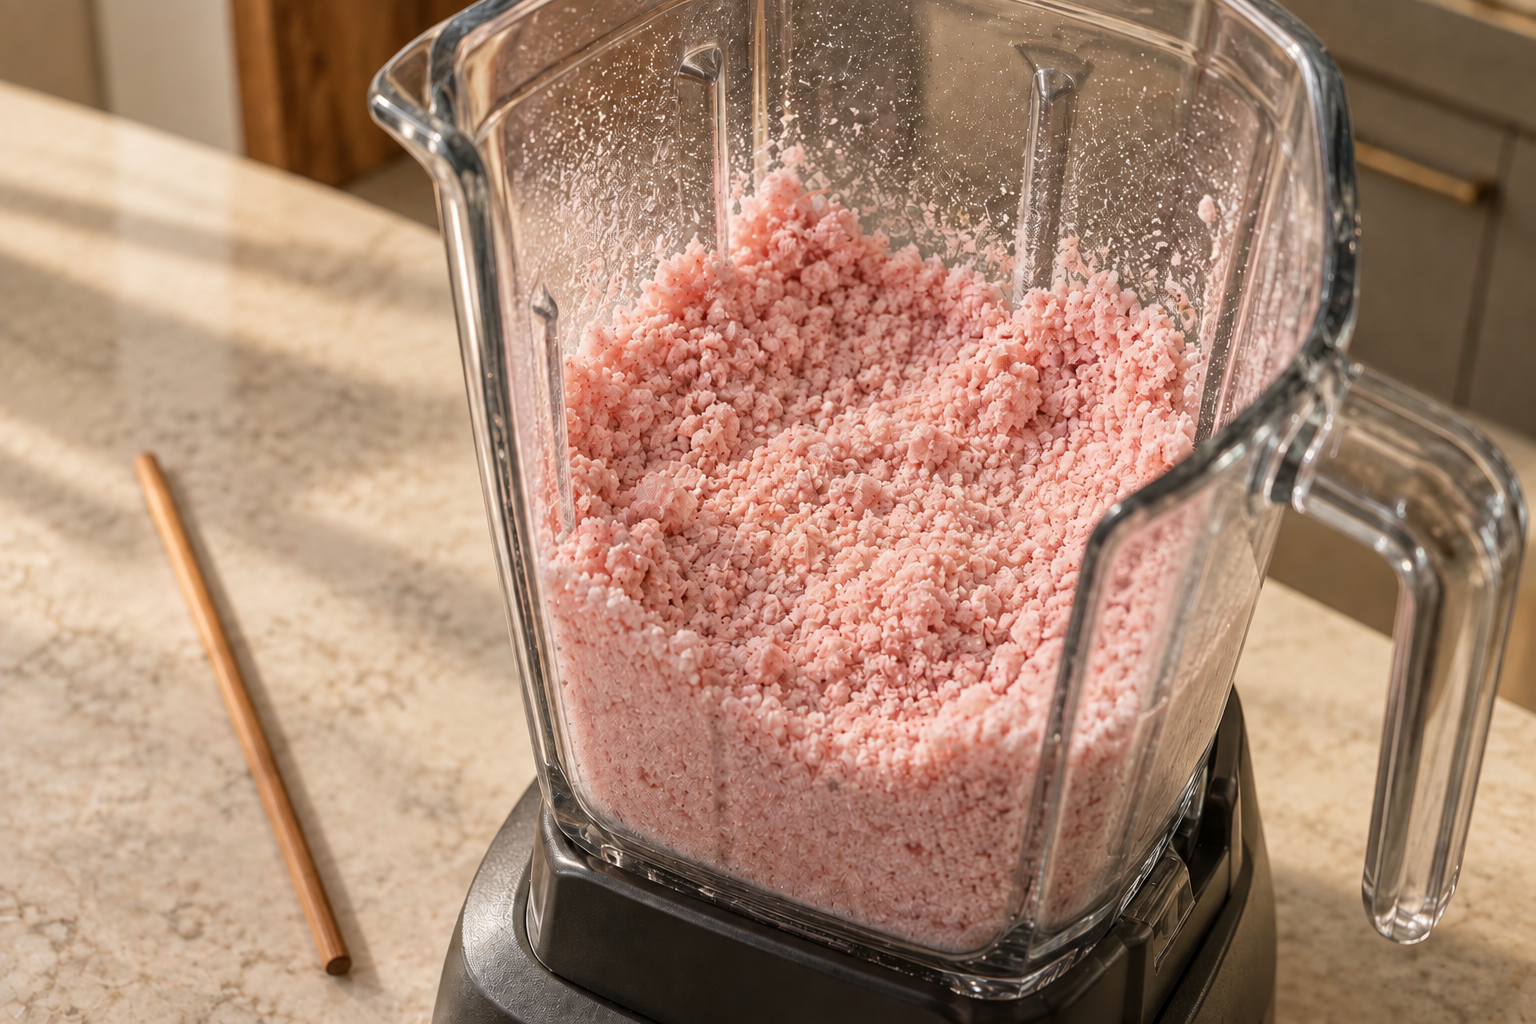
Watch the texture rather than emptying in the last third automatically. The mixture is ready when it moves together as thick ice cream, with no dry powder pockets and no liquid pool under the blades. If it stays crumbly and will not circulate, add a little more of the reserved liquid and blend again.
You may need all of the liquid, and that is fine. It simply makes a softer mixture that may need more freezer time before scooping. A strong blender may produce finished ice cream sooner; the physical cue is a thick, unified pink mixture, not a particular blender brand.
Firm It For Clean Scoops
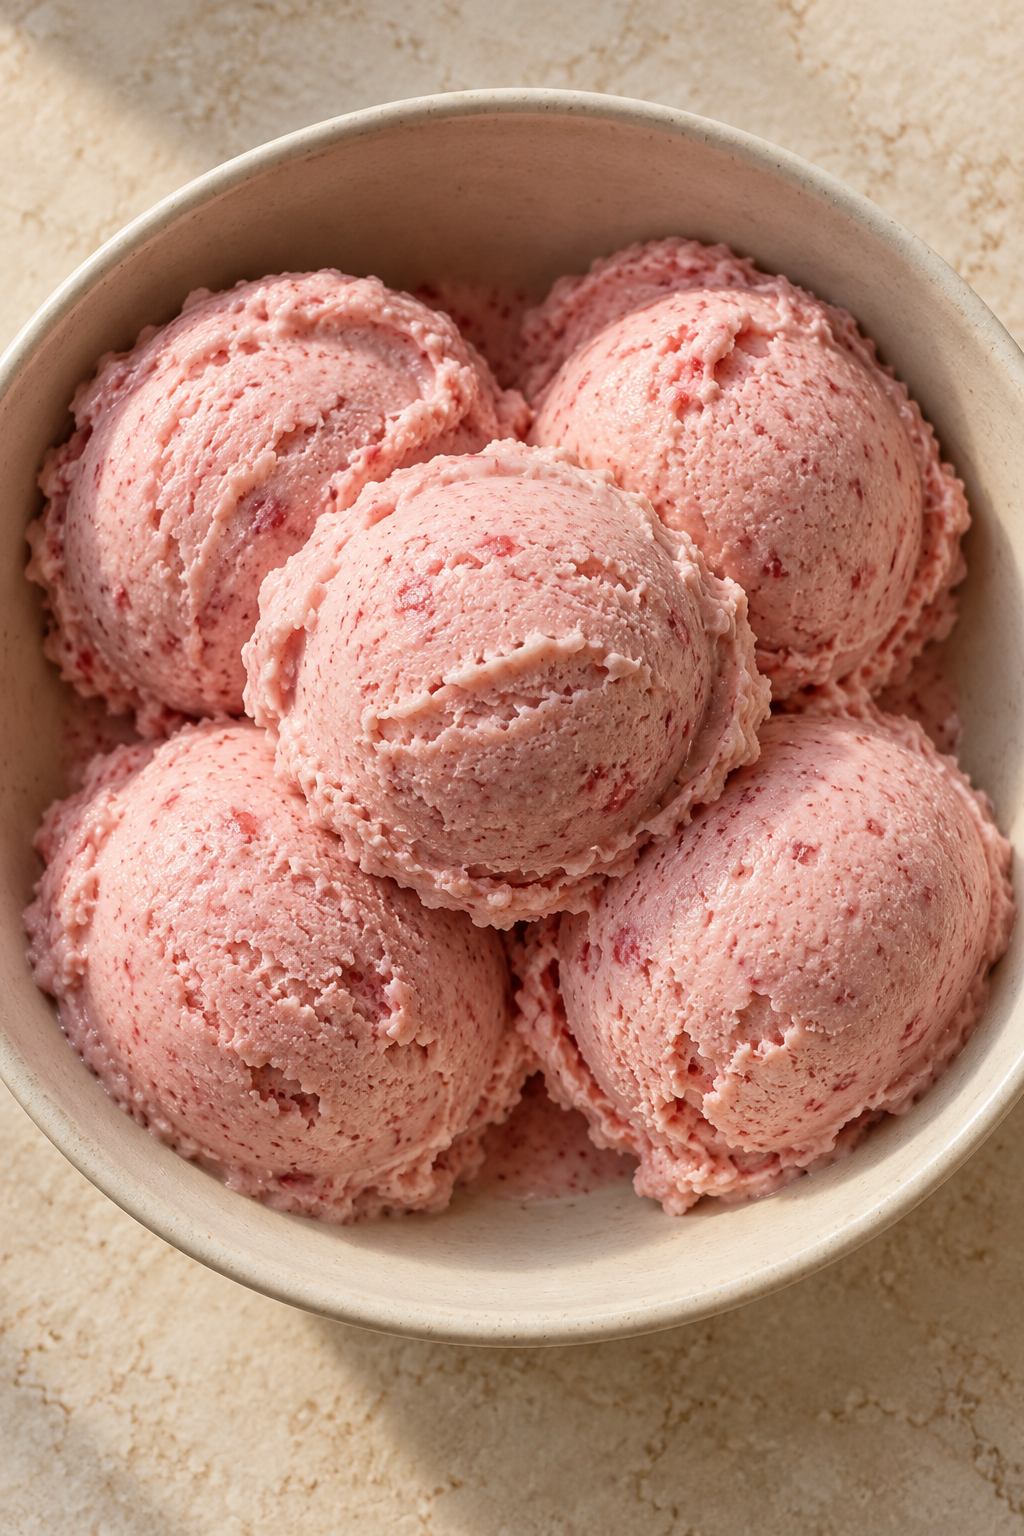
Scrape the blended ice cream into a freezer-safe glass or ceramic bowl. A very powerful commercial blender may need only five to ten minutes of freezer time. A home high-powered blender may need thirty to sixty minutes. Freeze until a spoon or scoop leaves a clean path and the ice cream holds a rounded shape.
Do not wait for it to become rock hard before serving. This is a no-churn freezer recipe without commercial stabilizers. If it firms longer than planned, let it rest at room temperature for about fifteen minutes before scooping.
Where It Fits On GAPS
This is a Full GAPS dessert made from strawberries, homemade coconut milk, raw honey, and optional homemade vanilla. It is not an Introduction Diet recipe. Fruit and honey belong later, and homemade desserts are occasional foods rather than the center of a GAPS meal.
The coconut milk must be homemade. Canned coconut milk and commercial non-dairy milks are not the ingredient used here. The linked hot-water method gives you a measured coconut-and-water formula without gums, starches, sweeteners, or preservatives.
Use homemade vanilla extract made without added sugar or other non-GAPS ingredients. Measure one tablespoon, as written in the recipe, or leave it out. Skip commercial vanilla flavorings and syrups.
The formula contains no dairy, eggs, nuts, or seeds. It does contain coconut, fruit, and honey, so it is not a No-Plant GAPS recipe. The separate cultured-cream and frozen-yogurt recipes have their own dairy placement and should not be folded into this card.
More Frozen Treats For Full GAPS
Serve one scoop as a small dessert or snack between meals. If you want another cold fruit option, the Full GAPS kiwi sorbet uses a different fruit-and-honey formula without coconut milk. Linking the two gives you a choice without treating sorbet and ice cream as the same texture.
For a cultured option, Full GAPS frozen yogurt starts with homemade twenty-four-hour yogurt and follows its own method. Choose that recipe only after the applicable dairy introduction. This strawberry page stays dairy-free.
A small bowl is enough for serving. The ice cream already carries strawberry, coconut, honey, and vanilla flavors, so it does not need a syrup or decorative garnish added for the photograph or the table.
Storage And Texture After Freezing
Cover leftovers in a freezer-safe glass container. Smooth the top before covering to reduce exposed surface area. The ice cream will firm more during storage because it has no commercial stabilizer.
Set the container on the counter for about fifteen minutes before scooping leftovers. Check the center as well as the edges. The outside softens first, while the middle may still be too firm for a scoop.
Repeated thawing and refreezing makes larger ice crystals. Portion the fresh batch into smaller covered containers if you know you will serve it on different days. Then you can soften only the amount you need.
Equipment For A Thick Blender Ice Cream
Use a high-powered blender with a complete lid and a jar large enough for five cups of frozen ingredients plus liquid. Follow its warm-liquid and tamper instructions. A food processor can also make this kind of frozen texture, but this page and card use the blender method.
A stainless-steel ice cube tray keeps the coconut milk in an uncoated, non-plastic food-contact surface. You will also need measuring cups, a small saucepan or heat-safe vessel for gently warming the milk, a spoon for dissolving honey, and a freezer-safe glass or ceramic serving container.
Keep tools supported on the counter and stop the blender before scraping. A wooden chopstick reaches narrow corners, but it belongs in the jar only when the machine is fully off.
Frequently Asked Questions
Can I Use Canned Coconut Milk?
No. Use the linked homemade full-fat coconut milk for both the frozen cubes and the warmed liquid. Canned coconut milk is not the measured GAPS ingredient in this version.
Why Is My Ice Cream Too Soft?
The honey-milk mixture may have been warm, or the blender may have needed the full three-quarters cup. Transfer the smooth mixture to the freezer and check it after thirty minutes. It is ready when it holds a scoop.
Why Is The Blender Spinning Without Mixing?
An air pocket can form near the blades while frozen powder stays above it. Stop the machine, loosen the corners, and add part of the reserved liquid. Use the tamper only according to the blender’s instructions.
Can I Use Fresh Strawberries?
This recipe depends on fully frozen strawberries. Fresh berries add unfrozen water and do not provide the same immediate frozen structure. Hull, cut, and freeze them before making this recipe.
Can I Make The Dairy Version Here?
This page and card use the homemade-coconut-milk version. Use the separately published cultured-dairy ice cream or frozen-yogurt recipe when dairy is appropriate for your stage and household.
Blender Strawberry Ice Cream Recipe
Blender Strawberry Ice Cream for Full GAPS
Ingredients
Equipment
Method
- Stir the raw honey and optional homemade vanilla into the gently warmed homemade coconut milk until the honey dissolves. Cool the mixture to room temperature before it touches the frozen ingredients.
- Put the coconut-milk ice cubes and frozen strawberries in a high-powered blender. Pulse or blend until the frozen pieces become an even coarse pink powder with no whole white cubes or large strawberry pieces.
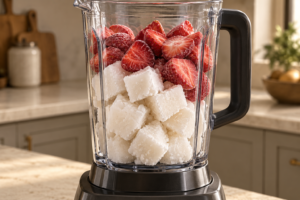
- Turn the machine off. Loosen frozen powder from the jar corners with a wooden chopstick or supported spatula. Add about two-thirds of the cooled honey-milk mixture, then blend, stopping to scrape with the machine off or using the blender tamper as designed. Add only enough remaining liquid for a thick ice-cream texture with no dry pockets or liquid pool.
- Transfer the ice cream to a freezer-safe glass or ceramic bowl. Serve when scoopable or freeze 30 to 60 minutes to firm, depending on the blender and amount of liquid used. Let firm leftovers soften at room temperature about 15 minutes before scooping.
Notes
Tried this recipe?
Let us know how it was!Keep A Few Reliable Snacks Within Reach
If you are building a rotation of simple Full GAPS treats for a family, the upcoming Big Book of GAPS Kids’ Snacks is the most relevant catalog companion for this recipe. Find current guides and future cookbook updates in the WFLI shop.

Leave a comment