

This three-pound chicken bone broth starts where a first meat-stock batch ends: with cooked chicken bones, feet, or cartilage that have already given up their short-cooked meat stock. Ten fresh cups of filtered water, mineral salt, and optional raw apple cider vinegar turn those reserved bones into a separate later Full GAPS broth.
That starting point matters. This is not an early GAPS meat stock, and it is not a fresh pot of raw meaty bones left to cook all day. Keep the first harvest and this second batch in their own jars so each one stays easy to identify and use.
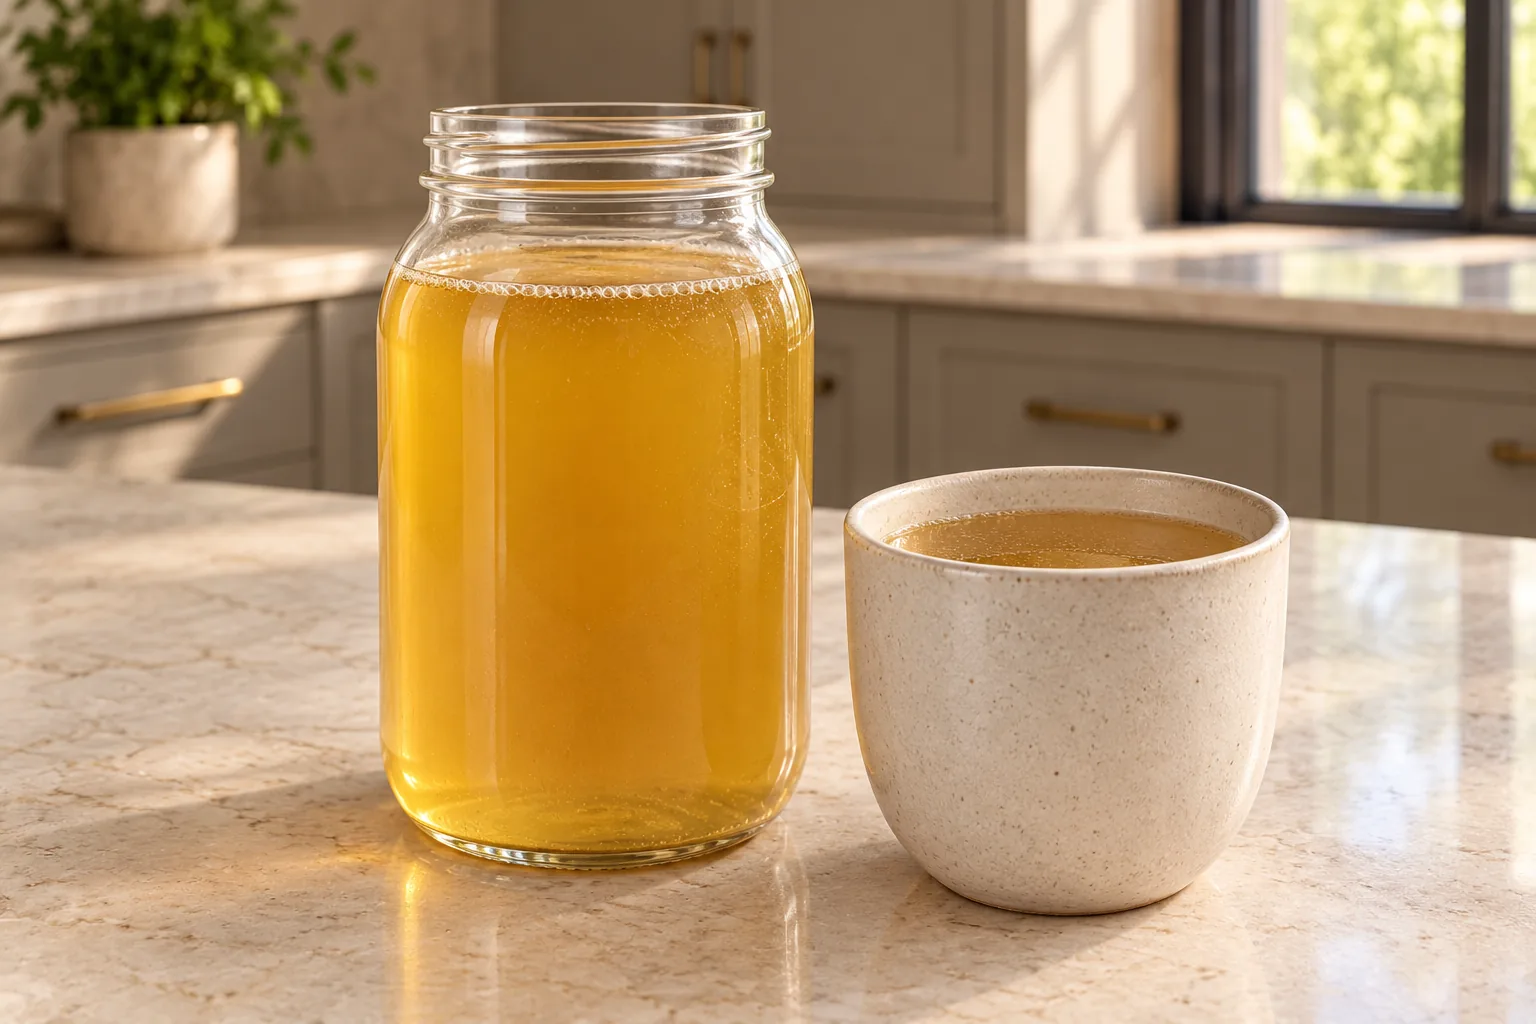
What Makes This the Second Batch
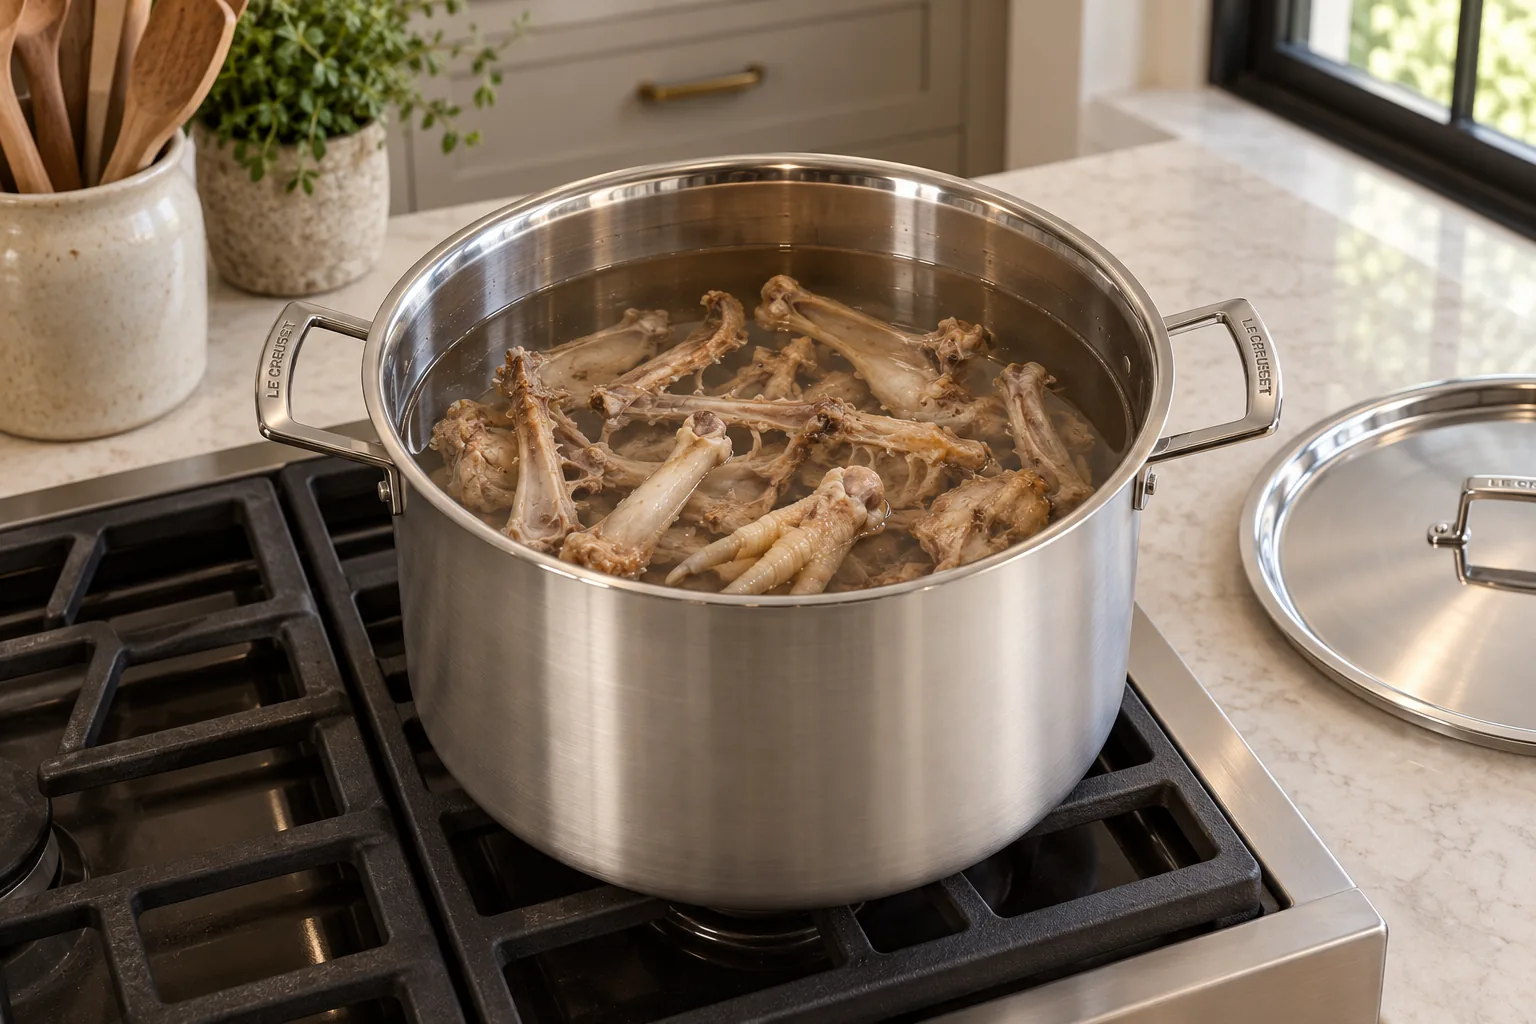
The three pounds in this formula are cooked chicken bones, feet, or cartilage reserved after the earlier meat-stock harvest. They should look cooked rather than raw, and any meat you planned to serve from the first pot should already be removed. The bones may still be moist and jointed, but they are no longer the raw-meaty starting material used for meat stock.
Add ten fresh cups of filtered water for this batch. Do not carry the first stock back into the pot and count it as part of the ten cups. The first liquid is meat stock; this fresh-water batch becomes bone broth through its separate long cook.
Two tablespoons of mineral salt belong to this measured formula. Two tablespoons of raw apple cider vinegar are optional. If you leave out the vinegar, do not replace it with an unmeasured acid or another ingredient. The short list is part of what makes this version useful: cooked bones, water, salt, and an optional measured vinegar addition.
Keep Meat Stock and Bone Broth Separate
GAPS uses raw-meaty meat stock through the earlier work. Cooked-carcass bone broth belongs later, after at least one year of meat stock and longer when needed. The ingredients overlap, but the starting material and cook time do not.
In a busy household, two similar jars can become confusing quickly. I label the liquid itself rather than relying on the color: “Chicken Meat Stock” for the short first harvest and “Three-Pound Chicken Bone Broth, Later Full GAPS” for this long second batch. Add the date before the jars go into the refrigerator or freezer.
If you have not reached the later bone-broth phase, use raw-meaty chicken meat stock instead. Saving this recipe for later protects the distinction without changing either formula.
Measure the Pot Before You Start
A ten-quart Le Creuset Classic stainless steel stockpot gives this batch room to simmer without crowding the rim. You may also use a compatible slow cooker that safely holds the cooked bones and all ten cups of water below its maximum fill line. Do not force the batch into a smaller vessel.
Set out a liquid measuring cup, mineral salt, the optional vinegar, a stainless spoon, a shallow stainless skimmer, a fine-mesh stainless strainer, a heat-safe receiving vessel, a ladle, a trivet, and clean glass storage jars. Matching the strainer to the receiving bowl before the broth is hot prevents balancing a full strainer over an unstable rim later.
Place the cooked bones in the unheated vessel first. Measure in all ten cups of filtered water, then add the two tablespoons of mineral salt and optional two tablespoons of raw apple cider vinegar. Stir once. The water should move freely around the bones; the pot should still have clear headroom above the liquid.
Choose the Stovetop or Slow Cooker
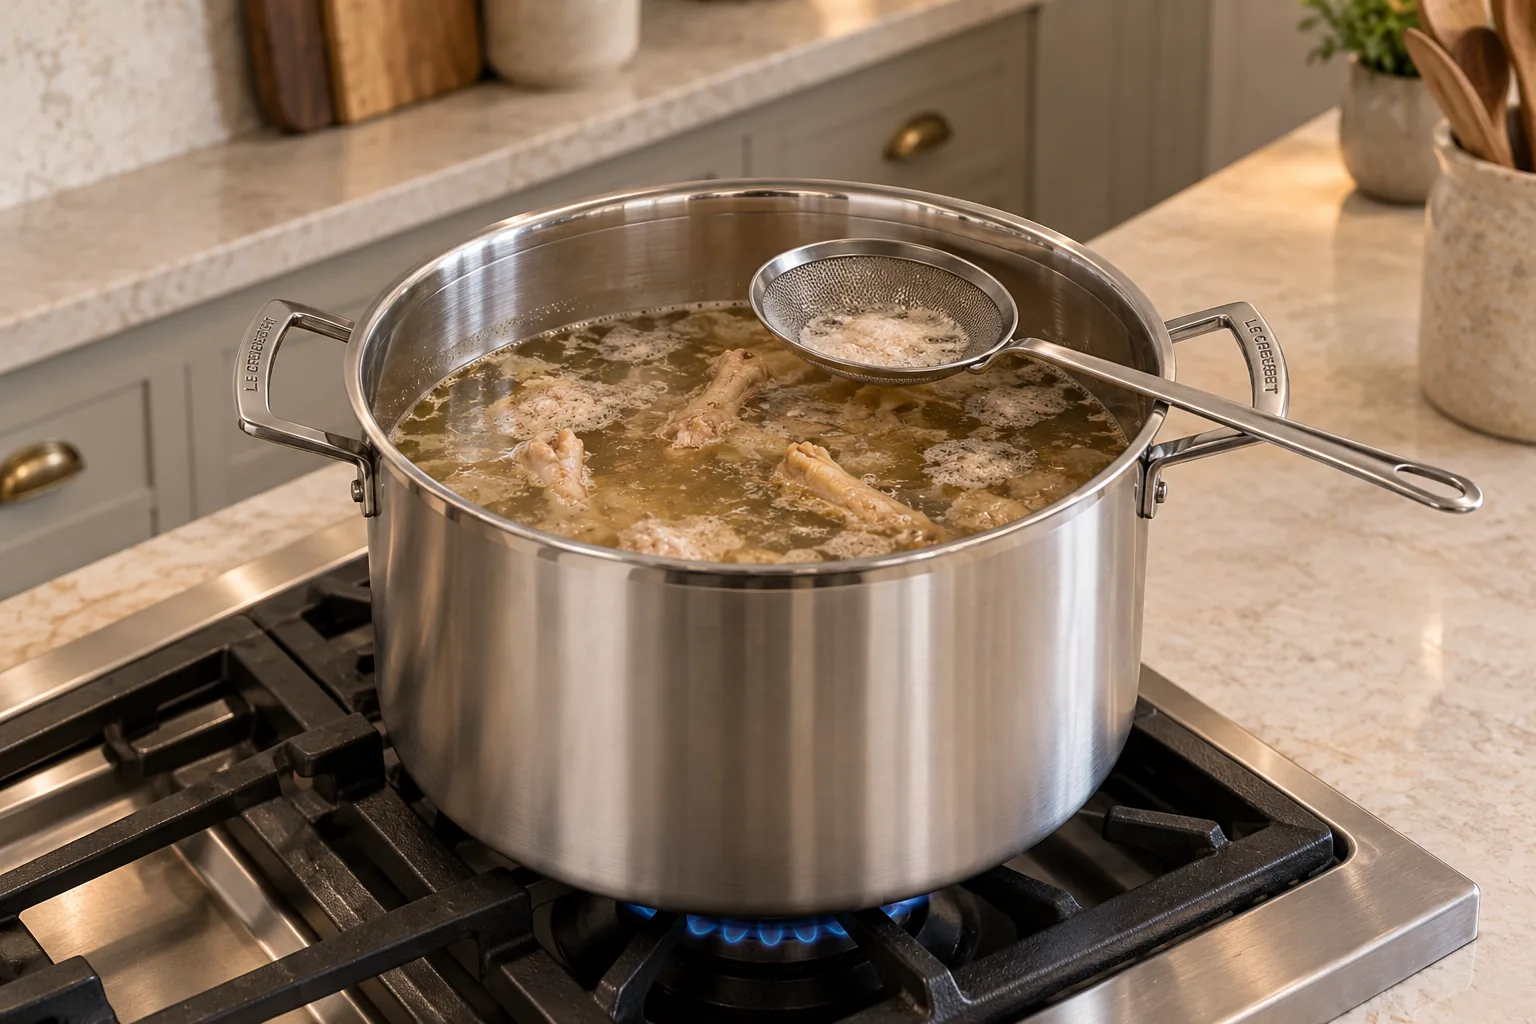
For the stovetop, bring the pot to a boil. Stay close as it heats. Small gray or tan patches of scum may collect at the surface before or just after the boil begins. Lift those patches away with the shallow skimmer, then reduce the heat to low cooking and cover the pot.
The surface under the lid should show restrained movement rather than a hard rolling boil. Look for an occasional bubble and gentle movement at the edge. A forceful boil drives off water too quickly and makes the pot harder to manage. Keep the base fully supported by the burner and the lid seated evenly.
Cook the stovetop batch for six to twenty-four hours. Choose the endpoint before you begin and set a timer. For the retained slow-cooker branch, cook for twenty-four hours on low or eight to ten hours on high. Keep the same bones, ten cups of water, salt, and optional vinegar whichever branch you use.
Watch the Broth Rather Than the Clock Alone
Time controls the accepted cooking window, but the pot still gives you useful physical cues. Early in the cook, the water is pale and the bones are easy to see. As the hours pass, the liquid becomes more opaque and develops a deeper chicken-broth color. The aroma should stay plainly savory rather than scorched.
Do not add onion, carrot, celery, garlic, herbs, wine, or a commercial broth base to this formula. Those ingredients belong to other bone-broth versions. Keeping this batch plain lets you use it later in soups and sauces that supply their own vegetables and seasoning.
A chilled broth may gel firmly, softly, or not at all depending on the balance of feet, joints, and cartilage in the three-pound measure. A loose chilled broth is not permission to add powdered gelatin and rewrite the batch after the fact. Use the finished liquid as this formula produced it.
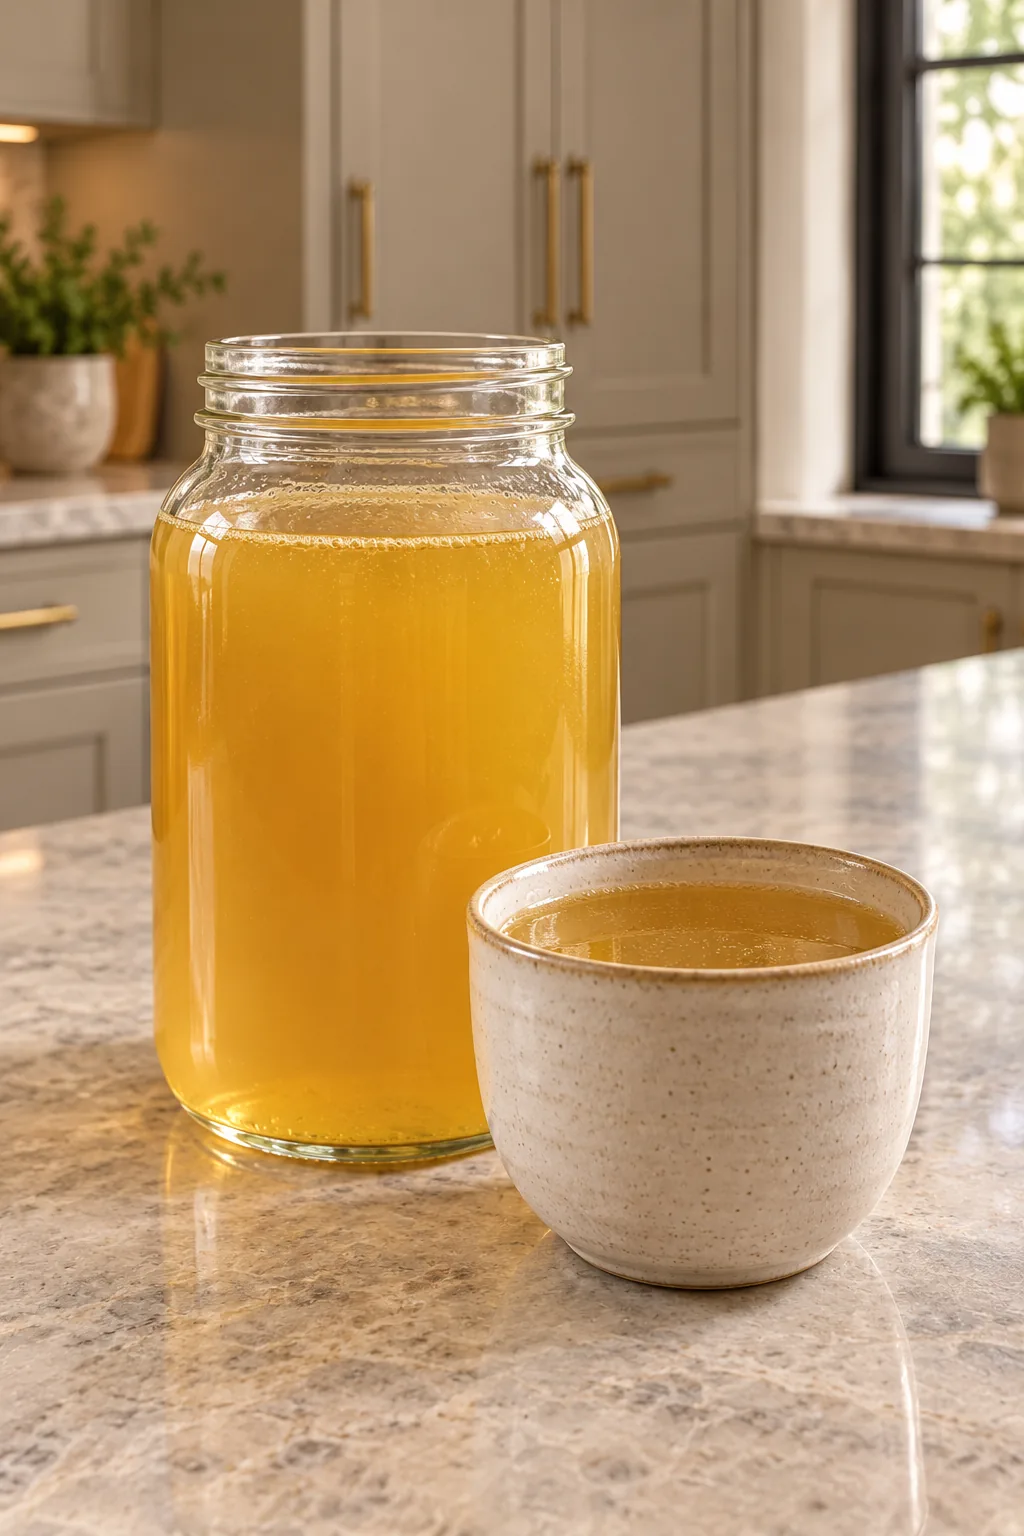
The finished broth should pour cleanly through the strainer without vegetable pieces because this formula does not include any. Small fragments of cartilage or bone sediment belong in the strainer, not in the storage jars. If visible particles pass through the first time, move the broth through a clean finer mesh once more rather than trying to fish them out jar by jar.
After refrigeration, a pale layer of fat may firm on the surface. Its amount depends on what remained on the cooked bones after the first harvest. The broth underneath may be clear, lightly cloudy, softly gelled, or fully liquid. Use the measured formula and the completed cook as your guide; color and gel strength naturally vary with the bones.
Strain and Cool the Finished Broth
When the chosen cook time ends, turn off the heat. Set the fine-mesh stainless strainer securely over the heat-safe receiving vessel. The strainer must rest on the vessel with its rim or support arms fully engaged. Keep the stockpot on the stove or a heat-safe trivet while you ladle.
Transfer the broth through the strainer in manageable amounts. Let the liquid pass through without pressing bone fragments through the mesh. Discard the spent bones after the broth is separated from them.
Divide the strained broth into clean glass containers so it can cool promptly. Leave expansion room in jars intended for freezing. Once the broth no longer steams, refrigerate it. Use refrigerated broth within two days or freeze smaller portions for longer storage.
Use the Broth Where It Fits
This plain later Full GAPS chicken bone broth works in soups, stews, pan sauces, and warm cups. Because it carries no vegetables or herbs, it can take on the flavor of the dish you add it to. Measure only what you need, then keep the remaining jars cold.
For a warm cup, heat a portion gently and taste it before adding more salt; the two tablespoons already belong to the full batch. For soup or sauce, account for that salt before seasoning the rest of the dish.
Do not swap this broth into an Introduction Diet recipe that calls for meat stock. Follow the meat-stock recipe there. This second-batch broth is useful precisely because it keeps its later placement clear.
Freezing in one- or two-cup portions makes the broth easier to use without thawing the whole batch. A one-cup jar can loosen a pan sauce; a two-cup portion can start a small soup. Write the amount on the label before freezing so you do not have to guess after the liquid becomes opaque and solid.
When you thaw a portion, move it to the refrigerator or warm it directly in a saucepan. Stir as it loosens, then taste the finished dish before adding more mineral salt. The salt in this formula scales with the full ten-cup batch and follows the broth into whatever you cook next.
Frequently Asked Questions
Can I Start With Raw Chicken Bones?
No. This formula begins with three pounds of cooked chicken bones, feet, or cartilage reserved after the first meat-stock harvest. Raw meaty bones belong to the separate short-cooked meat-stock method.
Is the Apple Cider Vinegar Required?
No. Two tablespoons of raw apple cider vinegar are optional. If you omit it, keep the other measurements unchanged.
Can I Add Vegetables or Herbs?
Not to this formula. It contains only cooked chicken bones, filtered water, mineral salt, and optional raw apple cider vinegar. Add vegetables or herbs later in the soup or sauce you make with the finished broth.
Can I Use a Pressure Cooker?
Not for this routed version. This page preserves the stovetop and slow-cooker branches only. Do not translate the time into a pressure-cooker setting.
Why Is the Stovetop Time a Range?
The accepted chicken bone-broth window is six to twenty-four hours. Choose your endpoint before the pot begins and stay inside that range. The slow-cooker branches remain twenty-four hours on low or eight to ten hours on high.
How Long Can I Refrigerate It?
Use refrigerated broth within two days. Freeze smaller portions for longer storage, leaving room for the liquid to expand.
Three-Pound Chicken Bone Broth Recipe
Three-Pound Chicken Bone Broth for Later Full GAPS
Ingredients
Equipment
Method
- Place the three pounds of cooked chicken bones, feet, or cartilage in the unheated stainless stockpot or compatible slow cooker.
- Add the ten cups filtered water, two tablespoons mineral salt, and optional two tablespoons raw apple cider vinegar. Stir once.
- For the stovetop, bring to a boil. Skim and discard the scum, reduce to low cooking, and cover.
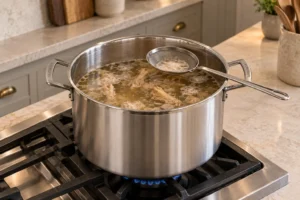
- Cook for 6 to 24 hours on the stovetop. For the retained slow-cooker branch, cook 24 hours on low or 8 to 10 hours on high.
- Turn off the heat. Set a stainless fine-mesh strainer securely over a heat-safe receiving vessel and ladle the broth through it. Discard the spent bones.
- Divide into clean glass containers and cool promptly. Refrigerate for up to 2 days or freeze smaller portions for longer storage.
Notes
Tried this recipe?
Let us know how it was!Keep Your Stock Routine Clear
The planned Meat Stock vs. Bone Broth Chart keeps the two methods, starting materials, and timing visible at a glance. The planned Stock Pot Course turns that distinction into a practical batch rhythm for a busy kitchen. Watch the WFLI shop as they are released.

Leave a comment