

Your first week on GAPS comes down to four decisions: whether you are starting with Intro or Full GAPS, what your first meals will be, what those meals require from the store, and who will handle each part of the work. Settle those before you shop. You do not need to prepare for every stage at once.
Our family began GAPS in July 2024, shortly after I gave birth to our fifth child. We chose Intro, made one large Stage 1 shopping trip, and cleared the foods that did not fit our plan out of the house. We intended to follow Intro closely. The first weeks were difficult, some of us were very tired, and two of our children had a particularly hard stretch. We moved slowly and paid close attention to the child with eczema. You can read the longer account in Our GAPS Journey.
I did Intro after our fifth child was born while I was still nursing, then moved to Full GAPS. My own description was, “it’s too restrictive for postpartum and breastfeeding.” That experience is part of why I want the starting routes set out clearly, instead of assuming every family should begin in the same place.
Choose Intro or Full GAPS Before You Shop
The GAPS Introduction Diet moves through six stages, with each stage keeping the earlier foods and adding more foods or preparation methods. Full GAPS starts with a much wider food range but keeps the core emphasis on homemade meat stock, soups, fermented foods, animal foods, fats, and suitable vegetables.[1][2]
Intro is not the required starting point for every situation. The situations below separate the general Full GAPS starting guidance from its specific exceptions.
Pregnancy
Official GAPS material generally directs pregnant mothers to Full GAPS.[3][2]
It preserves a specific pregnancy exception: for colitis with severe diarrhea, vomiting, and abdominal pain during pregnancy, the official FAQ directs the mother to begin Intro at Stage 2 with plenty of animal fats and liver, and homemade kefir introduced gradually from the beginning.[6]
Nursing
Official GAPS material generally directs nursing mothers to Full GAPS.[3][2] The official FAQ allows Intro once the baby is eating solids and breast milk is used only for topping up.[6]
Constipation
The Intro quick facts do not recommend Intro for people with severe constipation. The broader diet overview also points to Full GAPS first for chronic constipation.[3][2]
Fat Digestion and Histamine Issues
Dr. Campbell-McBride’s 2020 book recommends a slow, individualized Intro for histamine sensitivity. Very sensitive people may begin without fermented foods, then try tiny amounts.[5] If fat is difficult to digest, her FAQs recommend starting with small amounts at meals and increasing gradually; that is a separate question from choosing Intro or Full GAPS.[6]
Travel, Work and Kitchen Constraints
The broader diet overview points to Full GAPS when travel, work, limited cooking access, or compliance makes Intro a poor first fit.[3]
No Serious Digestive Symptoms
The broader diet overview also points to Full GAPS as a starting option for people without serious digestive symptoms.[3]
Use Intro GAPS vs. Full GAPS to compare the phases, then use the stage-by-stage Intro guide if Intro is your route. This first-week guide stays focused on preparation.
Plan Three Real Meals First
Start with my chicken meat stock recipe if you are beginning at Stage 1. For Full GAPS, my slow-cooker pot roast with turnips and carrots gives you a complete dinner to plan around. Choose recipes that fit the phase and foods you have introduced, then write down breakfast, lunch, and dinner for your first two days. Record each recipe’s yield and which portions you will keep for the following day.
For Intro Stage 1, meals center on homemade meat or fish stock, soup made with that stock, boiled meat or fish, thoroughly cooked allowed vegetables, and probiotic food introduced gradually. When dairy is not being used, the liquid from fermented vegetables can be added after the soup cools enough to protect the live cultures.[1]
Full GAPS gives you more choices, including eggs, roasts, fish, salads, cooked vegetables, soups, and fermented foods. Official guidance says about 85 percent of daily food should come from meats, organ meats, fish, stock, eggs, fermented dairy when tolerated, and vegetables. Fruit and baking belong in a smaller role.[4]
Prepare the Meat Stock You Will Actually Use
Intro uses meat stock, not long-cooked bare-bone broth. The 2020 GAPS book describes meat stock made from raw meaty bones, joints, skin, cartilage, connective tissue, and meat. The book gives different cooking times for its different stocks. Its chicken-stock example gives about 2 hours, until the meat is soft and comes off the bones easily: a commercial chicken usually needs 1.5 to 2 hours, while a home-reared, free-range chicken may need 3 hours. Its lamb, pork, beef or game example typically takes 3 to 4 hours to reach that same soft-meat endpoint. Its fish-stock example gives 1 to 1.5 hours, while the general Stage 1 pot instructions give a separate 2.5 to 4 hour range. These are the book’s separate preparations, not one cooking schedule to apply to every pot. Bone broth is held back for at least the first year and longer when needed.[5]
For your first batch, follow my chicken meat stock recipe from start to finish. Rachael Mamane’s stock-making guidelines begin with cold, filtered water and slow heating in an uncovered pot. When the liquid begins to tremble, lower the heat to a gentle simmer and skim the surface. Add salt at the end. After cooking, let the stock rest for about 10 minutes, ladle it through a strainer without pressing the solids, and cool it promptly in an ice bath.[7]
The GAPS protocol directs you to strain out small bones and peppercorns and keep the soft edible tissues and fat for soups or meals.[1][5] For storage, Mamane’s Basic Chicken Stock gives up to two days in the refrigerator, and her general fish-stock guidance also gives about two days. Freeze portions you will not use within that window.[7] Reheat it on the stove.[1]
Build Your Shopping List From the Meals
Do not shop from the entire allowed-food list. Shop for the meals you wrote down. A basic Stage 1 list may include a whole chicken or another suitable meaty cut for stock, soft-cooking vegetables such as carrots, onions, and zucchini, natural salt, peppercorns, probiotic food, and ingredients for ginger or herbal tea. Check the refrigerator and freezer first.
Worked Example: Dinner and Tomorrow’s Lunch
Here is an eight-diner Full GAPS planning example using the pot-roast recipe’s six-serving yield. Two separate recipe batches give twelve servings: eight for dinner and four reserved for tomorrow’s lunches. This is portion planning, not a change to the recipe’s cooking method. Follow the original recipe for each batch, and check cooker capacity and finishing times before putting it on your menu.
| Planning Step | What Goes on the Plan |
|---|---|
| Choose the meal | Full GAPS pot roast with turnips and carrots |
| Count the portions | Eight dinner portions plus four next-day lunch portions: twelve total |
| Use the recipe yield | Six servings per batch; plan two separate batches |
| Write the shopping quantities | Four large onions; two well-marbled roasts, each 3 to 4 pounds; eight large turnips; sixteen carrots. Across the two batches, four teaspoons mineral salt and 1.5 teaspoons black pepper. |
| Check the pantry first | Cross off salt, pepper and any ingredients already available |
| Plan cooking and storage | Allow the recipe’s eight-hour cook for each batch. Set aside the four lunch portions before serving and follow the recipe’s storage guidance. |
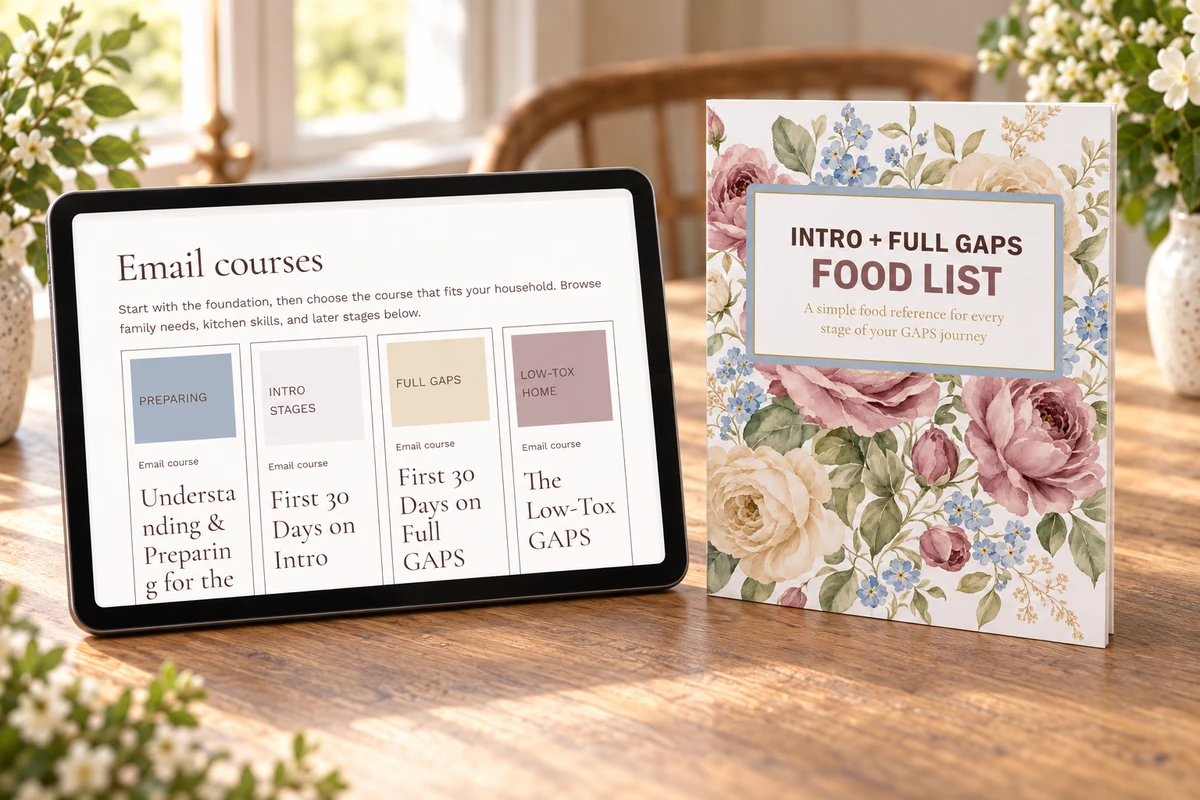
Keep the food list where you can use it. Get the Intro and Full GAPS Food List for a clear reference while you plan meals and shop.
Use the Equipment You Need This Week
You can start with a stockpot, a knife, a cutting board, a strainer, a ladle, and glass storage containers. A blender, cheesecloth, slow cooker, juicer, dehydrator, and mason jars become useful for later methods, but buying everything before you know what you will repeat adds cost without solving the first meal.[2]
Check capacity as well as ownership. Your pot needs to hold enough stock for the people eating it. Your refrigerator needs room for the finished pot and tomorrow’s portions. A large batch creates storage work, too.
First-Week Setup Checklist
| Do | Owner | Ready By |
|---|---|---|
| Choose Intro or Full GAPS and read the matching food guidance | Name the adult responsible for the final list | Before shopping |
| Write the first two days of meals and calculate portions | Meal planner | Before shopping |
| Buy only the ingredients and storage supplies those meals require | Shopper | The day before starting |
| Prepare the first pot of meat stock or the first Full GAPS main meal | Cook | Before the first meal |
| Label tomorrow’s portions and leave room in the refrigerator | Cook or cleanup helper | After cooking |
| Start a simple food and reaction note | One consistent recorder | Day one |
Give Each Helper a Specific Job
I work full time on second shift, homeschool before work, and have six children. A plan that depends on one person having uninterrupted kitchen time every day is not realistic in our house. Specific jobs work better than asking someone to “help with GAPS.” Ask one person to shop from the finished list, wash jars, chop the vegetables, strain the stock, or portion tomorrow’s lunch.
Once you are following Intro, the 2020 book’s morning instructions start with still mineral or filtered water, warm or at room temperature, followed by the probiotic used in the protocol. Set out what you need for that morning beside your current-stage breakfast plan.[5]
Keep Simple Notes
Write down the food, preparation method, amount, and what happened afterward. The Intro protocol bases progression on stool changes, digestive symptoms, and tolerance rather than a fixed number of days.[1] We moved slowly and watched our child with eczema closely. Recording the sequence is more useful than trying to reconstruct several changes from memory.
The book distinguishes trying one new food from moving to a new stage. If a new food brings back diarrhea, abdominal pain or another symptom, it says to wait a week before trying that food again. If old symptoms return after moving to the next stage, return to the previous stage and stay there longer. Keep those two decisions separate in your notes.[5]
For a food you are worried about, the GAPS food-allergy guide explains the book’s sensitivity-test routine and its separate dangerous-allergy boundary. That boundary is different from an ordinary food-tolerance retry.
Related GAPS Guides
- What Is the GAPS Diet?
- Intro GAPS vs. Full GAPS
- GAPS Diet Food List
- The GAPS Intro Stages Explained
- Our GAPS Journey
Starting GAPS FAQ
Should You Start With Intro or Full GAPS?
Match the entry phase to the source-defined starting routes and your real kitchen capacity. Intro is the concentrated six-stage path. Full GAPS is also a valid starting point, particularly in the situations the official materials identify.[2][3]
What Should You Buy Before Starting GAPS?
Buy the ingredients for your first two days of meals, plus the storage supplies those batches require. That is more useful than buying every allowed ingredient at once.
How Long Does Intro Meat Stock Cook?
Use the cooking time and doneness cues in the particular recipe you are making. Mamane’s original Basic Chicken Stock, for example, has a two-hour first simmer followed by about 90 minutes after the vegetables are added. That is a different preparation from the GAPS-book chicken example above; its two hours are not the whole cooking time.[7][5] My chicken meat stock recipe is a plain GAPS adaptation that leaves out the vegetables and herbs while keeping the full simmering time. Follow its complete sequence for your batch.
Your Next Step
Choose your entry phase, write the first six meals, and build one shopping list from those meals. Assign the shopping and first batch before you add anything else.
References
- Campbell-McBride, N. “GAPS Introduction Diet.” Stages 1–6 and progression guidance.
- GAPS Diet. “GAPS Introduction Diet.” Food chart, quick facts, and equipment guidance.
- Campbell-McBride, N. “The Full Spectrum of the GAPS Diet.” Introduction and Full GAPS entry routes.
- GAPS Diet. “Full GAPS Diet: Recommended Food List and Foods to Avoid List.”
- Campbell-McBride, N. Gut and Physiology Syndrome (2020), “GAPS Introduction Diet,” First stage, stage pacing and “Implementing the GAPS Introduction Diet”; “What We Shall Eat and Why, With Some Recipes,” Meat stock and How to Make Meat Stock, named lamb/pork/beef/game, chicken and fish methods; “Histamine and Other Biogenic Amines,” slow individualized Intro and the initial no-fermented-food exception.
- Campbell-McBride, N. “Frequently Asked Questions.” Official GAPS materials, “Baby,” question 2; “Pregnancy,” question 12; and “Gallbladder,” questions 2–3, gradual fat introduction.
- Mamane, R. Mastering Stocks and Broths, “Guidelines for Making Stocks and Broths,” “Basic Chicken Stock” and “Storing Your Stocks for Later Use,” heating, skimming, seasoning, resting, straining, cooling, refrigerator storage and freezing.

5 responses to “How to Start the GAPS Diet: A First-Week Guide”
[…] including access to cooking and the demands of preparing the food, affect that decision.[6] The first-week GAPS guide turns that choice into a practical starting […]
[…] you are still choosing a starting route, read how to start GAPS and Intro GAPS vs. Full GAPS. Once you choose Intro, use the stage-aware food list beside this […]
[…] For example, our Full GAPS slow-cooker pot roast yields six servings. One batch needs two large onions, one 3- to 4-pound well-marbled roast, four large turnips, eight carrots, two teaspoons mineral salt and three-quarters of a teaspoon black pepper. Check those ingredients against what you have introduced, then check your pantry before buying them. Follow the recipe’s eight-hour cooking method and storage instructions; reserve any planned lunch portions before dinner is served. For Intro meals and a complete first-week plan, use our first-week GAPS guide. […]
[…] choosing, use the first-week GAPS guide, Intro versus Full comparison, and Intro stage guide to identify the question the book needs to […]
[…] and the foods your family already tolerates, and make those the ones you get good at first. Use the first-week GAPS guide to turn those meals into a starting plan. Everything else can […]