

This coconut-milk cocoa ganache uses one exact four-ingredient formula, then lets temperature determine the final texture. Coconut oil, cocoa, and raw honey make a thick base. Two to three tablespoons of full-fat homemade coconut milk loosen it into a glossy ganache that can be used as a glaze or chilled for a firmer filling.
The milk range belongs only to this formula. It is not the five-minute spoonable ganache and it is not the warm double-batch sauce. Keep its one-quarter-cup oil, six-tablespoon cocoa, one-quarter-cup honey, and measured homemade milk together.
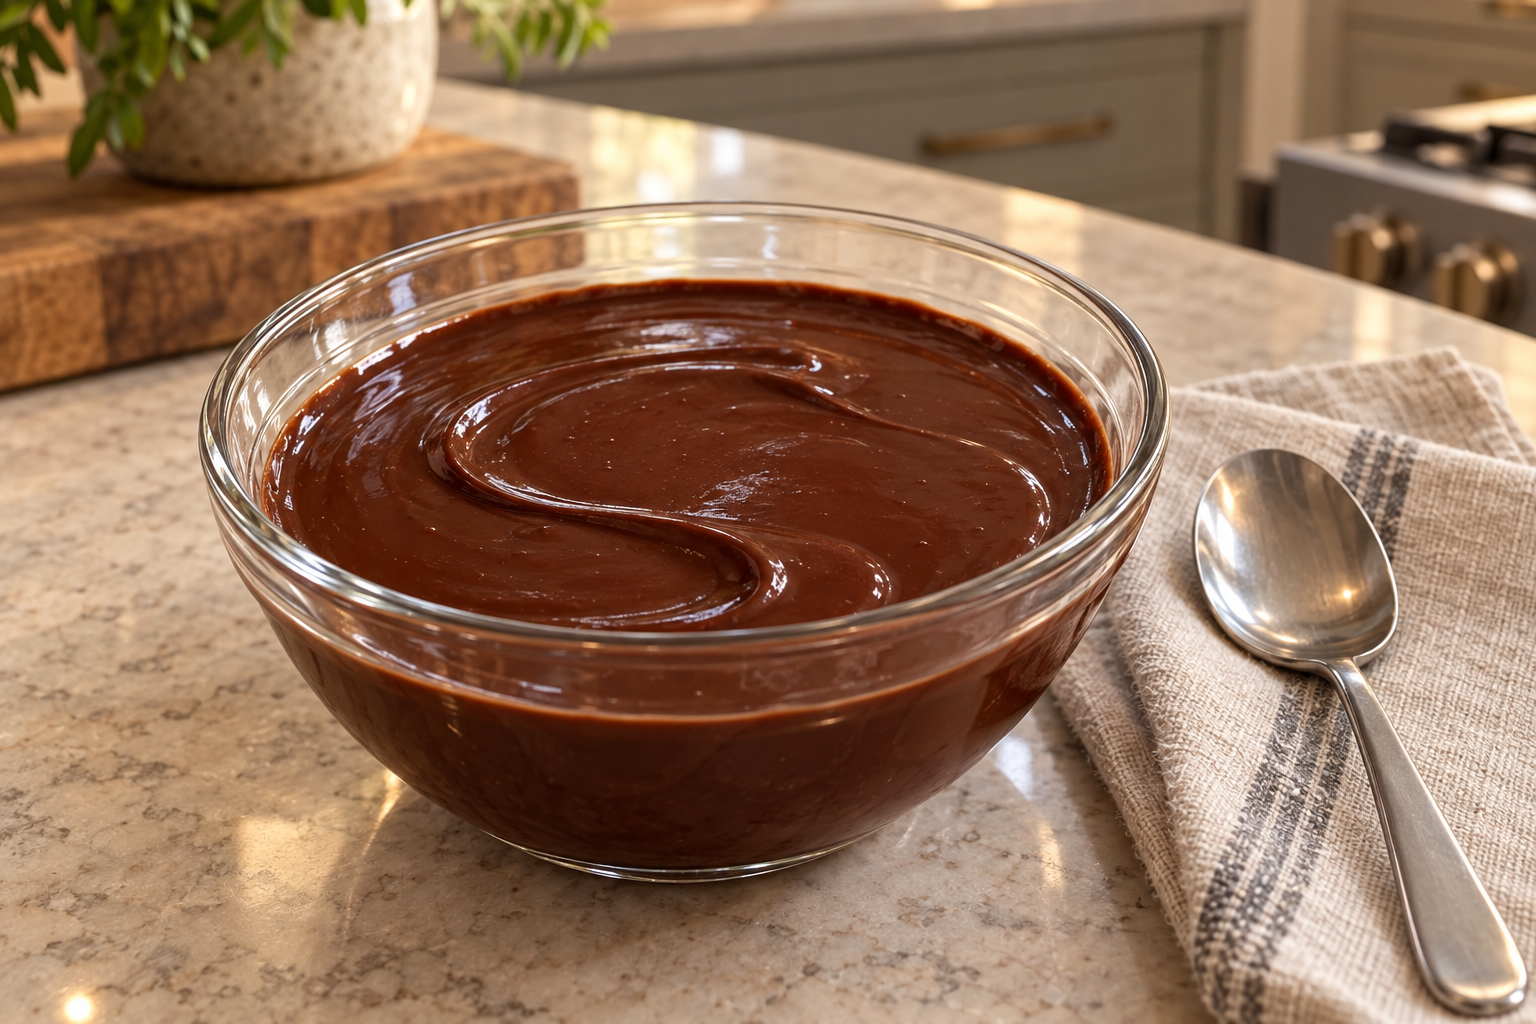
Why Homemade Coconut Milk Changes the Texture
The cocoa-oil-honey base is dense and holds stiff whisk grooves. Homemade coconut milk adds a small measured amount of water and coconut fat, making the ganache smoother, glossier, and easier to spread or pour.
Two tablespoons give a thicker result. Use the third tablespoon only when the ganache needs more movement. Add slowly because it is easy to loosen a thick ganache and difficult to reverse a batch that has become too thin.
With six kids, homeschooling, and second-shift work in our week, I want the change to be visible rather than guessed. The base holds sharp grooves. The finished ganache shows a broad trail that slowly relaxes. Those two textures tell me whether the milk has actually been incorporated.
This formula is especially useful when one batch needs to move between two textures without changing ingredients. It can glaze while freshly mixed, then become firmer in the refrigerator. Planning the final use before adding the third tablespoon keeps that flexibility from turning into a thin sauce.
Use Full-Fat Homemade Coconut Milk
Use two to three tablespoons of full-fat homemade coconut milk. Stir the milk before measuring if the fat and water have separated while chilled.
Do not use canned coconut milk. This Full GAPS formula is written for the homemade component without canned gums, stabilizers, preservatives, or other additives. A thin homemade batch can also loosen the ganache faster than a richer one, which is another reason to add it gradually.
Measure the milk with a tablespoon rather than pouring from the jar. Start with two level tablespoons, whisk completely, and judge the finished movement before adding the third.
Bring very cold coconut milk closer to room temperature before it meets the liquid oil. A sharply chilled spoonful can firm the coconut oil on contact and create pale flecks that need extra whisking. The milk does not need heating; it only needs to lose the hardest refrigerator chill.
Melt and Cool the Coconut Oil
Melt one-quarter cup natural non-hydrogenated coconut oil only until liquid. Let it cool so it is no longer warm before combining it with cocoa and honey.
Hot oil can make the base look looser than it will be after cooling. Partially solid oil leaves pale pieces that cannot distribute evenly. The correct starting point is fully liquid oil that does not feel hot against the bowl.
Whisk the Cocoa, Oil, and Honey Base
Whisk six tablespoons pure organic cocoa into the cooled liquid coconut oil. Add one-quarter cup raw honey and continue whisking until the mixture is smooth and thick.
Scrape the bottom and sides. The base should have no dry cocoa islands, amber honey streak, or clear oil ring. It will hold firm whisk grooves and look darker and denser than the finished coconut-milk ganache.
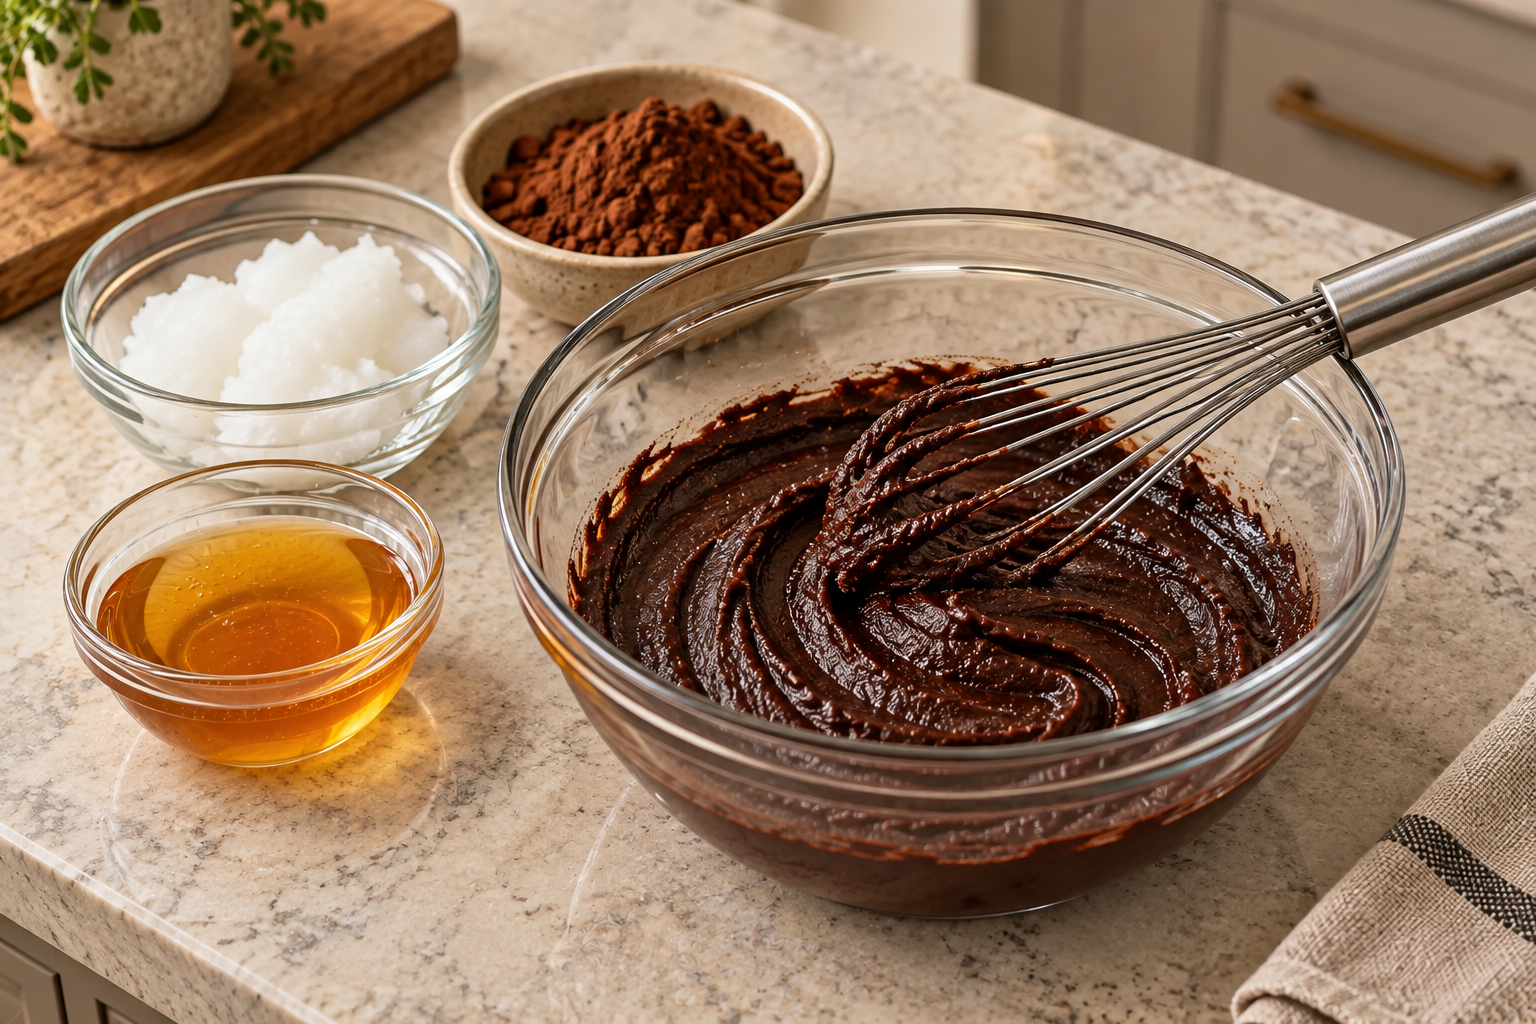
Add the Coconut Milk Gradually
Add two tablespoons homemade coconut milk in a slow stream while whisking. Stop and scrape the bowl once the first milk disappears into the base.
The ganache may look briefly tighter or streaked as the milk first meets the fat-and-cocoa mixture. Continue whisking until the color and shine become even. If the ganache still holds a stiff peak and you need a glaze, add the final tablespoon gradually.
Stop when the mixture is smooth and glossy and a broad whisk trail slowly relaxes. Do not add more than three tablespoons. Extra milk changes the measured formula and may prevent the ganache from firming when chilled.
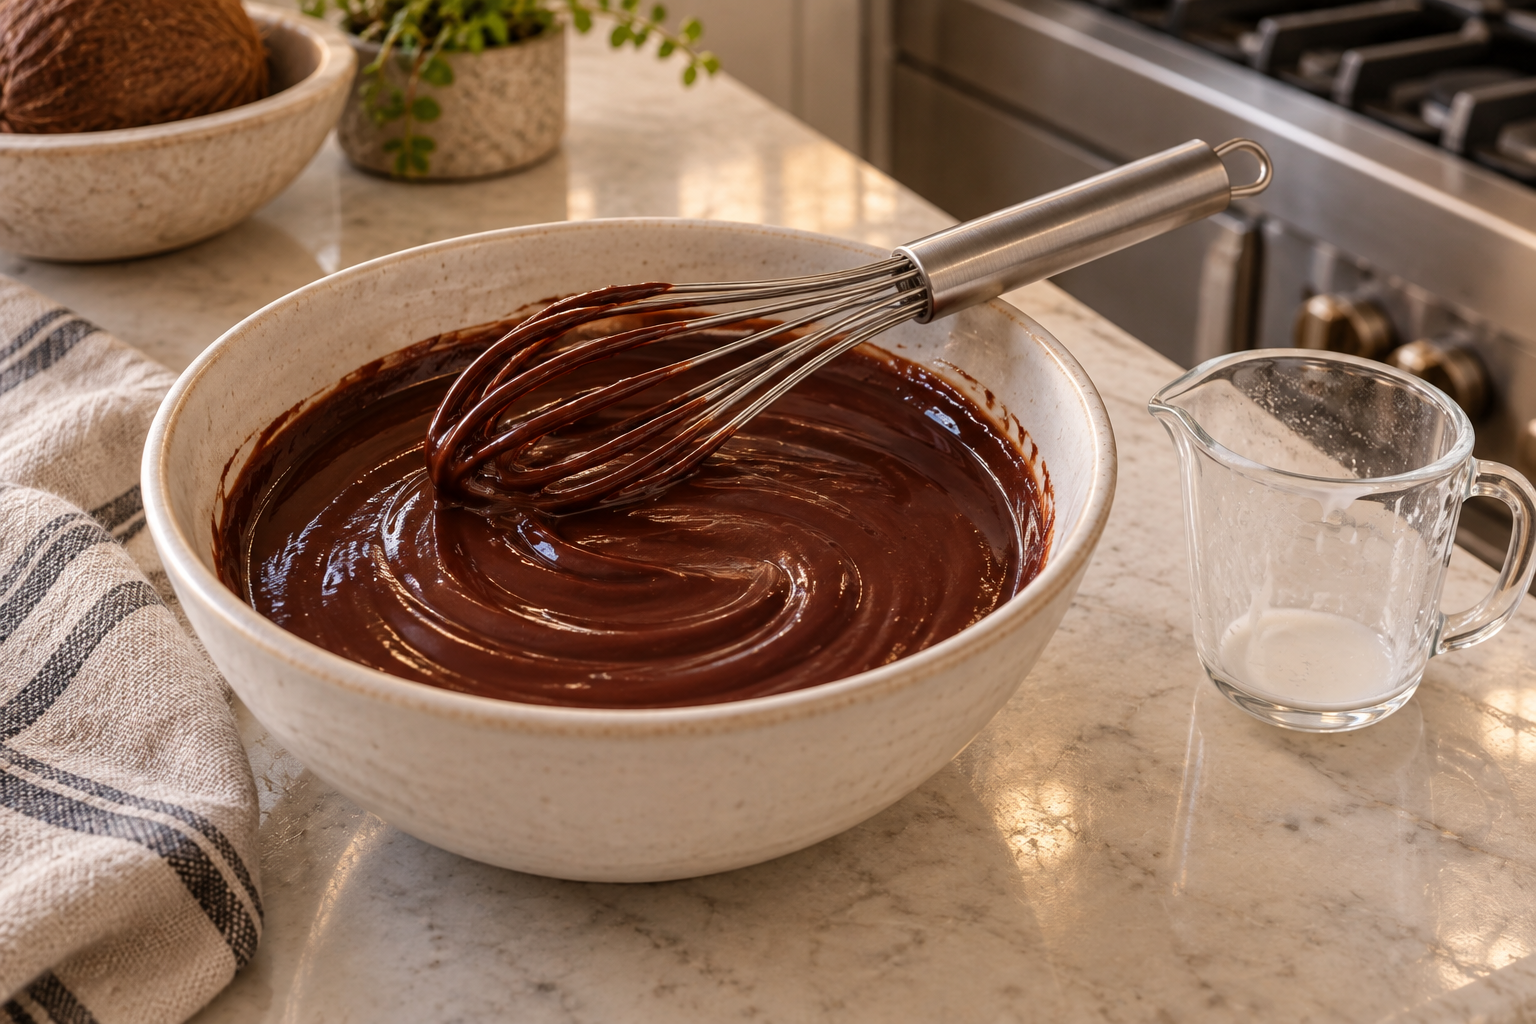
Choose the Glaze or Chilled Endpoint
For a glaze, use the ganache after it has cooled just enough to coat the surface without running completely off. The trail in the bowl should soften while remaining visible.
For a frosting or filling, chill the same formula until it firms, then beat only until spreadable. For truffle centers, chill it completely before shaping. These are temperature endpoints of one measured formula, not separate recipes or extra ingredient lists.
Return the ganache to the refrigerator if it becomes too soft while working. If it becomes too firm, let it lose some chill before stirring. Do not add extra milk after choosing the set endpoint.
For a filling, chill the ganache in a shallow covered container so the temperature changes evenly from edge to center. For truffle shaping, keep the portion not being worked in the refrigerator. Warm hands and a warm room soften coconut oil quickly even when the center began fully chilled.
What the Finished Ganache Should Look Like
The color is deep cocoa brown, and the surface is glossy without a clear oil ring. It is looser than the F1 spoonable ganache but thicker than the F2 warm pourable sauce.
The finished glaze should cling to the whisk wires in a smooth coating and slide back into the bowl as a wide ribbon. Grainy cocoa on the wires means the base needed more mixing; a pale streak means the coconut milk has not been fully incorporated.
Judge the texture only after scraping the bowl completely.
A whisk or spoon makes a broad ribbon that sits on the surface briefly, then settles partway. The ganache should coat the side of the bowl in a smooth sheet rather than running like water or standing in a stiff peak.
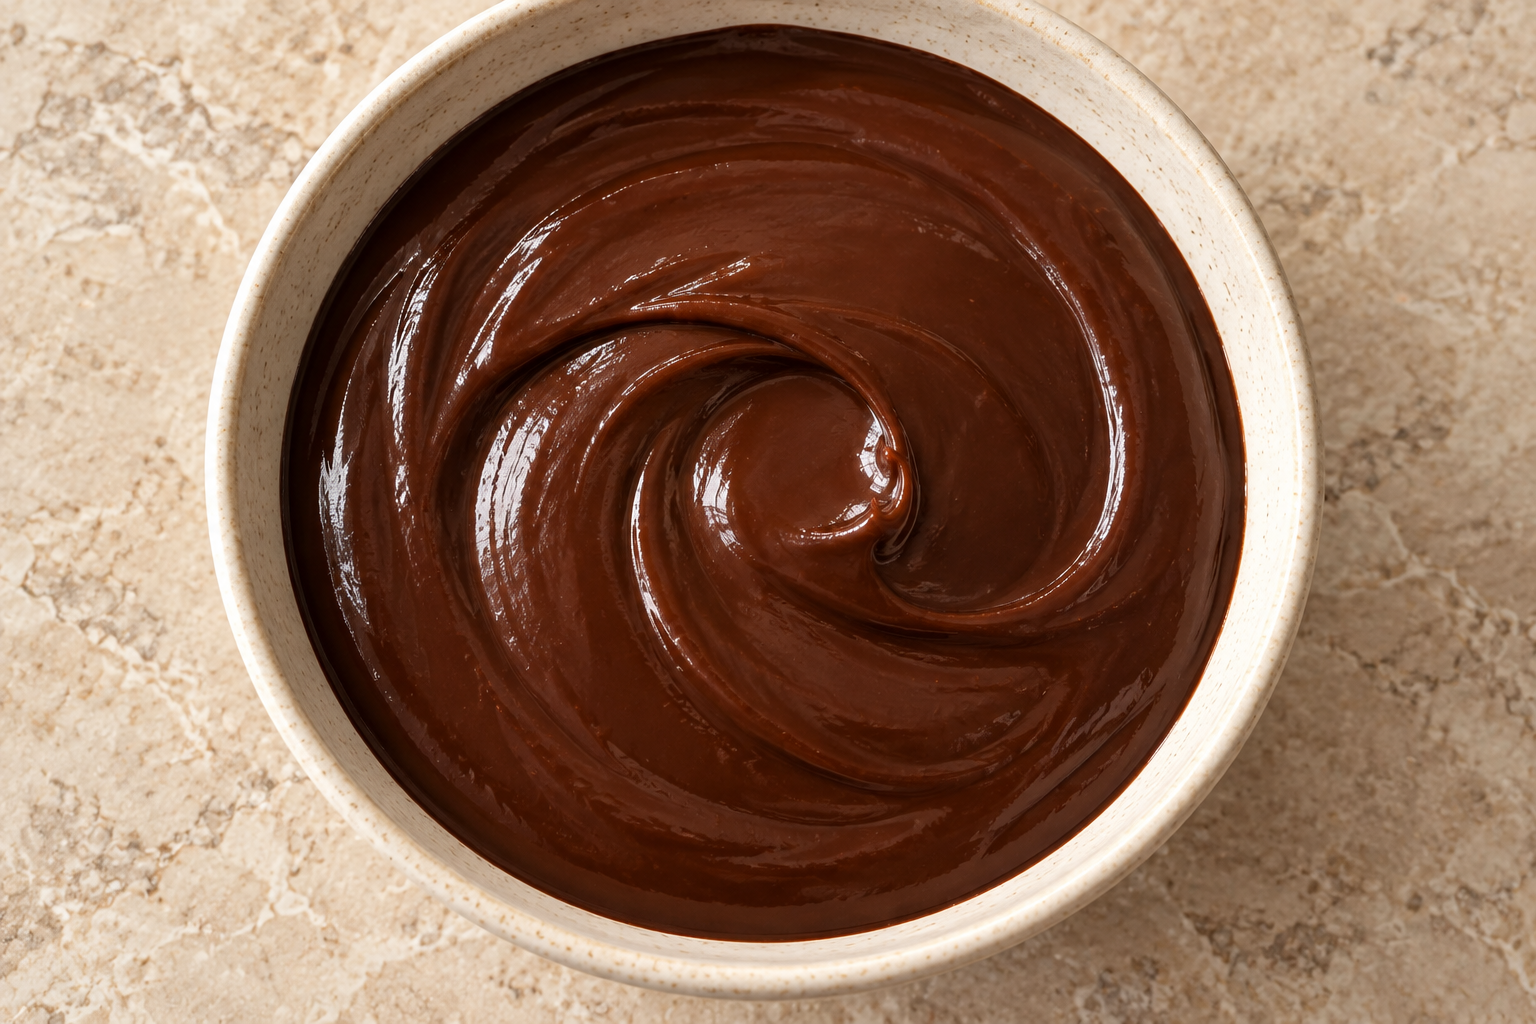
Where Coconut-Milk Ganache Fits on GAPS
This is a later Full GAPS recipe. Pure organic cocoa is used occasionally after digestive symptoms are gone. It is not an Introduction Diet recipe or an everyday foundational food.
Raw honey is the sweetener. Coconut oil is the measured fat, and full-fat homemade coconut milk is the measured liquid. The formula contains no commercial chocolate, canned coconut milk, dairy cream, vanilla, gelatin, salt, starch, maple syrup, monk fruit, allulose, avocado oil, or MCT oil.
For the smaller no-milk 2:2:1 formula, use the five-minute cocoa ganache. For a larger sauce served warm, use the warm pourable cocoa sauce. Their ratios stay separate.
Serving Ideas
Use the glaze over a completely cooled Full GAPS dessert whose own ingredients have already been cleared. Chill the frosted dessert when you want the coconut oil and milk to help the topping firm.
A thin glaze layer uses less ganache than a filling or truffle center. Choose the endpoint before portioning so the same batch is not repeatedly warmed, chilled, and diluted.
Apply glaze from the center of a cooled dessert and guide it outward with a supported spoon or narrow spatula. Stop before it runs completely off the edge. A filling should be spread only after the ganache is thick enough to stay between layers without squeezing out.
Storage and Texture Recovery
Cover and refrigerate leftover ganache. Coconut oil firms when chilled, so the refrigerated texture will be thicker than the fresh glaze.
Let it stand briefly at room temperature before stirring. Warm only very gently if the ganache must return to a glaze. If the surface looks oily, let it cool slightly and whisk until uniform.
Label the container as coconut-milk ganache. Its texture and ingredient list differ from the no-milk spoonable ganache and the warm sauce, even when all three look dark brown in storage.
Stir the refrigerated ganache before judging whether it needs warming. The center can remain firm while the outside begins softening. A short rest followed by thorough stirring often restores a spreadable texture without putting the bowl over heat.
Recommended Equipment
You need a dry glass or ceramic mixing bowl, a stainless-steel whisk, dry measuring cups and tablespoons, a flexible scraper, and a small clear measuring vessel for adding the homemade coconut milk gradually.
The photographs keep every bowl, whisk, and measuring vessel fully supported on the WFLI kitchen counter. The milk measure rests beside the bowl after its contents have been added; there is no unsupported active pour.
Frequently Asked Questions
Can I Use Canned Coconut Milk?
No. This Full GAPS formula uses two to three tablespoons full-fat homemade coconut milk.
Why Is the Coconut Milk a Range?
Two tablespoons produce a thicker ganache. Add the third tablespoon only when the fully mixed batch needs more movement for a glaze.
Can I Add Vanilla?
No. This exact formula does not measure vanilla. Keep vanilla in the separately measured formulas that call for the homemade extract.
Why Did the Ganache Tighten When I Added Milk?
The mixture can look briefly tight or streaked as milk meets the cocoa-fat base. Continue whisking until the color and shine are uniform before deciding it needs the final tablespoon.
Can I Whip It?
Yes. Chill the same finished formula, then beat it only until spreadable for a frosting or filling endpoint.
Can I Make Truffles?
Chill the completed ganache fully before shaping. Do not change the ingredient ratio or add extra cocoa to force a faster set.
Coconut-Milk Cocoa Ganache Recipe
Coconut-Milk Cocoa Ganache for Full GAPS
Ingredients
Equipment
Method
- Melt the coconut oil only until liquid, then let it cool so it is no longer warm.
- Whisk the cocoa into the cooled coconut oil, then add the raw honey. Continue until the base is smooth and thick, with no dry cocoa, amber honey streak or clear oil ring.
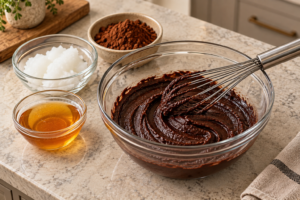
- Add 2 tablespoons homemade coconut milk gradually while whisking. Continue until smooth and glossy. Add the final tablespoon only if the fully mixed ganache needs more movement for the desired glaze endpoint.
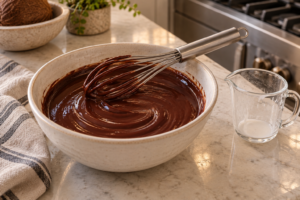
- Use as a glaze after it cools enough to coat without running off. For frosting or filling, chill and beat only until spreadable. For truffle centers, chill completely before shaping.
Notes
- Keep the 2-to-3-tablespoon homemade-coconut-milk range inside this formula; do not use canned coconut milk.
- Pure organic cocoa is an occasional later-Full-GAPS ingredient after digestive symptoms are gone.
- This is one measured formula with glaze, chilled frosting or filling, and truffle-temperature endpoints.
- Do not add vanilla, gelatin, salt, cream, commercial chocolate or extra milk.
Tried this recipe?
Let us know how it was!Keep More Full GAPS Sweets Ready
A flexible glaze or filling is easier to use when the matching dessert is planned. The upcoming Sweet Snack Recipe Card Deck will collect stage-tagged sweet snack cards from The Big Book of GAPS Kids’ Snacks. Find current guides and catalog updates in the WFLI shop.

Leave a comment