

This dark chocolate orange banana ice cream is a no-churn frozen dessert for later Full GAPS. Two very ripe bananas supply the sweetness and much of the body. Fresh orange zest and a measured half cup of freshly pressed juice keep the citrus distinct, while homemade coconut butter, coconut oil, cocoa, and gelatin give the mixture enough structure to freeze without an ice cream machine.
The finished ice cream is dense and scoopable rather than airy. Expect a deep cocoa flavor first, followed by orange, with banana rounding the edges instead of making the bowl taste like plain frozen fruit. Optional raw honey can make it sweeter, but the measured base does not depend on it.
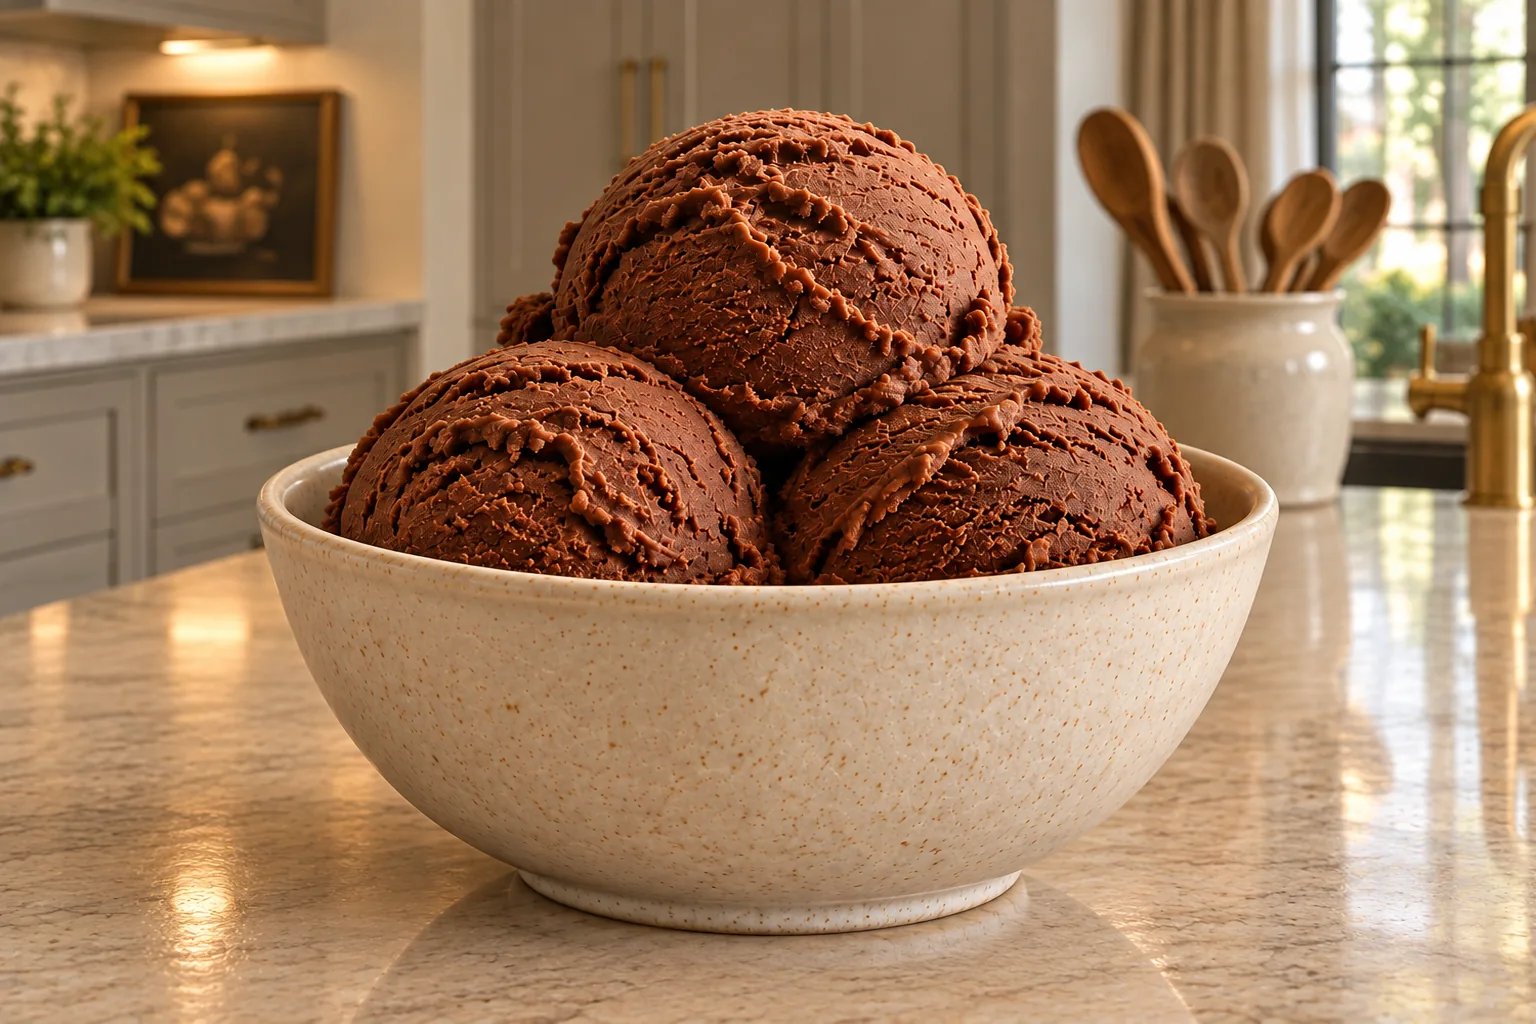
A Freezer Dessert Without Another Appliance
A no-churn recipe has an obvious practical advantage in a household of eight: there is no ice cream maker bowl to freeze ahead and no extra appliance to clean. The saucepan handles the warm base, and one freezer-safe bowl handles the rest.
The tradeoff is that this recipe needs attention during its first hour in the freezer. Stirring every 20 to 30 minutes breaks up the firmer edges and folds them into the softer center. Set a timer before walking away. The method is simple, but skipping those stirs changes the texture.
This formula does not specify a serving count, so the recipe card keeps it as one batch rather than inventing portions. If you double it with the recipe-card control, use a vessel with enough room for the mixture to freeze in a reasonably shallow layer and stir it thoroughly at every interval.
Where This Ice Cream Fits on GAPS
This is an occasional Later Full GAPS dessert. Cocoa is not an early GAPS food. Pure organic cocoa can be used occasionally on Full GAPS after digestive symptoms have disappeared. Fresh orange juice also belongs after more healing has happened, so those two ingredients place the whole recipe in Later Full GAPS.
Fresh orange juice also belongs on Full GAPS after more healing has happened. This formula uses both the zest of one orange and exactly one-half cup of freshly pressed juice. Commercial orange flavor is unnecessary because the fresh zest and juice provide the orange flavor.
Use bananas with brown spots on their peels. That is the ripe form listed for Full GAPS. The coconut butter is homemade coconut butter, so the recipe does not depend on a packaged spread with an uncertain ingredient list.
The cocoa must be pure and organic, without sugar or additives. Carob belongs to a separate variation, while this recipe stays with its chocolate-orange flavor. Commercial chocolate is not a substitute for the cocoa powder.
Start With the Bananas and Fresh Orange
Peel two large ripe bananas. Their peels should show brown spots, and the fruit should yield easily when pressed. Finely zest one orange before cutting it. Stop before the bitter white pith comes away with the colored zest.
Press the orange and measure the juice. Use one-half cup after juicing. The number of oranges needed to reach that amount varies, while the zest remains the zest from one orange.
Have every remaining ingredient measured before the saucepan goes on the heat. Cocoa and gelatin enter in separate steps, and both are easier to incorporate when they are ready beside the stove rather than measured over a warm pan.
Melt the Fruit and Coconut Base Until Smooth
Place the bananas, orange zest, orange juice, homemade coconut butter, coconut oil, mineral salt, and optional raw honey in a medium stainless-steel saucepan over medium heat.
Stir as the coconut oil and coconut butter melt. Press the softened banana against the side of the pan with the spoon, then scrape it back into the mixture. Continue until no firm banana pieces remain. The base should look thick and pale tan, with the fats fully melted instead of floating in separate clear pools.
Keep the heat moderate. The goal is a smooth melted base, not a rolling boil or browned banana. If the mixture spits, darkens at the bottom, or gives off a cooked-sugar smell, the heat is too high.
Whisk in the Cocoa Before the Gelatin
Add three tablespoons pure organic cocoa powder to the smooth base. Whisk from the center outward, then sweep the bottom and corners of the saucepan. Cocoa starts as dry dark patches. Keep whisking until those patches disappear and the mixture becomes uniformly deep brown and glossy.
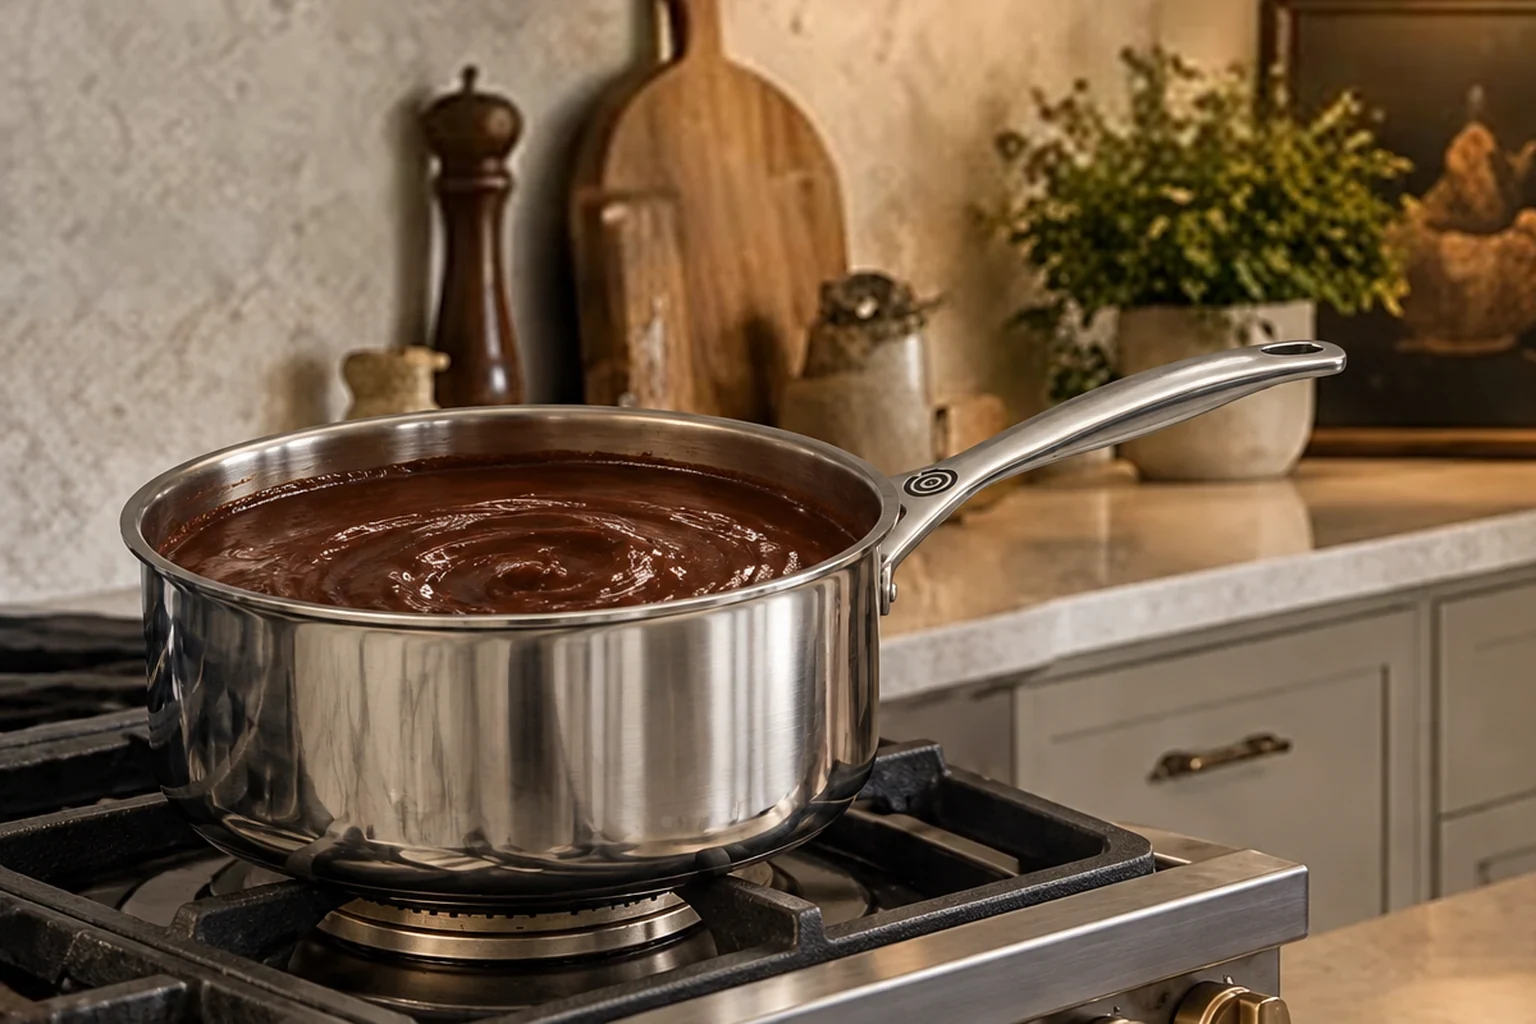
Turn off the heat before adding the gelatin. Sprinkle one tablespoon plain unflavored bovine gelatin across the surface while whisking. Continue until no pale granules or translucent beads remain. The mixture should pour in a thick ribbon without gritty specks.
This order matters. Cocoa goes into the smooth heated base first; gelatin goes in only after the heat is off. The card does not add a separate bloom because this method dissolves the gelatin directly into the warm mixture.
Freeze and Stir at the Physical Cues
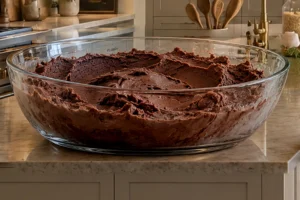
Pour the dark base into a freezer-safe glass or ceramic bowl. Put the bowl in the freezer and set a timer for 20 minutes. The first time you check it, the mixture at the outer edge should be thicker and colder than the center.
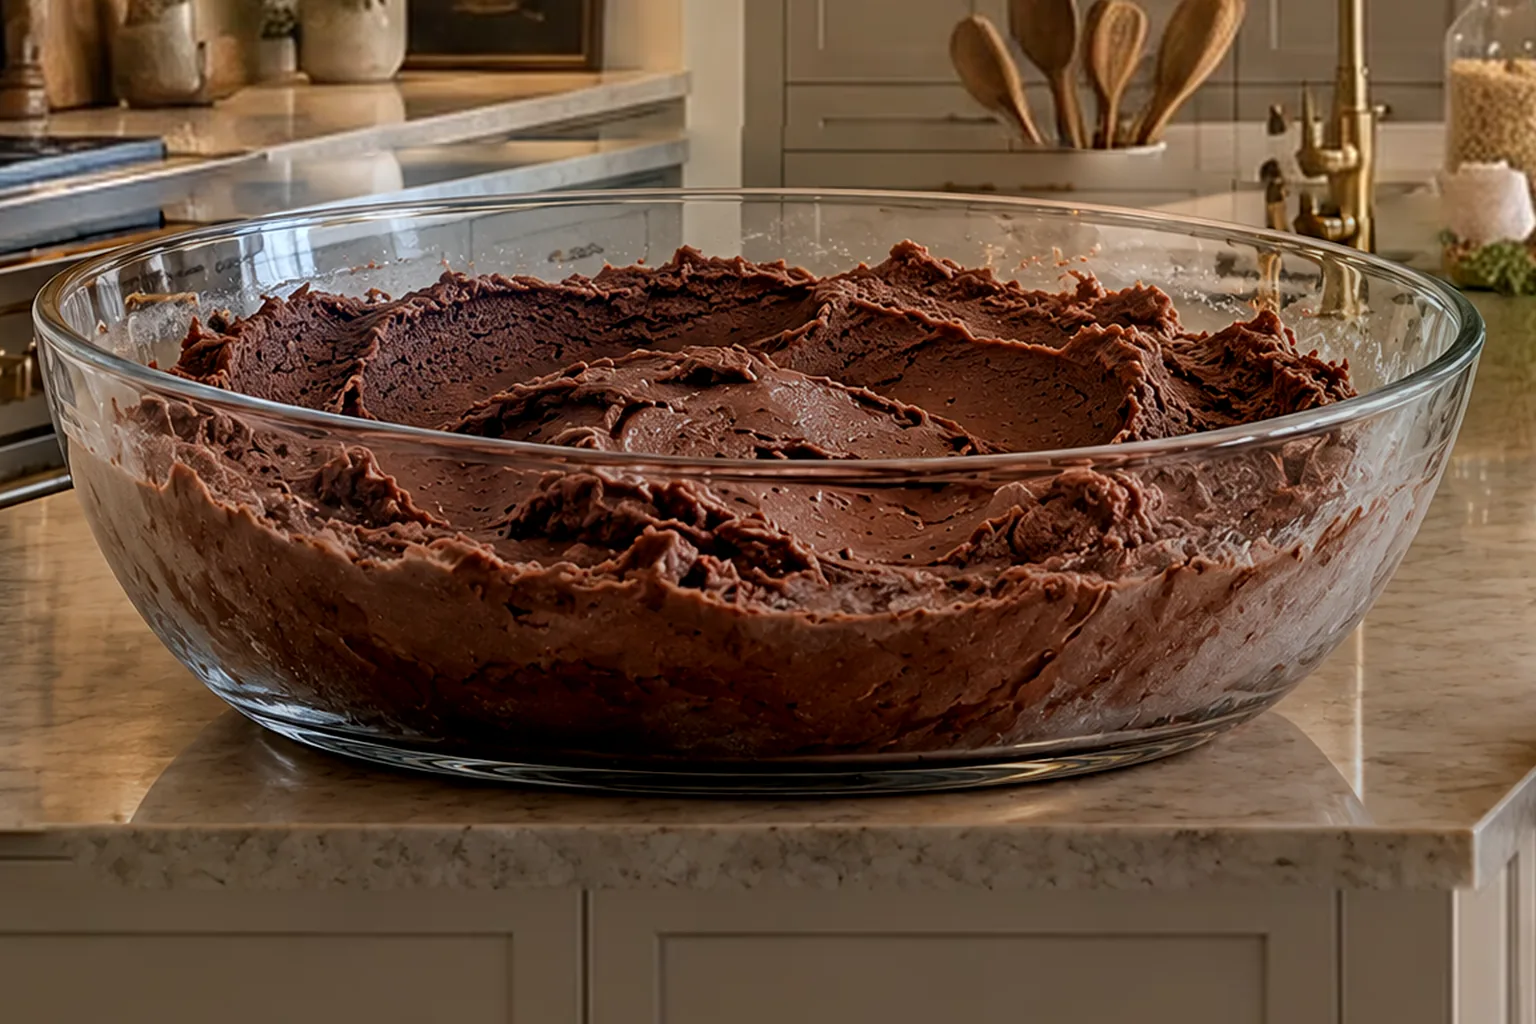
Use a sturdy spoon to scrape the firmer edge into the softer middle. Press out any frozen lumps, smooth the surface, and return the bowl to the freezer. Repeat every 20 to 30 minutes.
Begin checking for the final texture at 60 minutes. It may take up to 90 minutes. The ice cream is ready when a spoon leaves a defined track and the mixture holds a soft mound. It should no longer flow level like batter, but it should not be a solid block.
Scoop and serve immediately at that point. The texture is richest while the ice cream is freshly set and easily scoopable.
Sweetness, Texture, and Serving
The two ripe bananas, orange juice, and coconut butter supply sweetness without added honey. If your oranges are sharp or you want a sweeter dessert, include one to two tablespoons raw honey in the saucepan with the fruit and coconut ingredients. Keep that one- to two-tablespoon range rather than averaging it into a fixed amount.
Because there is no churning, the texture is closer and denser than commercial ice cream. Gelatin helps the mixture hold together, while stirring limits large ice crystals. It will not have the high-volume fluff of a machine-churned dairy base.
Serve it plain. This version uses no garnish, sauce, chocolate chips, or orange pieces, and none are needed for the chocolate-orange flavor to read clearly. If you want a different coconut-based chocolate ice cream, Full GAPS Chocolate Ice Cream with Honey and Coconut Milk is a separate recipe.
The upcoming Frozen Treats Cookbook is the natural next resource for this recipe. It will bring together GAPS yogurt pops, honey ice creams, and frozen fruit treats so families can choose a frozen dessert without hunting through unrelated posts. Watch the WFLI shop for its release.
Storage and Re-Scooping
Cover the remaining ice cream and keep it in the freezer for up to five days. A shallow covered glass container makes it easier to take out only what you need.
After a longer freeze, the ice cream may become firmer than it was at the 60- to 90-minute mark. Let the container stand at room temperature just until a spoon can enter without forcing it. Microwaving can melt the outside while the center remains hard.
Return the remainder to the freezer promptly. Repeatedly melting and refreezing the whole batch works against the smooth texture created by the timed stirs.
Recommended Equipment
Use a medium Le Creuset stainless-steel saucepan, a wooden spoon or stainless-steel whisk, a fine zester, a citrus press, measuring cups and spoons, and one freezer-safe glass or neutral ceramic bowl. The saucepan should give the bananas enough surface area to soften and be pressed smooth without splashing the warm mixture.
A shallow freezer vessel cools more evenly than a narrow deep container. Leave enough empty space above the mixture to stir vigorously without pushing ice cream over the rim.
Frequently Asked Questions
Do I Need an Ice Cream Maker?
No. This is a saucepan-and-freezer method. Stir the bowl every 20 to 30 minutes for 60 to 90 minutes until the ice cream is thick and scoopable.
Why Is This Later Full GAPS?
Pure organic cocoa is reserved for occasional Full GAPS use after digestive symptoms have disappeared. Fresh orange juice also belongs after more healing has happened. Those two ingredients set the placement.
Can I Use Commercial Orange Flavor?
No. The measured fresh zest and juice supply the orange flavor. Commercial orange flavor is omitted from this formula.
Can I Use Carob Instead of Cocoa?
No. This version uses three tablespoons of pure organic cocoa powder, so it remains its own chocolate recipe with Later Full GAPS placement. A carob version belongs in a separate recipe.
Can I Leave Out the Honey?
Yes. Honey is optional. The two ripe bananas, fresh orange juice, and coconut butter provide the base sweetness. If you use honey, keep the measured one- to two-tablespoon range.
Why Do I Stir During Freezing?
The outer edge freezes before the center. Scraping that firmer edge into the softer middle every 20 to 30 minutes limits large icy sections and helps the no-churn batch set more evenly.
How Do I Know It Is Ready?
A spoon should leave a clear track, and the mixture should hold a soft mound. If it flows level again, freeze it longer. If it is solid, let it soften just enough to scoop.
Dark Chocolate Orange Banana Ice Cream Recipe
Dark Chocolate Orange Banana Ice Cream for Later Full GAPS
Ingredients
Equipment
Method
- Peel the bananas. Finely zest the orange, then press and measure exactly 1/2 cup juice.
- Place the bananas, orange zest, orange juice, homemade coconut butter, coconut oil, mineral salt, and optional raw honey in a medium stainless-steel saucepan over medium heat. Stir and press the softened banana against the pan until the fats have melted and the mixture is smooth with no firm banana pieces.
- Add the pure organic cocoa powder. Whisk until no dry pockets or pale streaks remain and the base is uniformly dark and glossy.
- Turn off the heat. Sprinkle in the gelatin while whisking, then continue whisking until no visible gelatin granules remain.
- Pour the mixture into a freezer-safe glass or ceramic bowl.
- Freeze for 60 to 90 minutes, stirring every 20 to 30 minutes. At each stir, scrape the firmer mixture from the edge into the softer center. It is ready when thick and scoopable rather than liquid or frozen solid.
- Scoop and serve. Cover any remaining ice cream and freeze for up to 5 days.
Notes
Tried this recipe?
Let us know how it was!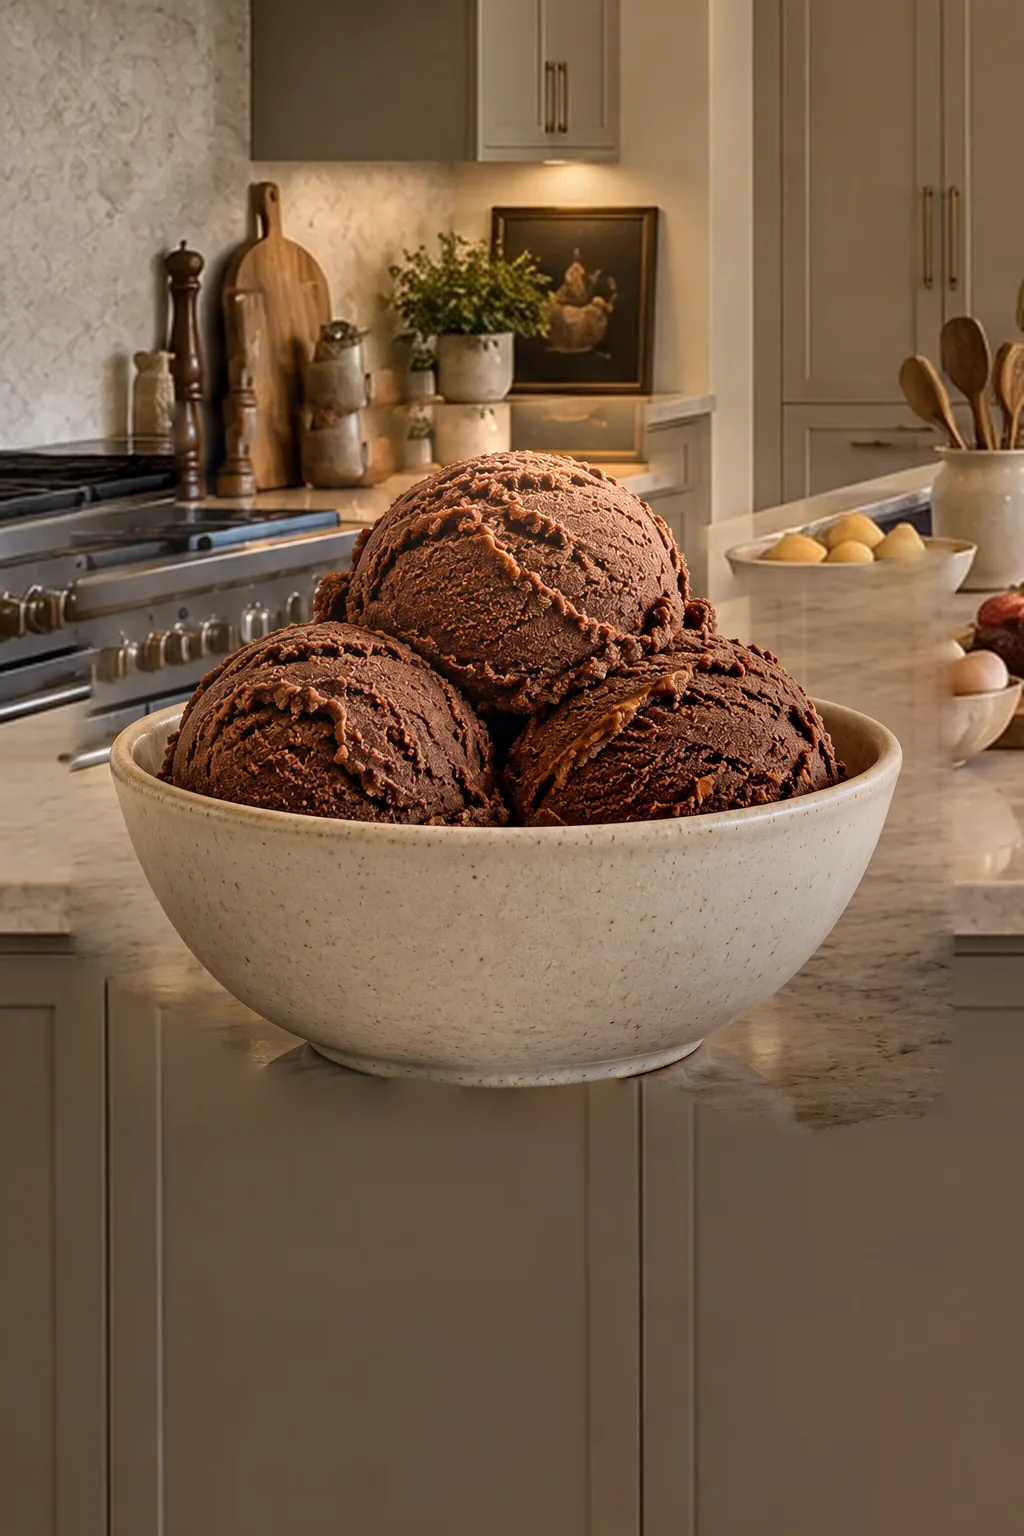

Leave a comment