

Dry fermented almond meal gives you a loose, nutty ingredient to measure into Full GAPS baking. Whole almonds are soaked, fermented and then dried until crisp before grinding. The finished meal falls in small crumbs rather than sitting in a wet paste. That dry texture matters when a recipe calls for almond meal to join eggs, vegetables or another moist mixture.
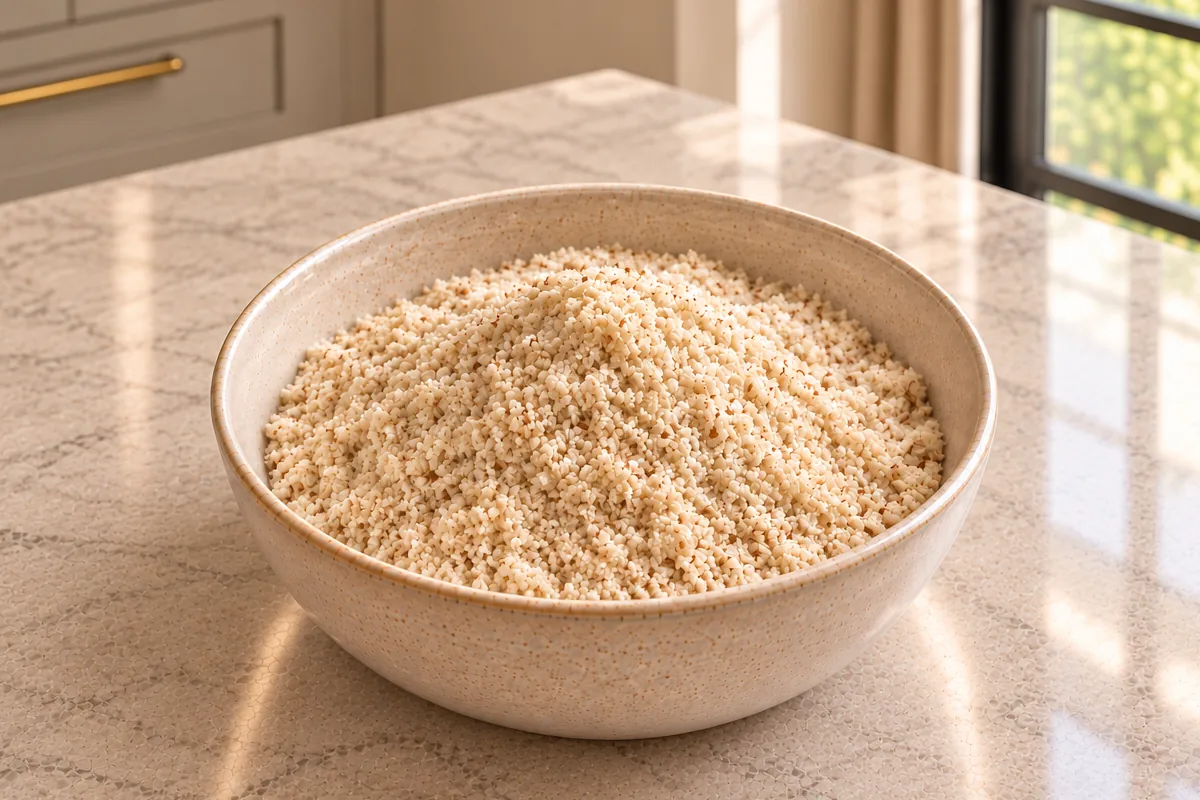
In a household with six children, having an ingredient ready is useful only if it is the right ingredient. A jar of moist fermented flour and a jar of dry almond meal do different jobs. I want the name on the container to tell me which one to reach for, especially when there are several parts of a meal to prepare. This is the dry version, made ahead and ground when the almonds have cooled completely.
The batch starts with four cups of whole almonds and a tablespoon of salt for the first soaking water. Fermentation follows in fresh water with half a cup of homemade whey, then the nuts are drained and dried. Plan for the twelve-to-twenty-four-hour soak, at least a day for the whole-nut ferment and twelve to twenty-four hours of gentle drying. Cooling and grinding come afterward.
Begin With Whole Almonds
Choose fresh whole almonds, preferably skinless, rather than salted snack nuts or nuts coated with flavorings. Whole almonds let you complete soaking, fermentation and drying before grinding. Skinless almonds give a lighter-colored meal. A little remaining skin can leave small brown flecks, so judge dryness and crumb size rather than expecting every batch to look like white flour.
Measure the four cups before soaking. The almonds take up water during the soak, so a cup of swollen wet almonds is not the starting measure. Keeping the starting amount clear also makes the recipe card useful when you want a larger batch.
The tablespoon of salt goes into the first soaking water. Drain and rinse that water away before adding the fresh water and whey for fermentation. There is no separate salt addition when you grind the finished meal.
Give The Almonds Their Soaking Time
Put the almonds and salt into a roomy glass, ceramic or stainless bowl. Add enough filtered water to cover the nuts and stir to distribute the salt. Leave room for the almonds to swell while remaining below the waterline. Keep them soaking for twelve to twenty-four hours.
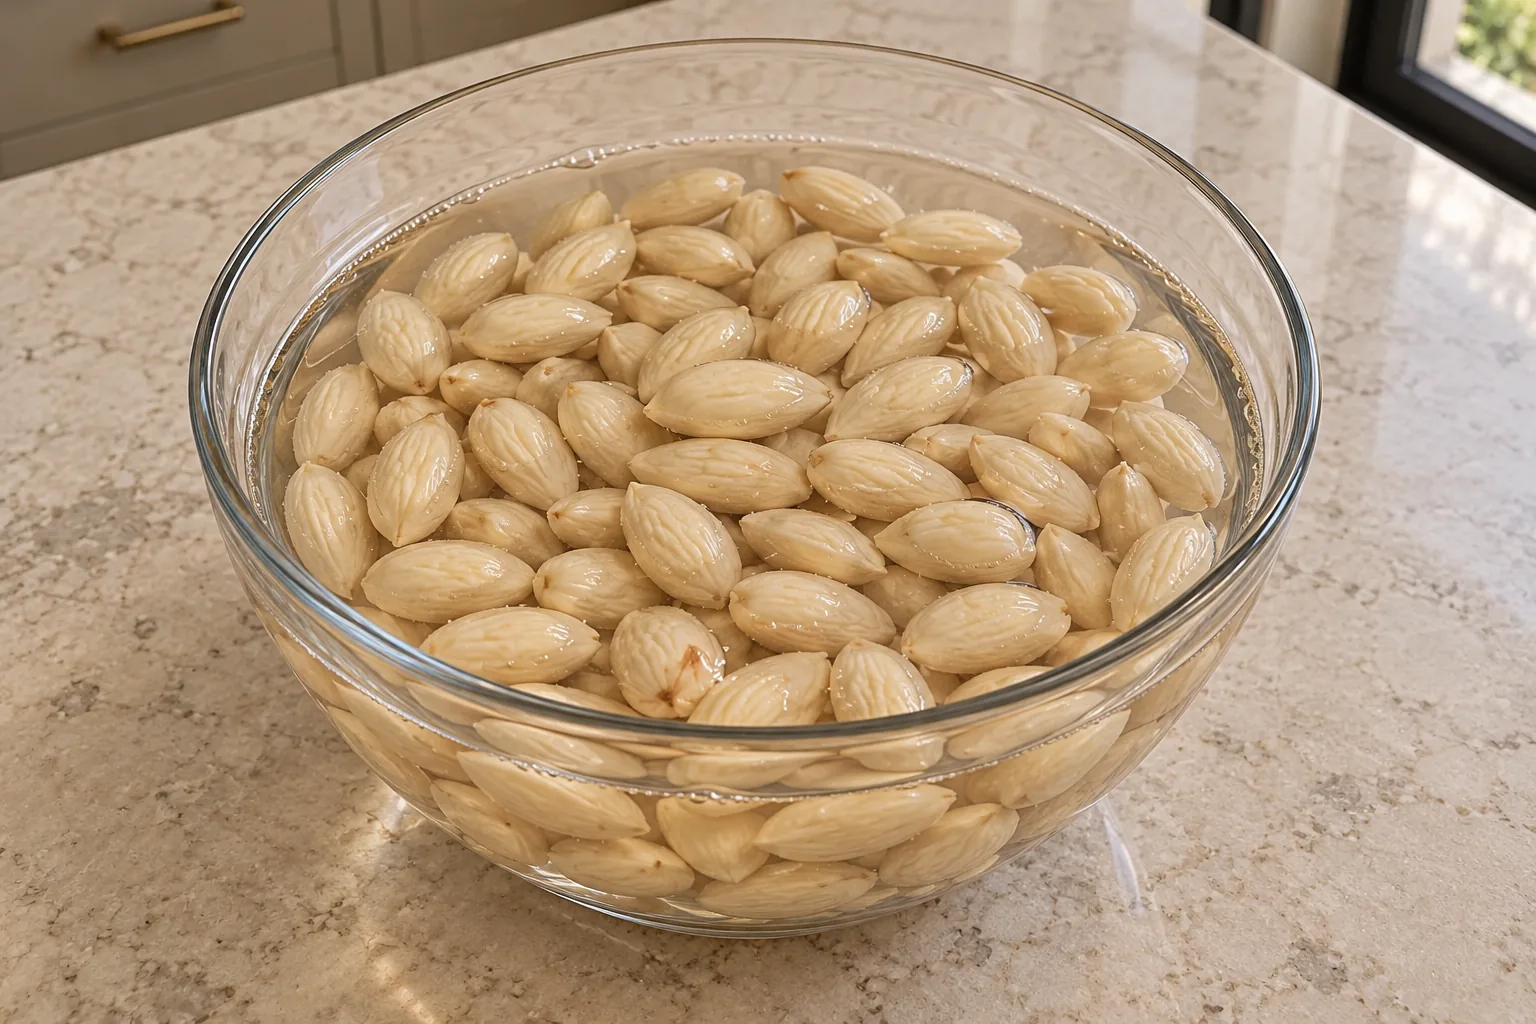
After soaking, the almonds will be plumper and wetter than when they went into the bowl. That is the first part of this preparation. Drain them, rinse with fresh filtered water and drain again before putting them into fresh water with whey for the fermentation step.
If you began with almonds that still have their brown skins, you can remove the skins after soaking. The softened skins may slip away more readily at this point. Keep the nuts whole through the drying step. Grinding them now would give you a moist product instead of the dry ingredient this recipe is intended to make.
Ferment The Whole Almonds Before Drying
After the first soak, drain and rinse the almonds. Put the same nuts back into a clean roomy bowl. Add half a cup of homemade whey from completed 24-hour GAPS yogurt, then fresh warm filtered water to cover the nuts by about two inches.
Cover loosely with a plate or clean kitchen towel and keep the whole nuts below the liquid. Leave them at room temperature for twenty-four hours or longer. This is the whole-nut fermentation route; the GAPS method for already-ground flour is a different preparation.
The culture can give the liquid a mildly sour aroma. Keep the nuts submerged and use the fermentation directions before draining. A swollen almond by itself shows that it took up water; it does not turn a plain salt-water soak into this whey-culture preparation.
Drain after fermentation and rinse if you want a milder flavor. Shake free water out through the colander, then move the whole nuts into the drying step below. Do not grind this damp batch and call it dry flour.
Dry Them Until The Centers Are Crisp
Use a low oven no hotter than 150°F. Check that your oven can hold that temperature before beginning. This is gentle drying, not a hot roasting step. If your equipment is a dehydrator, the GAPS preparation method also allows drying on a low setting; follow the same completely dry, crisp endpoint.
Spread the drained almonds in a thin layer on an appropriate oven-safe tray. Give the warm air room to move around them instead of leaving the nuts in a deep pile. Stir them occasionally while drying so the nuts from the middle move outward and those near the edges move back through the batch.
Allow twelve to twenty-four hours for the oven drying, checking the nuts rather than relying on the clock alone. Take out one almond and let it cool before testing. It should be crisp through the center. A nut that bends or has a soft, chewy middle needs more drying, even when its outside looks dry.
Color is not the goal here. You are not trying to make dark toasted almonds. Look for a dry surface and a crisp cooled center while keeping the heat gentle. The almonds can remain pale. Once the batch has dried fully, let it cool completely before grinding.
Pulse The Cooled Nuts Into Meal
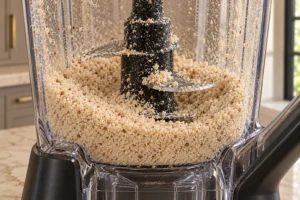
I use the Ninja BN801 for grinding. Work with manageable batches rather than packing the pitcher full. Use short pulses and check the texture between them. The pieces should become small, dry crumbs with a light nutty color.
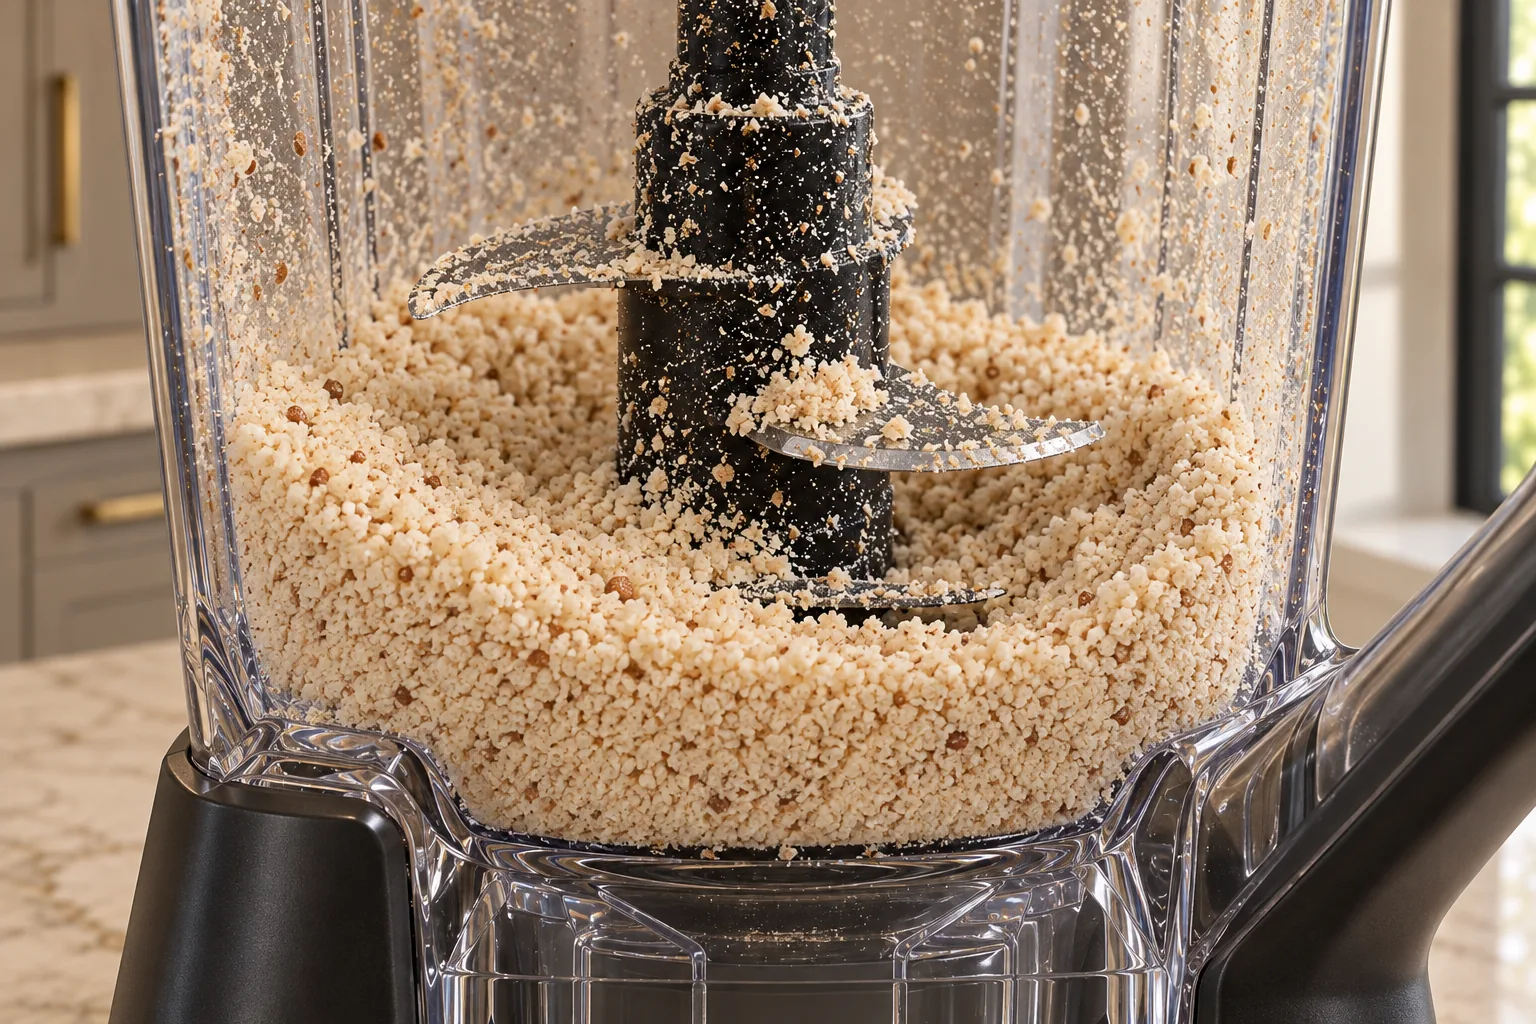
Stop when the meal is fine enough for the recipe you plan to make. You should still be able to see tiny irregular crumbs. It will not look exactly like finely milled wheat flour. Bigger almond pieces need a little more grinding, while loose fine crumbs are ready to measure.
A shiny paste or oily clumps mean you have moved toward almond butter. This recipe needs meal that remains loose. Keep the nuts cool, use brief pulses and inspect them as you go. Continuous blending makes it harder to stop at the dry crumb stage.
Combine the ground batches in a clean, dry container so their texture is reasonably even. A spoonful should fall back in loose crumbs. There should be no wet pocket left from the soak. If the nuts were still damp inside, grinding will not fix that missing drying step.
Use The Dry Meal In The Right Recipes
Measure the finished meal when the receiving recipe calls for dry almond meal. A vegetable mixture can already contain plenty of moisture from onion, celery, fruit and eggs. Starting with a dry nut ingredient keeps that mixture closer to the form the recipe expects.
The separate Homemade Fermented Almond Flour From Whole Almonds recipe makes a fresh, moist flour. It has its own ingredients and method. Keep that preparation for recipes calling for its moist form, rather than putting it into the measuring cup and treating it as this dry meal.
Meal and flour can also differ in how finely they are ground. Read the receiving recipe’s ingredient description. A recipe using almond meal can keep a little nut texture; one asking for finely ground flour needs finer particles. Match that description when you finish grinding.
Where It Fits On GAPS
GAPS requires nut flour to be fermented before baking on Full GAPS as well as in the Stage 4 bread preparation. This method ferments the almonds while they are whole, before drying and grinding. Soaking alone does not finish that flour preparation.
This Full GAPS baking ingredient contains almonds and milk from the whey culture. It has no grain flour, but it is not dairy-free or nut-free. It does not fit No-Plant GAPS. Choose the finished recipe for your current stage rather than assigning every baked dish the same stage because it uses this meal.
Keep soaking, fermentation and drying as separate steps. The almonds need the fermentation step before they become flour, and they need to be fully dry before grinding when the receiving recipe calls for a dry ingredient.
Keep It Dry And Fresh
Let the nuts and finished meal cool completely before closing the storage container. A warm batch can leave moisture inside the container, which works against the dry texture you just made. Use a clean, dry lid and container.
Keep ground almond meal in the freezer to help maintain its freshness. Label the container with the preparation and date, so it is easy to distinguish from moist fermented flour. Take out the amount needed for a recipe and keep the rest stored, rather than leaving the whole batch on the counter.
If you want help using prepared nut ingredients in baking, the planned Nut Flour Baking course belongs alongside this preparation. Find release details in the WFLI shop. Making the ingredient and learning how it behaves in a batter or filling are useful parts of the same kitchen skill.
Frequently Asked Questions
Does Soaking Replace Fermentation?
No. The salt-water soak is the first step here. The whole almonds then receive the whey-culture fermentation before drying and grinding for GAPS baking.
Can I Grind The Nuts While They Are Wet?
That would make a moist nut preparation. For this recipe, dry them fully, let them cool and then grind. The finished meal should be loose enough to fall from a spoon in small crumbs.
How Do I Know They Are Dry Enough?
Test a cooled almond. It should be crisp inside, without a chewy middle. Keep drying if the center is soft. The outside can look dry before the whole nut is ready.
Can I Turn The Heat Up To Finish Faster?
This method uses a warm oven no hotter than 150°F. Keep that gentle drying method instead of changing it into a hot roast. Use the completely dry, crisp center as your finishing cue.
Does It Make Four Cups Of Meal?
Four cups is the starting whole-almond measure. Grinding changes how the pieces settle in a cup, so the finished meal volume is not promised as four cups. The card records one batch; measure the ground meal for your next recipe.
Tools For This Preparation
You need a roomy soaking bowl, a colander, an oven-safe tray, an oven capable of gentle low-temperature drying, and the Ninja for grinding. Measuring cups and spoons keep the starting nuts and salt consistent. Have a dry storage container ready before you finish grinding.
Dry Fermented Almond Meal Recipe
Dry Fermented Almond Meal for Full GAPS
Ingredients
Equipment
Method
- Measure four cups whole almonds before soaking. Mix with the tablespoon of salt and enough filtered water to cover in a roomy bowl. Keep submerged during the 12-to-24-hour soak.
- Drain, rinse with fresh filtered water and drain again. Remove brown skins if desired. Return the whole nuts to a clean roomy bowl.
- Add half a cup homemade cultured whey from completed 24-hour GAPS yogurt. Add fresh warm filtered water to cover the nuts by about 2 inches. Cover loosely with a plate or clean towel and leave at room temperature for 24 hours or longer for the whole-nut fermentation. Keep the nuts submerged.
- Drain after fermentation and rinse if a milder flavor is desired. Drain thoroughly, then spread the whole nuts in a thin layer on appropriate oven-safe drying trays.
- Dry in a low oven no hotter than 150°F for 12 to 24 hours, stirring occasionally, until completely dry and crisp through the center. Test a cooled nut and continue drying if its center is chewy or soft.
- Cool the nuts completely. Pulse manageable batches in the Ninja BN801 until they become loose fine almond meal. Stop before oily clumps or almond butter form, then combine the ground batches.
- Store the fully cooled meal in a clean dry covered container in the freezer for freshness. Label it as dry fermented almond meal, and measure the finished meal for the receiving recipe.
Notes
Tried this recipe?
Let us know how it was!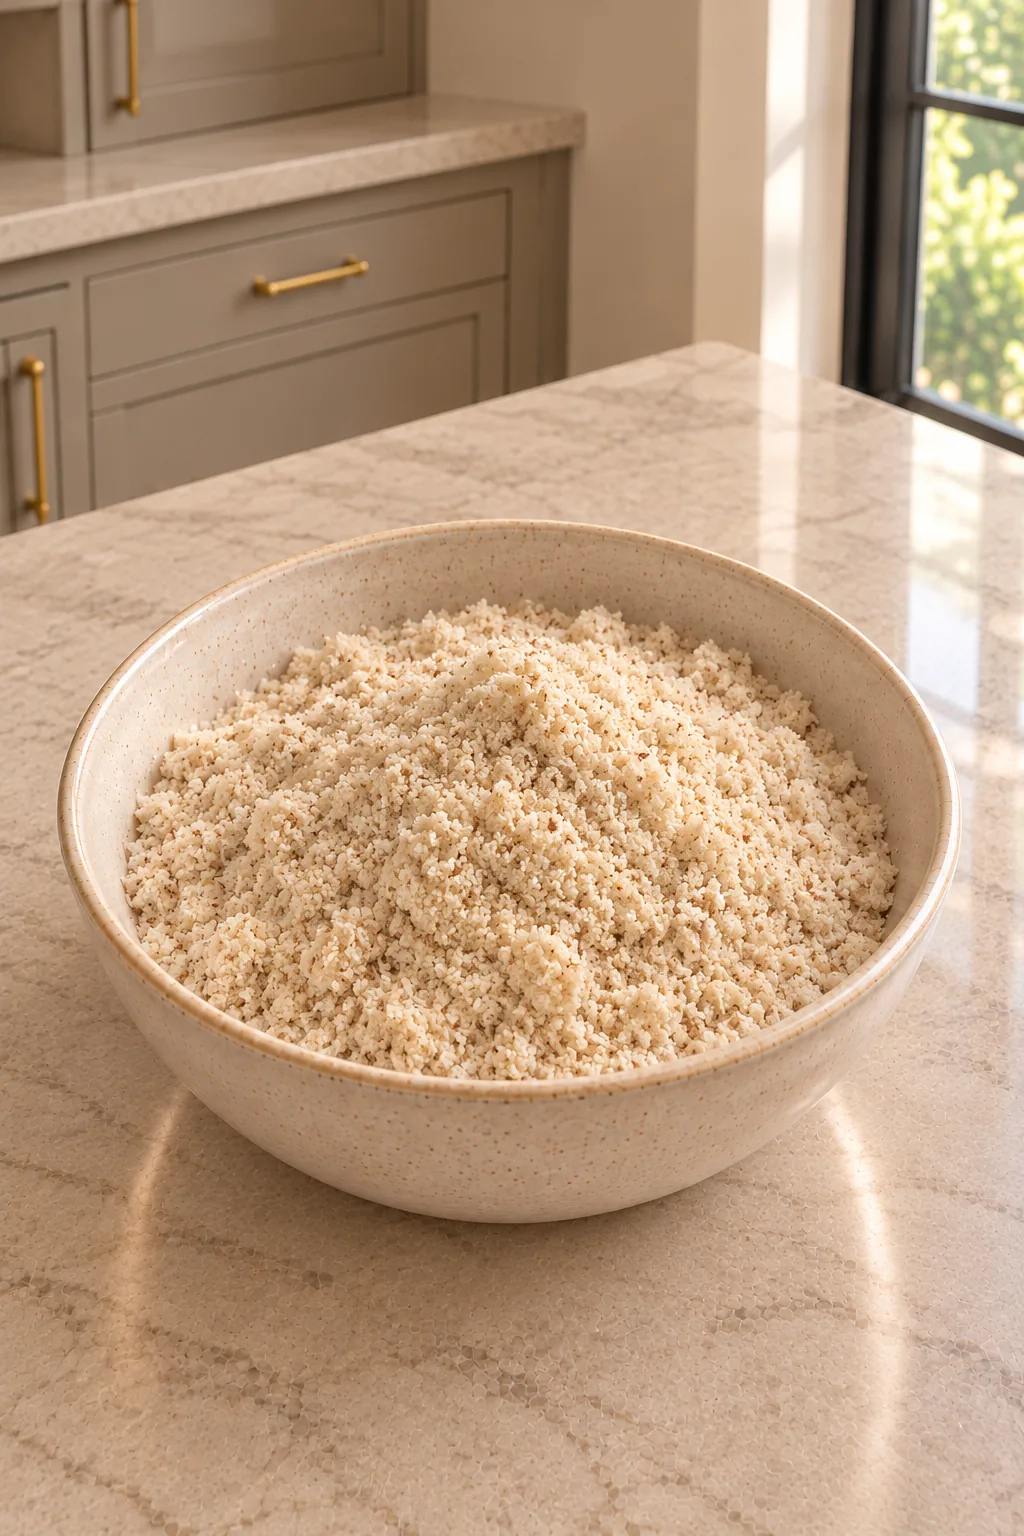

Leave a comment