

These honey-sweetened chocolate gummy bears are small, firm, and deeply cocoa flavored. The recipe uses only one-third cup water with two full tablespoons of gelatin, so the mixture sets quickly and gives each little bear a sturdy chew. Raw honey supplies the sweetness, and the optional pinch of mineral salt rounds out the cocoa.
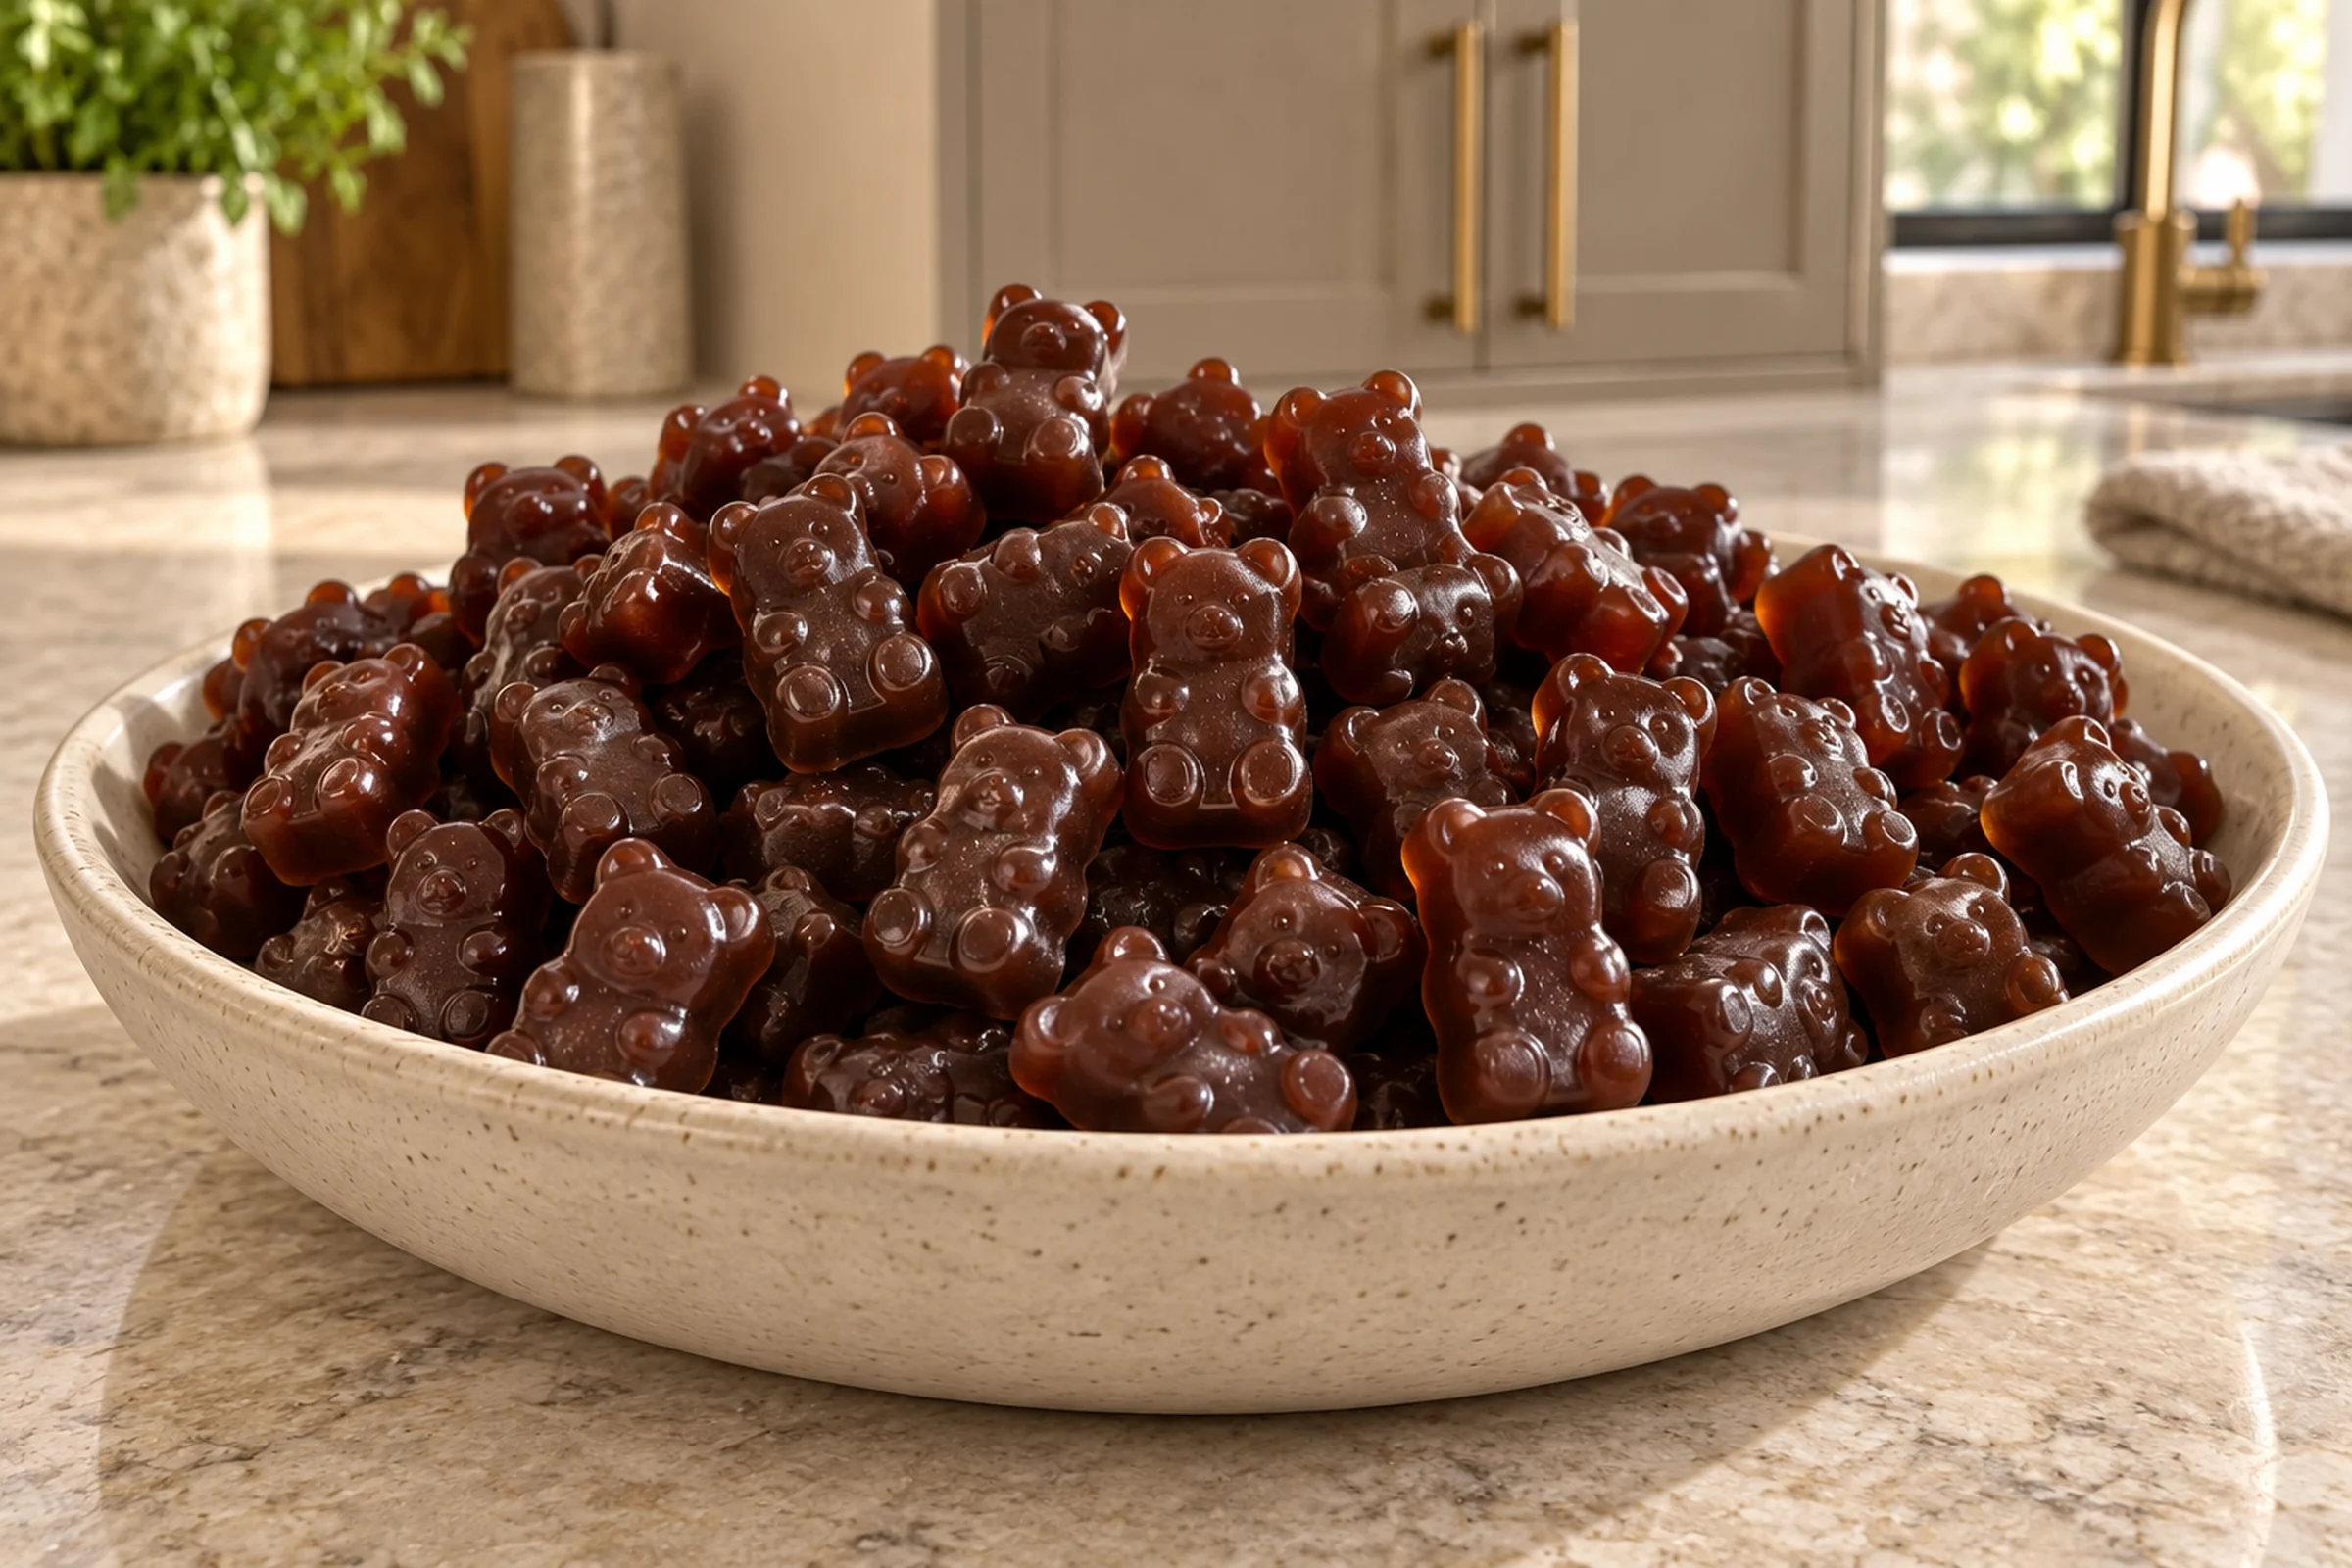
A batch makes approximately 70 tiny bears, depending on the mold. That is useful in a family of eight because you can put a few on each plate without making a large dessert. The method is short, but it is not a recipe to pause halfway through. Once the gelatin dissolves, the mixture needs to move from the skillet to the mold while it is still warm and runny.
What These Chocolate Gummies Are Like
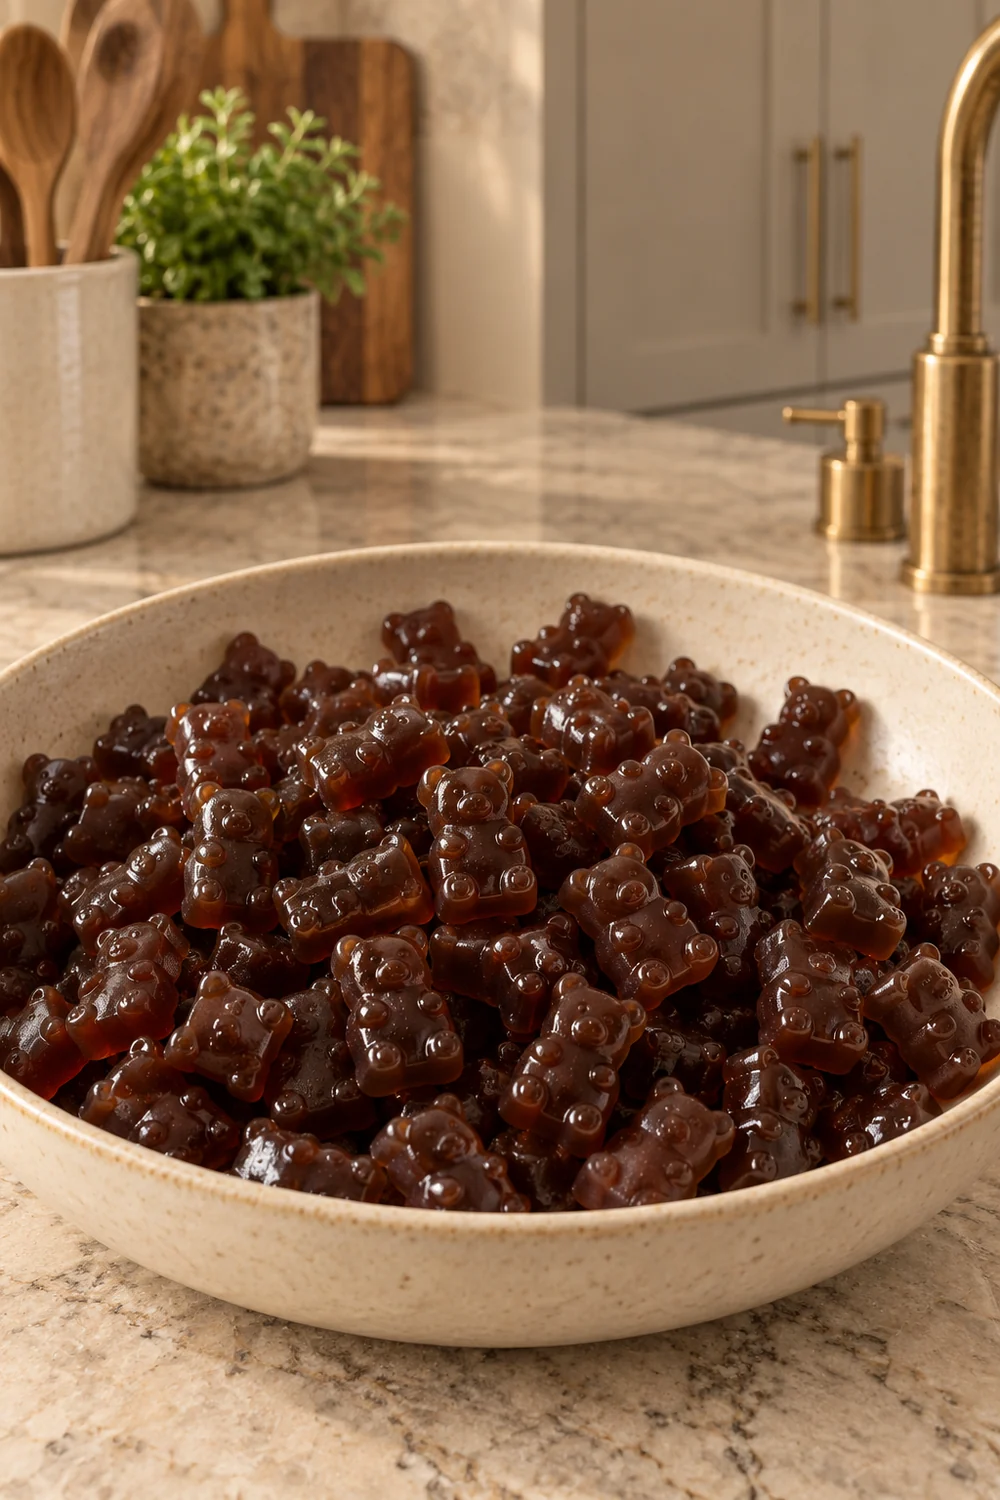
These are concentrated gummy bears, not soft gelatin squares. They feel firm between your fingers and release cleanly from the mold after the 10-minute freezer set. The cocoa makes them taste darker than a fruit gummy, while two tablespoons of raw honey keep them gently sweet rather than candy-shop sweet.
The texture depends on the exact ratio. One-third cup water may look like very little liquid, but that is intentional. Two tablespoons of gelatin in that amount of water creates the strong set needed for the tiny bear details. Do not average this ratio with a tea, cranberry, vegetable, or coconut-milk gummy recipe. Those liquids and gelatin amounts belong to different formulas.
Where Cocoa Gummies Fit On GAPS
This recipe fits later Full GAPS as an occasional cocoa treat after digestive symptoms are gone. It is not an Introduction Diet recipe. Pure organic cocoa powder, pure additive-free grass-fed beef gelatin, raw honey, filtered water, and optional mineral salt keep the ingredient list simple.
If cocoa has not been introduced yet, use a different gummy formula for now. Cranberry Gummies with Raw Honey and Gelatin use fruit and a different measured ratio. Ginger Tea Gummies with Raw Honey start with fresh herbal tea. Each recipe has its own liquid, gelatin level, flavor, and set, so keep the cards separate.
Use Pure Gelatin And Cocoa
Use plain grass-fed beef gelatin with no flavoring, sweetener, color, or other additives. This is the type that dissolves into hot liquid and sets firmly as it cools. Collagen peptides do not behave the same way and will not turn the cocoa mixture into gummy bears.
The cocoa powder should also be a single-ingredient product. Measure one level tablespoon. A heaped spoon changes both the bitterness and the amount of dry powder the small volume of water must absorb. Break up any hard cocoa clumps before they reach the skillet so you are not chasing dry pockets after the gelatin has already begun to cool.
Heat The Water Until It Just Begins To Boil
Pour one-third cup filtered water into the Le Creuset Signature 9-inch Artichaut skillet. Heat it only until the first small bubbles begin to rise and the surface starts to tremble. You need enough heat to dissolve the gelatin, but there is no reason to boil away part of an already small water measurement.
Set the whisk, measured gelatin, honey, cocoa, optional salt, spoon, mold, and scraper within reach before the water is hot. This is one of those recipes where setting up first saves the batch. Trying to find the scraper after the mixture thickens is exactly the kind of tiny kitchen problem that makes a simple recipe feel much harder than it is.
Whisk In The Gelatin One Tablespoon At A Time
Sprinkle the first tablespoon of gelatin over the hot water in a thin shower while whisking continuously. Do not dump it into one mound. A mound can form a rubbery outside while trapping dry gelatin in the center. Keep whisking until the grains completely disappear, then add the second tablespoon the same way.
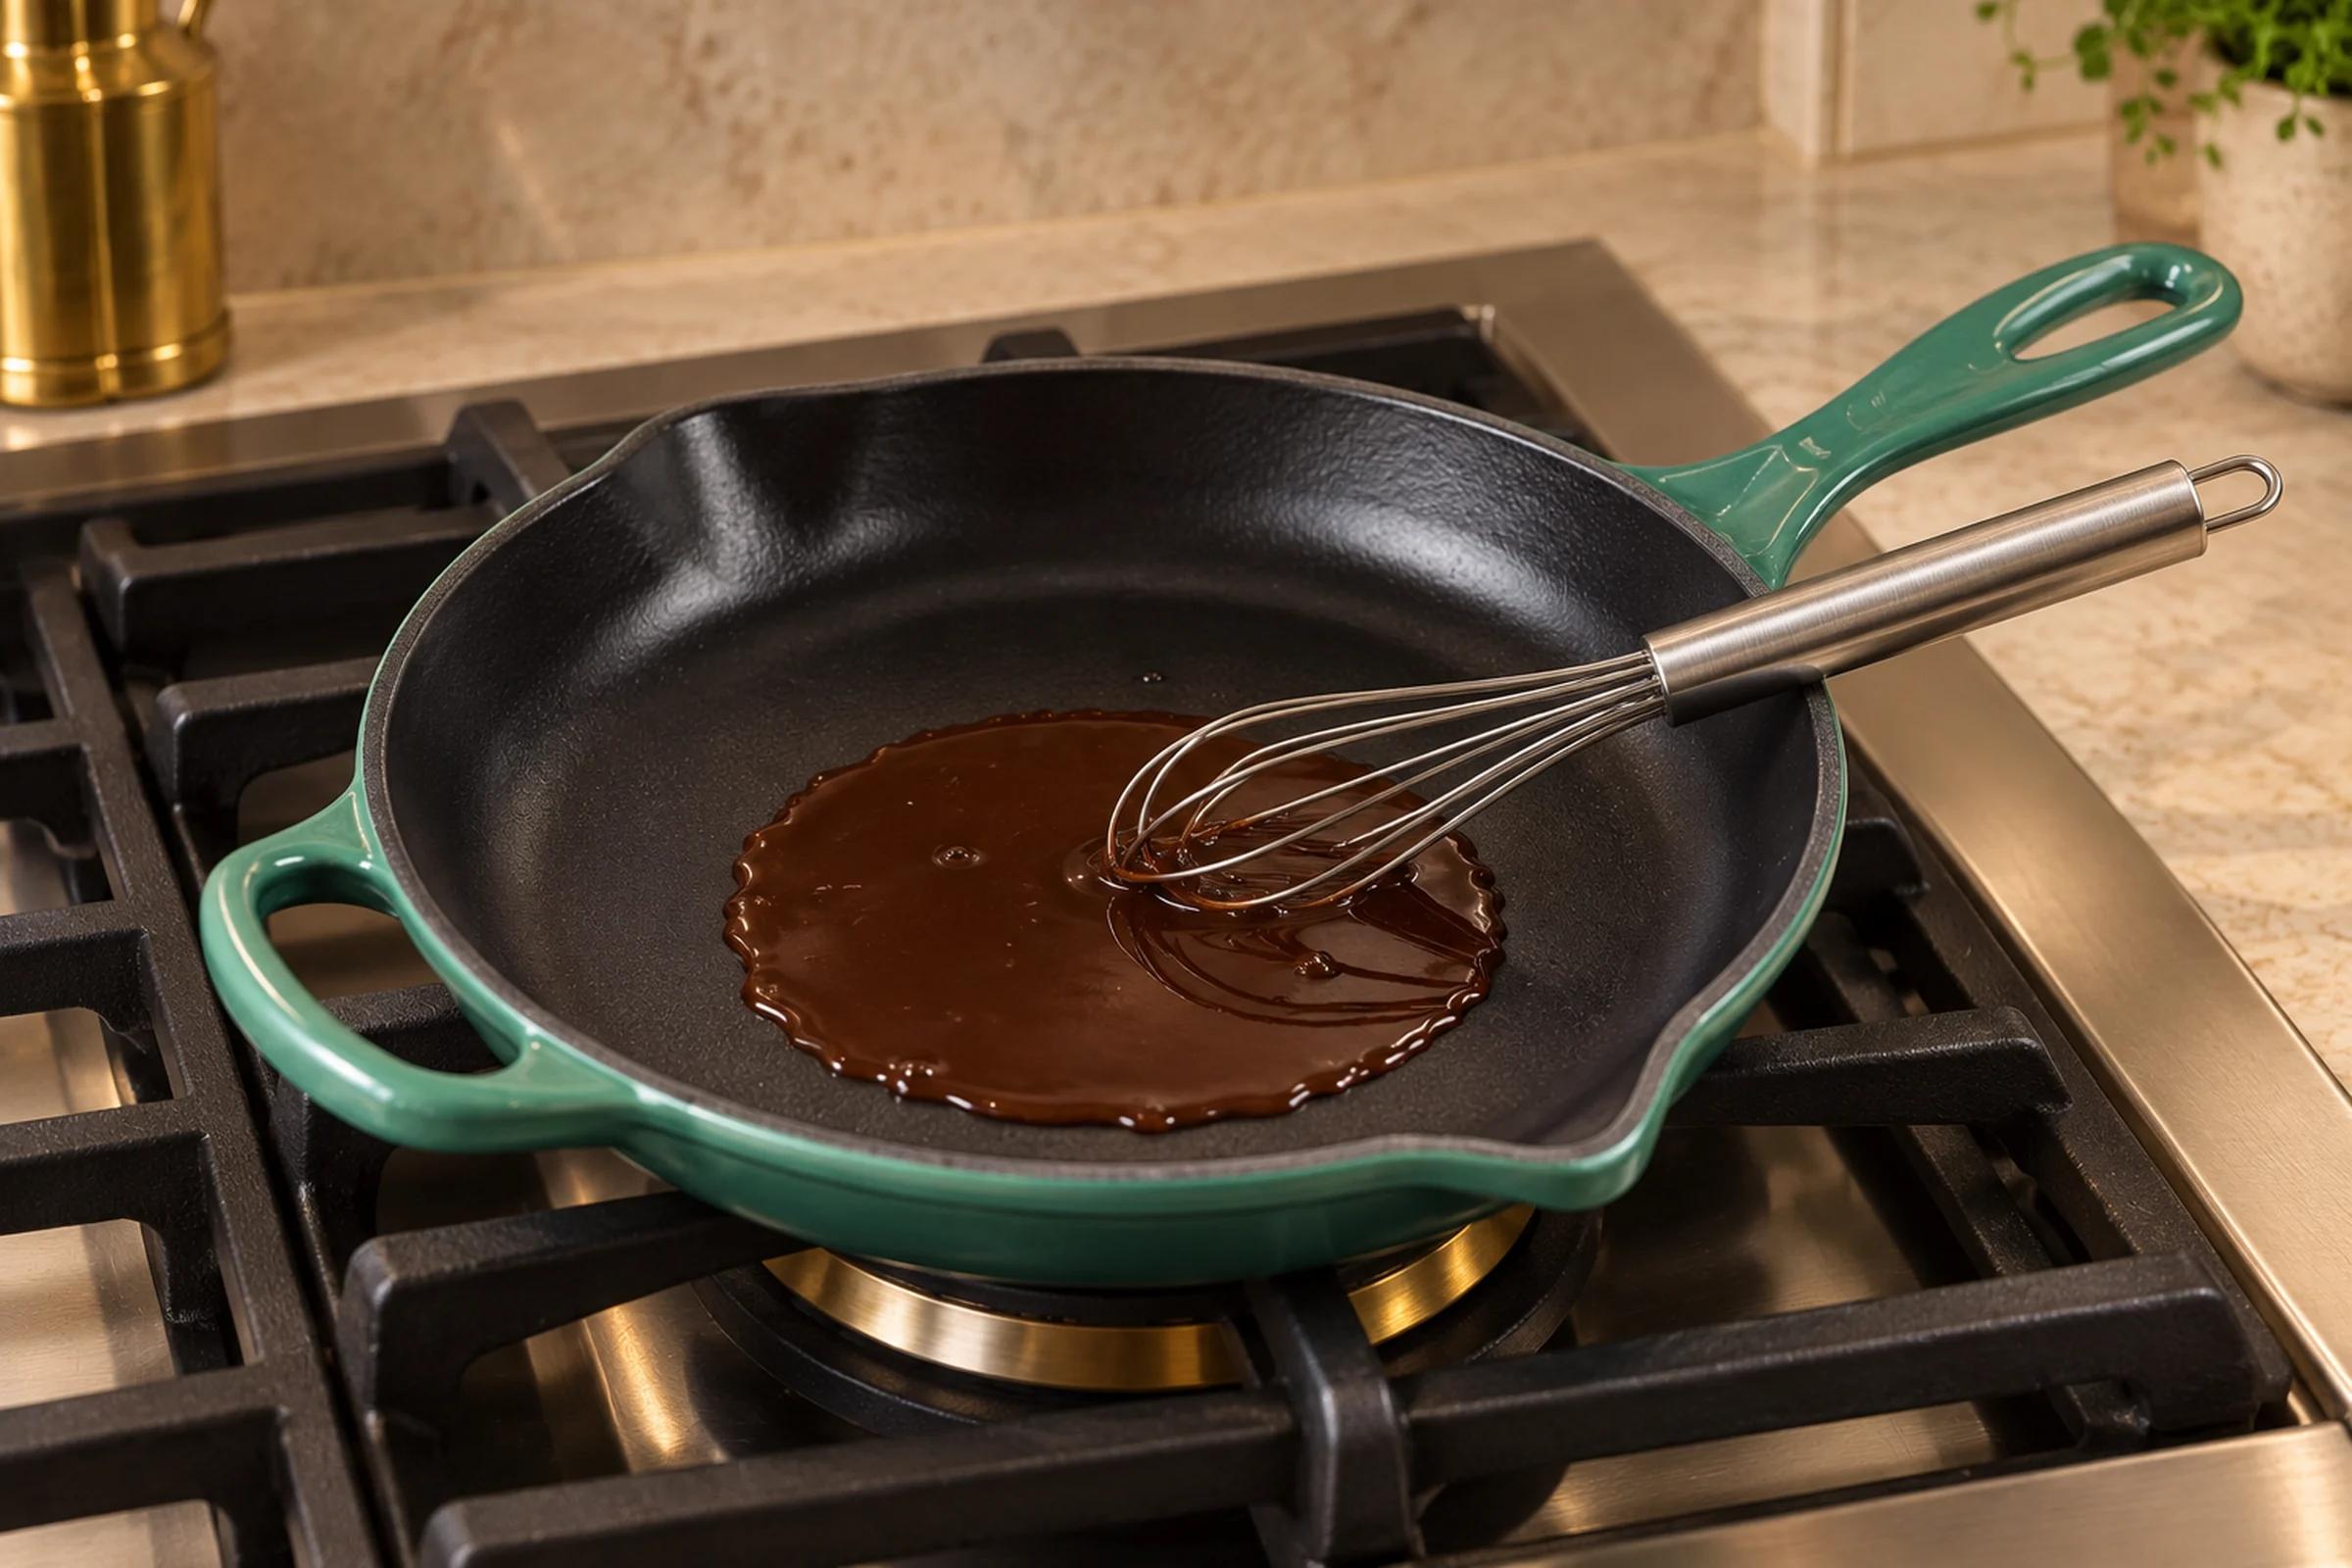
The liquid will gain body as the gelatin dissolves. It should still flow freely from the whisk and look clear enough that you do not see pale granules or floating clumps. Scrape around the sides of the skillet once so no gelatin dries above the liquid line.
Add The Honey Before The Cocoa
Whisk in two tablespoons raw honey after the gelatin has disappeared. The honey should loosen into the hot mixture without leaving a thick ribbon on the bottom. Add the cocoa next and whisk until the color is evenly dark brown. Finish with the optional pinch of mineral salt.
Look closely at the skillet before filling the mold. You should not see dry cocoa freckles, pale gelatin streaks, or honey sitting in a darker pool. The finished liquid will be glossy and thin enough to spread when spooned. If it has already cooled into a thick, dragging consistency, warm it only briefly until it runs again.
Work Quickly With The Silicone Mold
Use a spoon or small ladle instead of the dropper that may come with the gummy-bear mold. This concentrated gelatin mixture starts setting inside a narrow dropper after only a few bears. Once that happens, the tool clogs and the warm mixture keeps thickening while you try to clear it.
Spoon the mixture across the mold, then use the back of the spoon to press it into the ears, paws, and other small crevices. Run a flexible scraper over the surface to push the excess into unfilled cavities and leave the top of the mold clean. A clean scrape prevents a thin sheet of chocolate gelatin from connecting all the bears after they set.
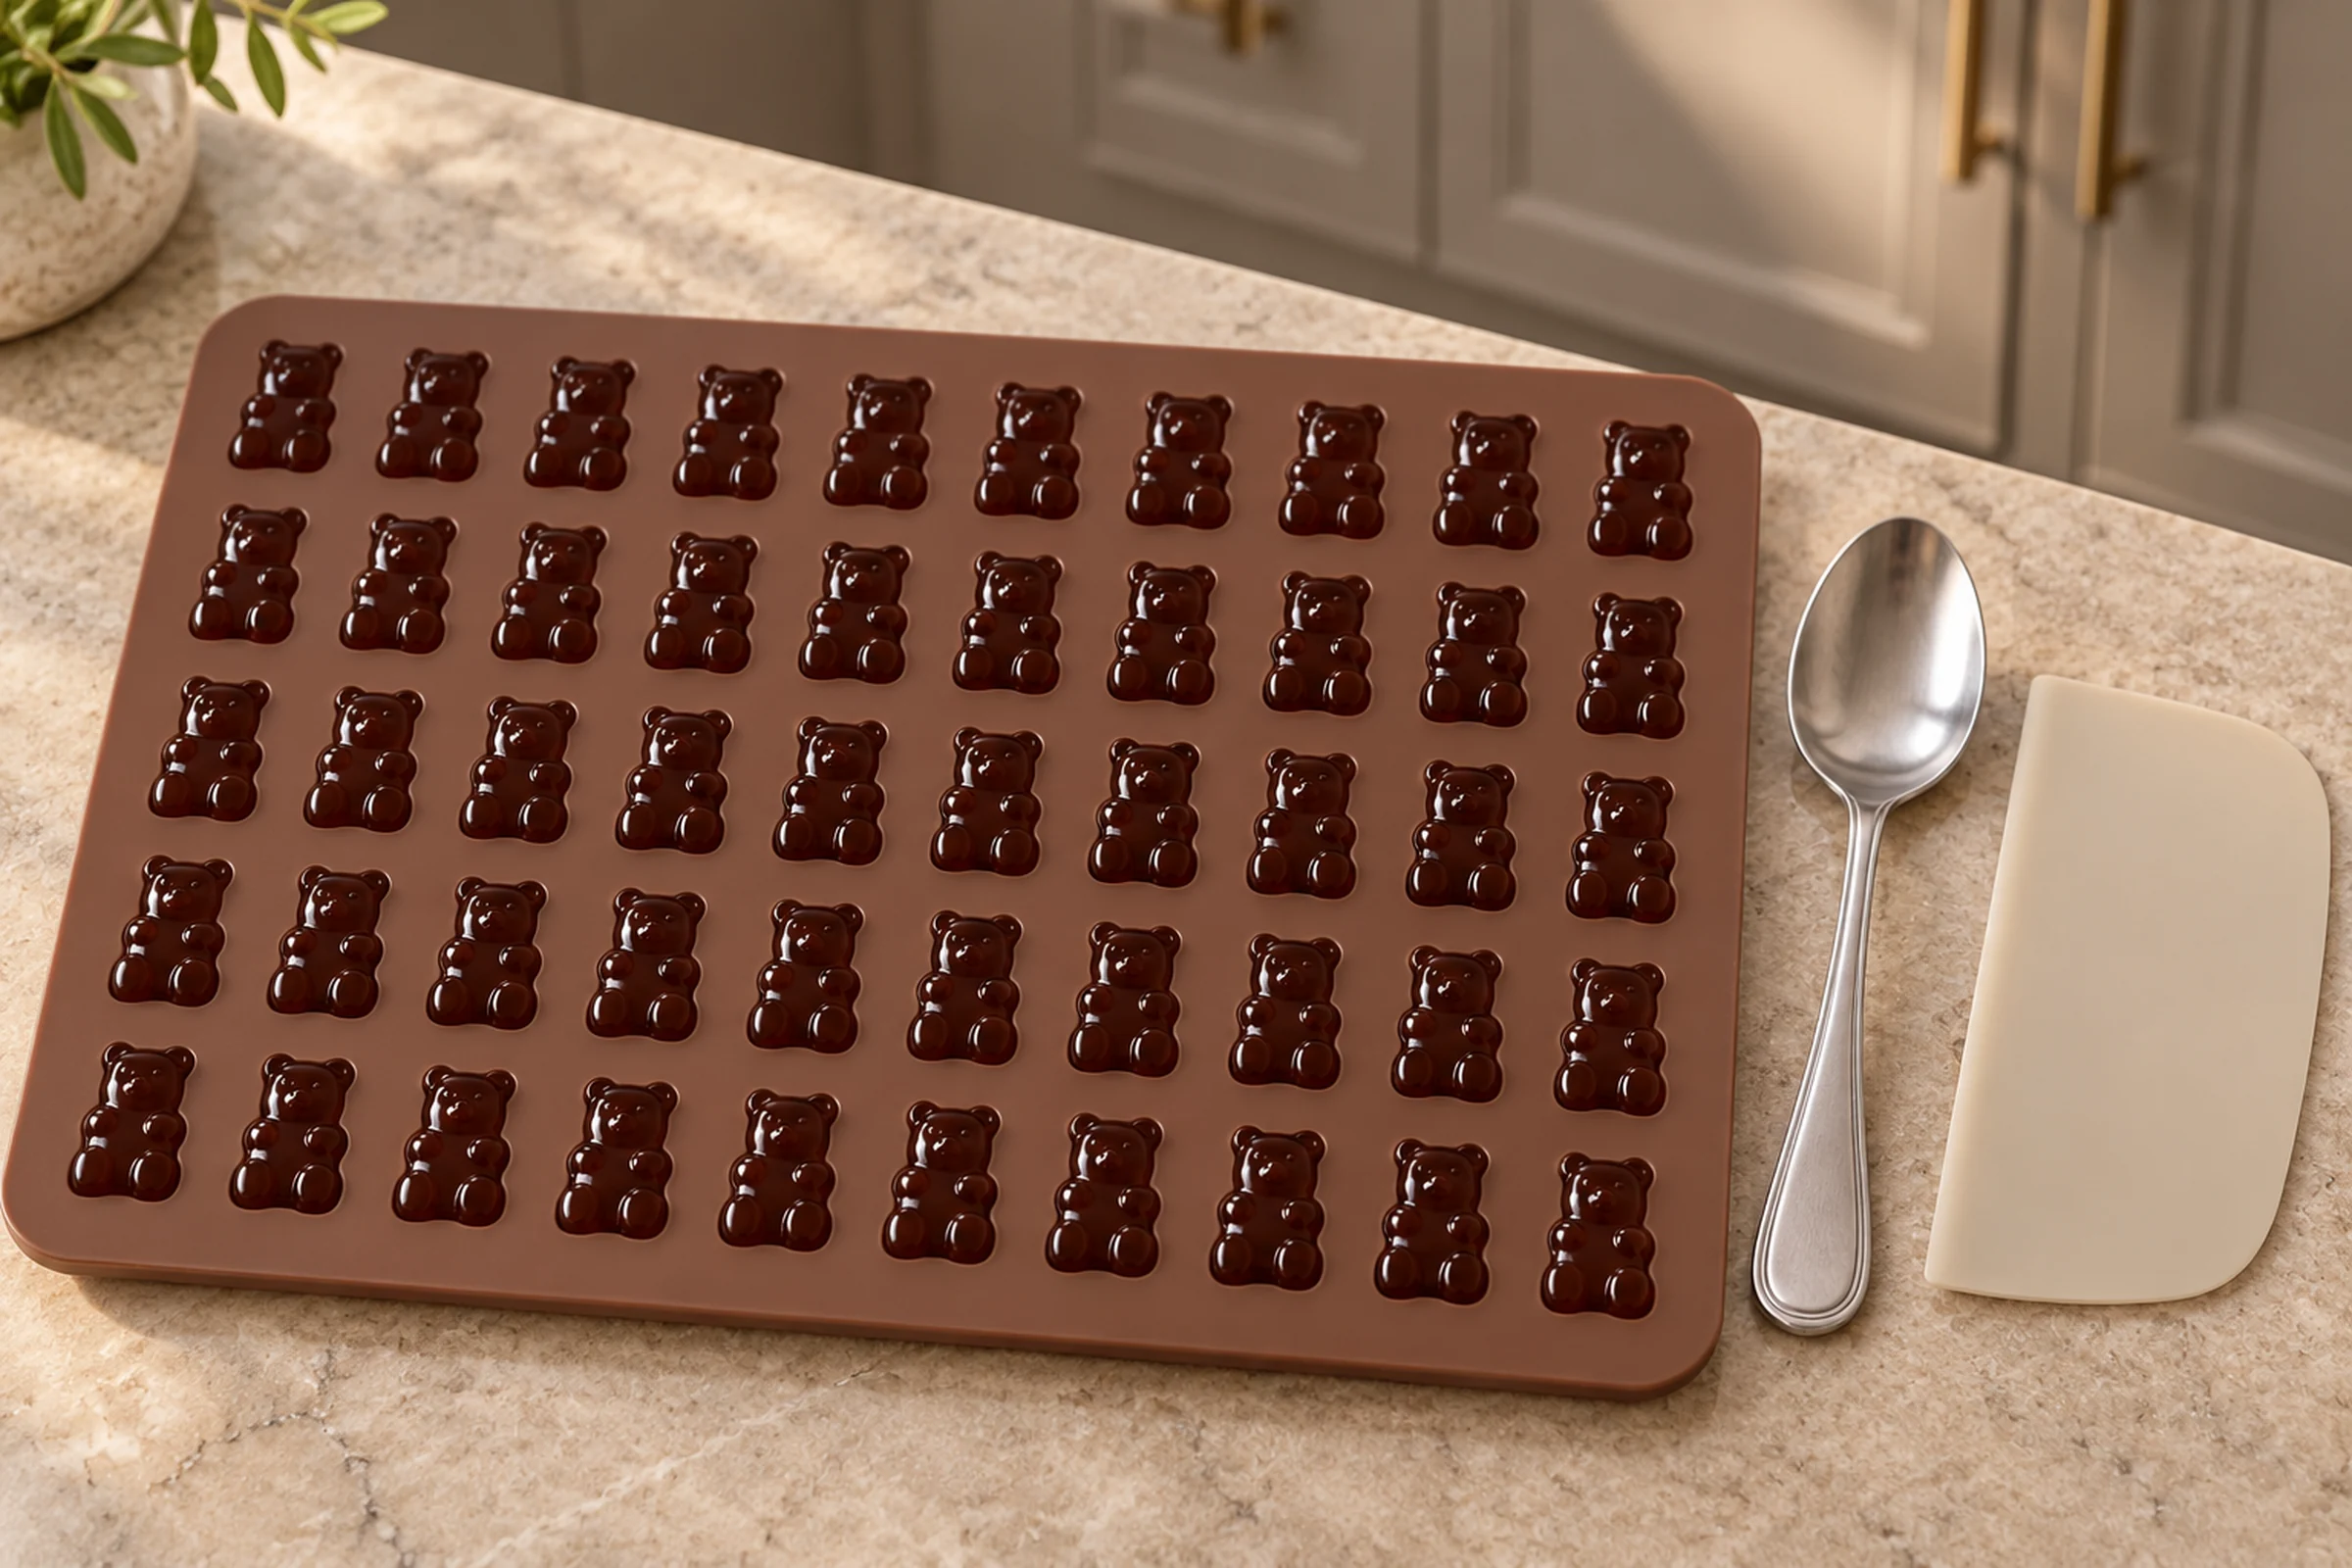
The filled cavities should look level and glossy, without visible air pockets at the edges. Keep the mold flat while moving it. Silicone bends easily, and tilting it can empty one row into another before the gummies have set.
Freeze For Ten Minutes
Place the filled mold flat in the freezer for 10 minutes. That is the measured set time in this formula. When the gummies are ready, the surface will look matte rather than wet, and a bear should pull away from the silicone without stretching into a long soft thread.
Push each cavity gently from the back of the mold and let the bear release into a glass container or onto a plate. The source yield is approximately 70 bears. Mold sizes vary, so treat that as an honest estimate rather than forcing the mixture into an exact count.
Storage And Serving
Transfer the unmolded bears to a covered glass container and keep them refrigerated. Separate layers with unbleached parchment if your container is deep enough for the gummies to press against one another. Serve them chilled for the firmest texture.
Because cocoa is an occasional later Full GAPS food, these are a small treat rather than an everyday source of gelatin. The tiny mold makes portioning easy. A few bears have a clear finish, and the rest of the batch can stay cold instead of sitting on the counter and softening.
Frequently Asked Questions
Why Did My Gelatin Form Clumps?
It was probably added too quickly. Sprinkle one tablespoon slowly while whisking, wait until it completely disappears, then repeat with the second tablespoon. A steady shower gives each grain contact with the hot water before the outside can seal around a dry center.
Why Is The Mixture Too Thick To Fill The Bears?
The gelatin began setting as the mixture cooled. Return the skillet to low heat only long enough to make the mixture thin and runny again. Remove it promptly and fill the mold. Do not add extra water, because that changes the set.
Can I Use A Dropper?
The source specifically warns against it. The mixture hardens inside the narrow tube after only a few bears. A spoon and flexible scraper are faster and make it easier to press the warm liquid into every small part of the mold.
Can I Use Collagen Peptides Instead Of Gelatin?
No. Collagen peptides dissolve but do not create the firm gel this recipe needs. Use plain gelatin intended for gelling.
Can I Double The Batch?
The WPRM 2× control doubles every measured ingredient. Have two molds ready before you heat the water, because the larger quantity still begins setting as it cools. Fill both promptly instead of finishing one mold and letting the rest wait in the skillet.
Recommended Equipment
- Le Creuset Signature 9-inch Artichaut skillet
- Stainless-steel whisk
- Silicone gummy-bear mold
- Tablespoon or small ladle
- Flexible bowl scraper
- Measuring cups and spoons
Honey-Sweetened Chocolate Gummy Bears for Later Full GAPS
Ingredients
Equipment
Method
- Heat the filtered water in the Artichaut skillet until it is just beginning to boil.
- Sprinkle in 1 tablespoon gelatin in a thin shower while whisking. Continue whisking until it completely disappears, then repeat with the second tablespoon.
- Whisk in the raw honey until evenly dissolved.
- Add the cocoa powder and whisk until the mixture is an even dark brown with no dry cocoa pockets. Whisk in the optional mineral salt.
- If the mixture has cooled enough to thicken, warm it only briefly until it becomes thin and runny again. Do not let it sit and set in the skillet.
- Spoon the warm mixture across the silicone gummy-bear mold. Press it into every crevice with the back of the spoon, then scrape the excess cleanly from the mold surface with the flexible scraper.
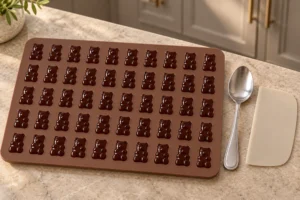
- Place the filled mold flat in the freezer for 10 minutes.
- Remove the mold and pop out the gummy bears. The source yield is approximately 70 bears, depending on the exact mold.
Notes
Tried this recipe?
Let us know how it was!Keep More GAPS Gummies In One Place
The upcoming Gummies & Fruit Snacks Cookbook will bring the chocolate, fruit, tea, and other approved gummy formulas together without blurring their different ratios. It is planned for families who want clear ingredient routes and physical set cues without sorting through a pile of disconnected notes. Watch the WFLI shop for the release.

Leave a comment