

Coconut Oil Butternut Squash Fries turn one fresh squash and a quarter cup of coconut oil into a simple Full GAPS side dish. There is no flour, starch, breading, or parboil in this version. The raw strips go directly onto the pan and bake at 425°F until a fork passes through them easily.
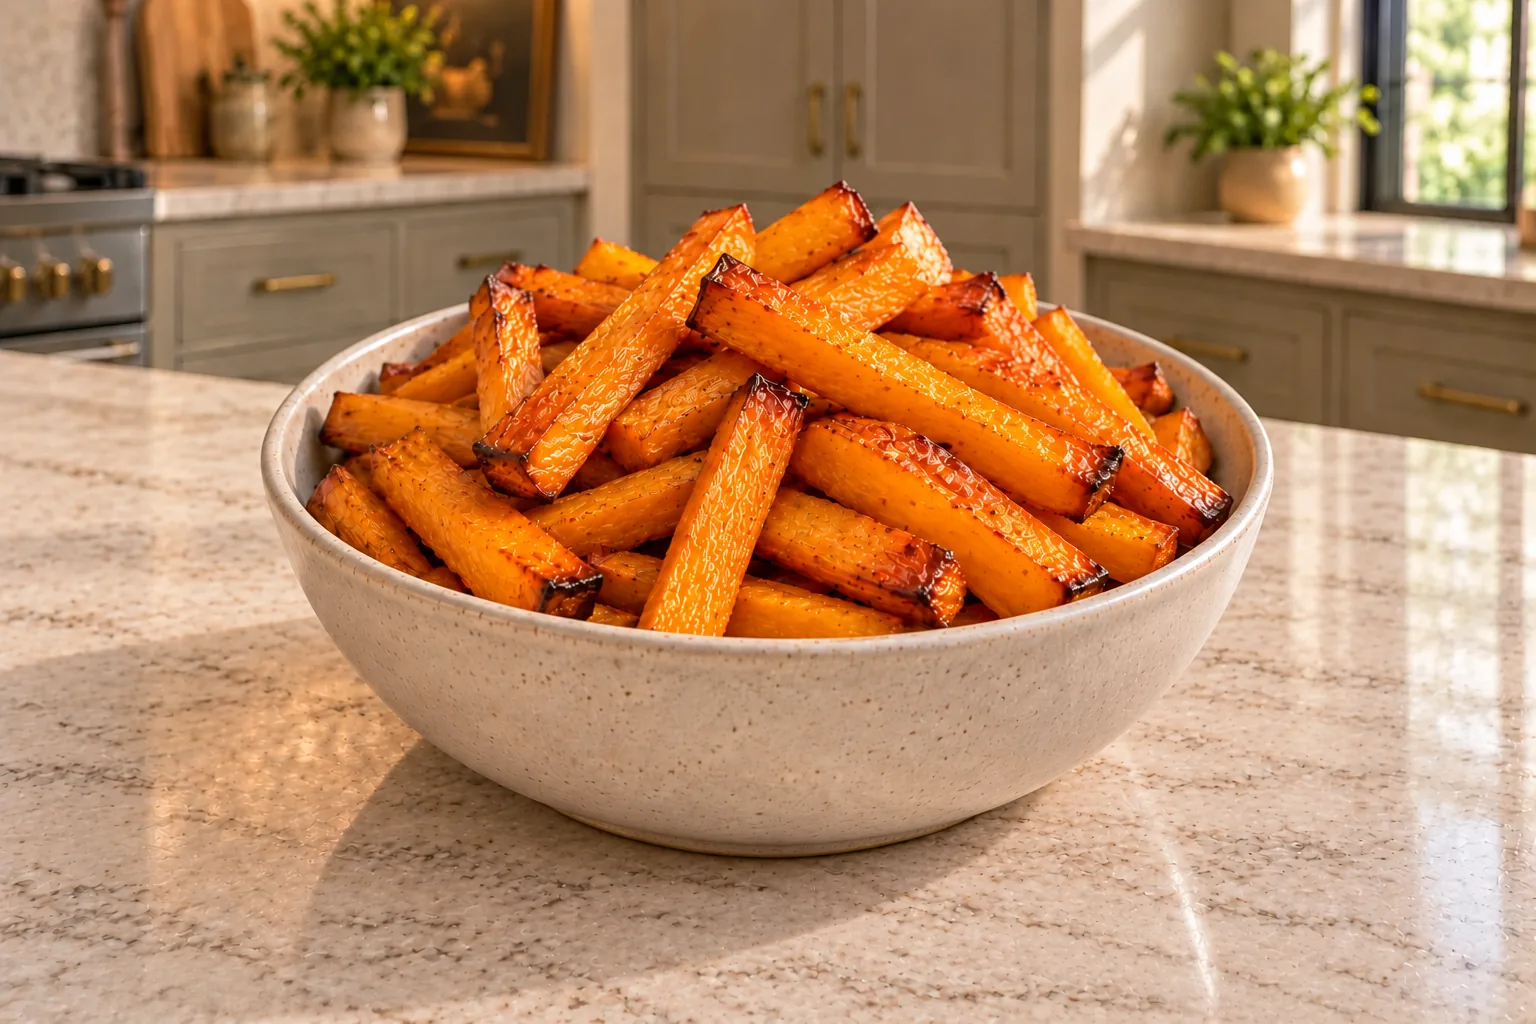
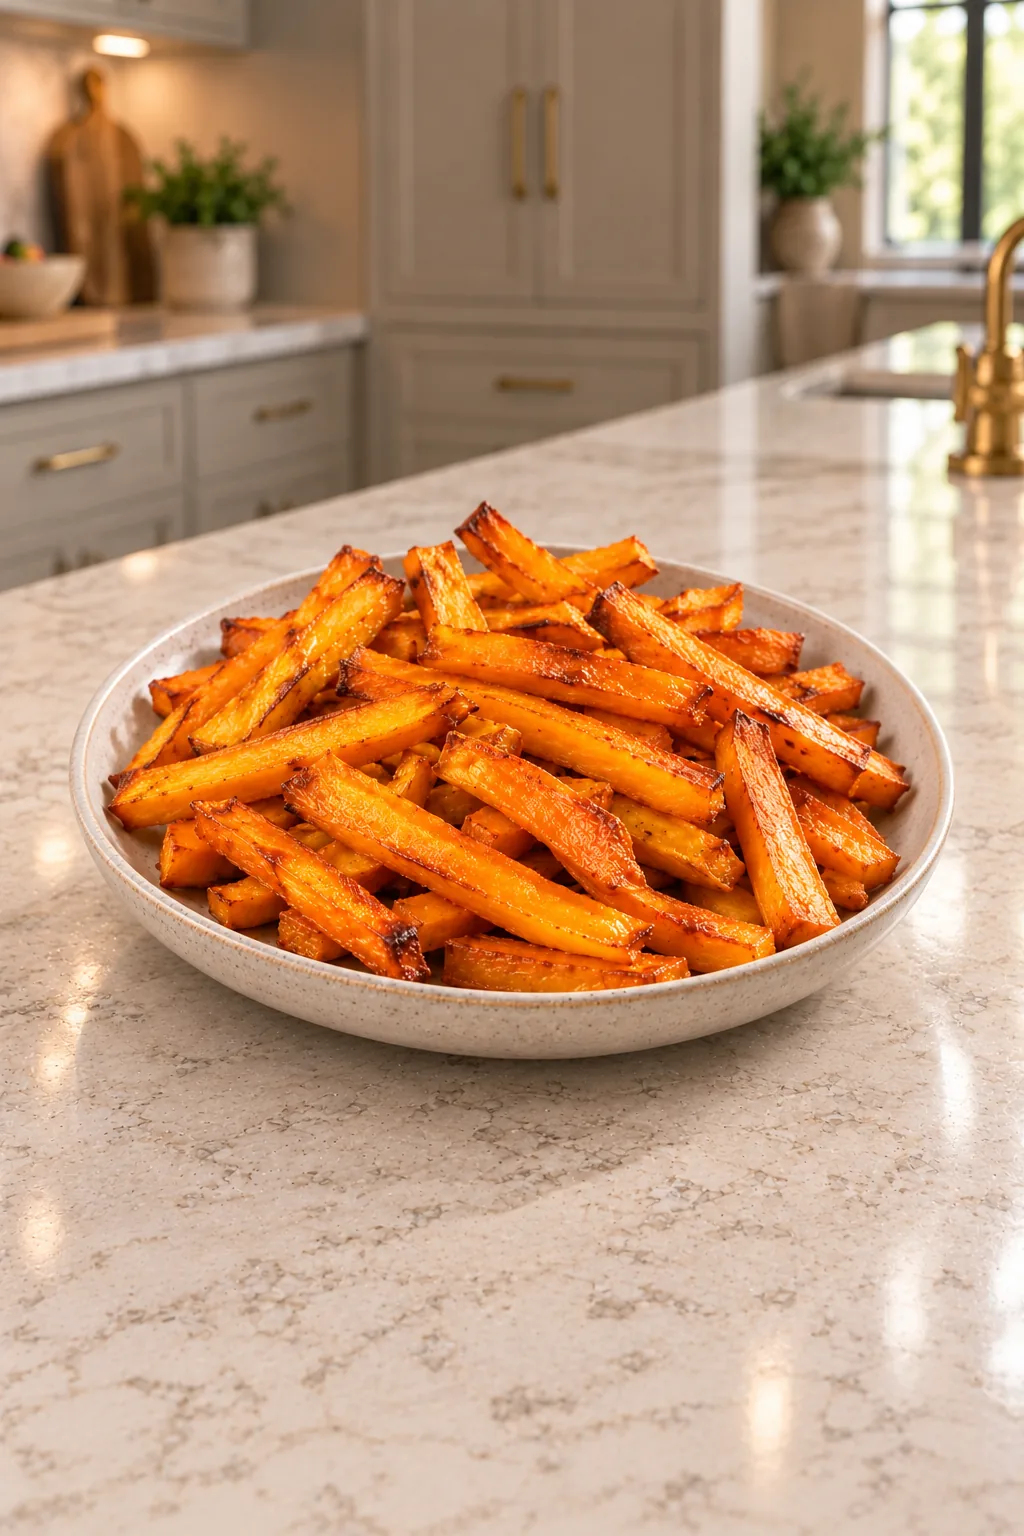
The finished fries are softly tender inside with browned edges and a light coconut-oil sheen. They do not become dry and hollow like commercial potato fries. The center remains orange and moist, while the narrow edges and pan-contact surfaces take on the deeper roasted flavor.
With six children, homeschooling, and a second-shift schedule in the mix, a side dish with two measured ingredients is useful because the work is easy to see and plan. Most of the hour is oven time. The hands-on part is peeling the squash, cutting strips of similar thickness, and coating every surface before the pan goes in.
This recipe also keeps its own method clear. A parboiled squash fry made with tallow or lard is a different formula. These fries are the direct-to-oven coconut-oil version, with the source’s 425°F temperature, 40-minute bake, and optional broiler finish intact.
Where These Fries Fit On GAPS
This formula fits Full GAPS after winter squash and coconut oil are introduced and tolerated. The complete 2020 Gut and Physiology Syndrome guidance identifies coconut oil as stable and suitable for cooking. It also keeps potatoes, sweet potatoes, yams, and parsnips outside the GAPS food list, which is why butternut squash is doing the work here.
The dry, high-heat, fry-style preparation belongs on Full GAPS rather than the early Introduction stages. Intro relies on softer, moist preparations such as soups, stews, and well-cooked vegetables. Wait until the eater has reached Full GAPS and already tolerates both ingredients before serving this version.
The recipe is naturally grain-free, gluten-free, dairy-free, egg-free, and nut-free. Coconut is still its own food, so those labels do not replace the usual GAPS practice of introducing foods individually and watching tolerance.
Choose A Squash That Will Make Long Fries
Choose one firm butternut squash with intact skin and no soft spots. A squash with a long, thick neck gives you more full-length batons. The rounded bulb can still be used; after the seeds are removed, cut that flesh to the same thickness even if those pieces are shorter.
Set the squash on a stable wooden cutting board. Cut a thin slice from the top and bottom so it cannot roll. Separate the neck from the bulb if that makes the dense vegetable easier to control, then peel both sections completely.
Cut Even Strips Without Rushing
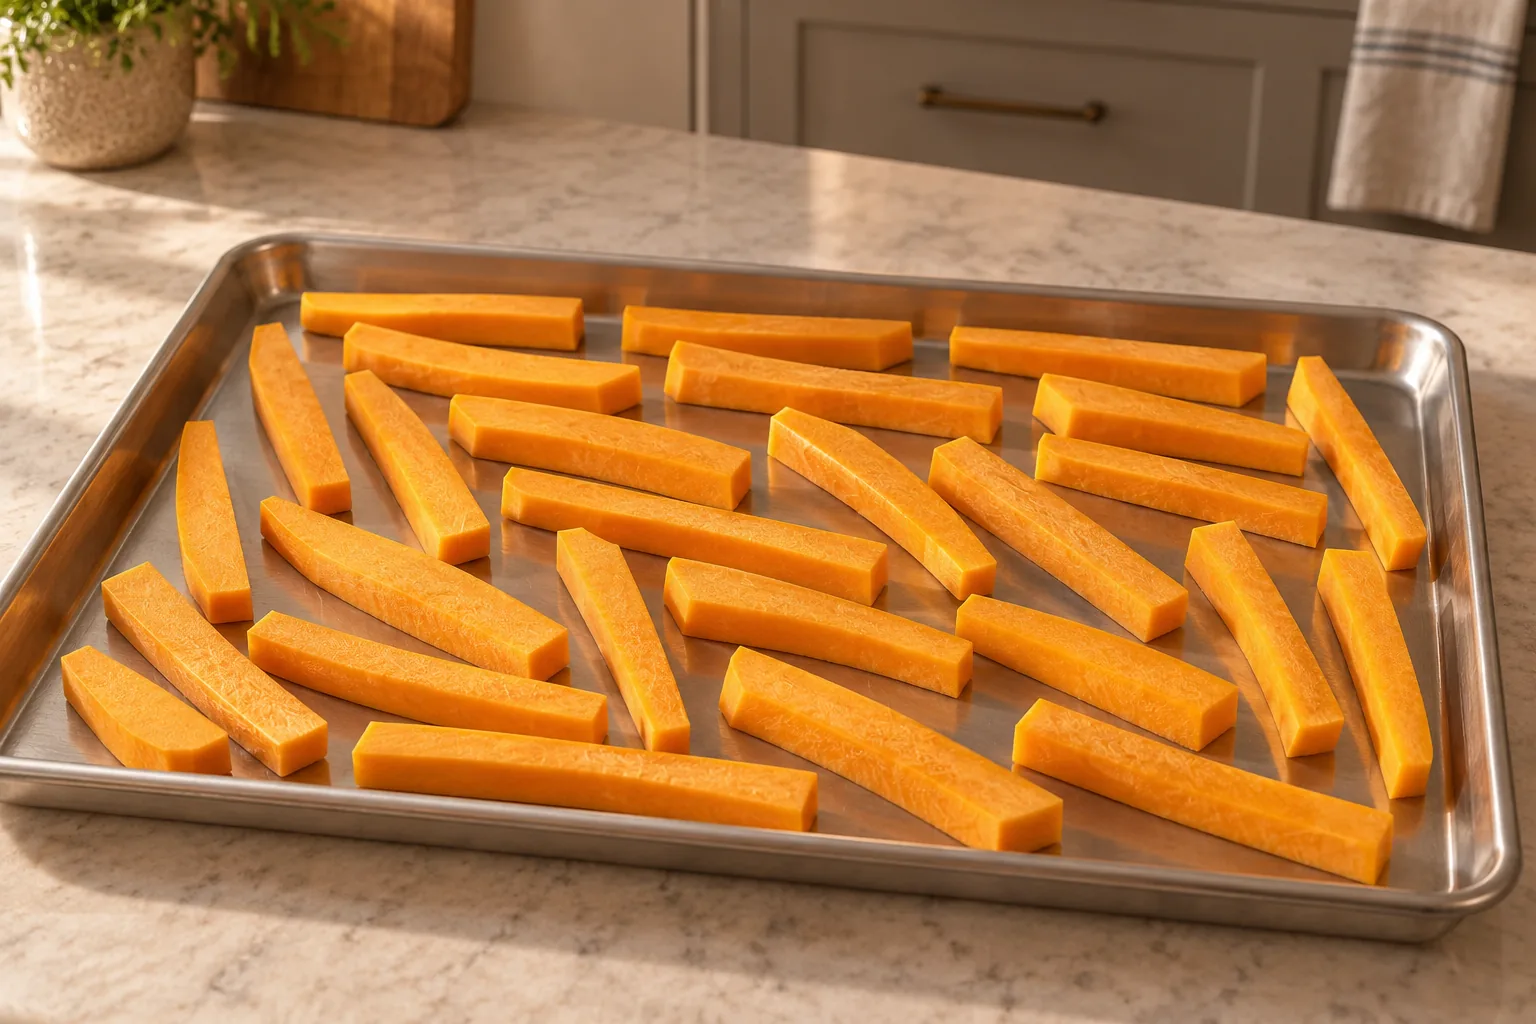
Halve the bulb and scrape out the seeds and stringy center. Cut the peeled flesh into long strips of similar thickness. The source calls for long strips without giving an exact width, so the card does not invent a ruler measurement. Aim for visual consistency across the batch.
Pieces that are much thinner than their neighbors can darken before the thick ones become tender. Very thick strips may stay firm in the center at the 40-minute mark. A few naturally shorter bulb pieces are fine when their thickness matches the long neck pieces.
Use A Large Uncoated Stainless Sheet Pan
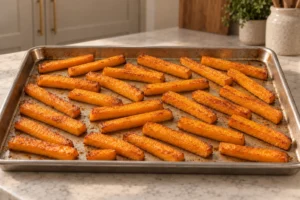
Lay the raw strips on a large uncoated stainless-steel rimmed baking sheet. This shallow geometry follows the source’s cookie-sheet method and gives steam room to escape. A deep casserole dish holds more moisture around the squash and changes the way the edges brown.
Keep the strips in one layer. They can sit near one another, but do not stack them into a mound. If one unusually large squash crowds the pan, use a second uncoated stainless sheet rather than pressing the pieces together.
Coat Every Surface With Coconut Oil
Measure one-quarter cup coconut oil for the whole batch. If the room is cool and the oil is firm, soften it only enough that it can spread over the squash. The source uses clean fingers to work the oil over every piece, which is the most direct way to feel for dry patches.
Turn the strips as you coat them. Their top, bottom, sides, and ends should look lightly glossy. Do not add another unmeasured pour simply because a few pieces still look matte; move the measured oil around the pan until it is distributed across the full batch.
If the squash is refrigerator-cold, softened coconut oil may firm into pale streaks as it touches the pieces. That is not a reason to add more. Spread those streaks as evenly as you can; the measured oil will melt again when the hot pan enters the oven.
Bake At 425°F For 40 Minutes
Preheat the oven fully to 425°F before the pan goes in. Slide the coated squash onto the center rack and bake for 40 minutes. Keep the source’s temperature and time together rather than lowering the oven and assuming the same minute count will produce the same result.
A bright, clean stainless sheet makes the changing color easy to judge. Leave the pan uncovered so moisture can escape. Foil, a lid, or a second pan placed on top would trap steam and interfere with the browned-edge cue this method depends on.
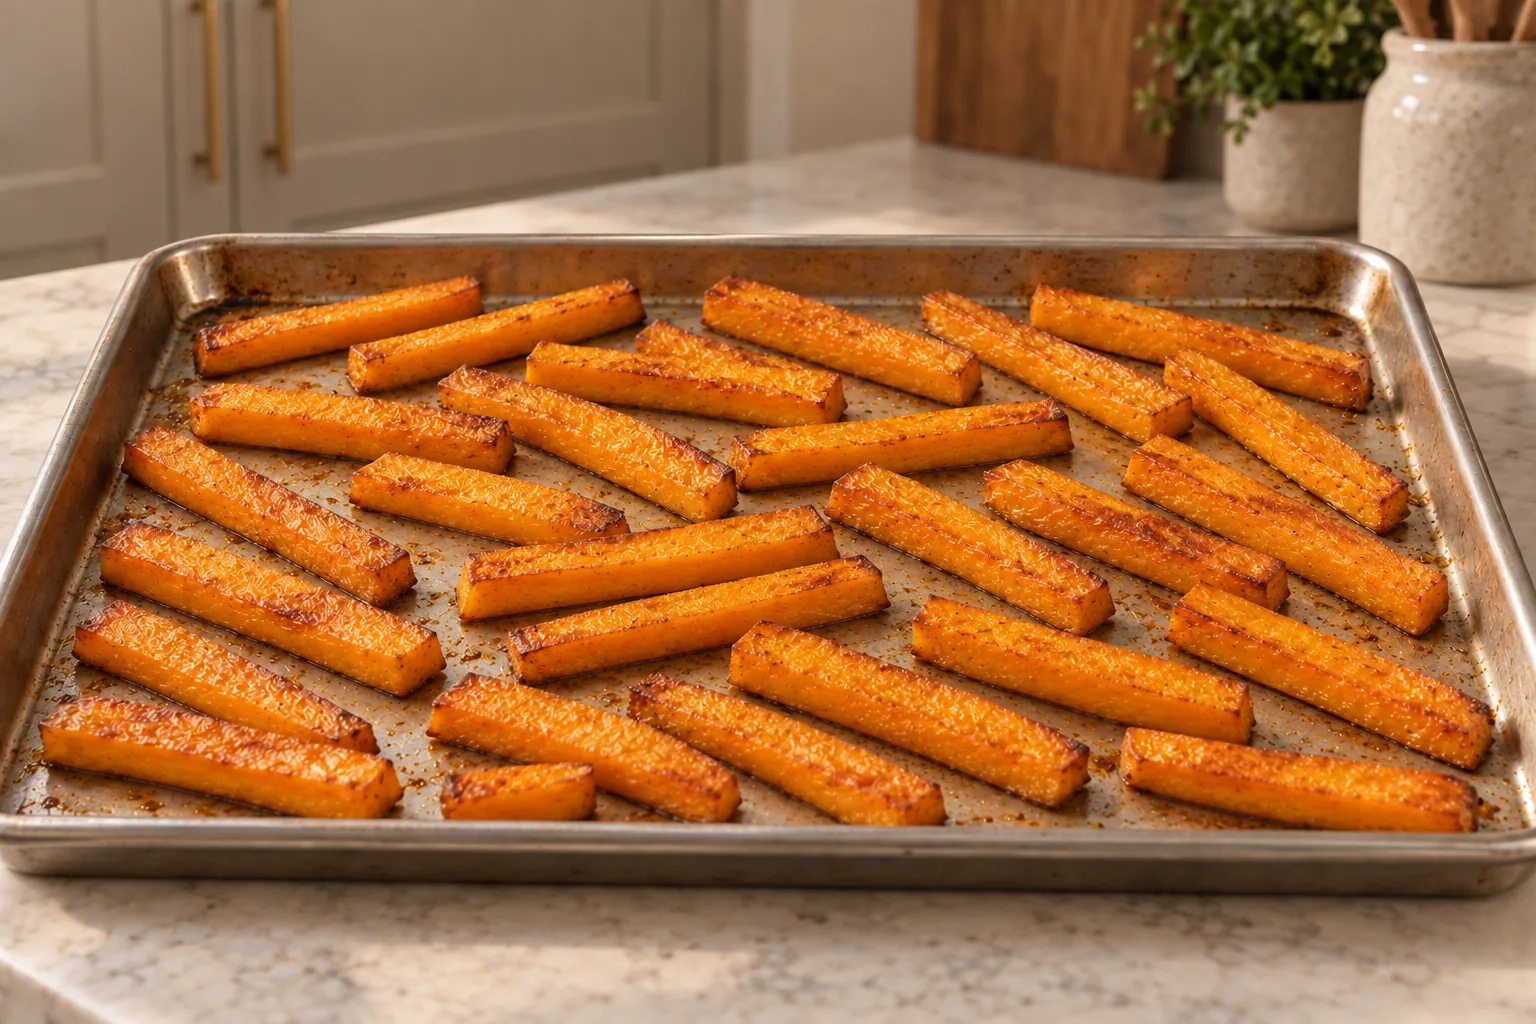
The kitchen should smell gently sweet and roasted as the squash cooks. The surface changes from raw and matte to glossy, then the narrow edges and pan-contact areas turn golden brown. The orange center should remain visible rather than drying to a dark, leathery strip.
Use The Fork-Tender Cue
At 40 minutes, test one of the thicker fries with a fork. The tines should pass into the center without firm resistance. If the outside has browned but the thickest piece still feels dense, return the pan to the oven and check again after a short interval.
Fork-tender does not mean collapsed. The fries should still lift from the pan as individual strips. Their centers will be soft and moist, while the browned edges give them enough structure to eat by hand or with a fork.
Broil Only If They Need More Browning
The broiler is optional. Use it only when the fries are already fork-tender but the surfaces need additional color. Move the pan under the broiler and watch continuously. Coconut-oil-coated edges can move from golden to burned quickly under direct heat.
Pull the pan when the paler surfaces have picked up brown spots. Do not wait for every edge to match. Natural variation is better than blackened tips, and the fries continue to hold heat for a few minutes after they leave the oven.
Serve Them While The Edges Are At Their Best
Serve the fries hot from the pan. The interior stays soft, but the thin browned edges are most distinct before steam from the pile begins softening them. Move them to a broad platter instead of a deep bowl when you want to preserve more surface texture at the table.
These work beside roast chicken, burgers without a bun, meatballs, grilled fish, or another Full GAPS main dish. For another winter-squash side, try Caramelized Roasted Delicata Squash Slices. For a softer preparation, use Roasted Butternut Squash Soup for Full GAPS.
Store And Reheat The Leftovers
Cool leftovers promptly and refrigerate them in a covered glass container for up to three days. They will soften in storage because chilled squash releases moisture. That is normal and does not mean the batch failed.
Reheat the fries in a single layer on an uncoated stainless sheet pan at 400°F until hot. The oven gives the surface a better chance to dry than a covered pan. Do not expect the exact first-day texture, and do not microwave them; the result becomes soft and steamy.
For the cleanest make-ahead option, peel and cut the squash earlier in the day, cover and refrigerate the raw strips, then coat them with the measured coconut oil just before baking. Keep the full 40-minute oven window in the meal plan.
Recommended Equipment
- Large uncoated stainless-steel rimmed baking sheet
- Heavy wooden cutting board with a stable surface
- Sharp chef’s knife
- Sturdy vegetable peeler
- Metal tablespoon or quarter-cup measure
- Stainless-steel fork for checking tenderness
- Wide stainless-steel spatula for transferring the fries
Frequently Asked Questions
Do I Have To Parboil The Squash?
No. This exact source formula goes from raw strips to the 425°F oven without parboiling. A parboiled tallow-or-lard version is a different recipe with its own temperature, fat, and handling.
Can I Replace The Coconut Oil?
Ghee and homemade animal fats can be GAPS-appropriate cooking fats, but this card preserves the source’s measured quarter cup of coconut oil. Changing the fat and preparation belongs in a separately tested formula.
Why Are My Fries Soggy?
The strips may be crowded, cut very thick, or removed before their surfaces browned. Use a shallow sheet pan, keep one layer, and test the thickest piece at the full 40-minute mark.
Why Did The Ends Burn?
The thinnest pieces browned before the thicker pieces became tender, or the broiler ran too long. Cut the batch to a more consistent thickness and watch the pan continuously during the optional broil.
Can I Make These In An Air Fryer?
The measured source method is written for a 425°F oven and cookie sheet. This card does not invent an air-fryer temperature, basket load, or shortened time.
Can I Double The Recipe?
Yes. Use the WPRM 2× control for two squash and one-half cup coconut oil, then divide the strips between two large stainless sheets so each batch stays in one layer.
Coconut Oil Butternut Squash Fries Recipe
Coconut Oil Butternut Squash Fries for Full GAPS
Ingredients
Equipment
Method
- Preheat the oven fully to 425°F. Set out a large uncoated stainless-steel rimmed baking sheet.
- Trim and peel the butternut squash. Halve the bulb, remove the seeds and stringy center, and cut all the flesh into long strips of similar thickness. Arrange the raw strips in one uncrowded layer on the baking sheet.
- Add the measured 1/4 cup coconut oil. Use clean fingers to coat the top, bottom, sides, and ends of every strip until the full batch looks lightly glossy, without adding more oil.
- Bake on the center rack for 40 minutes. Test one of the thicker strips: the fork should enter the center without firm resistance, while the fries still lift as individual pieces with browned edges.
- For additional browning, move the fork-tender fries under the broiler and watch continuously. Remove them when the paler surfaces pick up brown spots, before any tips turn black. Serve hot.
Notes
Method: This is the no-parboil, 425°F coconut-oil formula; a parboiled tallow/lard method is a separate recipe.
Doneness: The source specifies a 40-minute bake and fork tenderness; the broiler finish is optional.
Storage: Refrigerate leftovers for up to 3 days and reheat in one layer in the oven.
Tried this recipe?
Let us know how it was!Put Full GAPS Sides On A Reliable Rotation
The upcoming Full GAPS Batch-Cooking Guide brings vegetable sides, cooking fats, meat-stock meals, and practical family prep into one weekly rhythm. Find current releases and upcoming additions in the WFLI shop.

Leave a comment