

This small-batch fermented chia flour takes the two tablespoons needed for a family-size GAPS pizza bake and prepares them before they go into the batter. Whole chia seeds are ground, mixed with one teaspoon of homemade 24-hour sour cream, and left at room temperature for a full day.
The finished amount is intentionally small. You are preparing one baking component, not filling a pantry jar. Make it the day before the pizza casserole, and the component is ready when you are.
Why This Chia Flour Is Fermented
Chia is allowed on Full GAPS after diarrhoea has cleared completely, but that does not make every commercial chia product ready to use straight from the bag. Nuts and seeds need preparation, and flour used in baking needs the fermentation step.
That matters here because the pizza bake uses chia as a thickener. Grinding the seeds gives the batter the structure it needs, while fermenting the measured flour gives you the prepared form that belongs in a Full GAPS baking recipe.
Keep this small batch separate until pizza day. Once it has fermented, it goes into the casserole as one measured ingredient, so the main recipe stays easy to follow while you assemble dinner.
Where It Fits on GAPS
Use this on Full GAPS after diarrhoea has cleared completely and after homemade sour cream has been introduced and tolerated. It is not an Introduction Diet ingredient.
The sour cream must be homemade and cultured for at least 24 hours. If you need that component first, follow the homemade yogurt-culture sour cream recipe, then measure one teaspoon from the finished batch.
If chia or cultured dairy is not yet part of your family’s current Full GAPS foods, save this component for later. There is no need to rush a specialty baking ingredient.
Start With Whole Chia Seeds
Measure two level tablespoons whole chia seeds. Use plain seeds without sweetener, flavoring, powdered blends, or other additions.
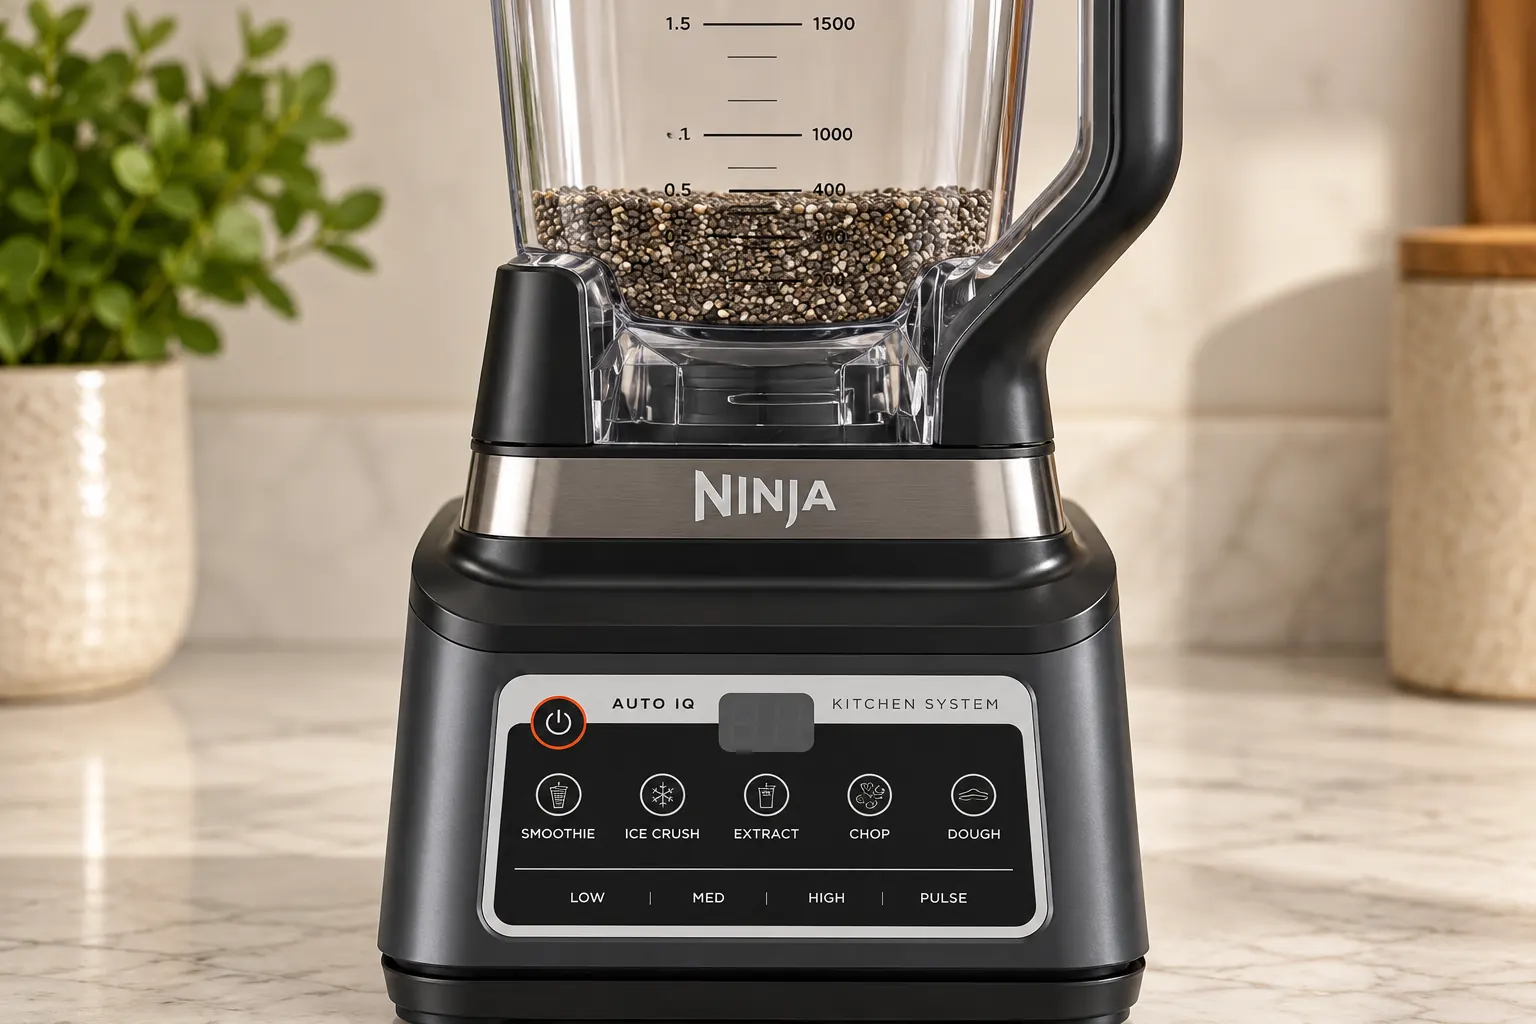
Because this is such a small quantity, scrape the seeds toward the blade area of the Ninja Professional Plus Kitchen System BN801. The pitcher must be dry before the chia goes in; moisture at this point makes the seeds cling before they are evenly ground.
Set the pitcher securely on the base before you begin. The whole seeds should sit loose and separate, with their black, gray, and white surfaces still clearly visible.
Grind to a Coarse Flour
Pulse until the whole seeds become a coarse, evenly speckled meal. Stop and check between pulses. You want particles that resemble fine grit, with no layer of intact seeds hiding at the bottom.
Do not run the machine continuously after the seeds are ground. A long run warms the flour and can push the texture toward a sticky seed butter. The finished flour should pour from the pitcher rather than smear along the sides.
Measure two tablespoons of the coarse flour for the ferment. Use the whole measured amount in this component. If a trace remains around the blade, brush it down with a dry silicone spatula after the pitcher is off the base.
Mix With One Teaspoon of Cultured Sour Cream
Put the measured chia flour in a small glass or ceramic ramekin. Add one level teaspoon homemade sour cream cultured for at least 24 hours.
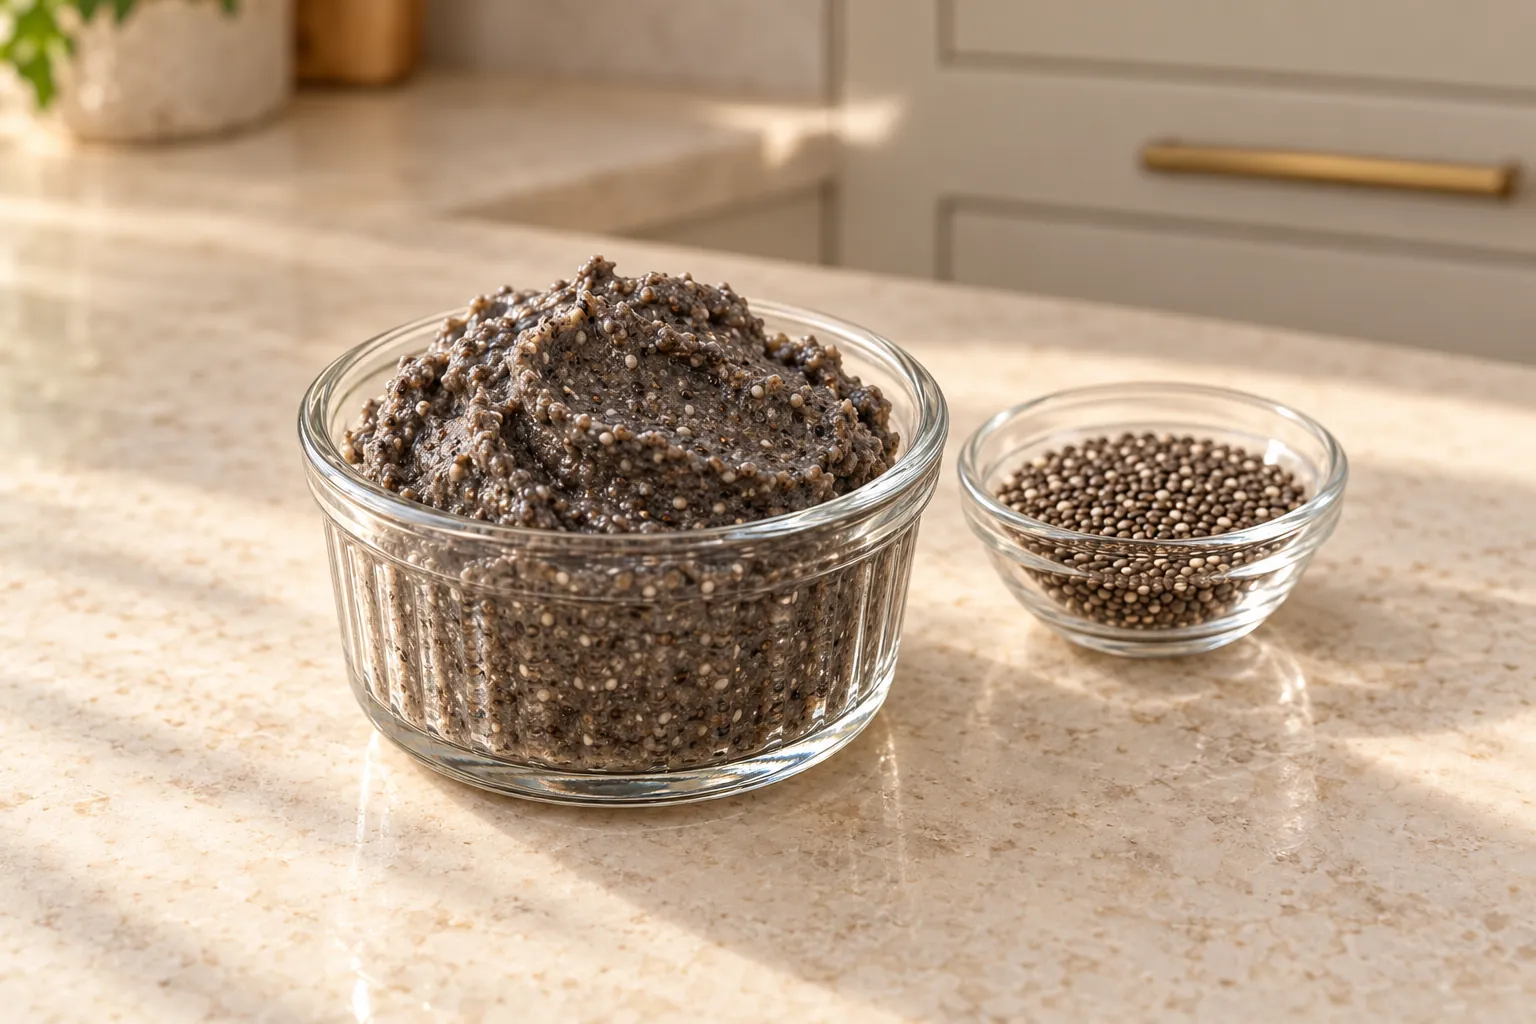
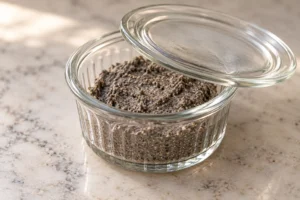
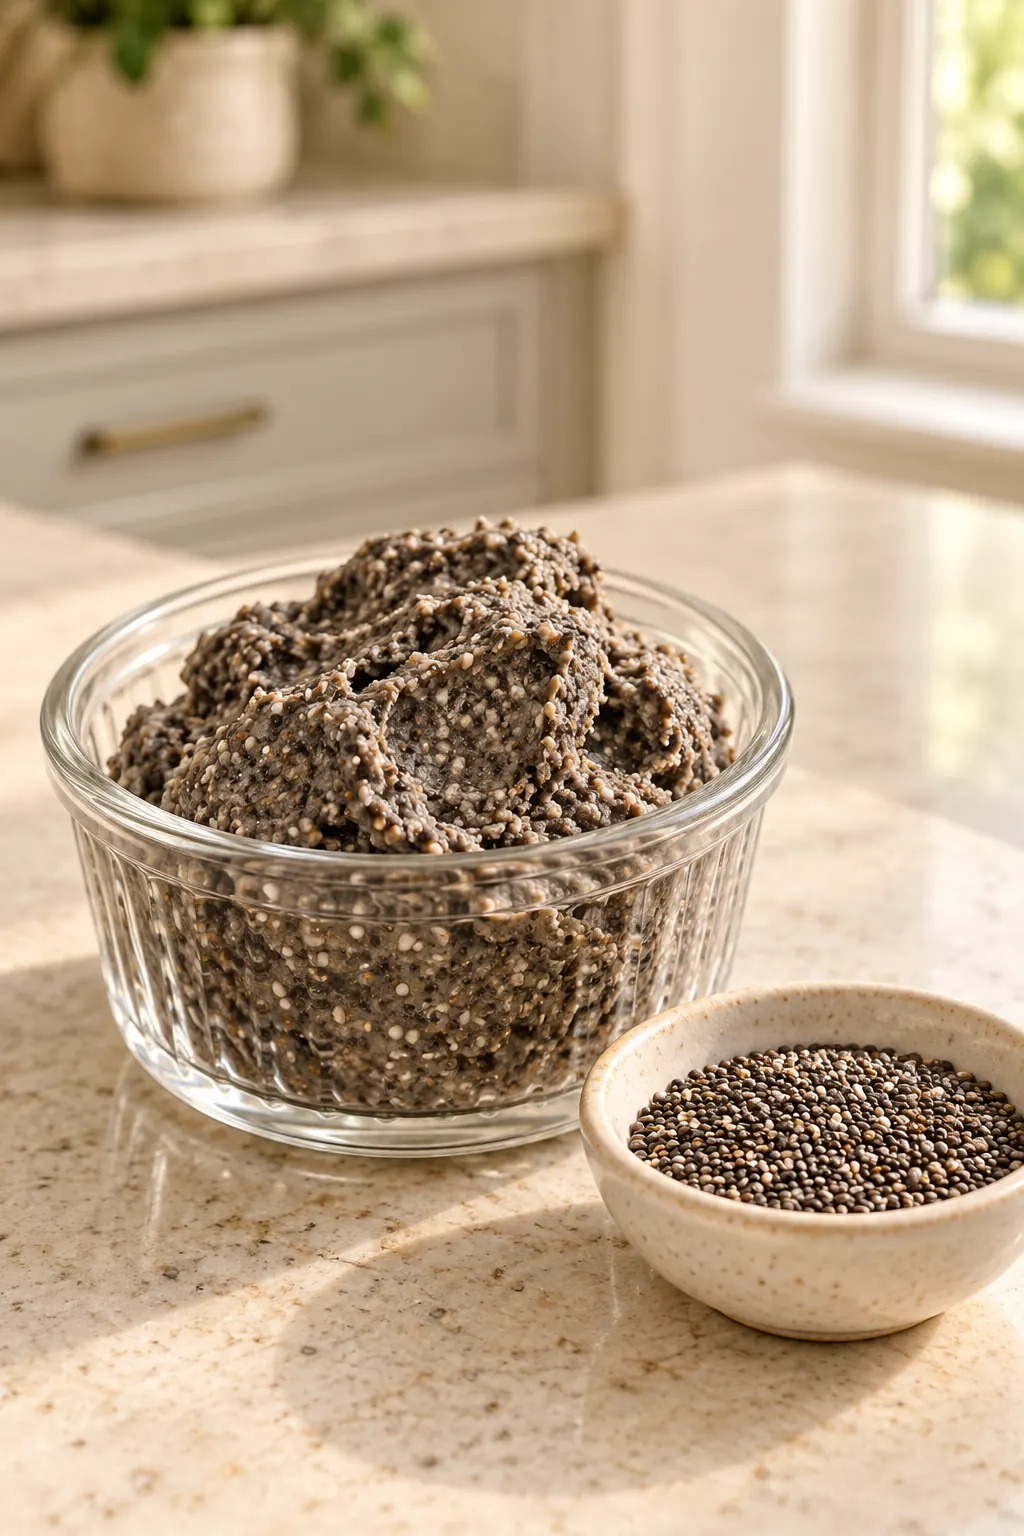
Stir until no dry flour remains. The mixture should gather into a firm, dark gray paste with visible chia speckles. It should hold shallow ridges when you smooth the top. It should not pour like chia pudding, and there should not be a puddle of cream around the edge.
Scrape the sides of the ramekin so the full batch sits together. This keeps a thin smear from drying while the center ferments.
Cover Loosely and Ferment for Twenty-Four Hours
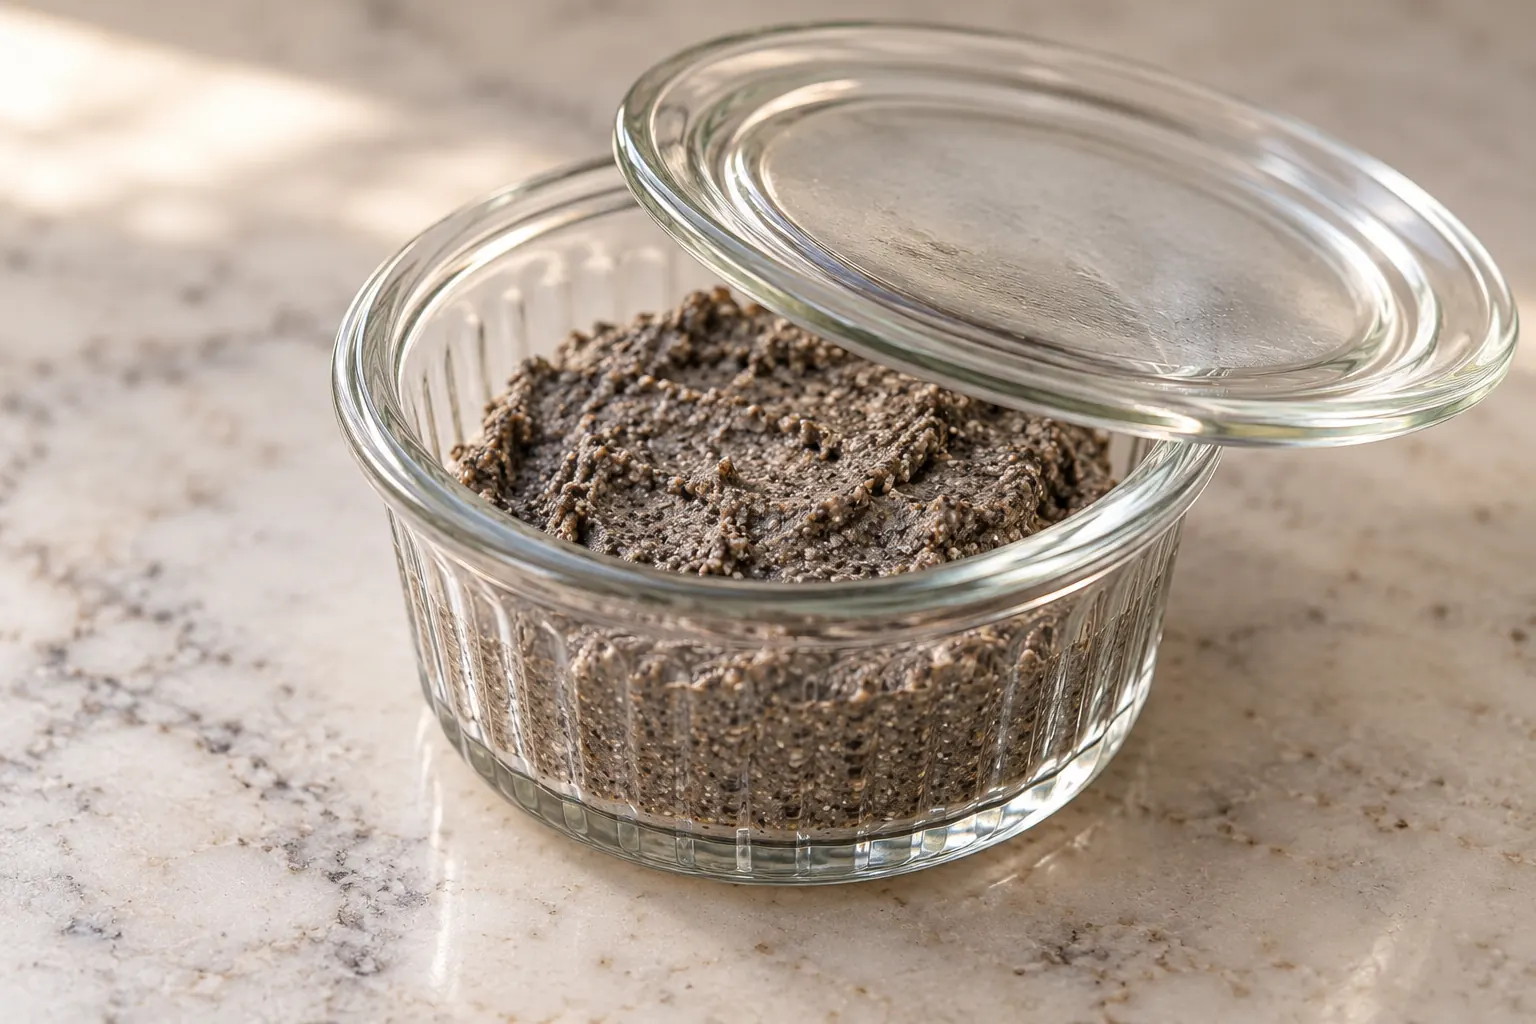
Cover the ramekin loosely with a small glass plate. Leave it at room temperature, ideally around 68 to 72°F, for at least 24 hours.
The cover protects the surface without sealing the small ferment airtight. Keep the ramekin away from direct sun, a hot stove, or a cold draft. A steady room-temperature spot is enough.
At the end of 24 hours, the paste should still be thick and cohesive. The aroma should be gently cultured and tangy from the sour cream, without a sharp spoiled odor. The color stays gray-brown and speckled; fermentation does not turn it into pale flour.
Use the Entire Batch in the Pizza Bake
After the full 24-hour ferment, scrape the entire small batch into the pizza-bake blender with the eggs, soft cheese, cubed aged cheddar, sea salt, and onion powder. The sour cream used here comes out of the pizza bake’s measured one-cup total, so the finished casserole keeps the same overall dairy quantity.
The fermented chia paste will disappear into the egg mixture as the blender runs. Its job is quiet: it helps the custard set into clean casserole squares without adding a bread crust or grain flour.
Use the full batch in the GAPS Pizza Bake Casserole. This component fits another baking recipe only when that recipe calls for the same measured amount and accounts for the teaspoon of cultured dairy.
Make It the Day Before
The easiest rhythm is to grind and mix the chia after dinner, leave it covered for the full day, and assemble the casserole the following evening. The active work takes only a few minutes; the preparation time is mostly waiting.
If the 24-hour mark arrives before you are ready to assemble the casserole, cover the ramekin and refrigerate it. Use the small batch promptly rather than storing several jars of fermented flour without a plan.
For a doubled pizza bake, make a doubled component in a larger ramekin: four tablespoons chia seeds and two teaspoons cultured sour cream. Keep the same 24-hour ferment and room-temperature range.
Recommended Equipment
Use the Ninja Professional Plus Kitchen System BN801, stainless measuring spoons, a small glass or ceramic ramekin, a small glass plate for a loose cover, and a dry silicone spatula. The blender pitcher and ramekin need to be completely clean and dry before the first step.
Frequently Asked Questions
Can I Use Chia Flour From a Bag?
This recipe begins with whole chia seeds so you can control freshness and prepare only what the pizza bake needs. A bagged flour also lacks the fermentation step required here.
Why Not Put Whole Chia Seeds Straight Into the Casserole?
The measured recipe uses coarse chia flour so it disperses through the egg custard. Whole seeds hydrate unevenly and do not give the same fine, even structure.
Can I Skip the Sour Cream?
No. The cultured sour cream supplies the fermentation medium for this small batch. If dairy is not currently tolerated, use a different fully measured dairy-free pizza formula rather than leaving this component unprepared.
Can I Ferment It Longer?
The controlling flour method allows a longer ferment, up to 72 hours, but this small component is written around a full 24 hours so it fits the day-before casserole rhythm.
What Should the Finished Texture Be?
Expect a firm, cohesive paste that holds soft ridges. It is wetter than dry flour and much thicker than chia pudding.
Small-Batch Fermented Chia Flour Recipe
Small-Batch Fermented Chia Flour for Full GAPS Baking
Ingredients
Equipment
Method
- Put 2 tablespoons whole chia seeds into the completely dry Ninja BN801 pitcher. Seat the pitcher securely on the base.
- Pulse until the seeds become a coarse, evenly speckled flour with no layer of whole seeds at the bottom. Stop before the flour warms or smears toward seed butter.
- Measure 2 tablespoons coarse chia flour into a small glass or ceramic ramekin. Add 1 teaspoon homemade 24-hour sour cream and stir until no dry flour remains and the mixture holds firm ridges.
- Scrape down the ramekin, cover loosely with a small glass plate, and leave at 68 to 72°F for a full 24 hours.
- After 24 hours, use the entire cohesive, gently tangy batch in the linked pizza bake. If the casserole is not being assembled immediately, cover and refrigerate the small batch until needed.
Notes
- Full GAPS: Use after diarrhoea has cleared completely and homemade 24-hour sour cream has been introduced and tolerated.
- Small batch: This makes the component for one pizza bake; it is not a pantry-size flour recipe.
- Texture: After mixing, the paste should hold firm ridges and contain no dry flour.
- Ferment: Keep loosely covered at 68 to 72°F for the full 24 hours.
- Scaling: The 2x card uses 4 tablespoons chia seeds and 2 teaspoons sour cream. Use a larger ramekin and keep the same ferment time and temperature.
Tried this recipe?
Let us know how it was!Build Confidence With Full GAPS Baking
The planned Nut Flour Baking course will bring the preparation rules, texture cues, and family-size recipes into one practical system. Find current guides and catalog updates in the WFLI shop.

Leave a comment