

This standard fermented nut or seed milk gives you a smooth, pourable Full GAPS drink with a clean cultured tang. The formula starts with one cup of properly prepared nuts or oily seeds, uses four cups of filtered water for blending, and cultures the strained milk with homemade whey and raw honey for 20 to 24 hours.
The photographed batch uses blanched almonds so every visual cue stays consistent from the blender to the finished glass. Hazelnuts, Brazil nuts, pecans, macadamias, walnuts, pumpkin seeds, and sunflower seeds can follow this same standard-water formula when they are properly prepared. Sesame and cashew milk have different ratios or handling, so each has its own separate recipe.

A Cultured Nut Or Seed Milk For Full GAPS
A jar of cultured milk can do more than fill a glass. I use preparations like this when a recipe needs a pourable cultured milk, when breakfast needs something already made, or when I want one base that can move into a smoothie, pancake batter, or simple drink without opening a commercial carton.
That kind of make-ahead work matters in our kitchen. Work, homeschool, and meals for a family of eight can overlap quickly. A dependable method is more useful than a complicated one: soak, rinse, blend, strain, inoculate, and let the jar culture in a steady place. The measurements and physical cues below make each transition clear.
The result is thinner than yogurt and closer to ordinary milk. It should pour easily. The finished flavor is lightly nutty, pleasantly cultured, and less sweet than the mixture tastes before fermentation. Natural separation in the refrigerator is expected; close the jar and shake it before serving.
Choose One Nut Or Seed For The Batch
For the standard formula, use one cup of one properly prepared option: blanched almonds, hazelnuts, Brazil nuts, pecans, macadamias, walnuts, pumpkin seeds, or sunflower seeds. Choose raw, unsalted nuts or seeds without oil, seasoning, or a coating.
This is one formula with ingredient alternatives that use the same four-cup blending-water ratio, the same straining step, and the same fermentation window. Do not combine several nuts and seeds merely to use up small amounts; one choice makes the texture, flavor, and repeatability easier to judge.
Almonds make a mild, familiar milk. Pecans and walnuts produce a deeper nut aroma. Pumpkin or sunflower seeds make a more distinctly seed-forward drink. Whichever option you choose, keep the amount at one cup and follow the same soaking, rinsing, and straining method.
Soak With Water And Mineral Salt
Put the measured nuts or seeds in a glass or ceramic bowl with two to three cups of filtered water and two teaspoons of natural mineral salt. The water needs to cover them comfortably because they will take up some liquid as they rest.
Cover the bowl and soak overnight for at least seven hours. At the end of the soak, the nuts or seeds should look plumper and feel less brittle. The soaking water may be cloudy or slightly tinted. Drain it completely; it does not become part of the milk.
Rinse thoroughly with cool filtered water. Move the pieces around as you rinse so the fresh water reaches the whole batch. Let the excess water drain before the nuts or seeds go into the blender.
Blend Until The Milk Is Uniformly Cloudy
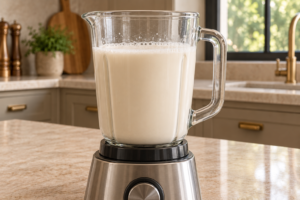
Add the drained nuts or seeds to a glass-contact blender with exactly four cups of fresh filtered water. Blend for about 50 seconds on medium-high, or until the liquid is uniformly cloudy and no large pieces are floating.
Stop the blender before inspecting the texture. The mixture should move as one opaque off-white liquid with a fine suspended pulp. A light, uneven foam ring at the surface is normal. Large fragments, a visibly gritty water layer, or intact pieces mean the batch needs a little more blending.
The blender image shows the useful paused cue for this formula: smooth and cloudy, with no whole almond pieces visible. It is not yet fermented, and the whey, honey, and final salt have not been added.

Add The Whey, Honey, And Final Salt
Add one-quarter cup homemade cultured whey, two tablespoons raw honey, and one-half teaspoon natural mineral salt to the blended milk. Use whey drained from homemade yogurt or kefir cultured for at least 24 hours. This version contains dairy whey, so it is not dairy-free. The linked whey method starts with homemade 24-hour GAPS yogurt.
Blend only for a few seconds, just long enough to distribute the additions. This brief blend should not noticeably thicken the milk. Raw honey replaces the maple syrup in the source formula while keeping the measured two-tablespoon position.
Commercial whey powder, protein concentrate, and flavored yogurt are different ingredients and do not replace the measured homemade cultured whey in this card.
Strain Through A Tightly Woven Cloth
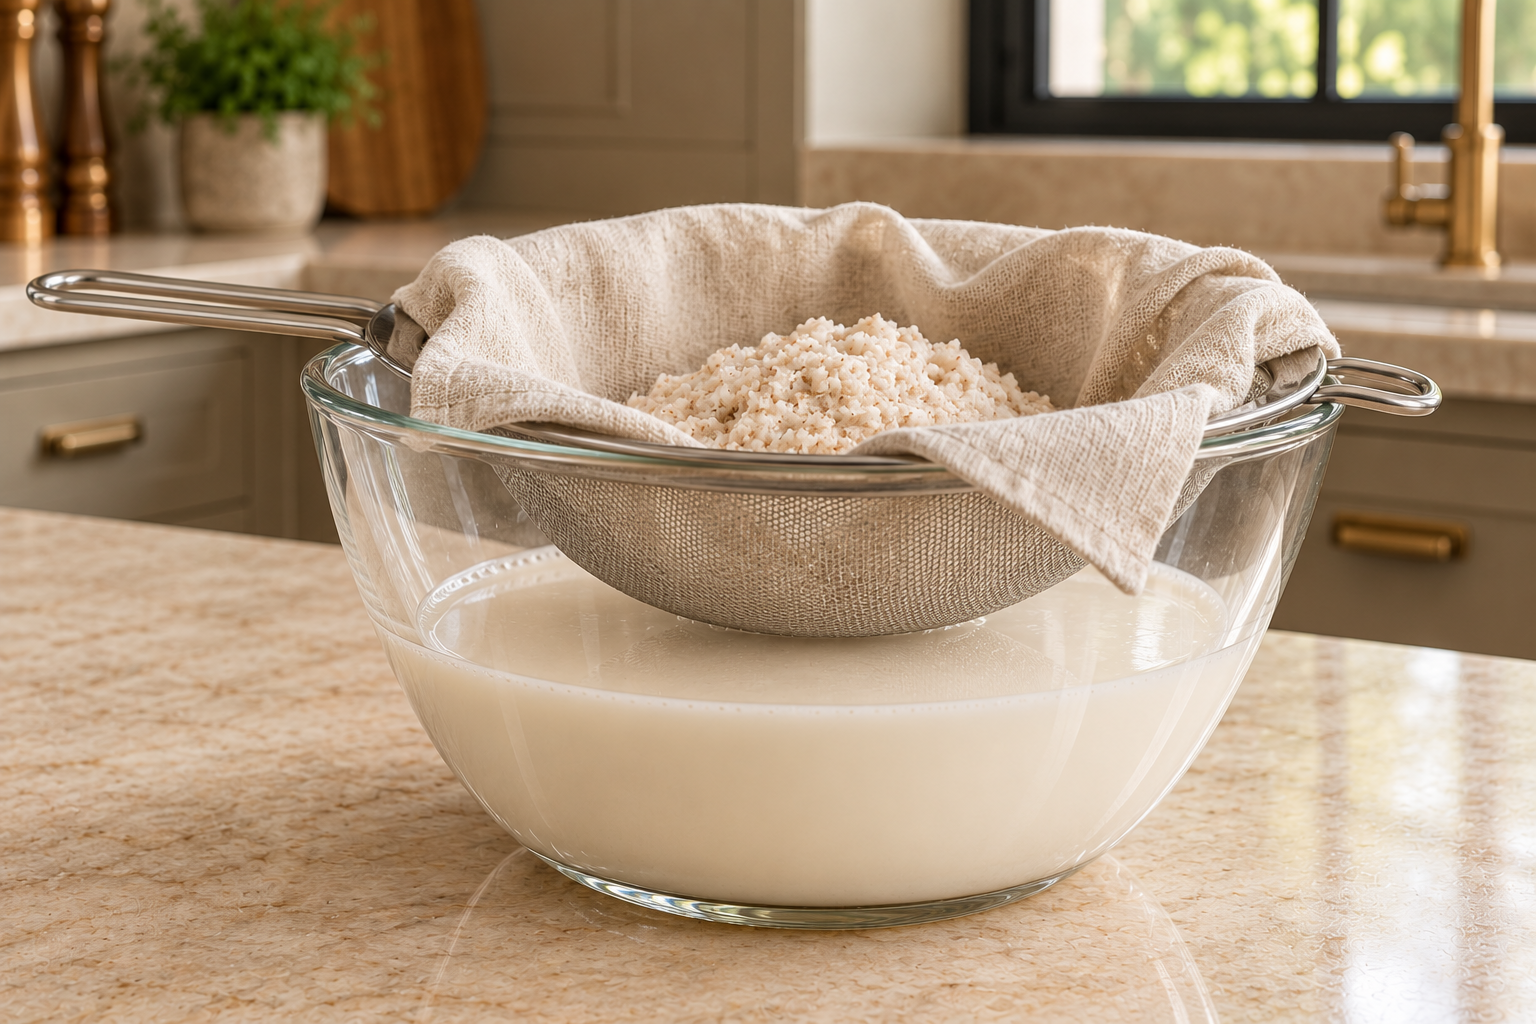
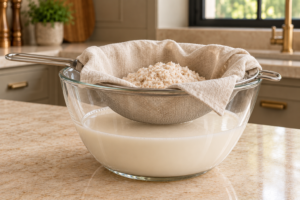
Set a fine stainless-steel strainer securely across a large glass bowl. Line it with tightly woven linen, cotton cheesecloth, or muslin. Make sure the strainer rim and handles are fully supported before adding the milk.
Transfer the blended mixture into the cloth, then gather the cloth and press the milk through. The liquid below should look smooth and off-white. The cloth will hold a damp, pale nut or seed pulp. Work in portions if your strainer or bowl cannot safely hold the whole batch.
The paused method image shows the actual support points: the cloth rests inside the strainer, the strainer spans the bowl, and the bowl sits flat on the counter. Nothing needs to hang in the air and no one needs to hold a heavy bag over the bowl.
Straining is part of this standard formula. Do not carry the unstrained cashew method into this batch. If you want a milk that intentionally keeps the whole blended cashew, use the separate unstrained fermented cashew milk recipe.
Ferment With A Pressure-Aware Closure
Transfer the strained milk to a clean wide-mouth glass jar, leaving room at the top. Fit an airlock or set a plain stainless-steel lid loosely enough for pressure to vent. Do not tighten a rigid lid on an actively fermenting jar.
Keep the jar in a warm, steady place for 20 to 24 hours. Use the same measured window every time before making adjustments based on your kitchen. The milk should develop a cultured, yogurt-like tang while staying thin enough to pour.
At the endpoint, the aroma should be clean and sour rather than sweet or stale. The surface may show a light foam line, and the liquid may begin to separate. Those cues can vary with the chosen nut or seed. The controlling endpoint remains the 20-to-24-hour window and a clean cultured aroma.
Move the jar to the refrigerator within that window. Once chilled, close it fully. Do not extend the room-temperature ferment simply to chase a stronger sour flavor.
How To Serve Fermented Nut Or Seed Milk
Shake the closed chilled jar before pouring. Serve the milk cold by the glass, blend it into a Full GAPS smoothie, or use it where a recipe calls for a thin cultured nut or seed milk. Its cultured flavor works especially well with warm spices, berries, or banana.
For baking, stir or shake the milk first so the creamy and watery layers return to an even mixture. Measure after shaking. The standard formula is intentionally pourable; use the separate thicker fermented nut milk when you want a little more body.
If the milk tastes too tangy to drink plain, use it in a recipe where the cultured flavor belongs instead of sweetening the storage jar. Keep additions out of the main jar so its measured formula and storage stay consistent.

Where This Fits On GAPS
This recipe is for Full GAPS. It uses an allowed properly prepared nut or oily seed, homemade cultured whey, raw honey, natural mineral salt, and filtered water. It is not an Introduction Diet milk.
The starter must be homemade cultured whey from yogurt or kefir fermented for at least 24 hours. The recipe does not use commercial nut milk, commercial probiotic powder, maple syrup, cane sugar, protein powder, hemp, or a half-cup flax branch.
If your household is following a narrower Full GAPS variation, choose a nut or seed already tolerated within that approach. The water ratio and fermentation method do not make a new ingredient appropriate before it has been introduced for the individual.
Storage
Keep the finished milk covered in the refrigerator for up to seven days. Store it in clean glass and pour what you need rather than drinking from the storage jar.
Separation is normal. A creamy layer may rise while a thinner layer settles below. Shake the closed jar until the color looks even before each use. This is a texture change, not a reason to discard a clean-smelling batch.
Discard the milk if it develops visible surface growth, a putrid or otherwise unexpected aroma, or pressure that continues building after refrigeration. Wash and dry the jar, cloth, strainer, and blender thoroughly before the next batch.
Recommended Equipment
Use a glass or ceramic soaking bowl, a glass-contact blender, a fine stainless-steel mesh strainer, tightly woven linen or cotton cloth, a large clear glass receiving bowl, and a clean wide-mouth glass fermenting jar. An airlock is useful when it fits your jar; a loose plain stainless lid also provides a pressure-aware closure.
The strainer must span the receiving bowl securely. Choose a bowl deep enough to keep the strained milk away from the bottom of the cloth. Avoid plastic food-contact tools and do not improvise a suspended cloth bag without visible support.
Frequently Asked Questions
Does Fermented Nut Milk Taste Like Yogurt?
It has a cultured tang similar to drinkable yogurt, but the body is thinner and the underlying flavor comes from the nut or seed you chose.
Can I Use Store-Bought Almond Milk?
No. This card begins with one cup of properly prepared raw nuts or seeds and four cups of filtered water. Commercial milk does not follow the measured formula.
Can I Use Yogurt Instead Of Whey?
This Full GAPS card uses one-quarter cup homemade cultured whey drained from yogurt or kefir fermented for at least 24 hours. Keep that starter measure unchanged.
Why Does The Milk Separate?
Homemade strained nut and seed milk naturally separates during refrigeration. Close the jar and shake before pouring.
Why Is The Milk Strained Before Fermentation?
Straining removes the fine pulp and gives this standard formula its smooth, pourable body. The cashew formula is intentionally different and remains unstrained.
Can I Use Less Water?
Use exactly four cups for this standard formula. The separate thicker fermented nut milk recipe uses three and one-half cups so the two results stay distinct.
How Long Should It Ferment?
Ferment in a warm steady place for 20 to 24 hours, then refrigerate. Do not tighten a rigid lid during active fermentation.
Can I Double The Recipe?
Yes. The 2× card control doubles every measured ingredient. Use blender, strainer, bowl, and fermenting jars with enough working capacity; do not overfill the blender or jars.
Standard Fermented Nut Or Seed Milk Recipe
Standard Fermented Nut or Seed Milk for Full GAPS
Ingredients
Equipment
Method
- Combine the selected nut or seed with 2 to 3 cups filtered water and 2 teaspoons mineral salt in a glass or ceramic bowl. Cover and soak overnight for at least 7 hours.
- Drain and discard the soaking water. Rinse thoroughly with cool filtered water and let the excess water drain.
- Blend the drained nuts or seeds with exactly 4 cups fresh filtered water for about 50 seconds on medium-high, until the liquid is uniformly cloudy and no large pieces are floating. Stop the blender before checking the texture.
- Add the homemade cultured whey, raw honey and remaining 1/2 teaspoon mineral salt. Blend for only a few seconds to distribute them.
- Set the fine stainless strainer securely over a large glass bowl and line it with tightly woven cloth. Transfer the milk into the cloth, then gather and press the cloth until the smooth milk is collected below and the damp pulp remains in the cloth.
- Transfer the strained milk to a clean wide-mouth glass jar, leaving headspace. Fit an airlock or set a stainless-steel lid loosely so pressure can vent. Ferment in a warm steady place for 20 to 24 hours.
- Refrigerate within the 20-to-24-hour window. Once chilled, close the jar fully. Shake the closed jar before serving because natural separation is expected.
Notes
Tried this recipe?
Let us know how it was!More Homemade Drinks And Ferments
The upcoming Drinks & Ferments Cookbook will gather practical cultured drinks, family-sized batches, and clear physical cues in one place. Watch the WFLI shop as the collection is completed.

Leave a comment