

This later Full GAPS chicken bone broth begins with one or two cooked chicken carcasses, then adds vegetables, peppercorns, vinegar, optional wine, and parsley for the final ten minutes. It is the version to make when you have saved roasted bones and want one deeply useful pot for soups, sauces, or warm cups of broth.
The long cook and cooked-carcass starting point make this bone broth, not meat stock. That distinction decides when it belongs in a GAPS kitchen. Use raw-meaty chicken meat stock through the earlier work. Cooked-carcass bone broth comes later, after at least one year of meat stock and longer when needed.
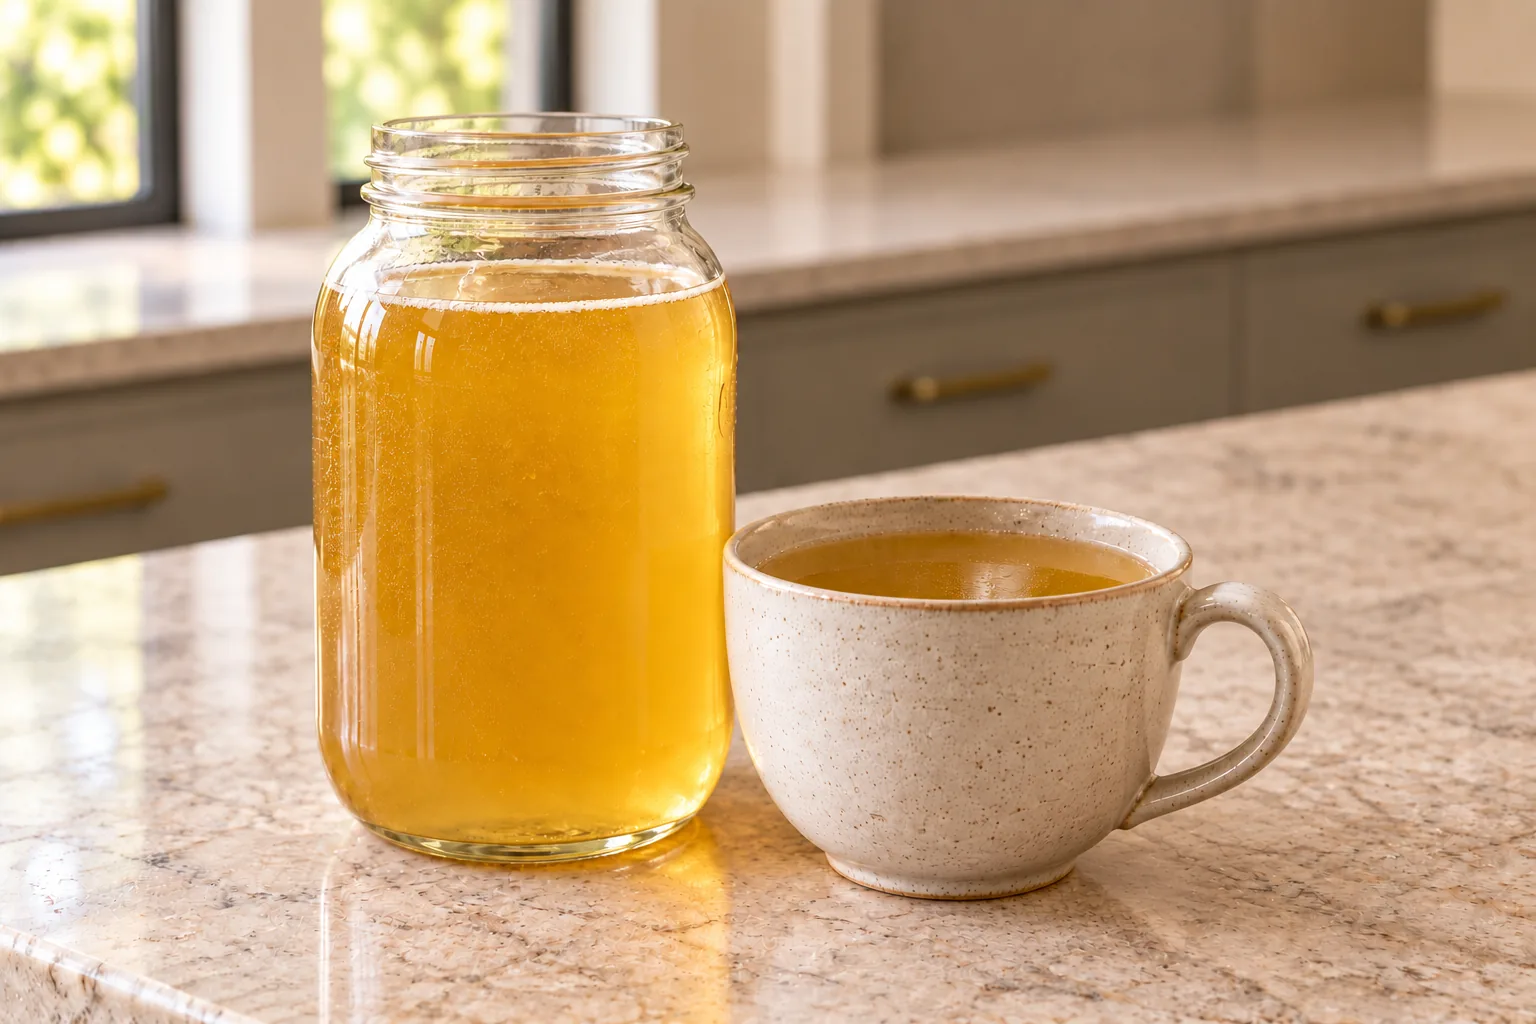
Why This Is Bone Broth Rather Than Meat Stock
Meat stock starts with raw pieces of carcass that still carry meat, joints, connective tissue, fat, and skin. It cooks for a much shorter window and remains the everyday stock used throughout the earlier GAPS work. This recipe starts with bones left from one or two cooked or roasted chickens and cooks them for eight to twenty-four hours with acid. That is the later bone-broth method.
The name is practical, not fussy. It keeps one jar from being used as if it were another. In a busy homeschooling household with six children, clear freezer labels save more time than they take. I would label this batch “Chicken Bone Broth, Cooked Carcass, Later Full GAPS” and write the date beside it. A glance at the jar then tells you what it is and where it fits.
Bone broth does not replace the meat-stock phase. It joins the kitchen later. If your household is still inside that first year, save this recipe for the future and make the linked chicken meat stock instead.
Save the Right Chicken Bones
Use the bones from one or two cooked or roasted chicken carcasses, including the backs and necks. A couple of chicken feet may go into the pot when you have them. The feet belong to this exact formula as an optional addition; they do not turn it into an early meat stock because the main starting material remains cooked carcass bones and the cook remains long.
Remove any leftovers that do not belong in this formula before the bones go into the pot. The measured additions here are onion, carrot, celery, peppercorns, mineral salt, cider or white vinegar, optional dry red or white wine, and parsley. Do not quietly transfer a seasoned roast-chicken sauce, flour thickener, commercial bouillon, or unrelated vegetables into the stockpot.
If you need more than one meal to collect enough bones, keep the cooked carcasses cold until you have the amount you need. The final pot must still follow the one-to-two-carcass range rather than becoming an unmeasured container of scraps.
Use a Stockpot That Fits the Formula
A ten-quart Le Creuset Classic stainless steel stockpot gives the bones enough room to sit below the water without crowding the rim. Place the pot on a burner that supports its full base. You also need a long stainless spoon, a shallow skimmer or fine-mesh strainer for the surface, a second fine-mesh strainer that can rest securely over a heat-safe receiving vessel, and clean glass storage jars.
Add only enough filtered water to cover the bones by one to two inches. This is a level to observe in your own pot rather than a universal cup measurement. The carcass count, bone shape, and pot diameter change the amount of water needed.
Leave safe headroom above the liquid. A pot filled to the rim is difficult to skim and move. If your stockpot cannot hold the bones, additions, water, and headroom together, make a smaller batch within the accepted one-to-two-carcass range.
Build the Pot in the Right Order
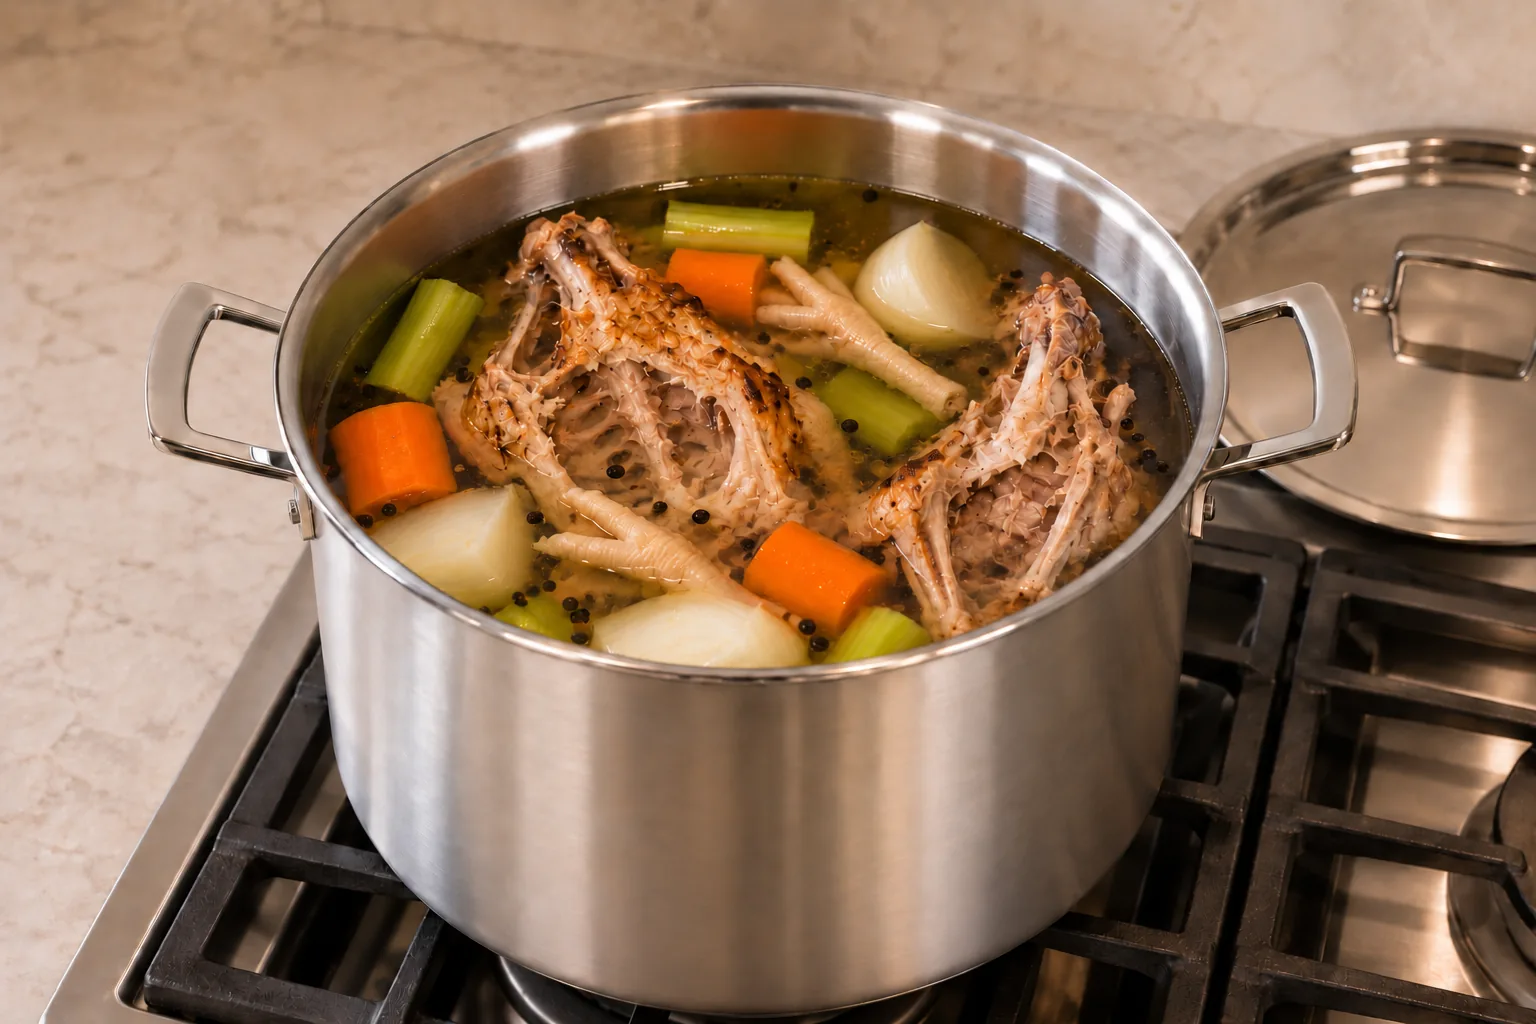
Place the cooked carcass bones, backs, necks, and optional feet into the stainless stockpot. Add filtered water until it sits one to two inches above the bones. Add one coarsely chopped small onion, one coarsely chopped carrot, one to two coarsely chopped celery stalks, one teaspoon whole peppercorns, mineral salt to taste, and one to two tablespoons cider or white vinegar.
A generous splash of dry red or white wine is optional. Leave it out if you do not want it; do not replace it with cooking wine or a sweetened wine product. Hold back the parsley. Its place is the final ten minutes rather than the full cook.
Stir once so the acid and salt move through the water. You do not need to keep stirring a stockpot for hours. The work that matters next is bringing the pot up carefully, removing the scum, lowering the heat, and keeping the long cook steady.
Bring It Up, Skim, Then Lower the Heat
On the stovetop, bring the pot to a boil. As scum rises, remove it with a shallow skimmer or fine-mesh strainer. Keep the utensil resting on the pot rim or a nearby dish between passes so it is never balanced in the air or dripping across the stove.
Once the surface has been skimmed, reduce the heat to low cooking and cover the pot. The goal is a long, controlled cook rather than hours of hard boiling. Check occasionally that the pot remains at the low setting and that the lid is seated properly.
Cook for eight to twenty-four hours on the stovetop. This is a source range, not permission to choose a time outside it. Pick an end time that fits your day before you begin, then set a timer. Eight hours and twenty-four hours are different scheduling choices for this same measured formula.
Add Parsley for the Final Ten Minutes
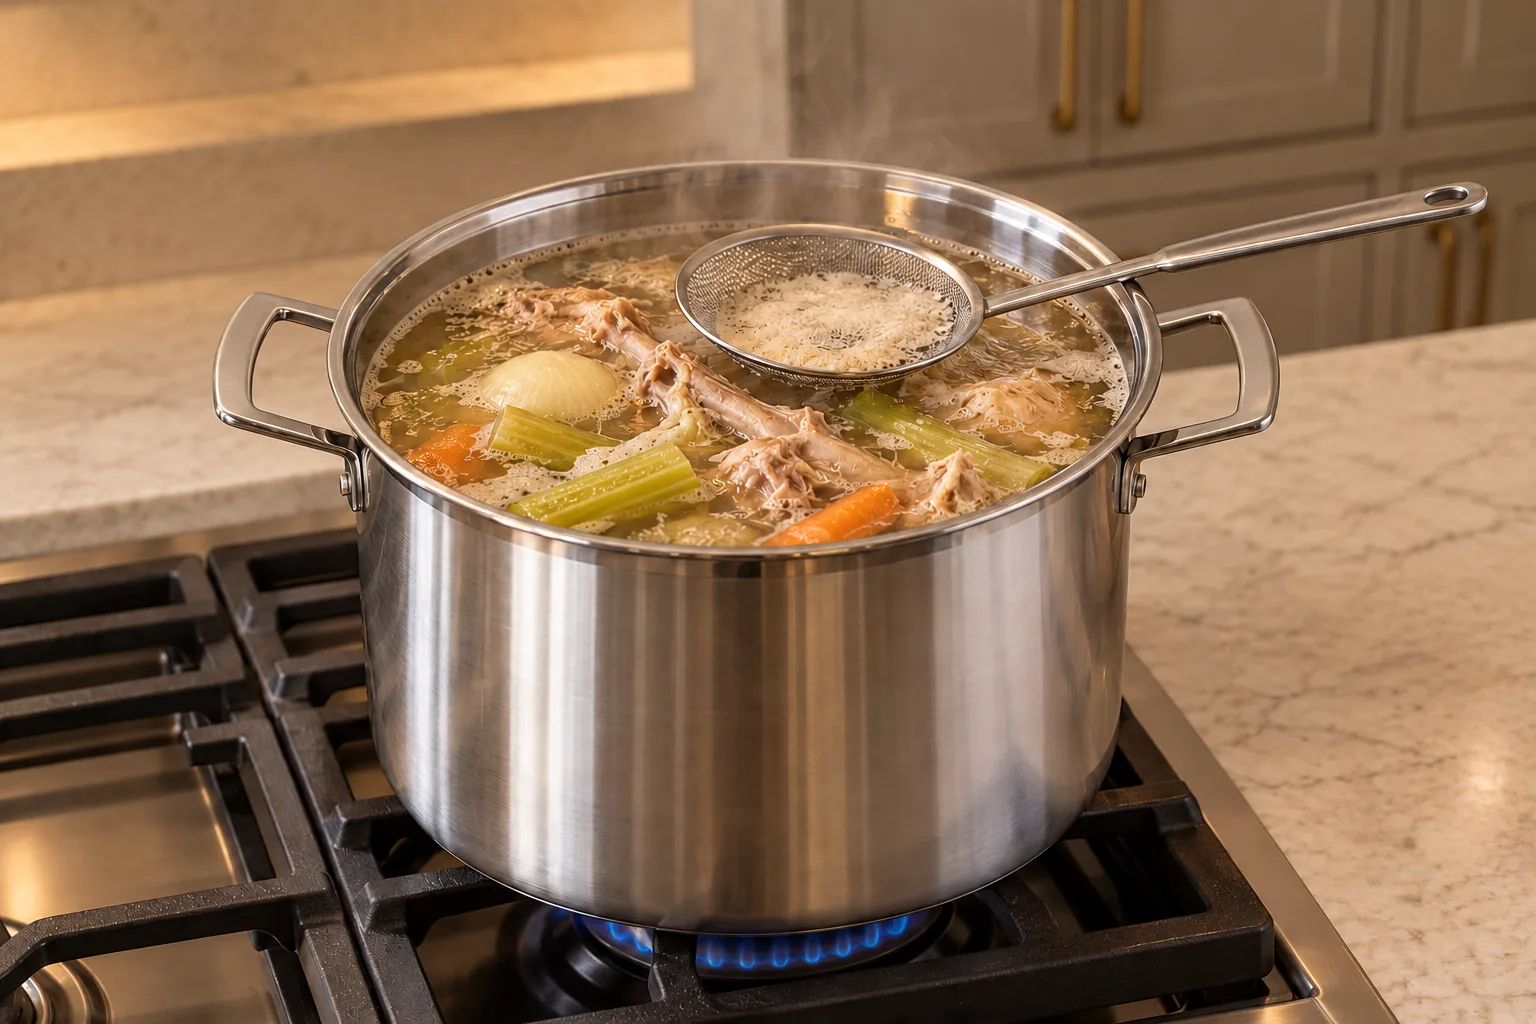
Keep the small handful of fresh parsley separate until the long cook is almost finished. Add it only for the final ten minutes. This keeps the parsley step visible and prevents it from disappearing into the first hours of the method.
Set a separate ten-minute timer when the parsley goes in. When that timer ends, turn off the heat. Do not use the parsley timer as a substitute for the main eight-to-twenty-four-hour cook; it begins only after the chosen long-cook endpoint has been reached.
Strain Without Balancing the Equipment
Set a stainless fine-mesh strainer securely over a heat-safe bowl or pot that is large enough to receive the broth. The strainer rim or support arms must make full contact with the receiving vessel. If it slides, choose a better-matched vessel before lifting any hot liquid.
Ladle the broth through the strainer in manageable amounts. A ladle gives you more control than trying to tip a full stockpot. Keep the stockpot fully supported on the stove or a heat-safe trivet while you work. Discard the spent bones and vegetables after the liquid has passed through.
The useful endpoint is simple: the liquid is separated from the carcass bones, parsley, peppercorns, and cooked vegetable solids. If small particles remain and you want a finer result, pass the broth through a clean, finer strainer into another heat-safe vessel.
Cool and Store the Broth
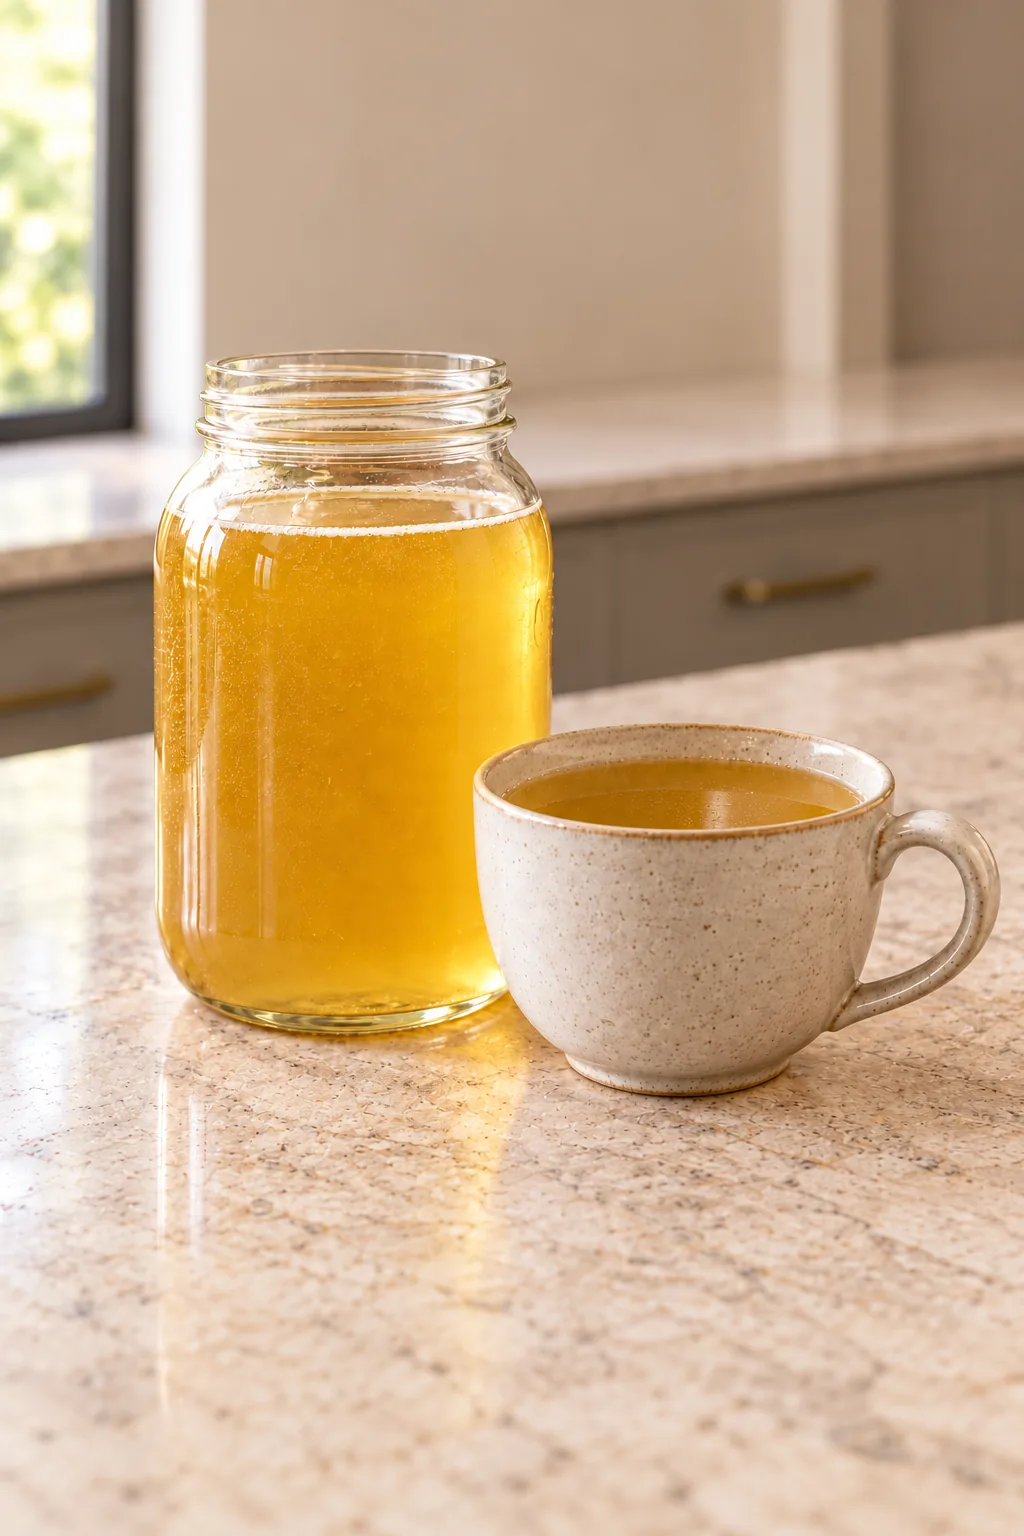
Divide the strained broth into clean glass containers so it can cool promptly. Leave enough room in any container intended for freezing to allow the liquid to expand. Refrigerate the broth once it no longer steams.
Use refrigerated chicken bone broth within two days or freeze smaller portions for longer storage. Smaller jars are useful when you usually need only a cup or two for a sauce or soup. Date every container and keep the later-bone-broth label visible.
Reheat only the amount you plan to use. Warm it in a saucepan on the stove, then season the serving as needed. Keeping the remaining containers cold avoids repeatedly warming and cooling the full batch.
Ways to Use Later Full GAPS Chicken Bone Broth
Use this broth where a later Full GAPS soup, stew, pan sauce, or warm cup specifically calls for bone broth. Its job is different from the short-cooked meat stock used earlier. When an early-stage recipe calls for meat stock, follow that recipe rather than swapping this in because both liquids came from chicken.
For soup, bring a measured portion to a simmer and cook the allowed meat and vegetables in that portion. For sauce, reduce only the amount the sauce needs. For a warm cup, heat it gently and adjust mineral salt at the end.
Frequently Asked Questions
Can I Make This During the First Year of GAPS?
No. This cooked-carcass, long-cooked bone broth belongs later, after at least one year of raw-meaty meat stock and longer when needed. Use the linked chicken meat-stock recipe during the earlier phase.
Can I Start With a Raw Chicken Carcass?
Not for this formula. Use bones from one or two cooked or roasted chicken carcasses. Raw meaty chicken pieces belong to the separate meat-stock method and must keep their own identity and cooking time.
Do I Need Chicken Feet?
No. A couple of feet are optional. Use them when available, but keep the cooked carcass bones, water level, vegetables, acid, peppercorns, parsley timing, and cook range unchanged.
Can I Use a Slow Cooker?
This formula may cook in a compatible slow cooker for twenty-four hours on low or eight to ten hours on high. Use a slow cooker large enough to hold the same measured ingredients and water level without passing its maximum fill line.
Can I Leave Out the Wine?
Yes. The dry red or white wine is optional. The cider or white vinegar remains the measured acid in the base formula.
Why Is the Water Listed as a Level Instead of Cups?
One or two carcasses occupy different amounts of space. Covering the bones by one to two inches preserves the formula’s actual instruction without inventing a fixed volume that may not fit your pot.
Later Full GAPS Chicken Bone Broth Recipe
Later Full GAPS Chicken Bone Broth With Feet and Herbs
Ingredients
Equipment
Method
- Place the cooked chicken carcass bones, backs, necks, and optional feet in the stainless stockpot. Add the onion, carrot, celery, peppercorns, mineral salt, vinegar, and optional dry wine. Hold back the parsley.
- Add filtered water until it covers the bones by 1 to 2 inches. Stir once.
- For the stovetop, bring the pot to a boil. Skim and discard the scum, reduce to low cooking, and cover.
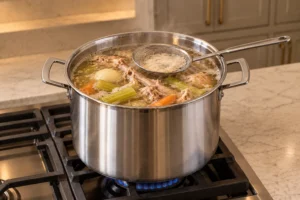
- Cook for 8 to 24 hours on the stovetop. For the retained slow-cooker branch, cook 24 hours on low or 8 to 10 hours on high.
- Add the fresh parsley for the final 10 minutes only.
- Turn off the heat. Set a stainless fine-mesh strainer securely over a heat-safe receiving vessel and ladle the broth through it. Discard the spent bones and vegetables.
- Divide into clean glass containers and cool promptly. Refrigerate for up to 2 days or freeze smaller portions for longer storage.
Notes
Tried this recipe?
Let us know how it was!Keep Meat Stock and Bone Broth Straight
The planned Meat Stock vs. Bone Broth Chart gives you a quick kitchen reference for starting material, timing, and GAPS placement. The planned Stock Pot Course goes further with batch planning and a repeatable stock-making rhythm. Watch the WFLI shop as they are released.

Leave a comment